Page 2 of 4

Re: Ski Nautique stringer replacement

Posted: Sun Aug 23, 2009 8:24 pm
by DAYTRIP
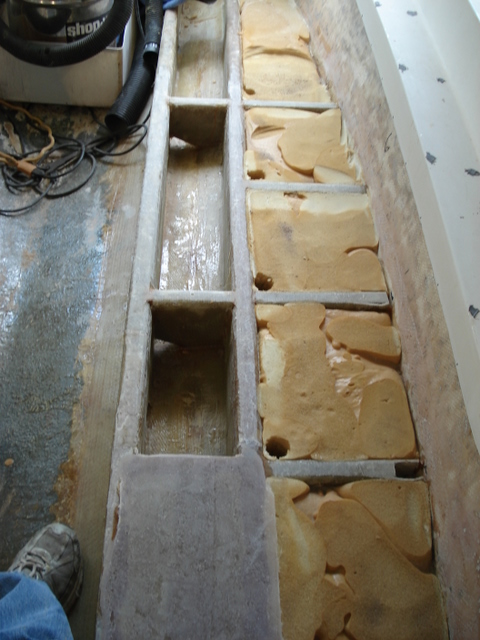
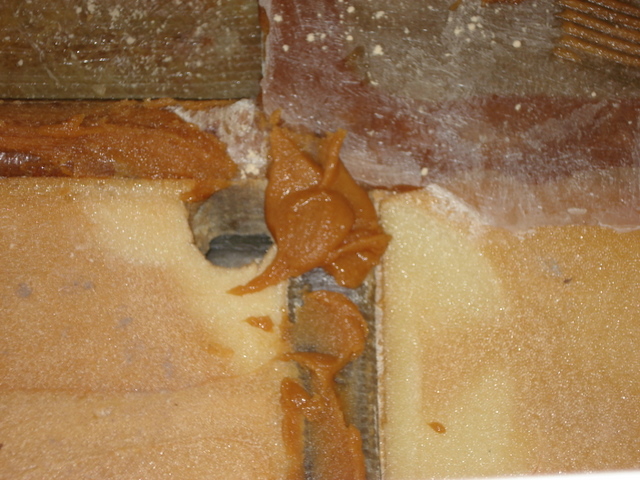
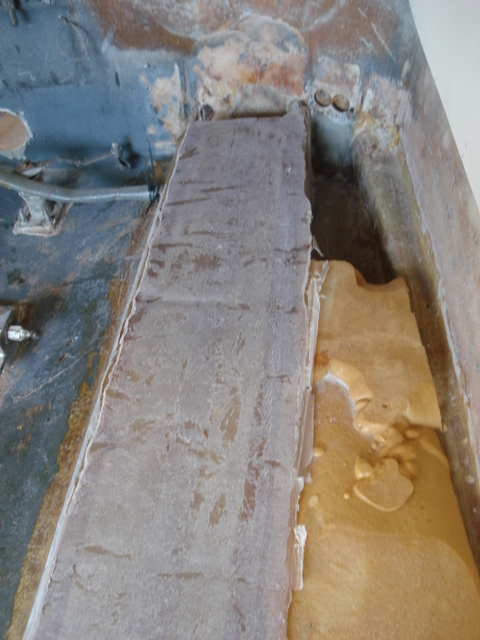
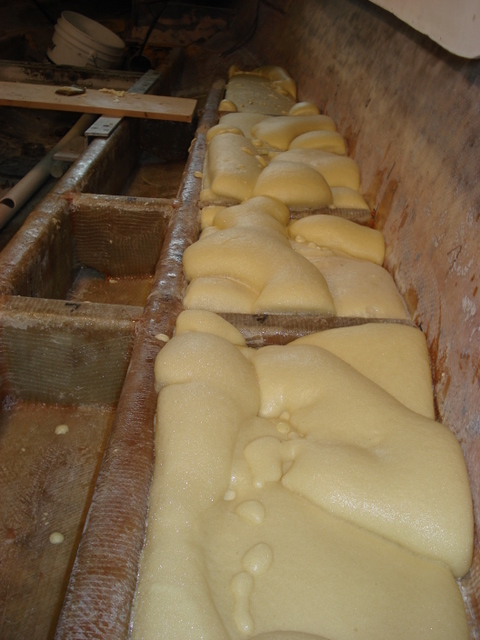
Made some progress this weeked. Pour the foam between the outer stringers and the hull sides. I wanted water to move along the stringer so I used sand to cast in voids. This worked really well. Once the foam was poured in I used air to blow the sand out as well as a hose to get the balance out.
Image

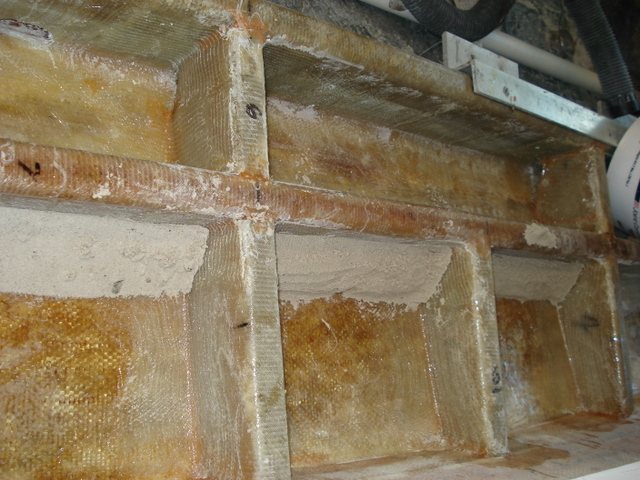
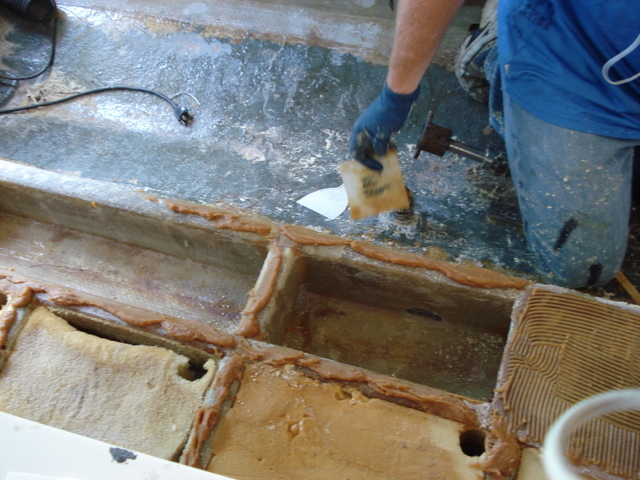
Here you can see the foam poured in, I over poured and then ground it back to even with the stringers to avoid as many voids as possible.
Image

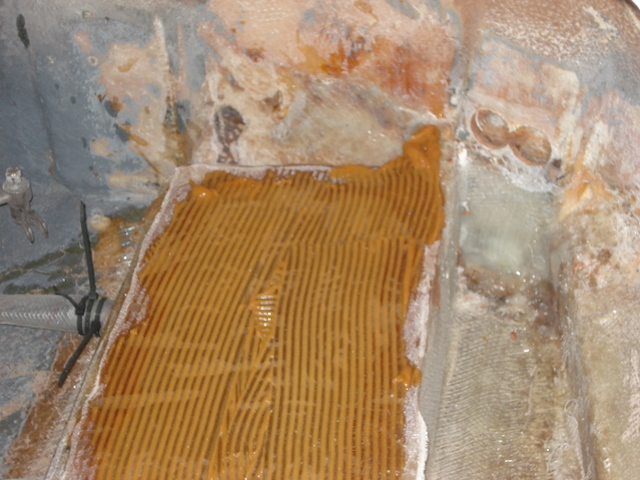
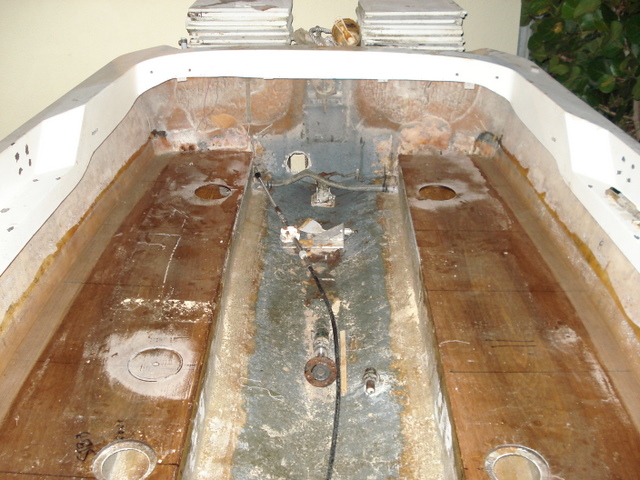
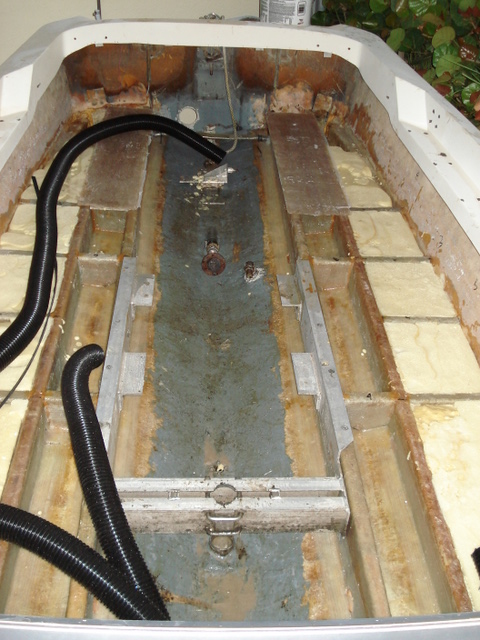
Here you can see the foam ground flat. From the factor they just glassed right on top of the foam to make the floor using all mat. Then they put carpet on that surface. I am building it to be used in salt and low maintenance so I am using merranti with a layer of cloth on that, faired and painted with Awlgrip and nonskid. I like a hose to clean a boat not a vacuume. It is definitely a little more slipery though. You can also see my air duct and cable chase in this photo. I used this on the Barefooter and it works great. Another cheap thing from the factor was that they used regular vinyl with wire reinforcement and cast it in the foam. After several years it deteriorated and let water in to sit in areas that it could not get out of. What I am using is a plastic hose with a plastic reinforcement spiral. Much heavier duty and wont crush or deteriorate like the vinyl.

Image

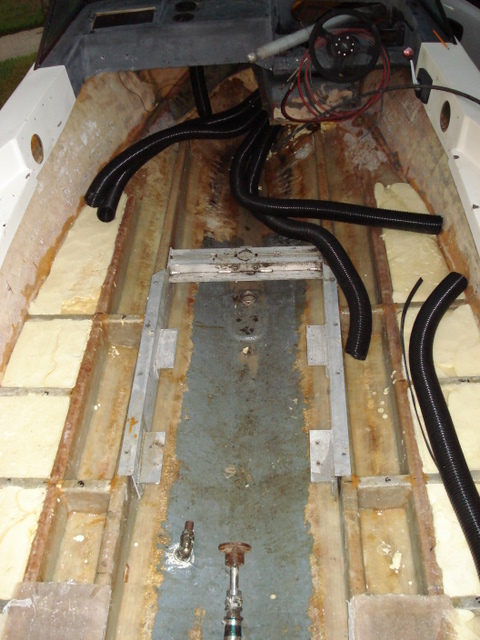
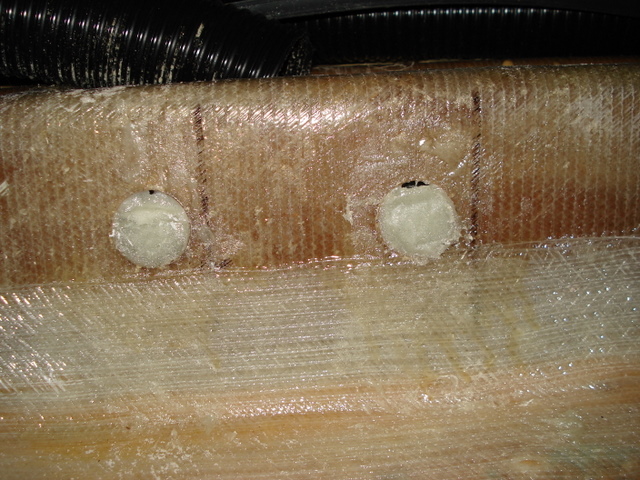
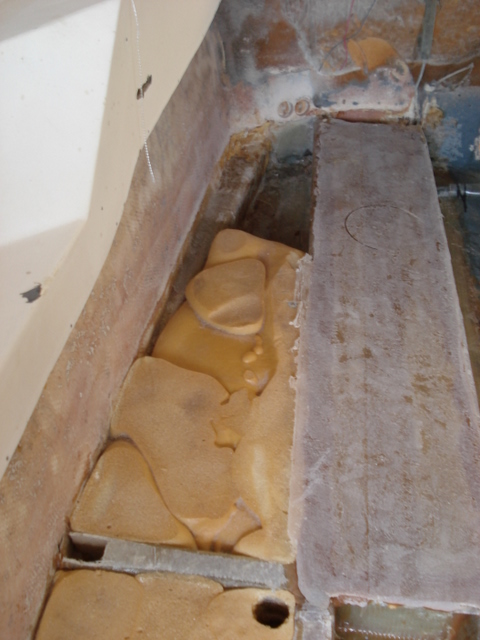
In this picture you cna see the water tanks That are on the stern port and starboad. They are currently full of water and if they don't leak down I will epoxy the fiberglass cover on them and then the deck over that.

Image

Re: Ski Nautique stringer replacement

Posted: Sun Aug 23, 2009 9:22 pm
by Cracker Larry
I wanted water to move along the stringer so I used sand to cast in voids. This worked really well. Once the foam was poured in I used air to blow the sand out as well as a hose to get the balance out.
What a neat idea :!: I learn something new every day here 8)

Re: Ski Nautique stringer replacement

Posted: Sun Aug 23, 2009 9:54 pm
by DAYTRIP
Thanks Larry! The one smart idea I come up with every now and again is over balaced by the dump mistakes that I usually make :doh:

Re: Ski Nautique stringer replacement

Posted: Mon Aug 24, 2009 9:15 am
by tech_support
great idea, lost mold technique :) Was it difficult to get the packed sand out? Maybe a rope with few knots in it packed in the sand could be used to free it up prior to washing out. I will have to save this one in the memory banks

Re: Ski Nautique stringer replacement

Posted: Mon Aug 24, 2009 8:10 pm
by DAYTRIP
Joel, The sand was not real wet so it came right out with air. You could really cast any void that you want into the foam. I am ready to get the floor back in this puppy. On another note I did post on Correct Craft Fan.com Joel so hopefully those guys will take a look at this site ==>http://www.correctcraftfan.com/forum/fo ... PID=174032

Thought I would share a phot of the technique you suggested to avoid exposing wood to root where you bolt through it. These two inserts are where the rear motor mount go through the stringers. Basically I drill 1-1/2" holes and filled them with epoxy/milled fiberglass. I will drill throught them once I am ready and no wood will be exposed. I use this EVERYWHERE I go through wood. Planning is key.

Image

Re: Ski Nautique stringer replacement

Posted: Tue Aug 25, 2009 12:39 pm
by Chief Brody
In regards to the sand casting that makes up a void for the water to move along the stringer....could a length of PVC tubing work the same and just be left in there?

Re: Ski Nautique stringer replacement

Posted: Thu Aug 27, 2009 10:30 pm
by DAYTRIP
Measured, templeted and cut my rear floor panels tonight. Also put the first coat of epoxy on the underside to seal them.

Image

Image

Re: Ski Nautique stringer replacement

Posted: Mon Sep 07, 2009 10:49 pm
by DAYTRIP
Making some progress. More Photos to follow. This is the epoxy bed that will tie the sole to the stringers and bulkheads. The two big holes in the transome in pic 2 are the dive plateform bolt holes. Over drilled them and am going to fill them with epoxy and miled fiberglass. I have made a couple hatch molds that I will photograph and post. They worked great. Also made a mold for diamond shaped nonskid pattern. That is really cool. hopefully it works well. I snap some pics and post tomorrow.
Image

Image
Epoxy on tanks
Image
epoxy on stringers and bulkheads
Image

This is the water tank. There is a hose that ties to the port tank so they feed and stay level. About 13 gallons total. Lots of work for 13 gal. of H2O.
Image

Image

Re: Ski Nautique stringer replacement

Posted: Tue Sep 08, 2009 9:26 am
by Chief Brody
That's looking good...........does that 100lb of ballast really make a difference on the ski boat? Figure a couple of coolers with beer and soda would do the same trick without all that work. :lol:

Re: Ski Nautique stringer replacement

Posted: Tue Sep 08, 2009 10:08 pm
by DAYTRIP
Chief, I don't think 100 lbs makes any real difference. I am using the tanks for fresh water washdown only. Don't like the salty feeling.

Some more pics. Floors in place
Image

My nonskid mold. New experiment to see if I can duplicate the factory finish. Read a post from Jauques from way back so thought I would give it a try. Used a piece of rubber mat that is used on fighting chair footrest as a plug. Mold come out great. Going to try my first part this week. Stay tuned.
Image

This is my hatch and mold and finished product. No plug just built the mold directly out of MDF, primed it with cheap primer, PVA on the mold and laid it up. Worked nicely. Made four parts and it still looks like new.
Image