1971 170 Aquasport Rebuild

Questions about boat repairs with our resins and fiberglass: hull patches, transoms and stringers, foam, rot etc.
User avatar
wegcagle
* Bateau Builder *
* Bateau Builder *
Posts: 2536
Joined: Wed Jun 18, 2008 7:08 am
Location: Augusta, GA

Re: 1971 170 Aquasport Rebuild

Post by wegcagle »

That looks great. You do really clean work 8) The seat is a great idea for complete access inside your console. You should put in a remote controlled door opener for it :D

(I wonder where I got that idea.....Peter do you know? 8) )


http://www.youtube.com/watch?v=OQSxlGZ7 ... e=youtu.be
Image

GV15, D4 done! Dreaming about the next one

Rickk
Active Poster
Active Poster
Posts: 463
Joined: Thu Jan 03, 2008 5:40 am
Location: Sarasota, FL

Re: 1971 170 Aquasport Rebuild

Post by Rickk »

Thanks guys.
Weg - that hatch in the video looked cool. Hope they had an escape plan in case the opener failed :D

I'm not opposed to using no hinges and setting the seat on and using the locking type latches to secure it in 4 or 6 places and then when I need to get into the console just removing the seat and setting it aside. I would think that I will probably not go into the console very often after the initial install - maybe to check batteries periodically.

I need ideas on the hinging part or other alternatives (except the garage door opener one :wink: )

slvrlng
Frequent Poster
Frequent Poster
Posts: 53
Joined: Thu Mar 26, 2009 9:04 pm
Location: Hills of North Georgia

Re: 1971 170 Aquasport Rebuild

Post by slvrlng »

Looks really nice Rick!!!

Here is another idea for the latches, I used on of these on my anchor locker when I re-cored it. It lays really flat so its not in the way as much and has yet to pop open on its own.

http://www.mcmaster.com/#standard-draw-latches/=orfurx

Rickk
Active Poster
Active Poster
Posts: 463
Joined: Thu Jan 03, 2008 5:40 am
Location: Sarasota, FL

Re: 1971 170 Aquasport Rebuild

Post by Rickk »

Sorry guys, been a little lax keeping everything up to date - got a little done. I know you like boat porn so here we go:

Cleaned up the seat, trimmed it down to 1.5" lip around most of the seat and ground it to a nice finish. The seat was built out of poly and I figured I needed to add something for the backer to "bite" onto so I added a layer of 3/4 oz.
Image

After that kicked I ground it lightly and mixed up a putty of epoxy and troweled it on
Image

and set the backer into the putty
Image

Then I filled in the honeycomb
Image

Image

And then put some blocks on it for the night.
Image

Sunday I repeated the process on the backrest (note to self - put some plastic under the block so they don't stick to the backer :roll: )
Image

Image

While that was doing it's thing I brought out the windshield and tried it on the new console to make sure I didn't build it up too much. Fits fine
Image

Image

I pried the blocks off the backer tonight (all 3 were glued to it tight) and picked it up and I tell you, the seat picked up at least 10+ lbs and is rock solid. It had a little flex in the panels before the backers, now, no flex at all. I could probably stand on the seat.
Next thing to do is lay a layer of cloth over the backer and up the lip and that will make it rock solid.
I test fit it (just in case) and it fits perfect. :cheers:

Rickk
Active Poster
Active Poster
Posts: 463
Joined: Thu Jan 03, 2008 5:40 am
Location: Sarasota, FL

Re: 1971 170 Aquasport Rebuild

Post by Rickk »

Added the last layer to the seat - I would say the seat now weighs in at probably around 20lbs+ and rock solid. Trimmed it up a bit yesterday.
Image

This is the seat installed and a pic taken from below the console - nice fit.
Image

Took the plunge, so to speak, and cut the access panel out of the floor.
Image

Image

Image

Image

Image

Trimmed both sides of the cut back a little so I could get a tight fit after glassing. Cut some Jasper board (foam board) to line the edges and give something to apply glass to.
Image

Routed the edge of the panels and receivers
Image

Image

Then cut the Jasper board, drilled some pilot holes, epoxied the edges and temporarily nailed the board to the ledge.
Image

Image

Image

Then started working the board down a bit
Image

Rickk
Active Poster
Active Poster
Posts: 463
Joined: Thu Jan 03, 2008 5:40 am
Location: Sarasota, FL

Re: 1971 170 Aquasport Rebuild

Post by Rickk »

Image
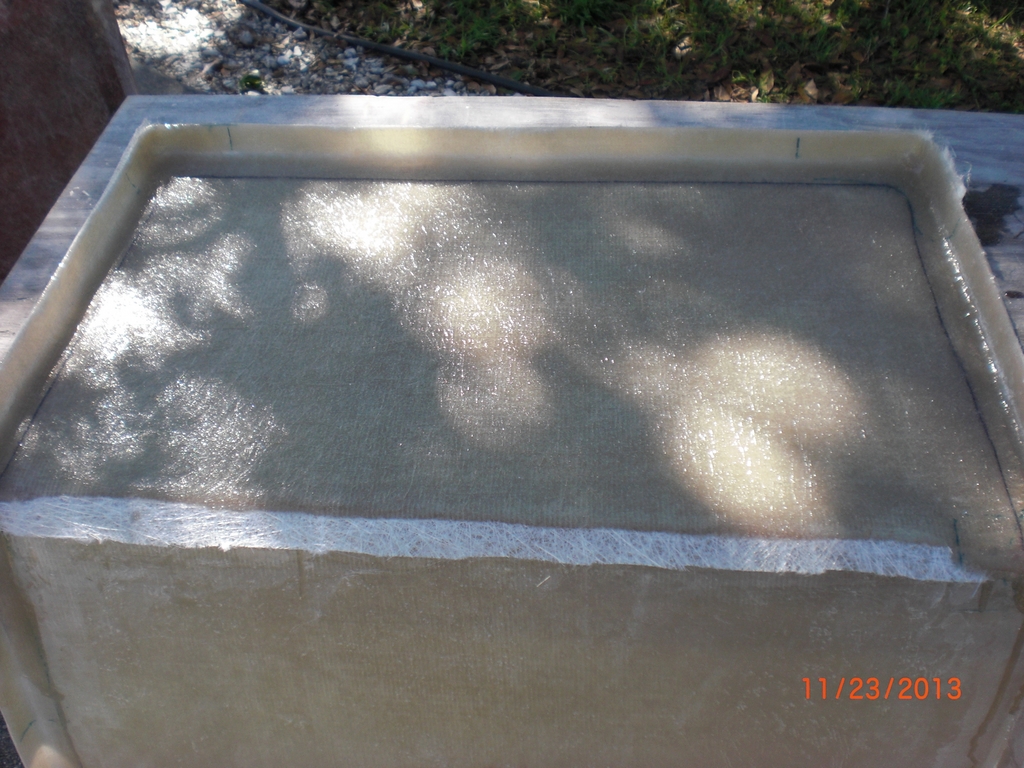
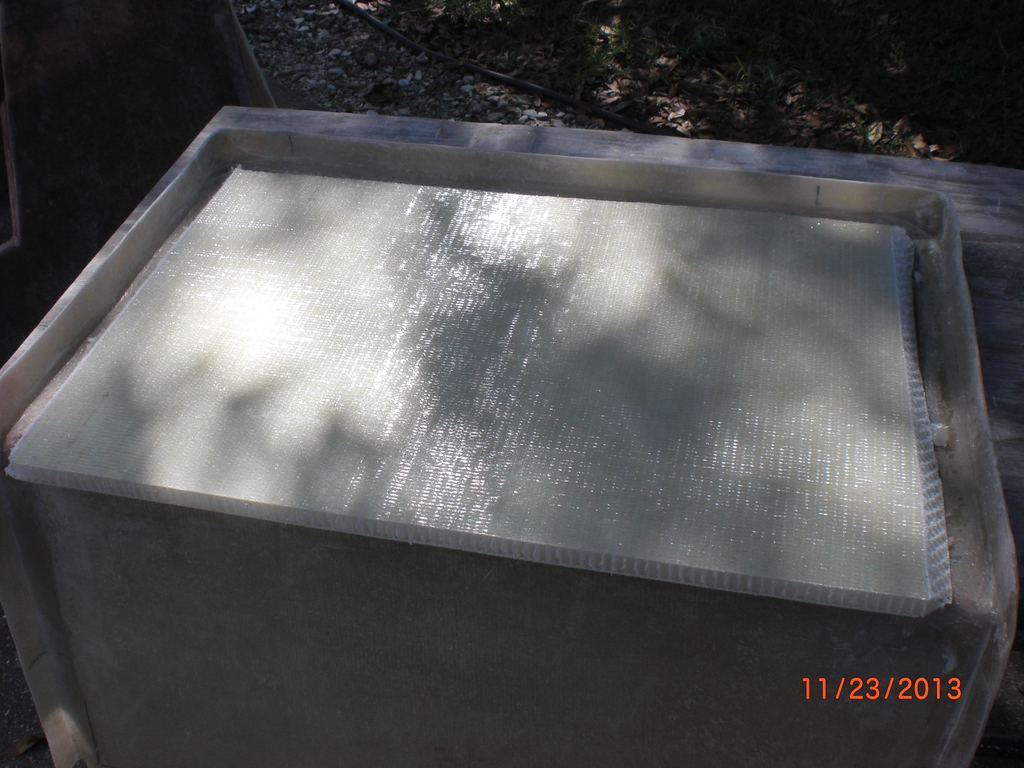
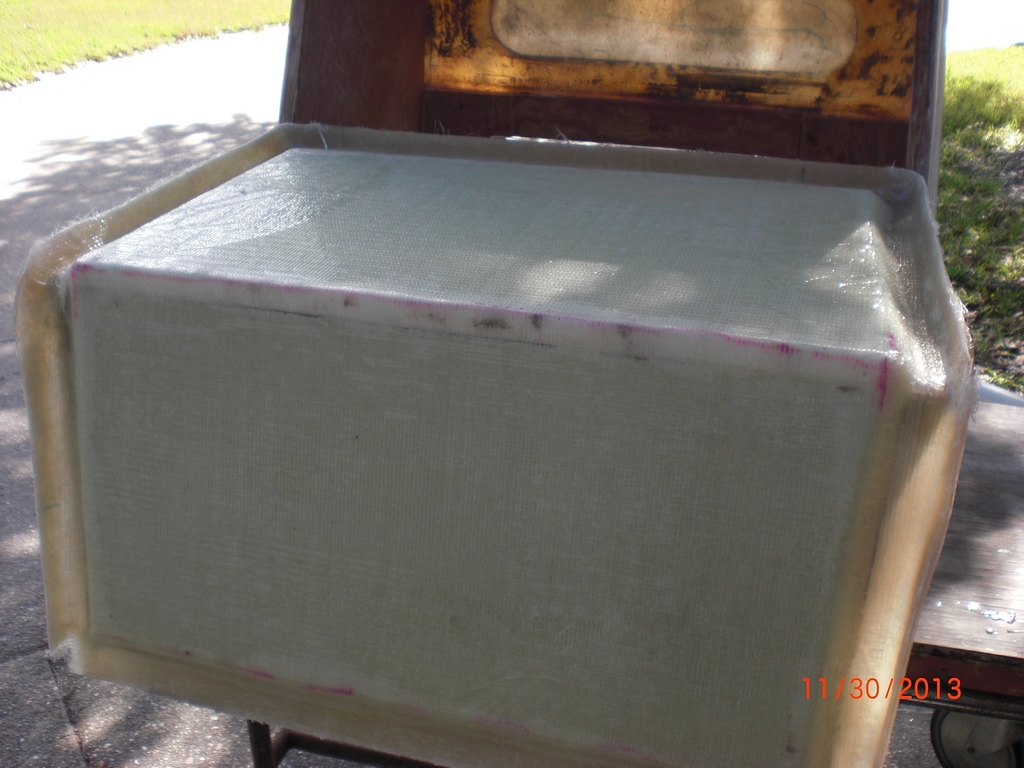
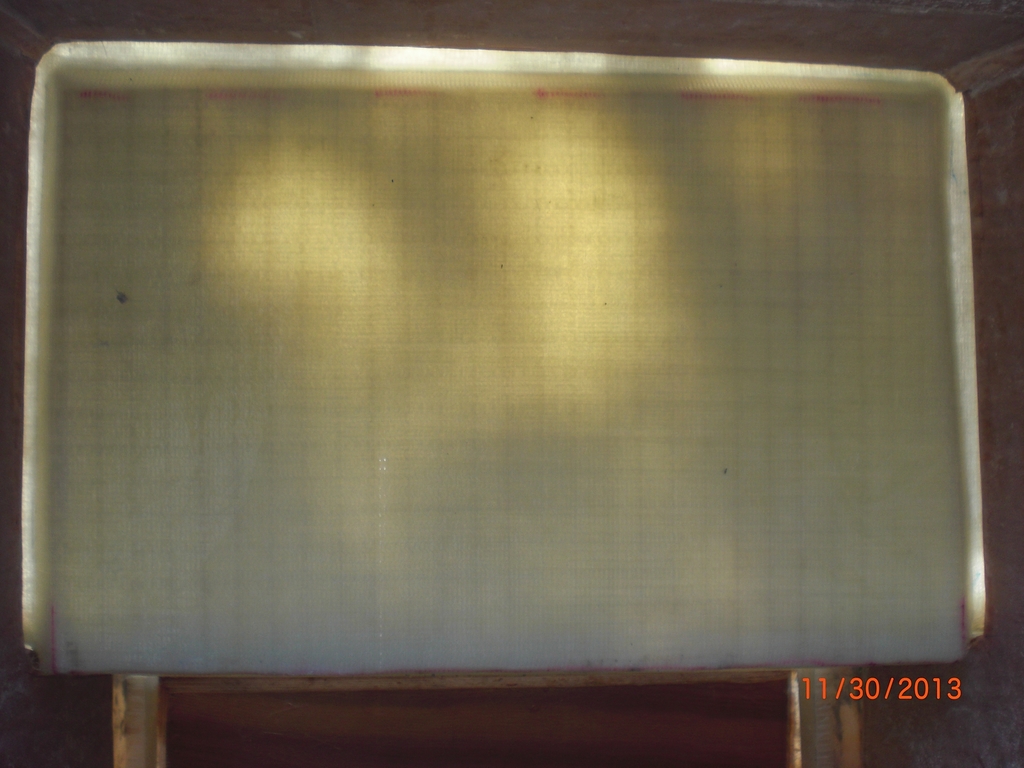
Started to lay cloth and CSM in to make it a nice fit - still have some of that to do today.
Image

Image

Image

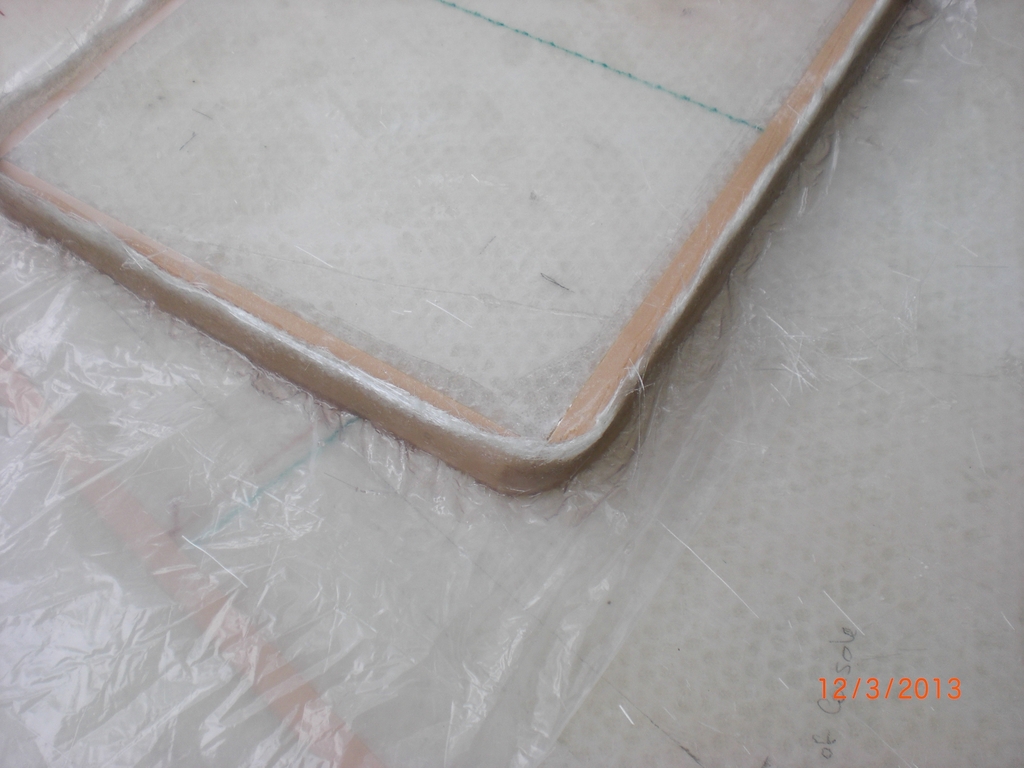
Looks like it is a good fit now but it really isn't - getting there though
Image

Had this guy show up and tell me it was beer thirty, so I took the hint
Image

Image

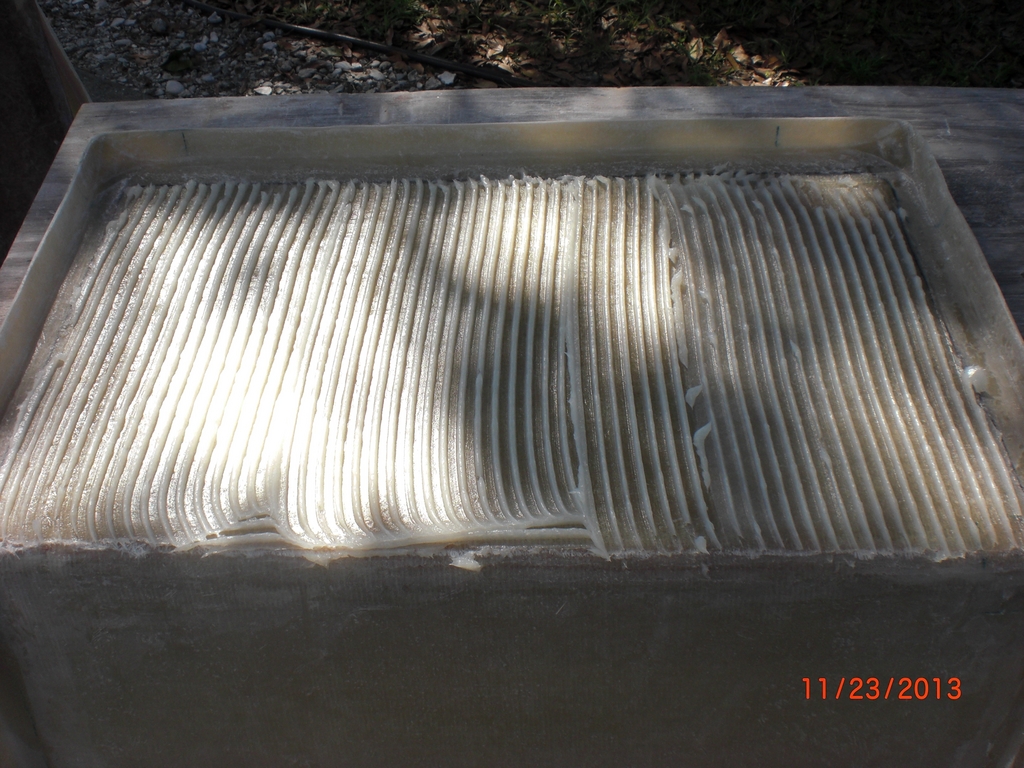
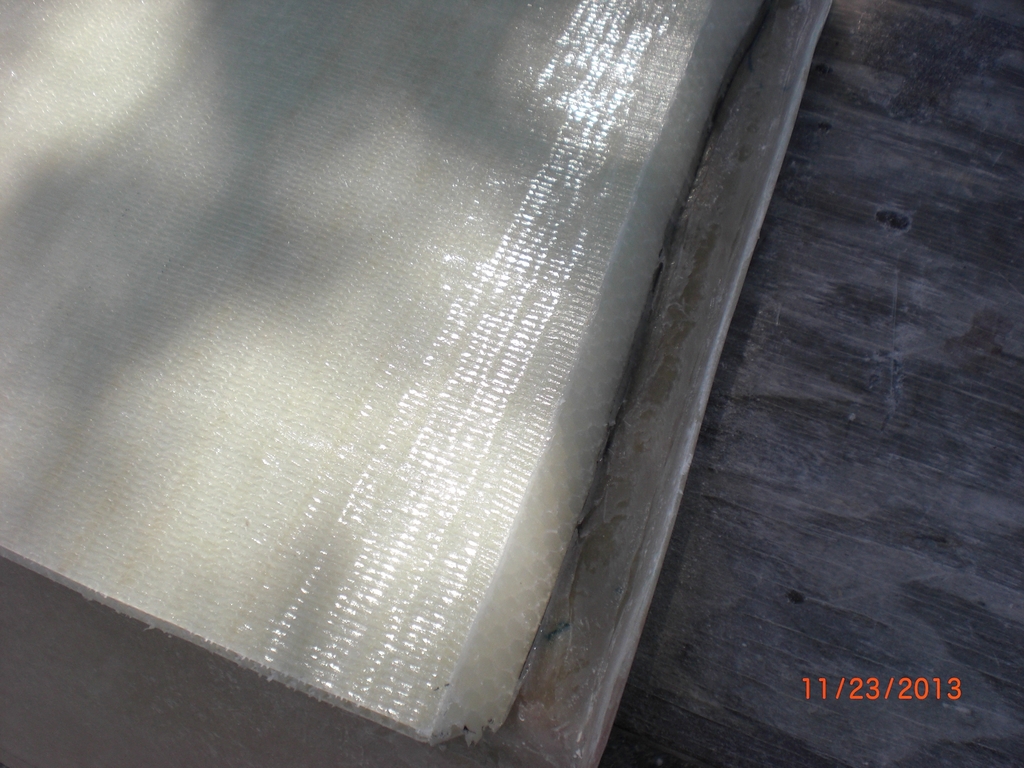
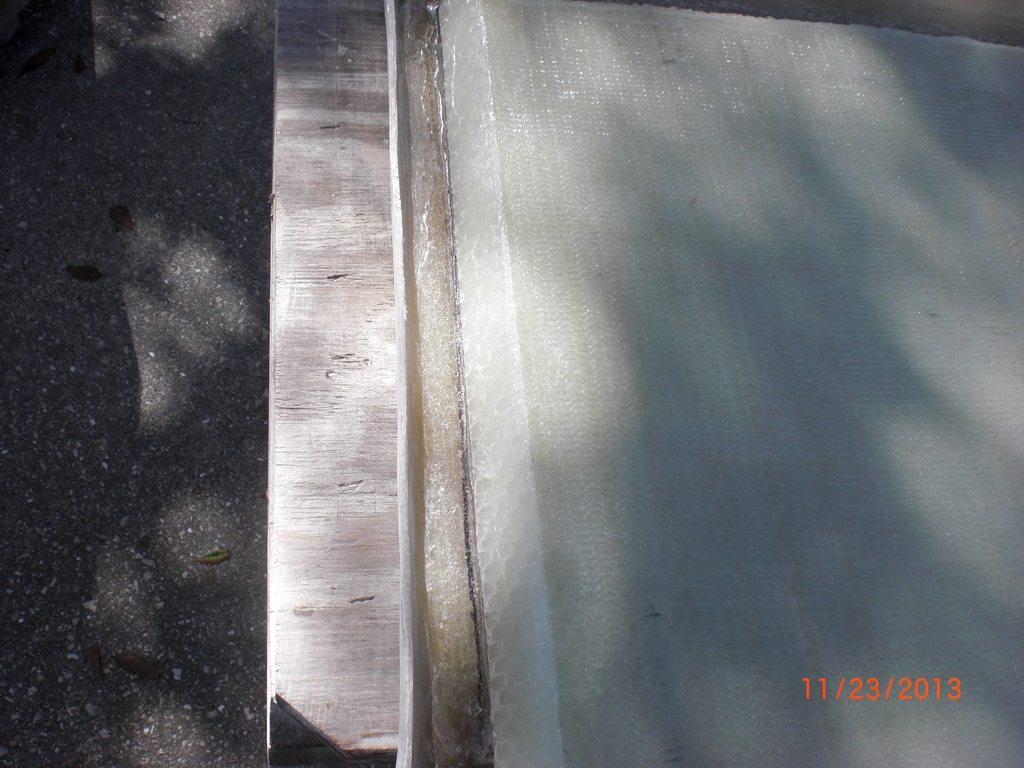
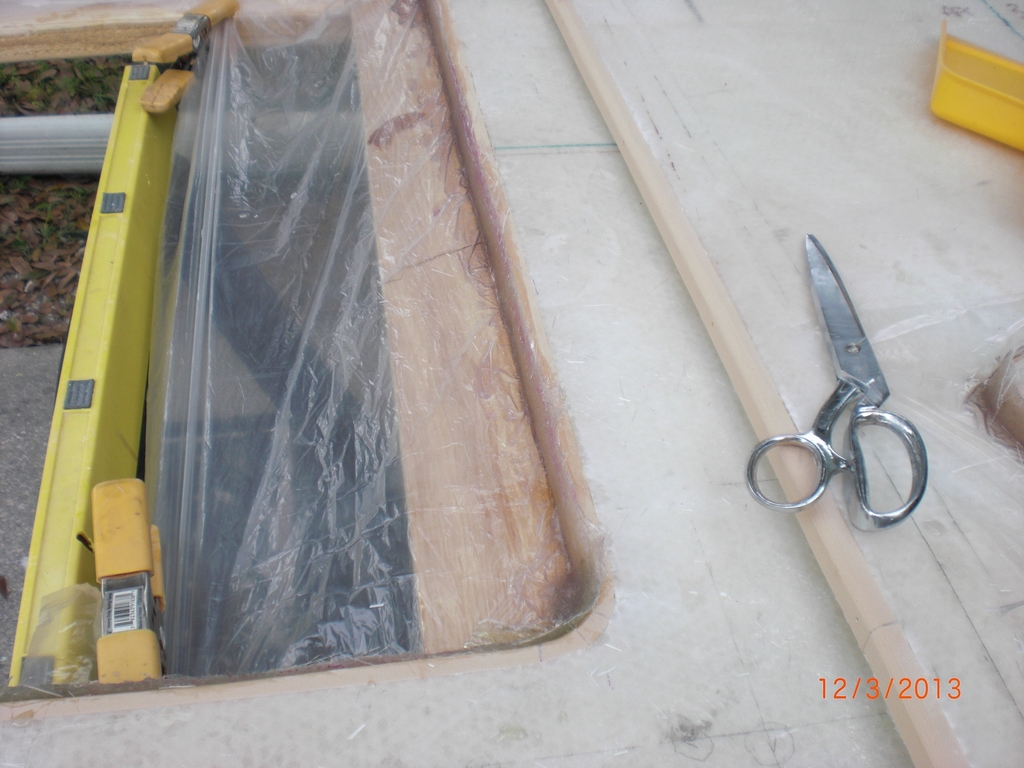
I added more CSM to the edges of the receivers where needed and then made a jig to apply some thickened resin along all the edges to get the right radius. Took 2 applications and the edges and gaps seem to be what I need now :cheers:

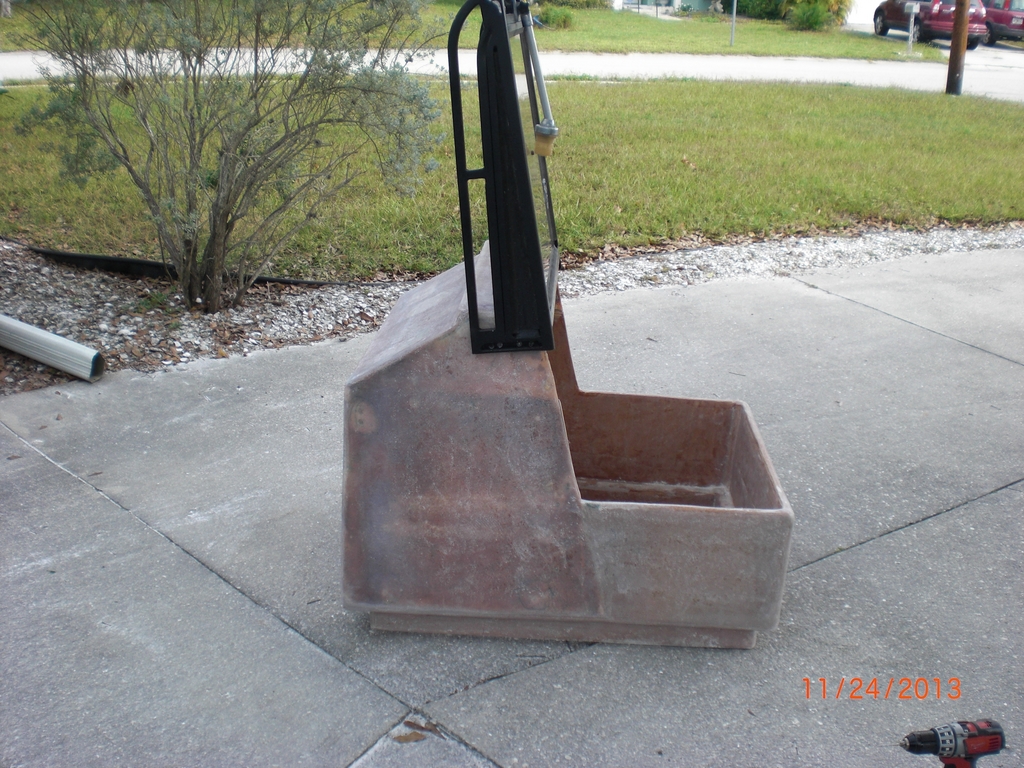
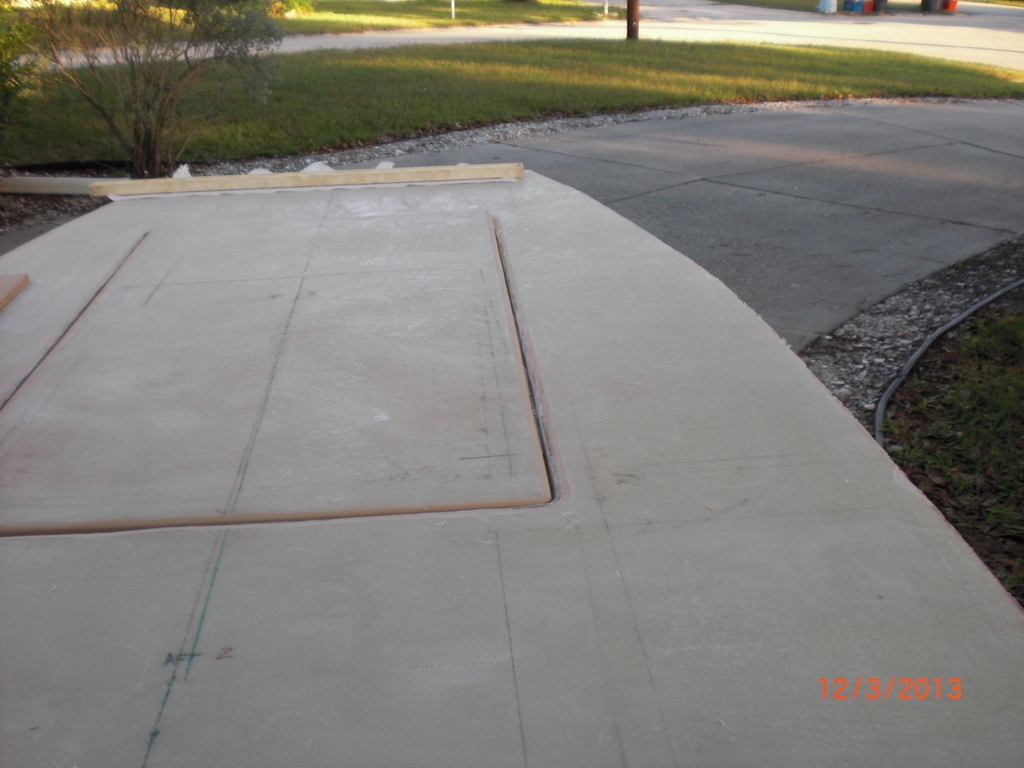
My buddy Ed and I hoisted the console onto the sole and lined up where the faint lines showed the outline and I realized that the lines were the outside of the toekick instead of what I said earlier which makes it even better :thumleft:
Image

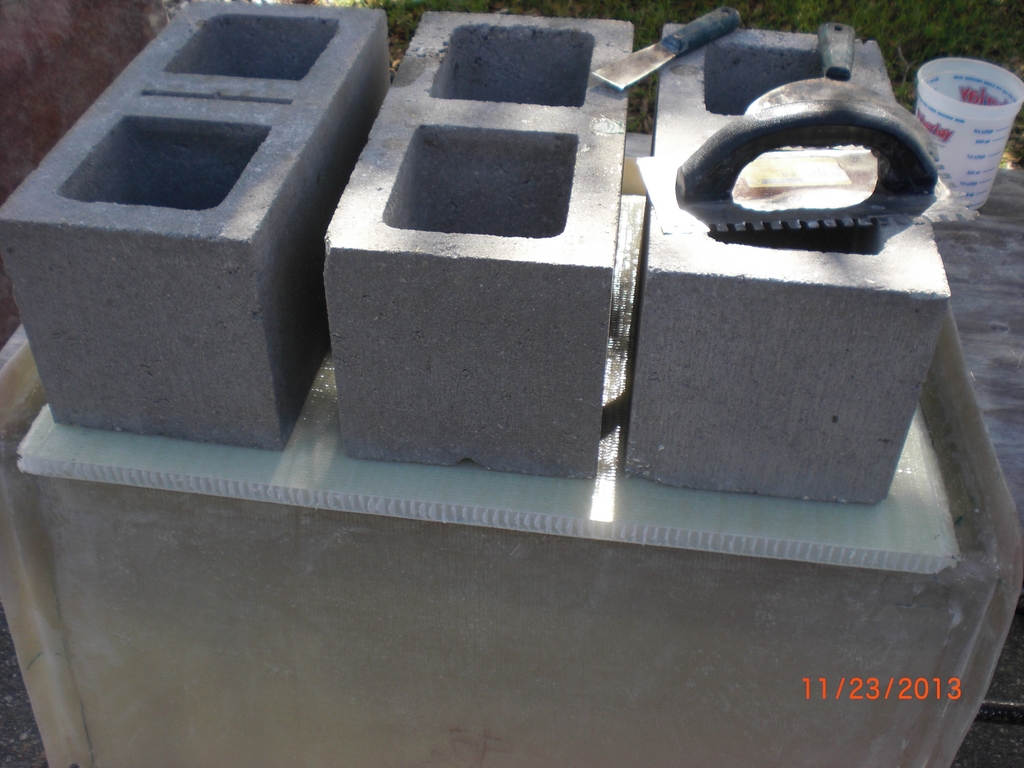
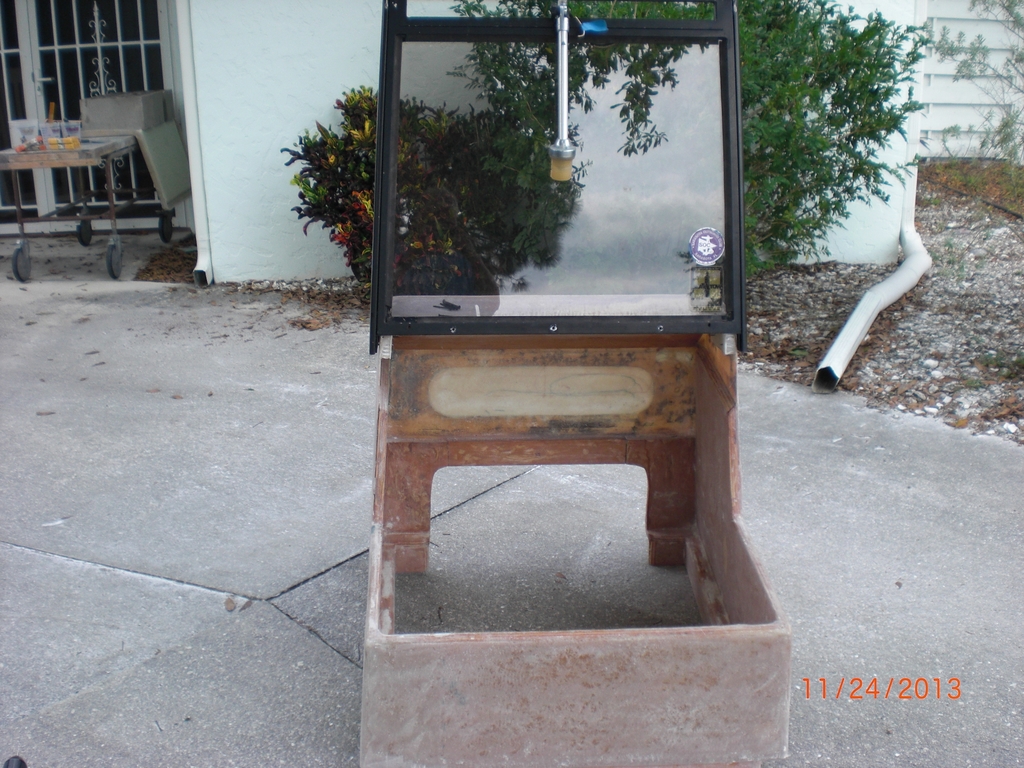
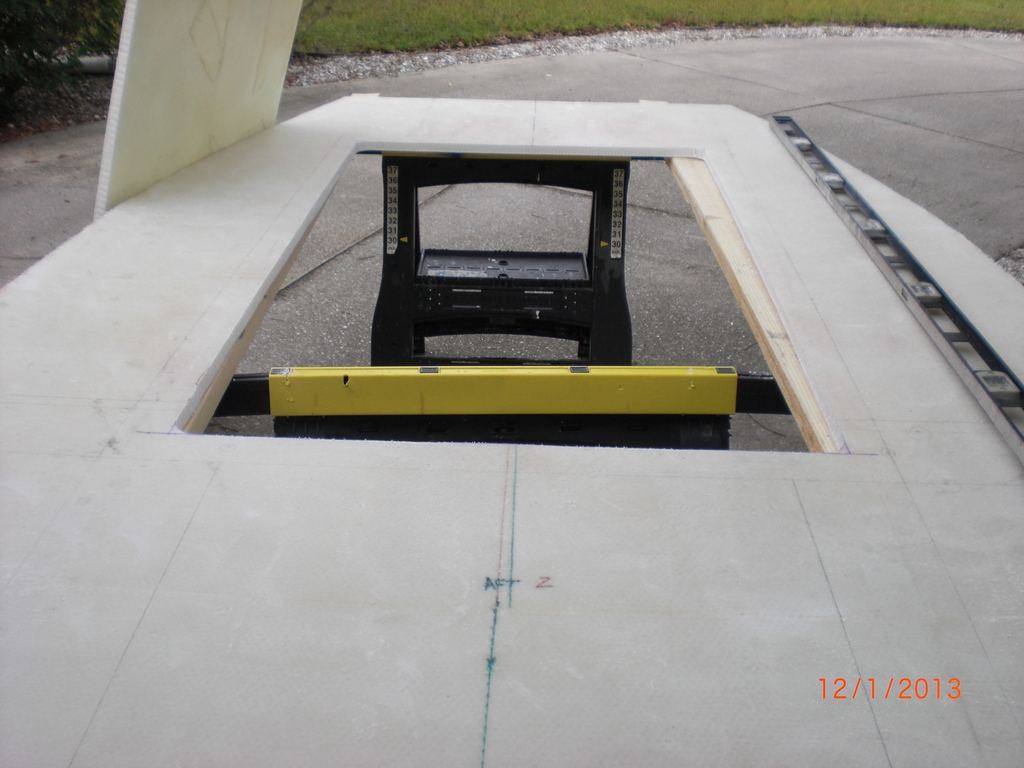
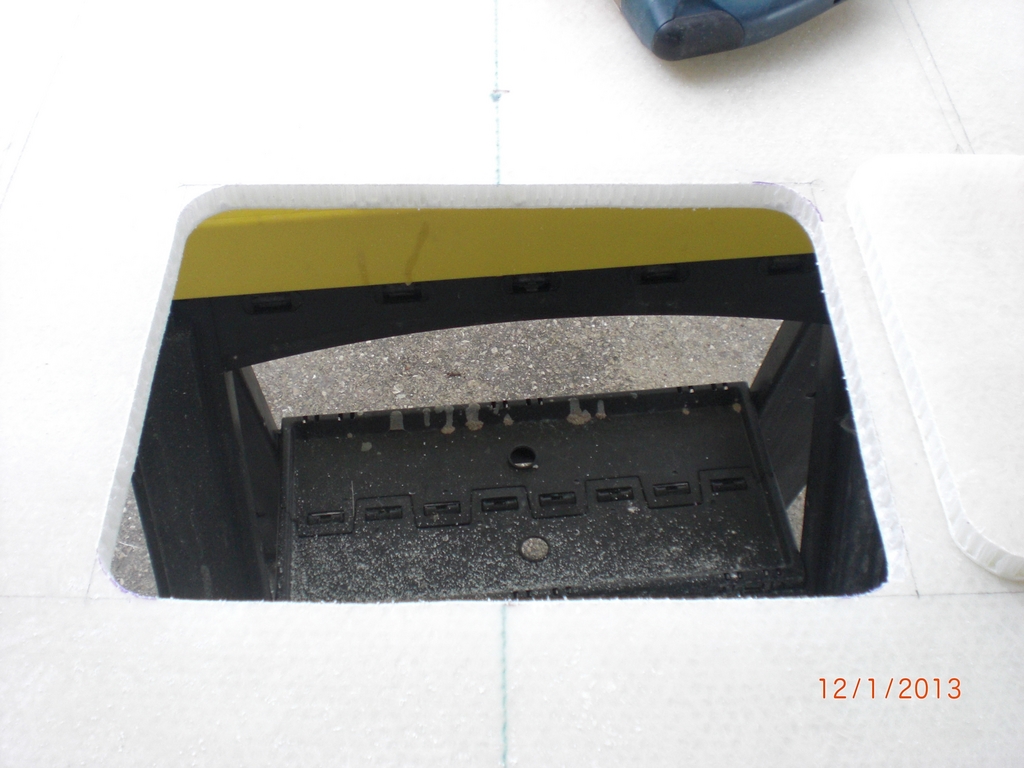
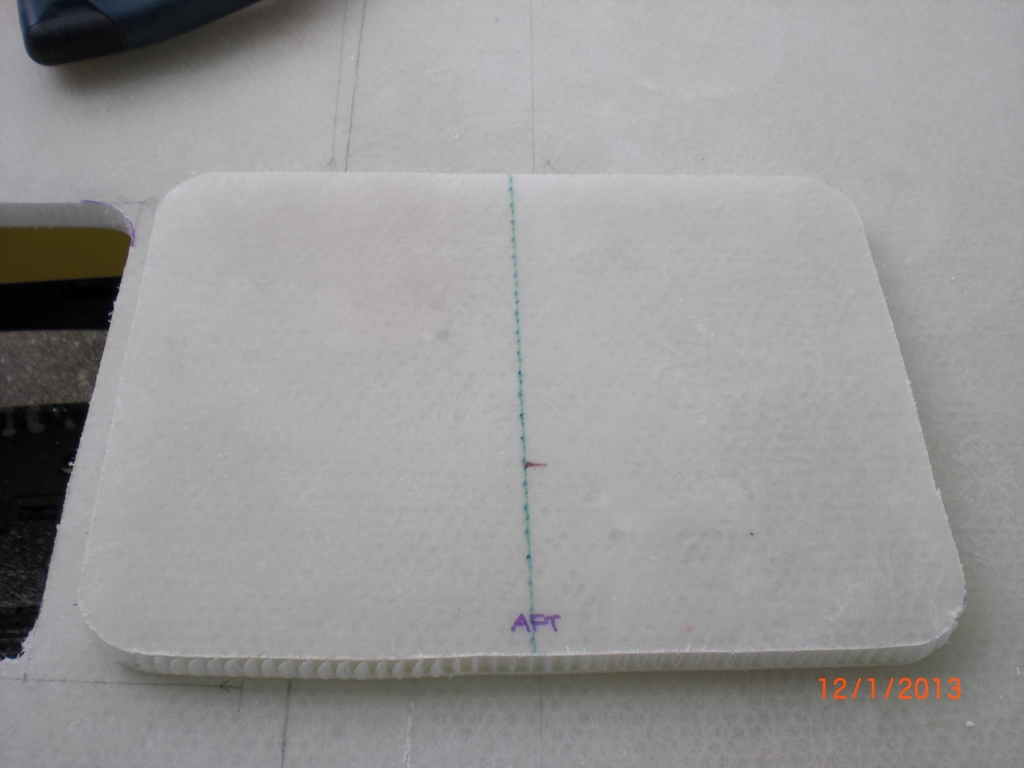
I needed to make sure that my calcs were right and I can get the 3 batteries in under the seat
Image

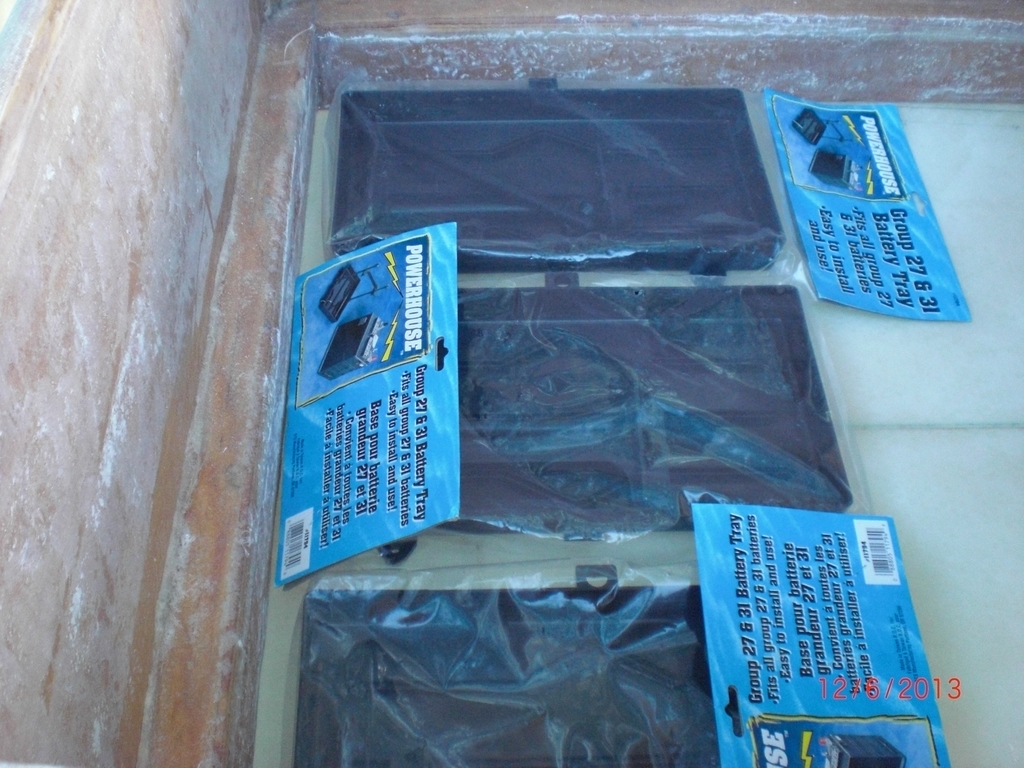
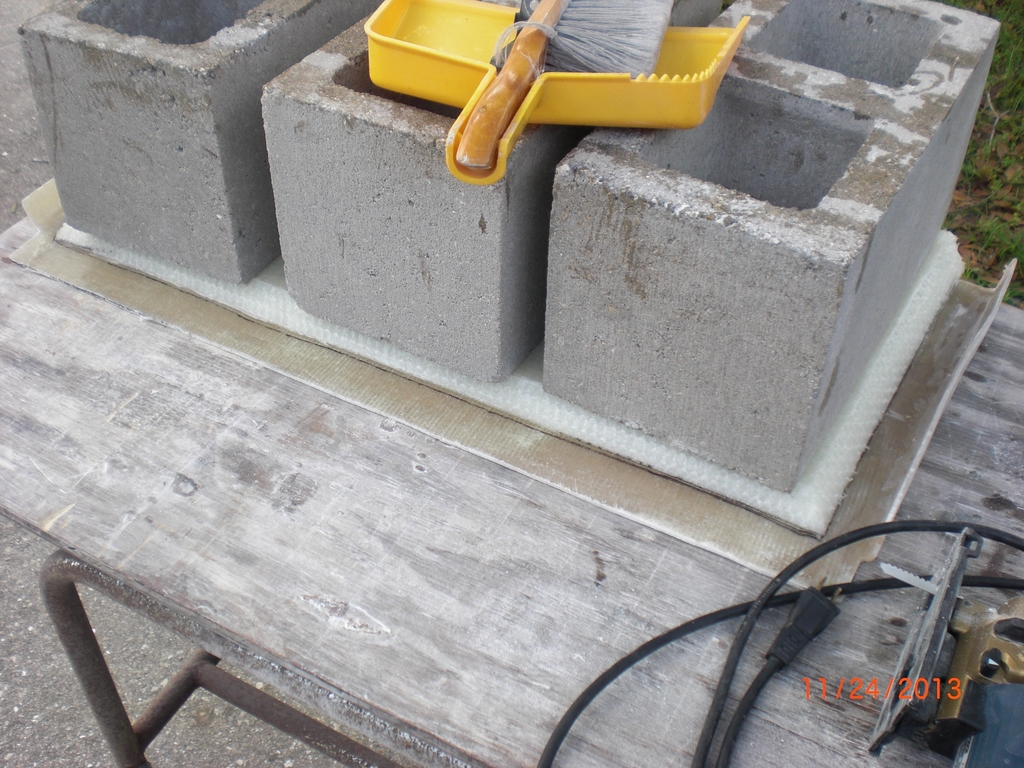
I will add another layer of Plascore to beef it up under the batteries - good vertical clearance for this. :thumleft:

This is the intent of the seat for access - take it off and set it somewhere for the time needed.
Image

You can see how the batteries fit in the tapered console and also how the console sits on the hatch.
Image

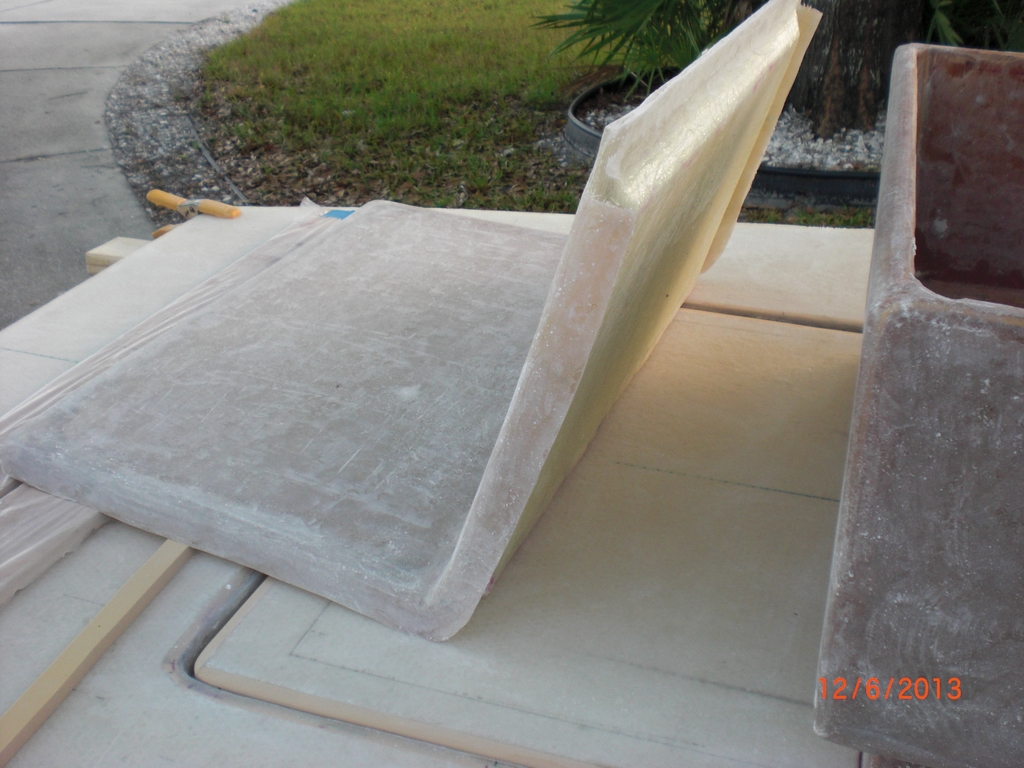
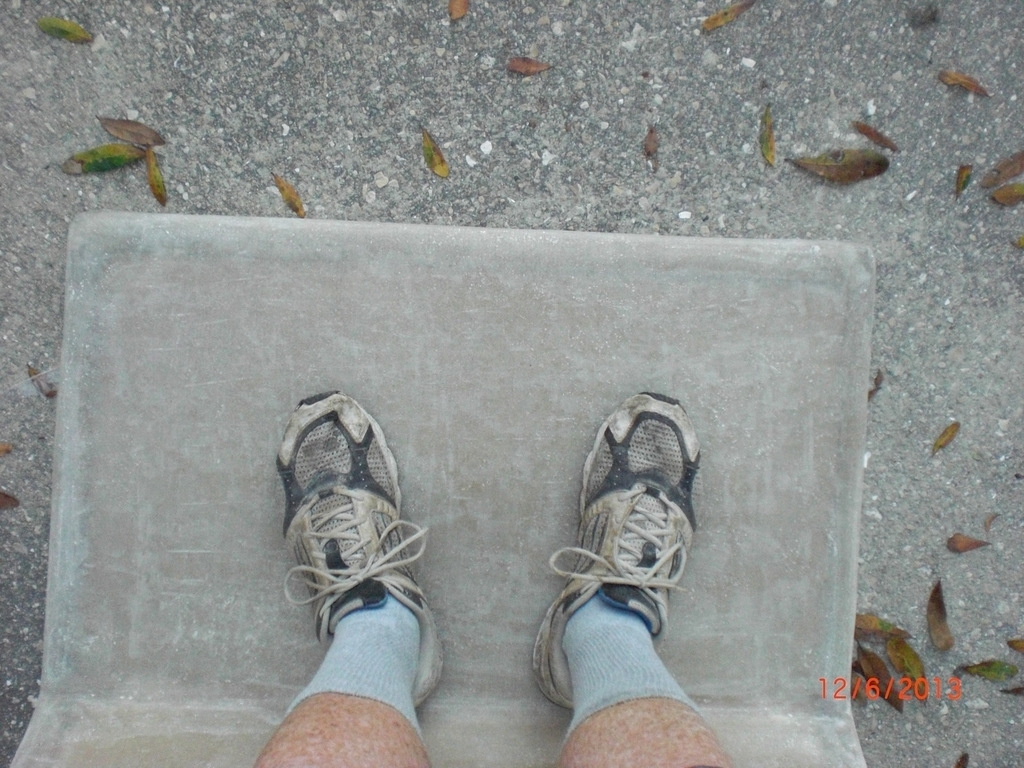
I asked my buddy Ed to lift the seat and he figured it weighs at least 30 lbs. I stood on it and it was like standing on the driveway. :cheers:
Image

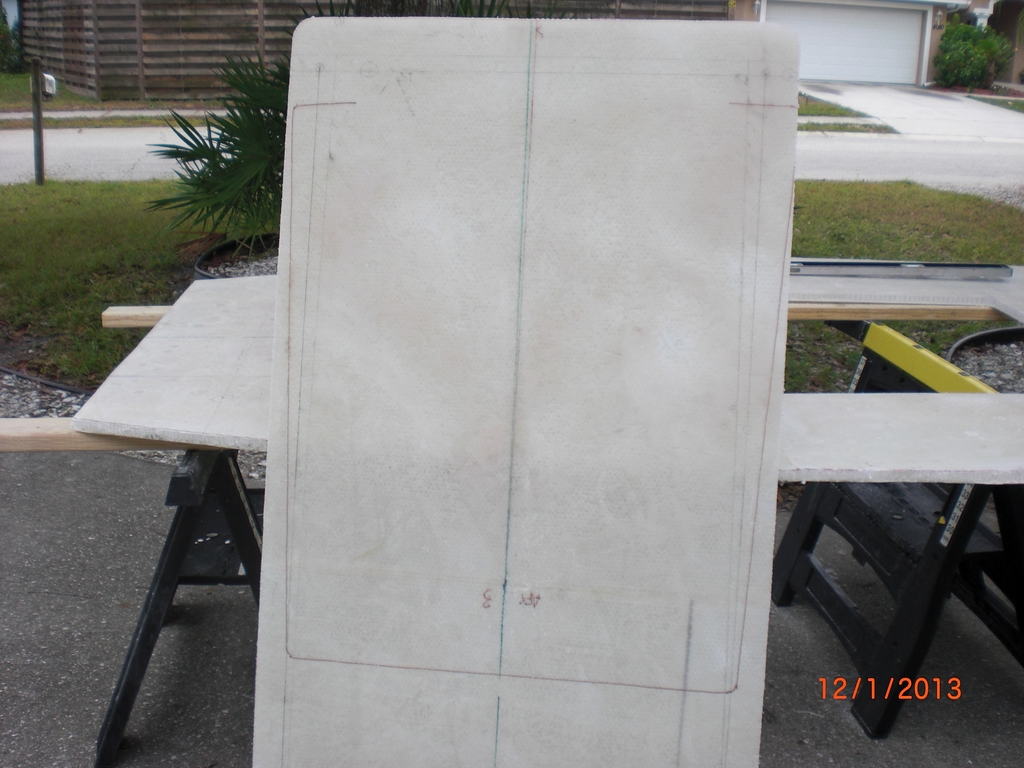
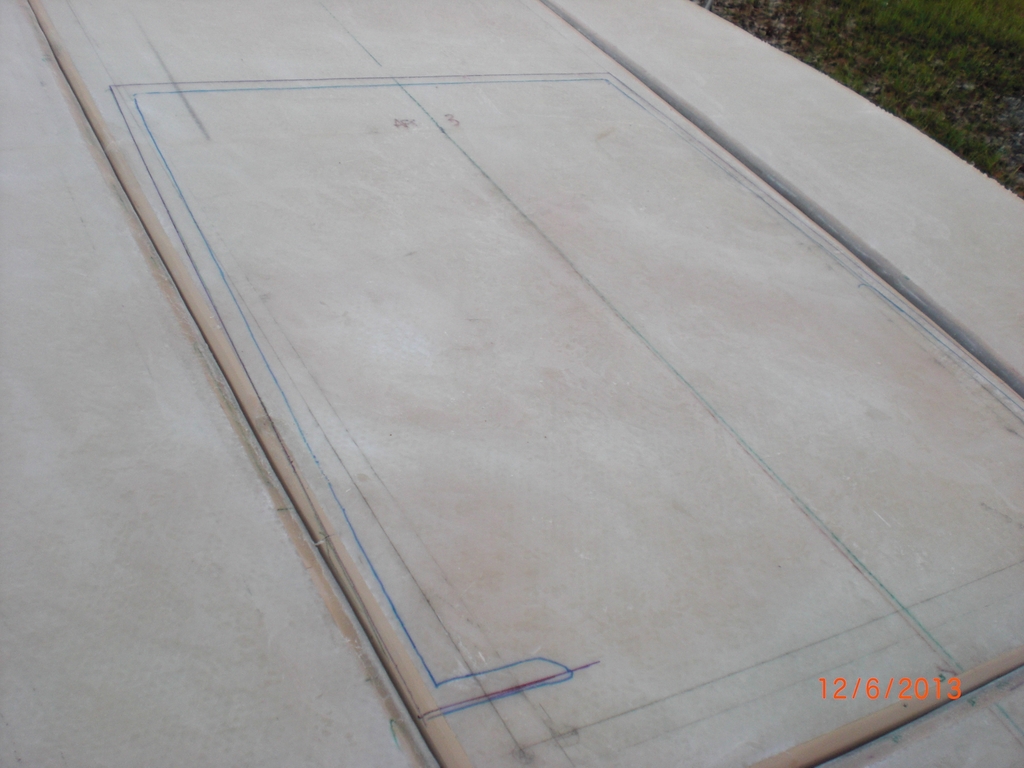
I traced the in and outline of the console and it looks like I will be able to glass the console to the hatch on the inside with no problems. The hatch will be bolted down to the stringers.
Image

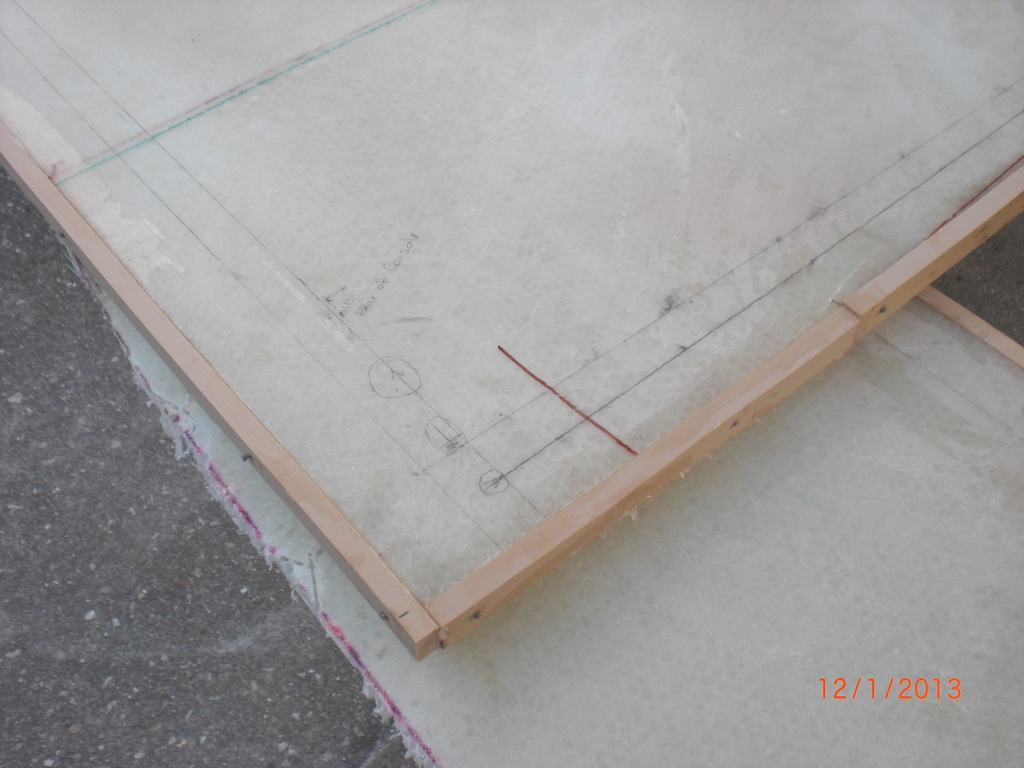
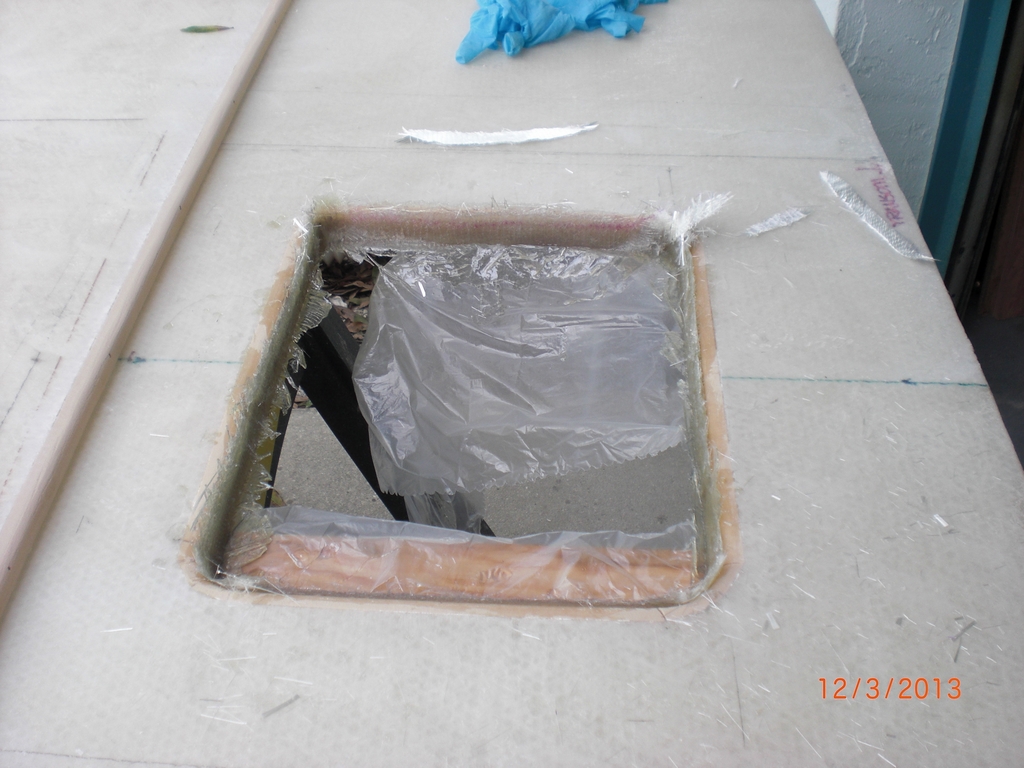
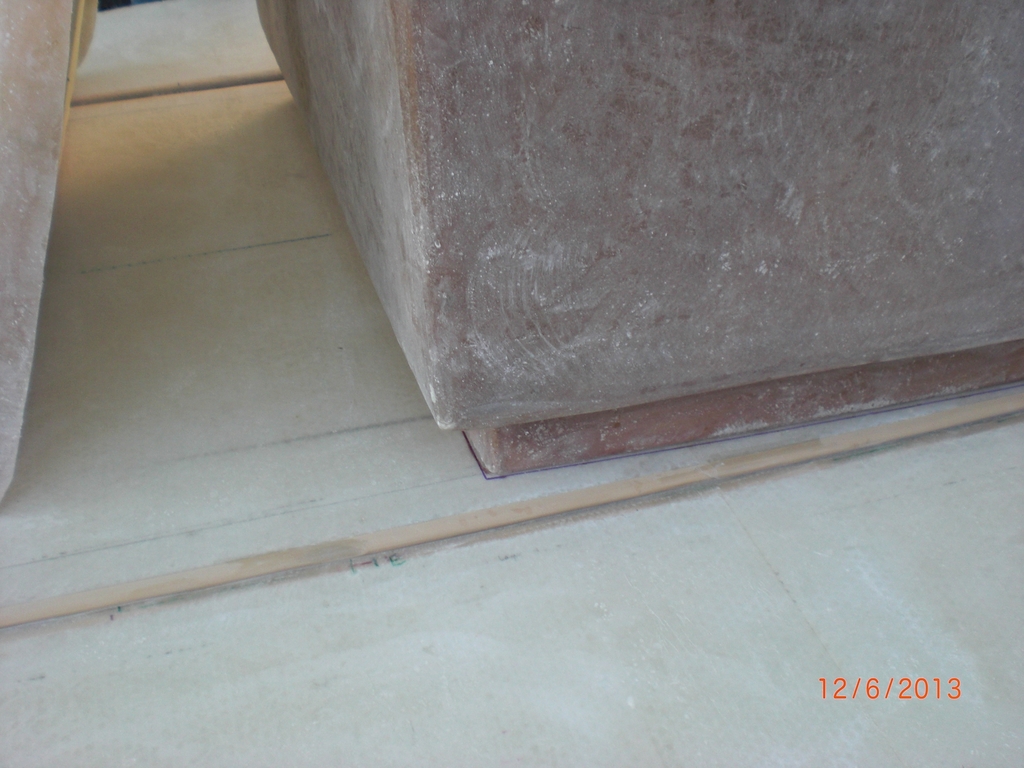
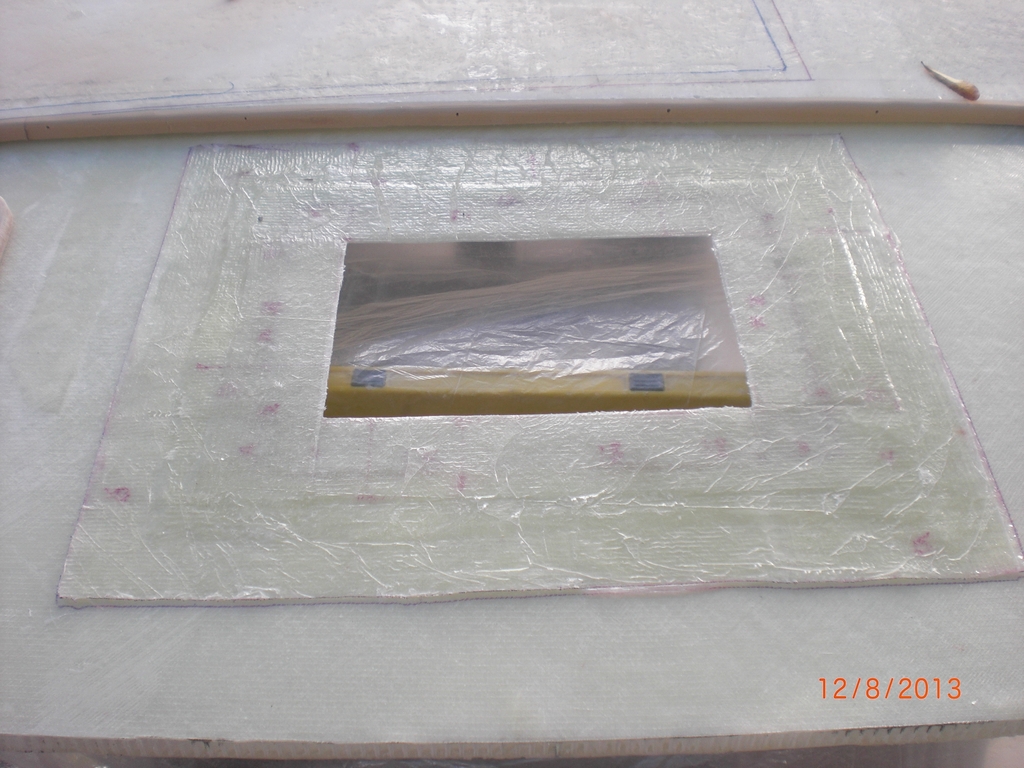
I made a "ledge" for the bilge access with 3 layers of 1708 - 6", 4" and 3" with epoxy and after a week (at least 3 days :roll: ) it hardened up enough to stick down around to the bilge access cutout.
My wife helped flip the sole (even lighter now :D ) and then I troweled thickened epoxy edge to edge, corner to corner and placed the "ledge" and then put some blocks on the "ledge" to stick it down.
Image

The next morning - it has full coverage of epoxy between the "ledge" and the bottom of the sole so I'm thinking even if I put on a few pounds and stood right on the hatch it still wouldn't budge. What I'm getting at is I think adding more lams to it to try to secure it to the sole is worthless.
Image

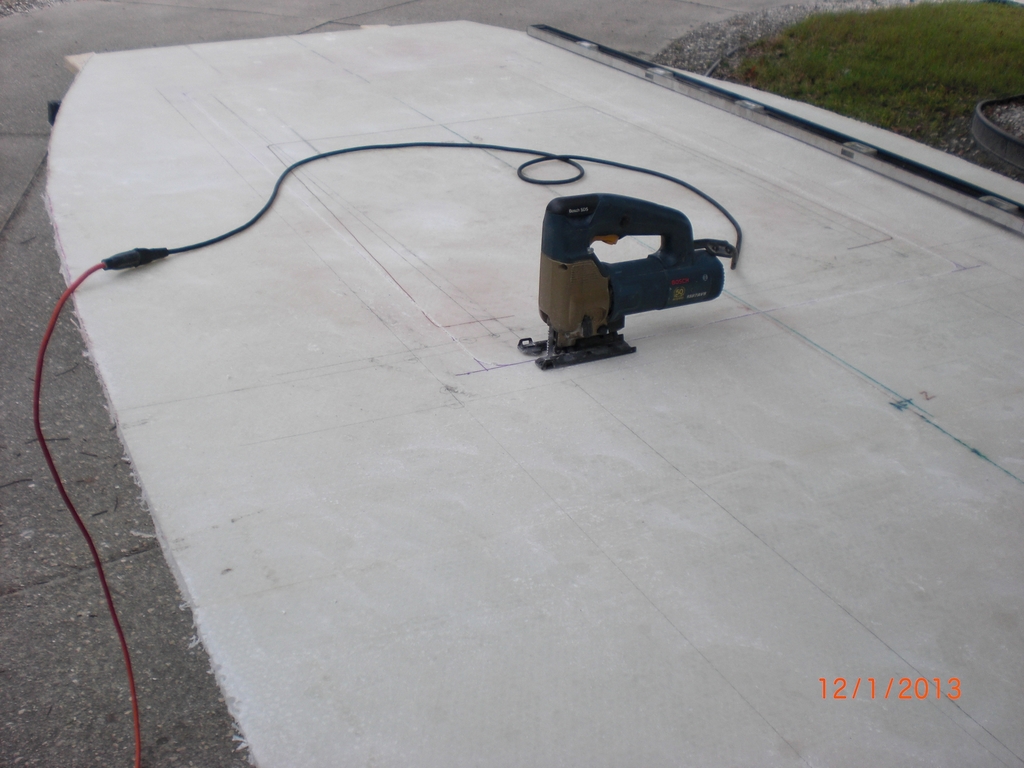
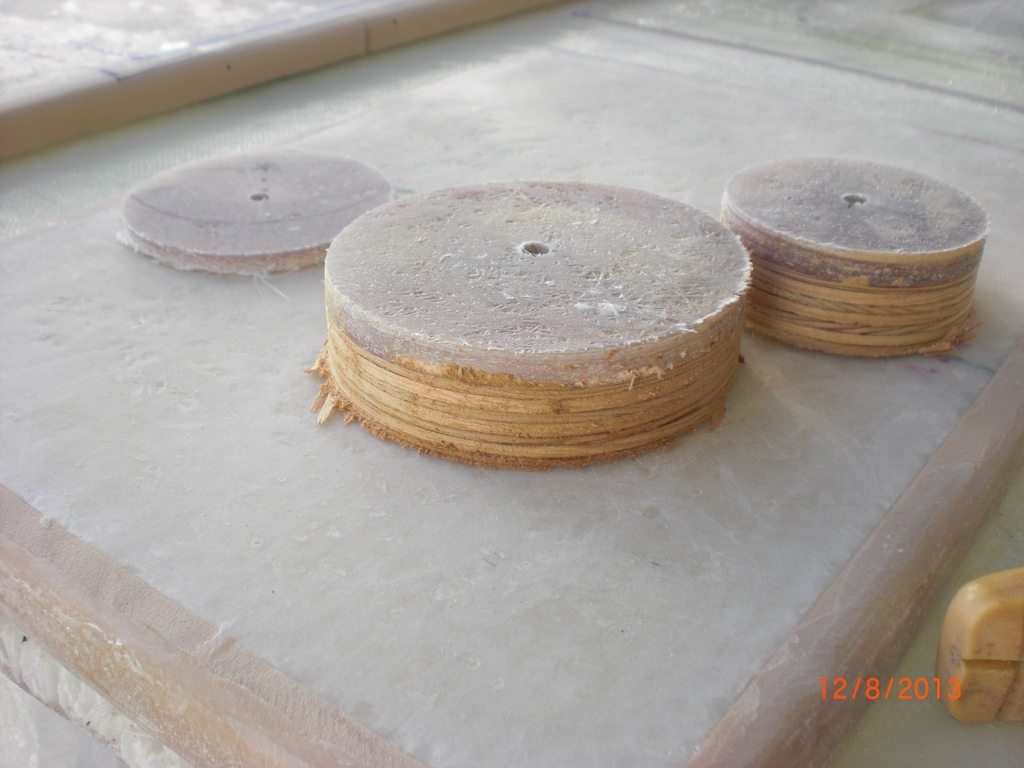
As mentioned earlier I started cutting holes in the console - making it lighter one cut at a time :D
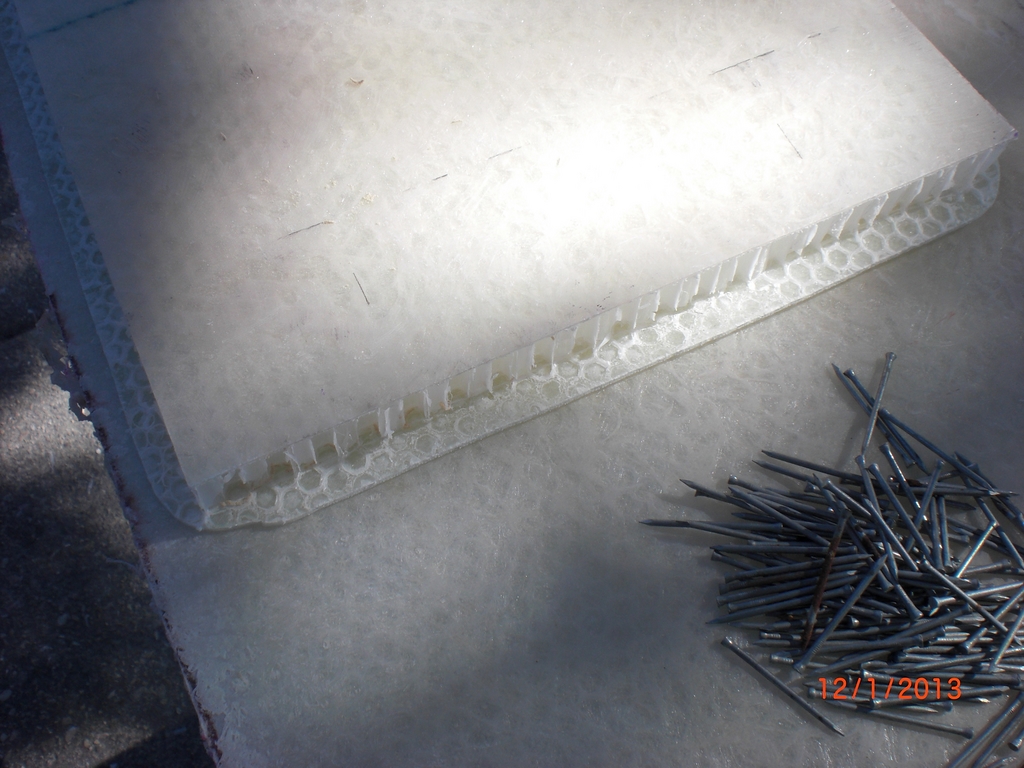
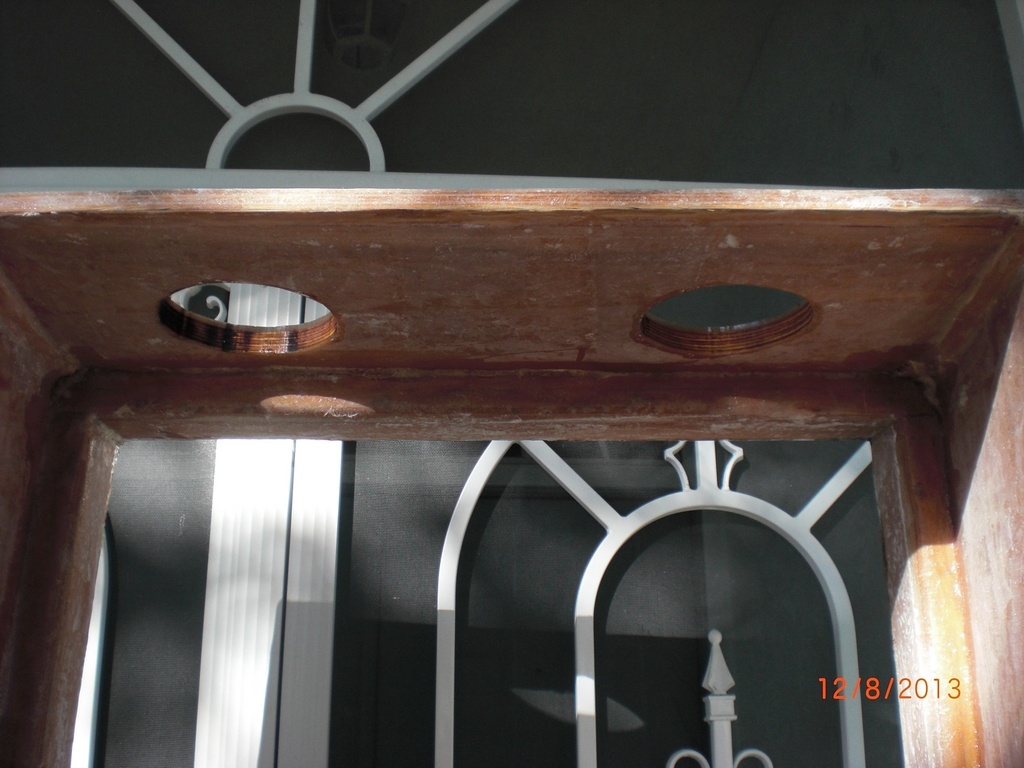
This is how thick the glass is on the face of the console (left 1/4" circle) and on the top where the helm mounts. Also the outside of the new addition is the same as the top :shock:
Image

I cut the holes, dry fit them and then coated the exposed wood with epoxy resin.
Image

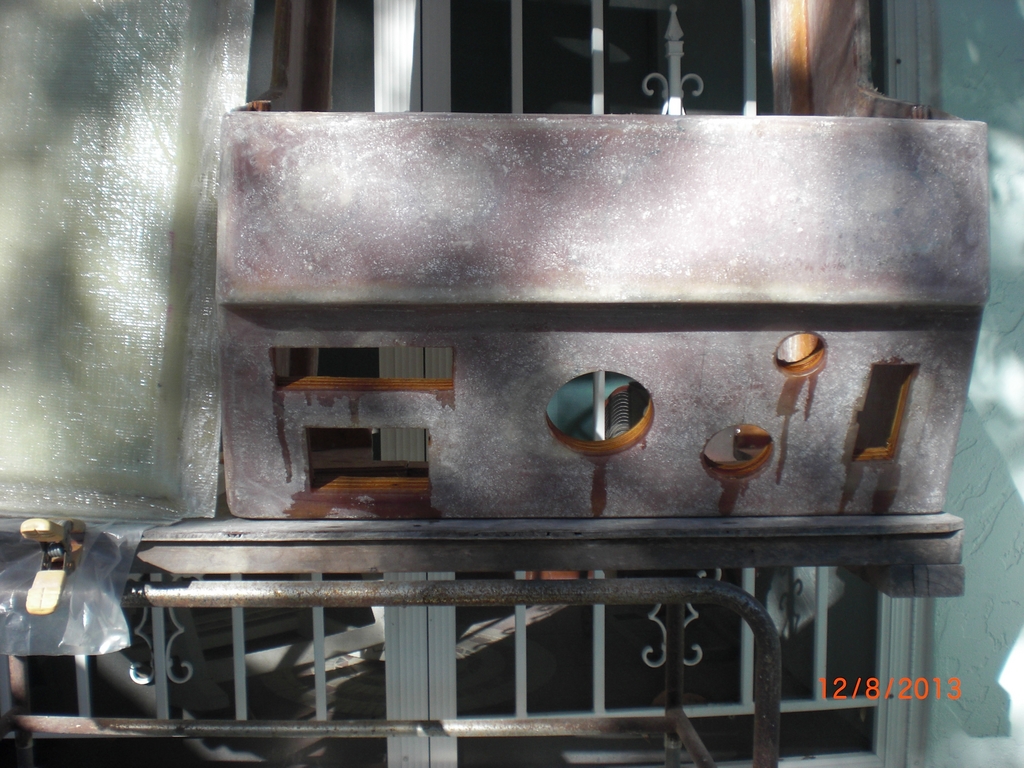
I decided 2 of the 4 -6" speakers would be on the front of the console - If you look at the left hole you can see that I was burning through the cut - didn't realize the glass was 1/4" thick and it toasted the "wood" blade - I mean no teeth left on the blade :shock: I switched to a sterling blade and slowly cut the next hole.
Image

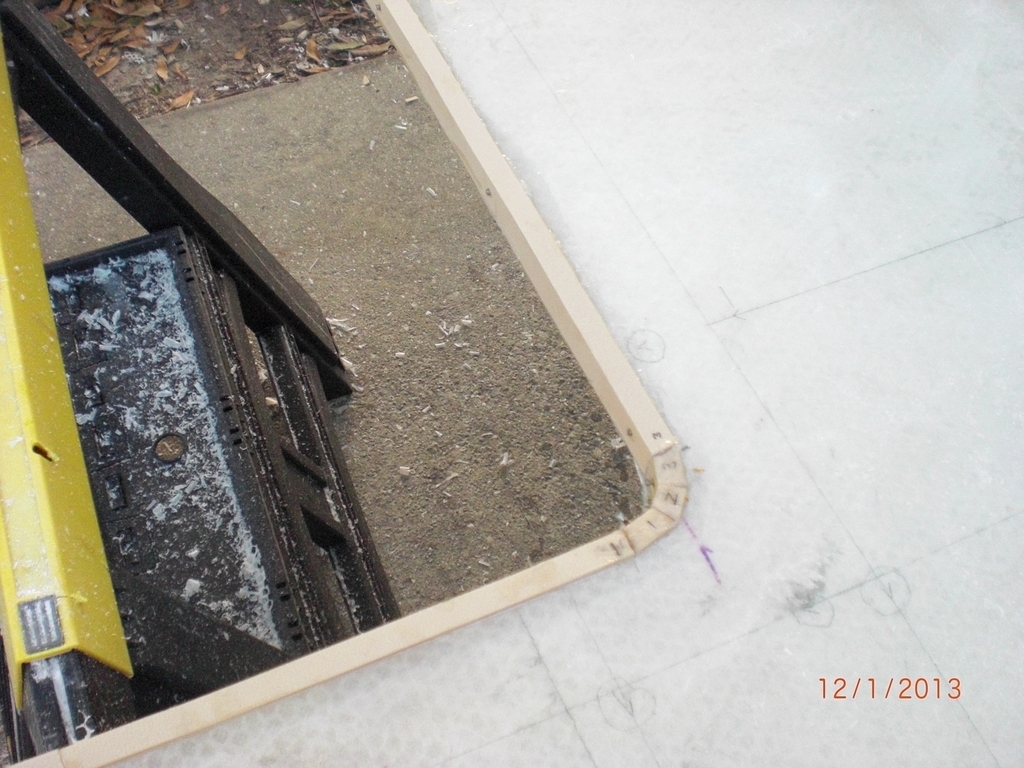
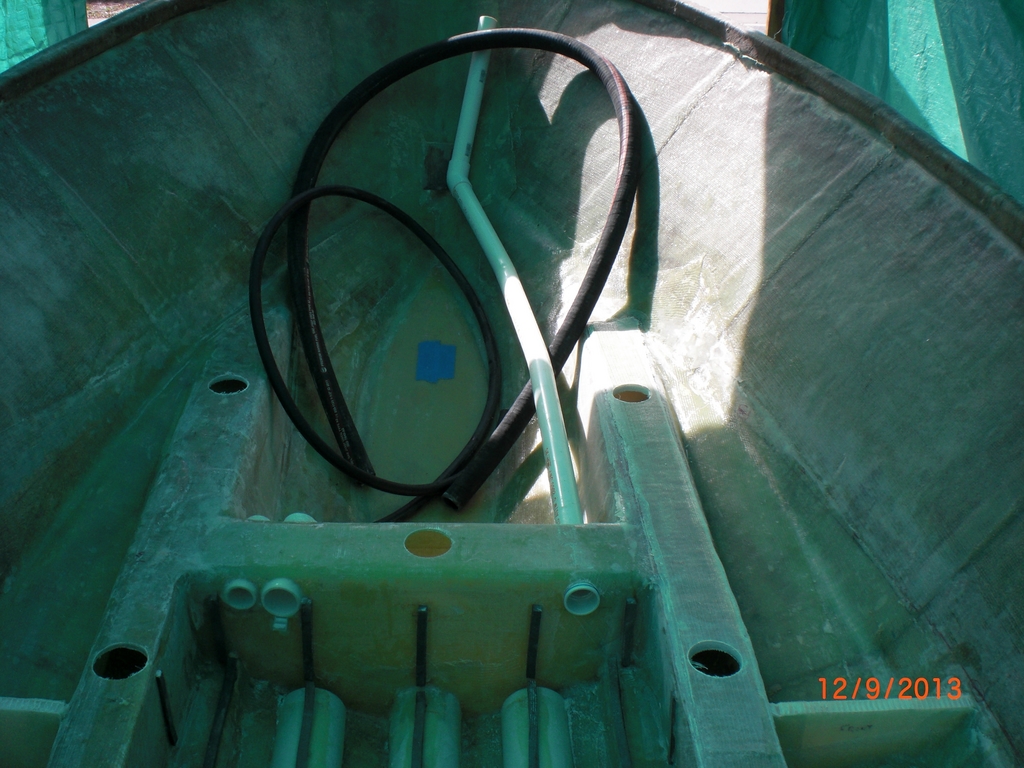
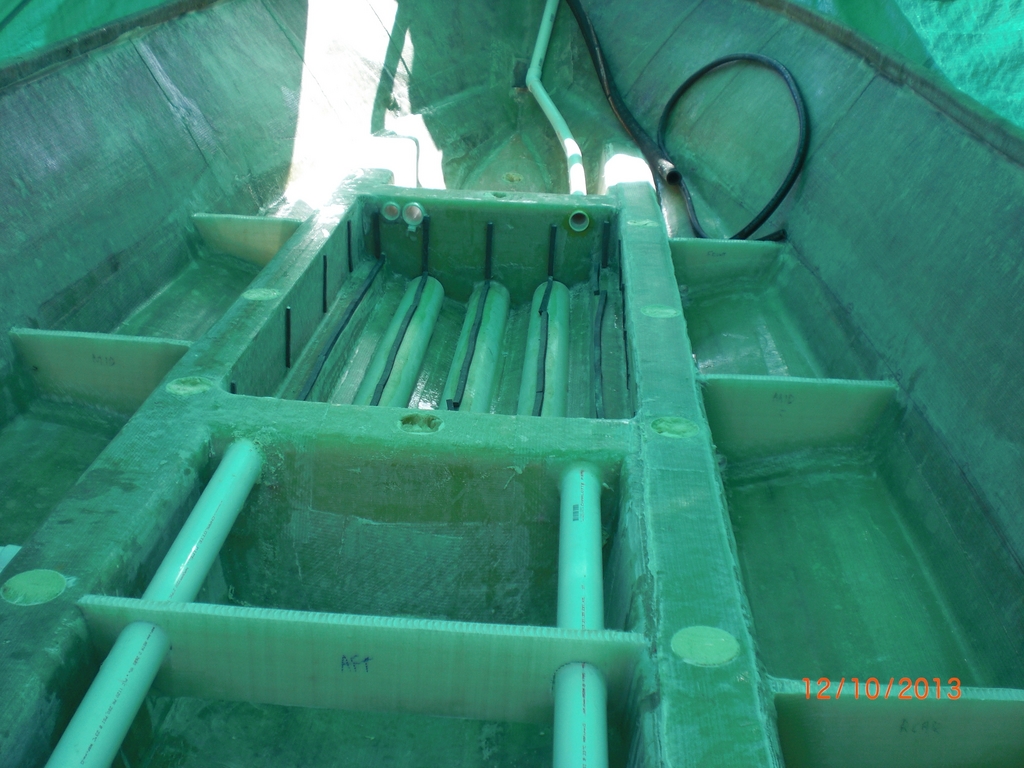
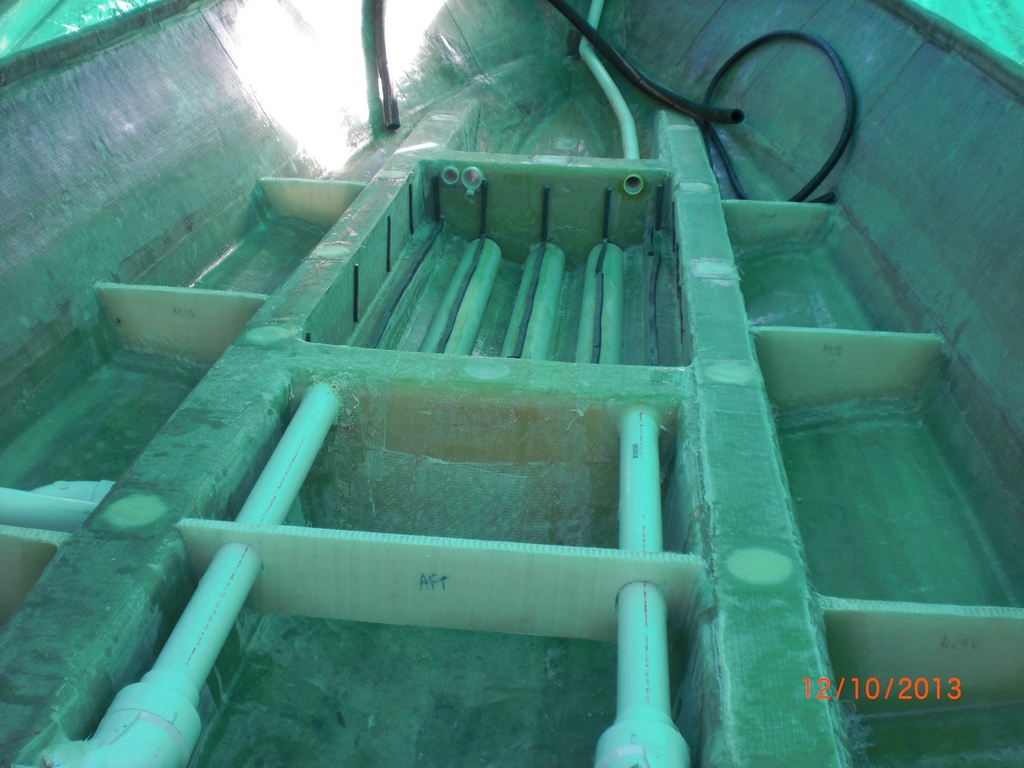
I'm still moving forward and one of the needed things is that I need to foam the stringers so I spent a while drilling 3" holes into the stringer tops - almost burnt up a 1/2 drill and definitely a 3" holesaw in the process. Even snapped off a drill bit in the process.
Image

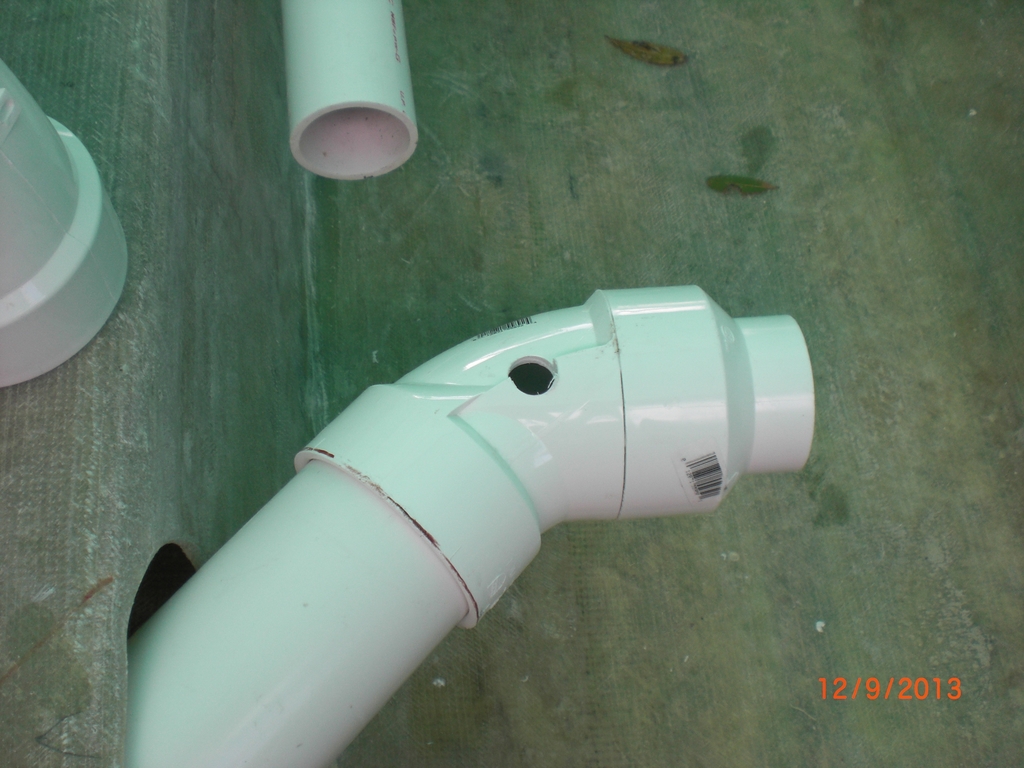
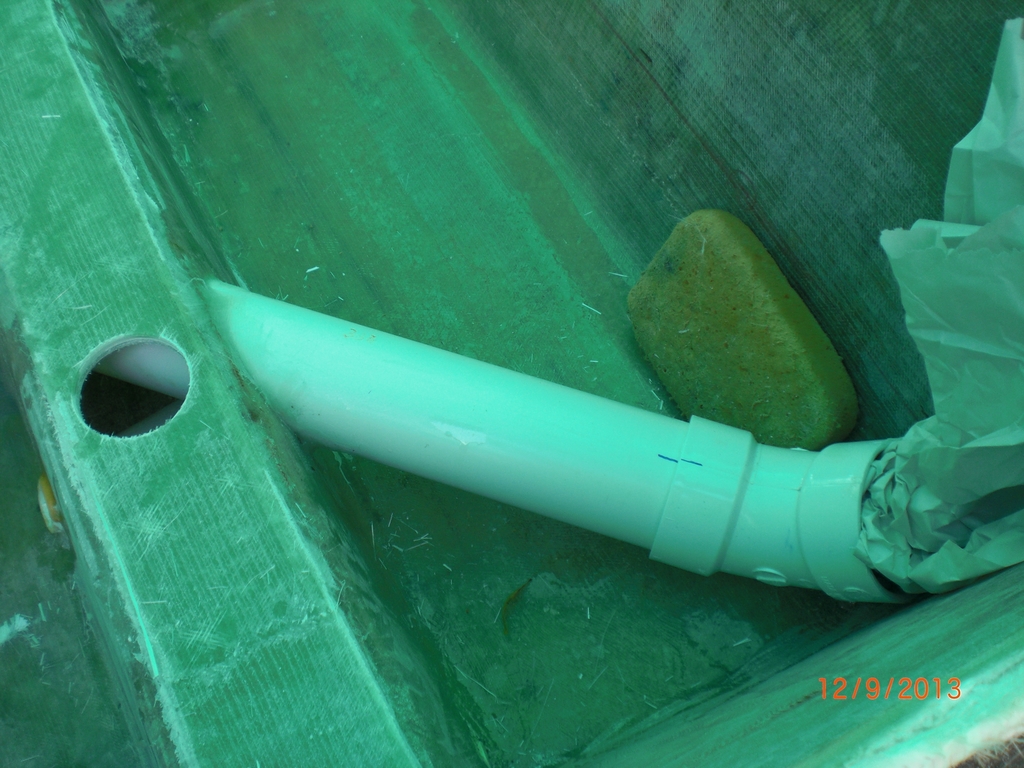
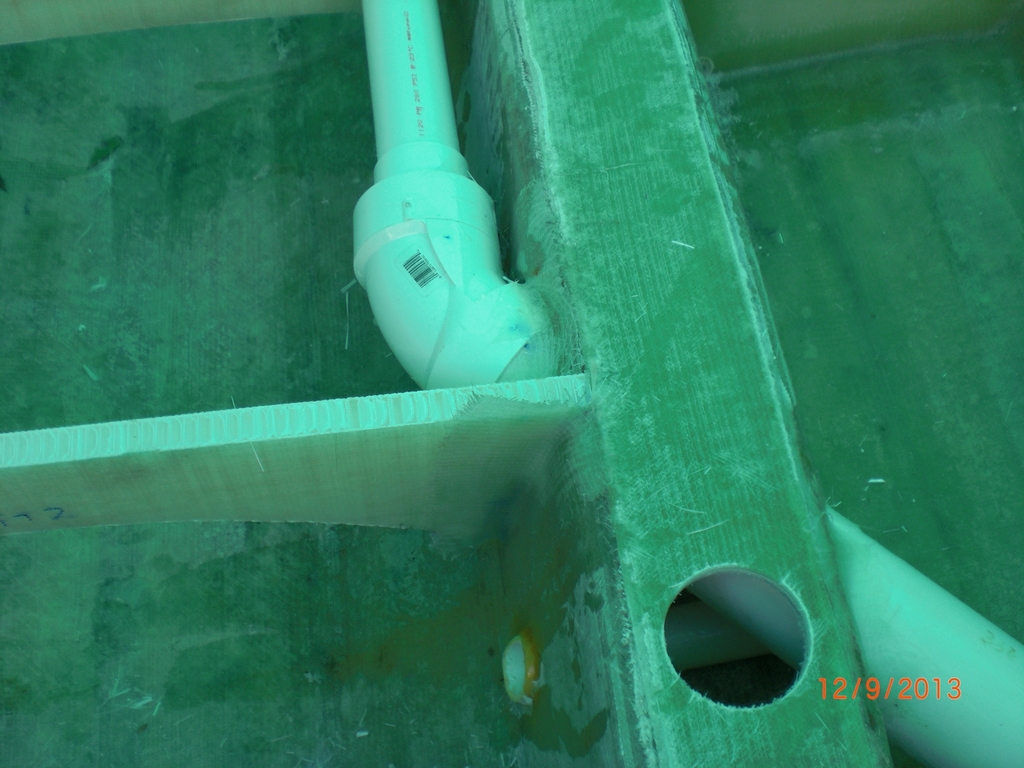
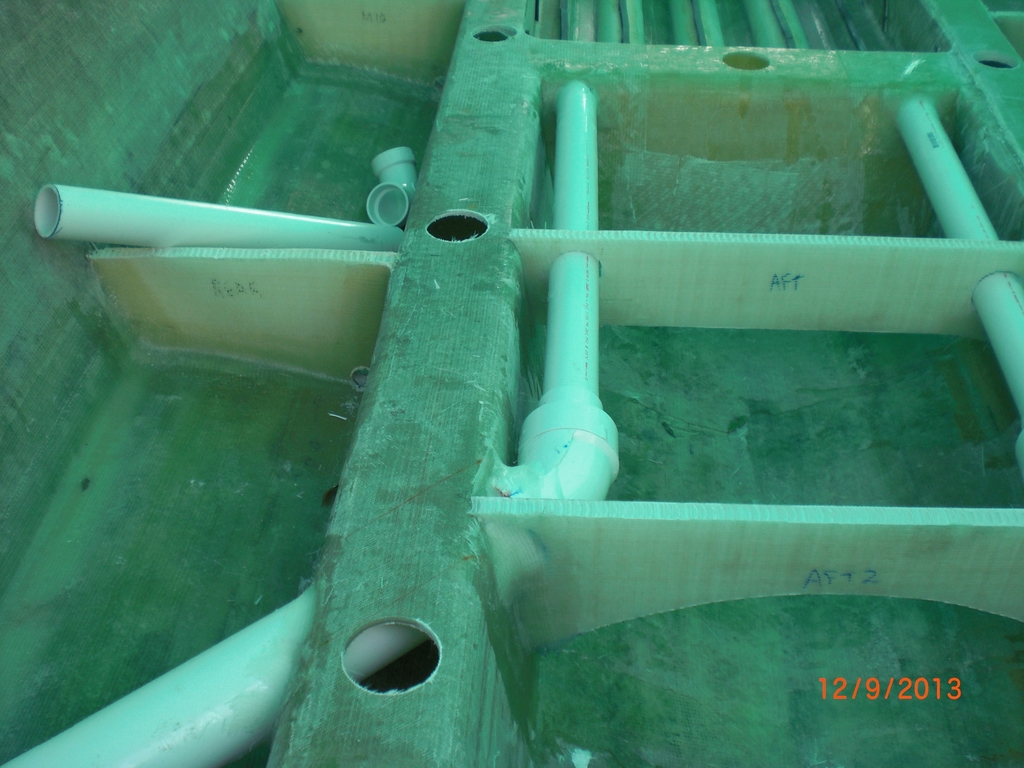
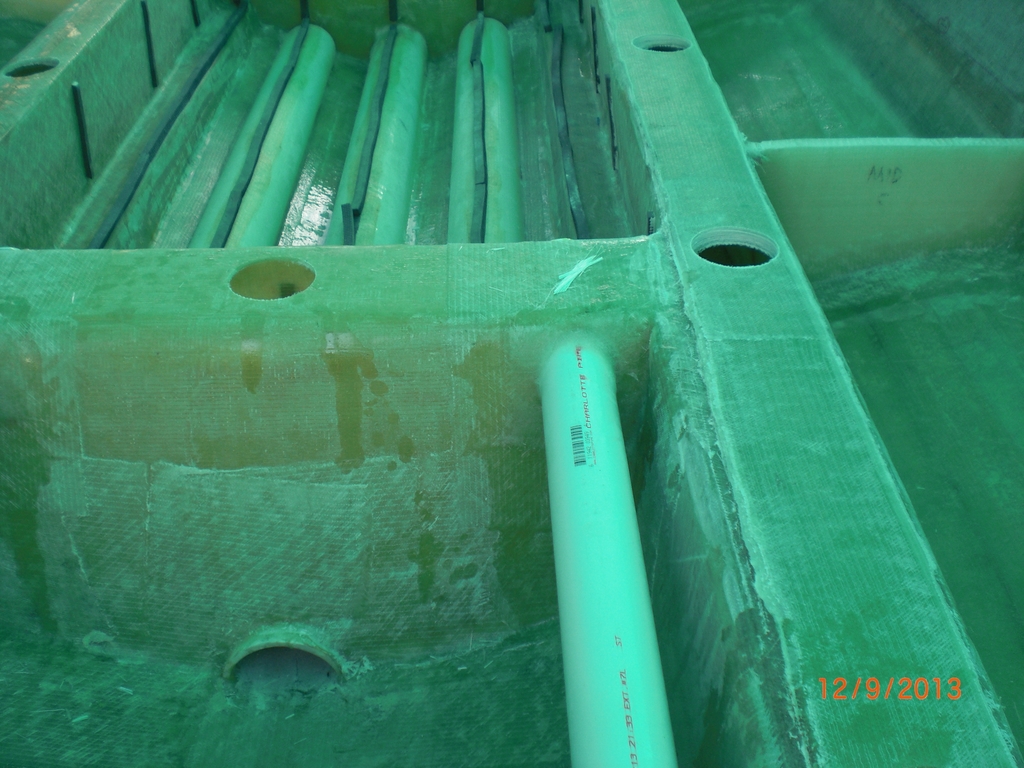
I hope tomorrow to finish the rigging tube connections, glassing all of them in plus new supports across the "span" in the aft bilge and the front where the sole ends. We'll see how it goes - with epoxy I have no control using the "slow" hardener.
Last edited by Rickk on Tue Dec 10, 2013 7:22 am, edited 1 time in total.

Rickk
Active Poster
Active Poster
Posts: 463
Joined: Thu Jan 03, 2008 5:40 am
Location: Sarasota, FL

Re: 1971 170 Aquasport Rebuild

Post by Rickk »

Getting close now - getting the rigging tube in. Drilled a drain hole in the tubes
Image

Lined every thing up and then glued them together - this was a BIG step for me - no going back now and tweeking things.
Image

I glued both side in with no problems (if you've ever glued PVC and blinked at the wrong time....)
Image

You see the hammer in the previous pic and that was to drive the coupler into the hole in the tank area. I used a drum sander to hone out the holes until they were about perfect and tight. After I connected the pipes I used 5min epoxy to seal off the hole (think foam) and secure the pipes.
Image

I glued in the front rigging tube. I will add some neoprene under the contact point :idea:
Image

Then it was time to start sealing holes for the foam and securing the pipes so they don't rattle.
Image

Image

Image

Image

As I said - I'm ready - if the epoxy is dry enough to foam tomorrow morning I'm on it.

Oh, got the vacuum system today.
Image

gonandkarl
* Bateau Builder *
* Bateau Builder *
Posts: 1202
Joined: Sat Mar 16, 2013 10:25 am
Location: Wels,Austria,Europe

Re: 1971 170 Aquasport Rebuild

Post by gonandkarl »

Hallo,
I am following your rebuild and I have great admiration how you perform with glass and epoxy. I can learn a lot from it.
I have one question, what is this vaccum system you got and what will you use it for and how does it work ?
Greetings from Karl (Austria )
All pictures of Micro Petrel AD14 and FS13 :

http://gallery.bateau2.com/index.php?cat=87433

Rickk
Active Poster
Active Poster
Posts: 463
Joined: Thu Jan 03, 2008 5:40 am
Location: Sarasota, FL

Re: 1971 170 Aquasport Rebuild

Post by Rickk »

Hi Karl,
Cloth has a hard time making the transition over a curve, like the edges of my hatches so I will use the vacuum pump to "press" the cloth smoothly over the edges until it kicks. I have never used a vacuum system so I'll be learning all the way through this too.

Rickk
Active Poster
Active Poster
Posts: 463
Joined: Thu Jan 03, 2008 5:40 am
Location: Sarasota, FL

Re: 1971 170 Aquasport Rebuild

Post by Rickk »

Friends stopped by yesterday and while they were here we flipped the sole over so I got to look at the ledge I glued in. Got a little ooze out in a few places so the fit is little off. I'll grind that off soon.
Image

Image

The foaming is done. A friend called and gave me some tips on taping some tape covered wood blocks down over the holes as I went. Some worked and some didn't.
I learned after the first pour of 2 qts in the port stringer that I probably cut too many holes. I poured in the back one and it started coming out of the 2nd hole. So I quickly covered that and learned from that. The 2nd pour on, the starboard stringer, I taped the 2nd hole shut and poured and it came out great. :D
Image

The 3rd pour I had it all planned out, tape the 4th hole and mix the same amount, well this time it came up and out of the 5th hole :roll: So I learned from that one too - stringers were less wide I guess.
Overall I didn't make too much of a mess. Didn't use a saw when I was removing the excess and had a little tear out - note to self for the future. This is a pic after cleaning up some of the eruptions.
Image

Cut some 4"x4" cloth and pre-wet/rolled them with epoxy and laid them over the holes and rolled it out. Another check mark on the list.
Image

Post Reply

Who is online

Users browsing this forum: Ahrefs [Bot], Bing [Bot] and 16 guests