Not much to report on - I ground out the hull in the affected areas yesterday morning and I must say that epoxy seems to grind much easier than poly, for me anyway. Didn't take very long to smooth out any areas I was going to overlap. Nice.
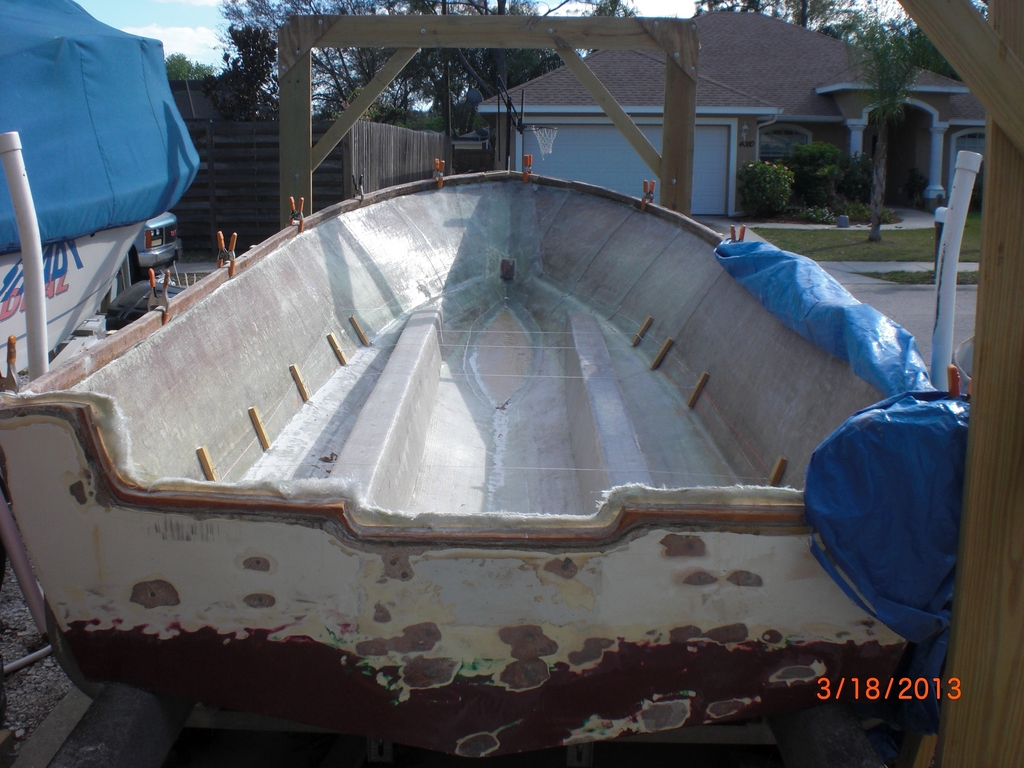
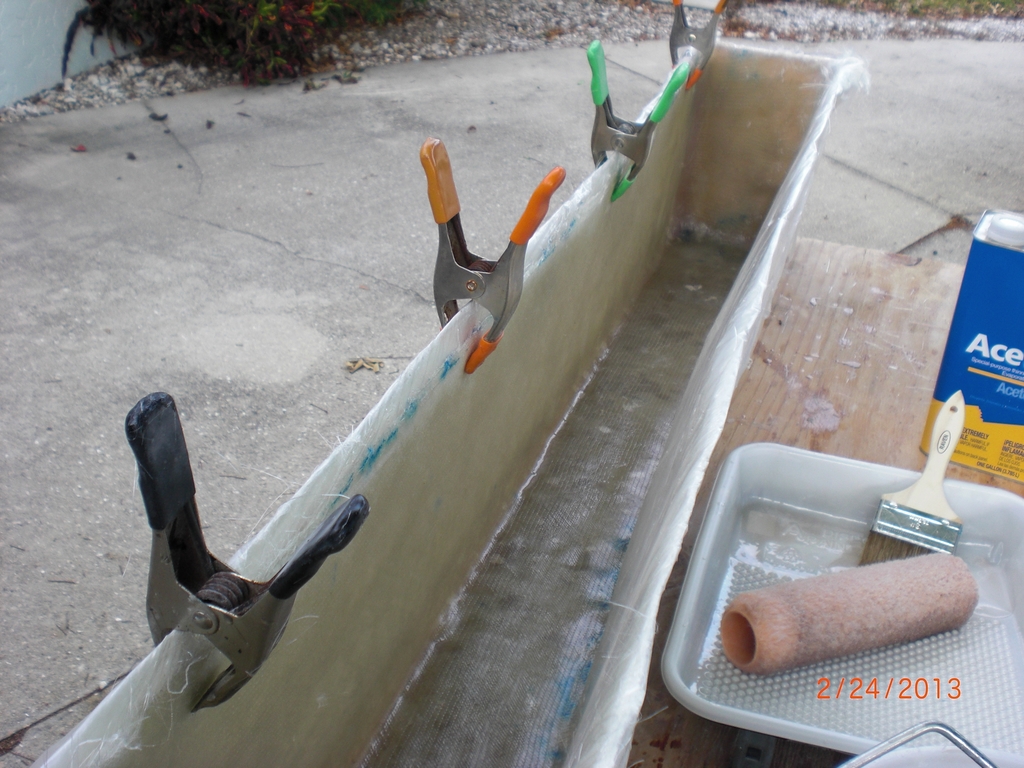
I had everything trimmed and ready to be lam'd by 1030A.
I started laying in the thick fillets along the chine and filling in the strake and then let it sit for a while. That "while" was where the sun came up and started cooking.
Not trying in the least to rub it in on anyone but boy was it hot out, especially in the hull. Almost passed out. Had to take some breaks and drown myself in water inside and out - the heat coming out of the hull was crazy. Didn't have the tarp up to shield the sun. Won't do that again.
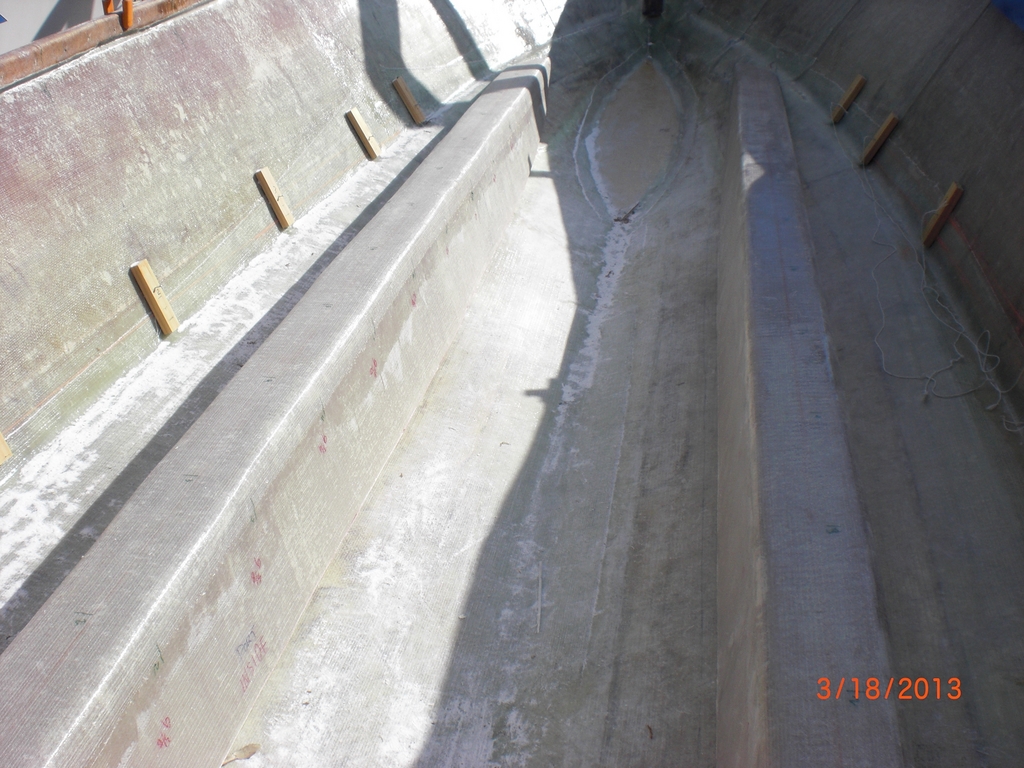
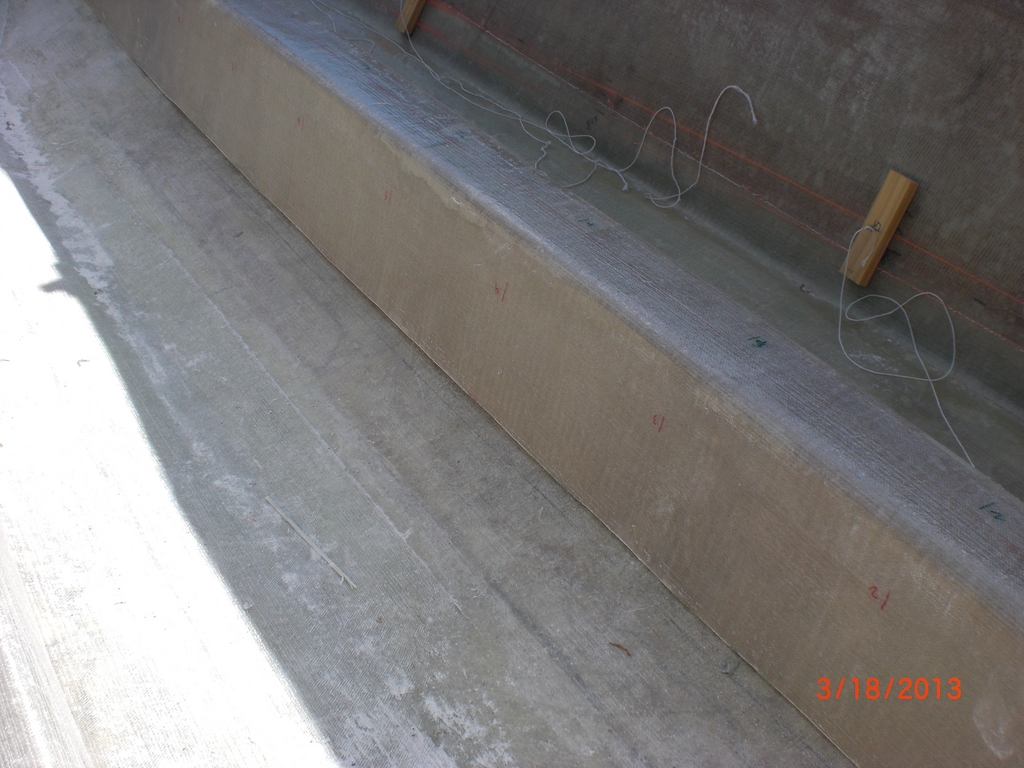
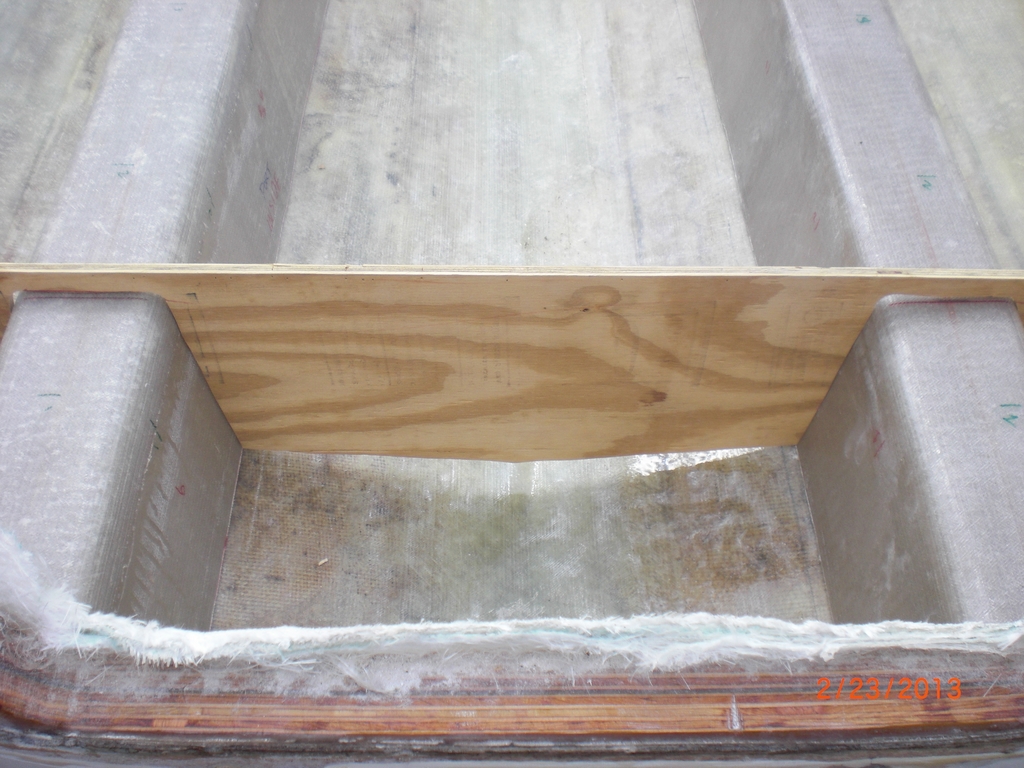
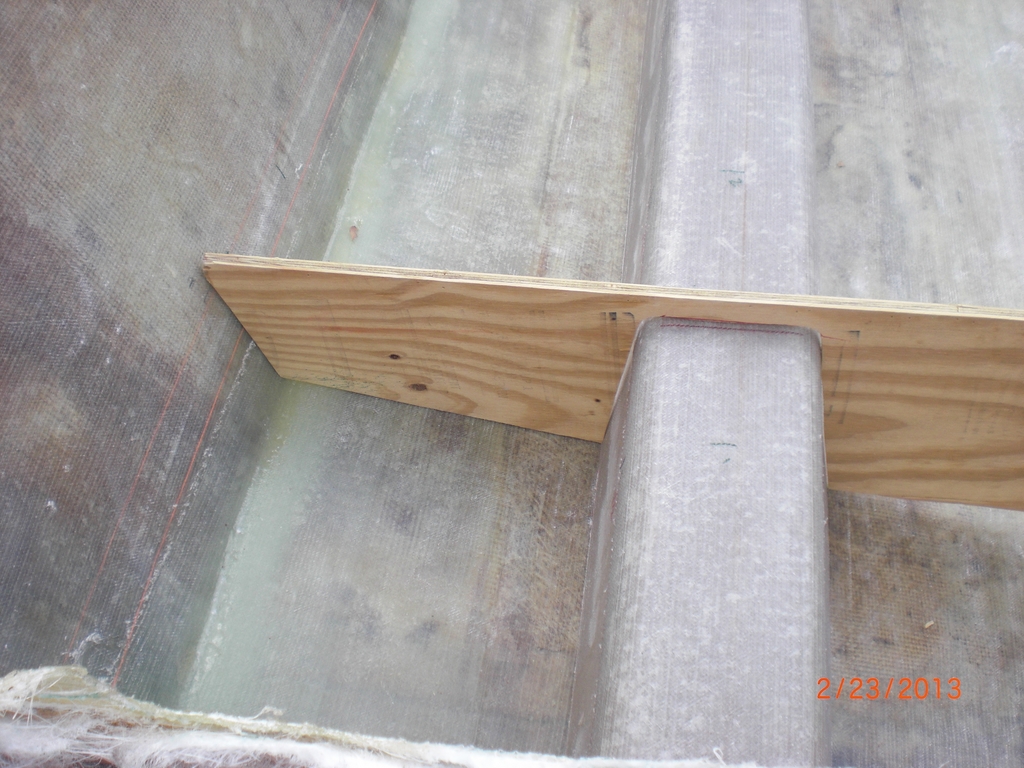
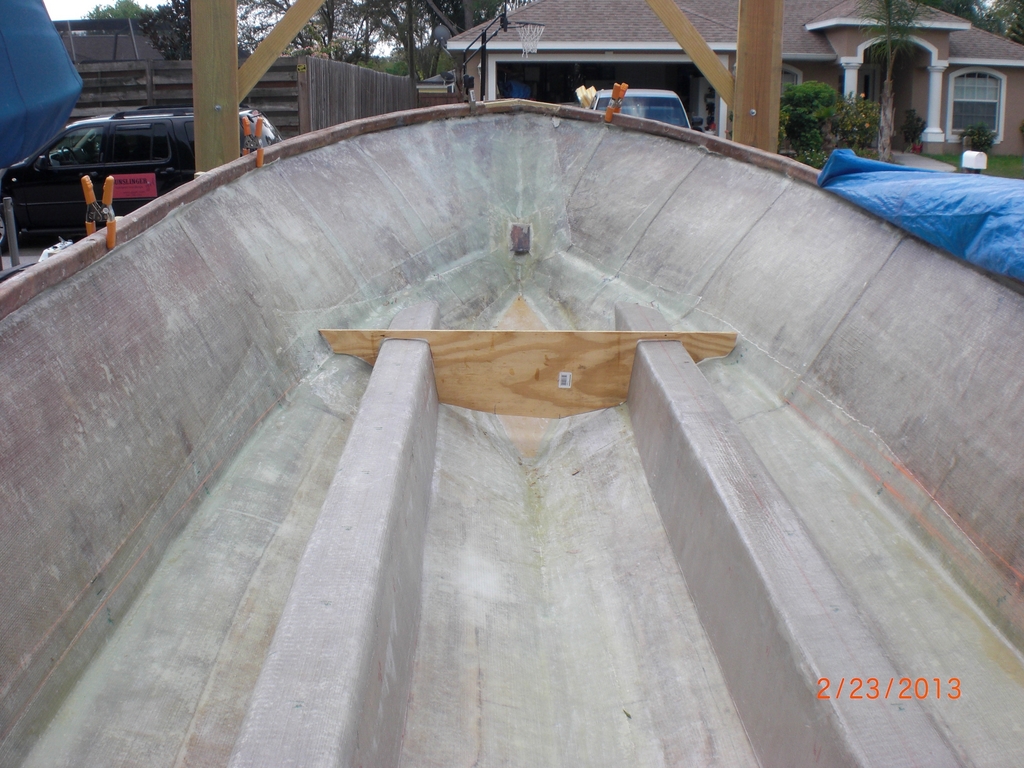
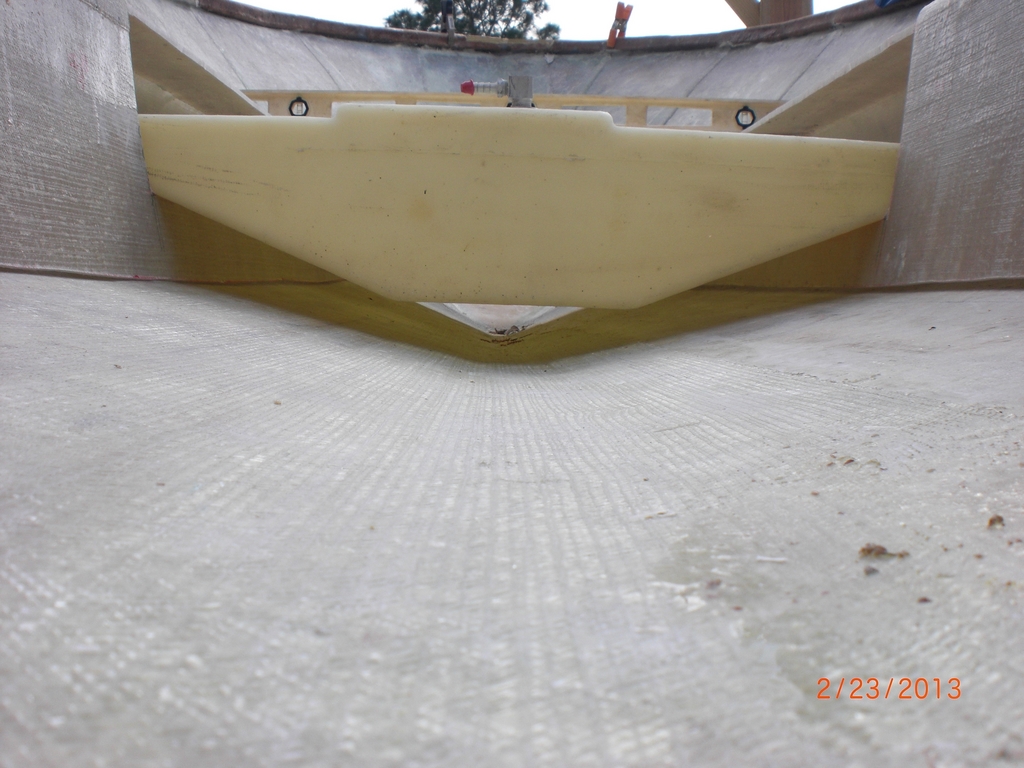
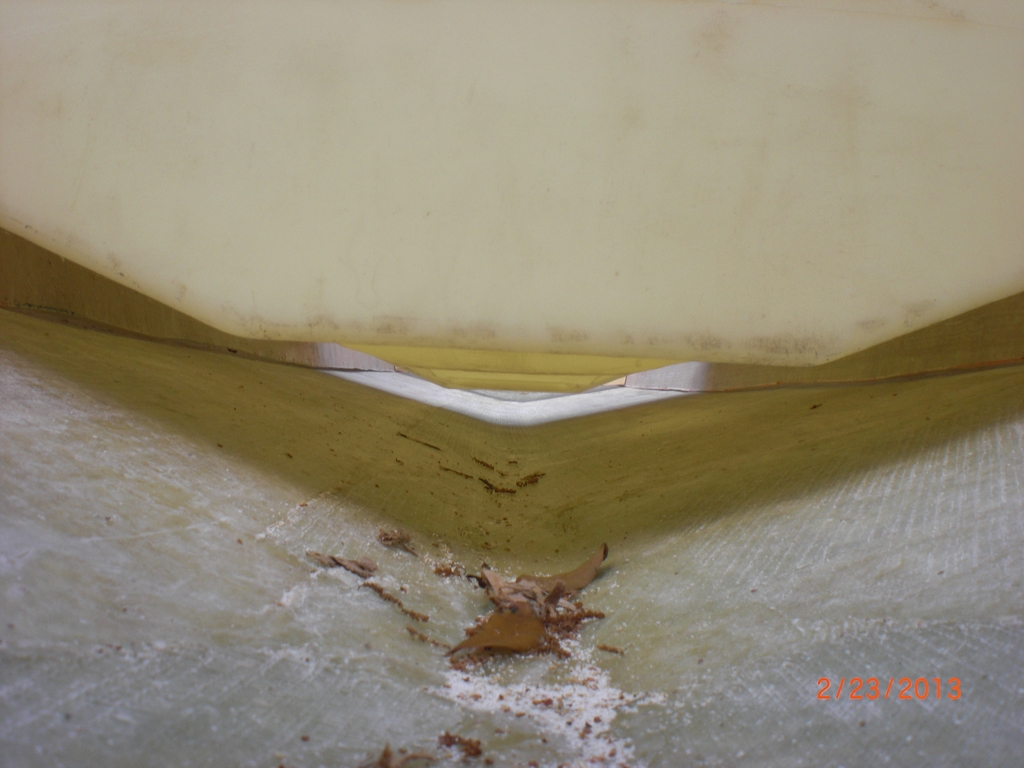
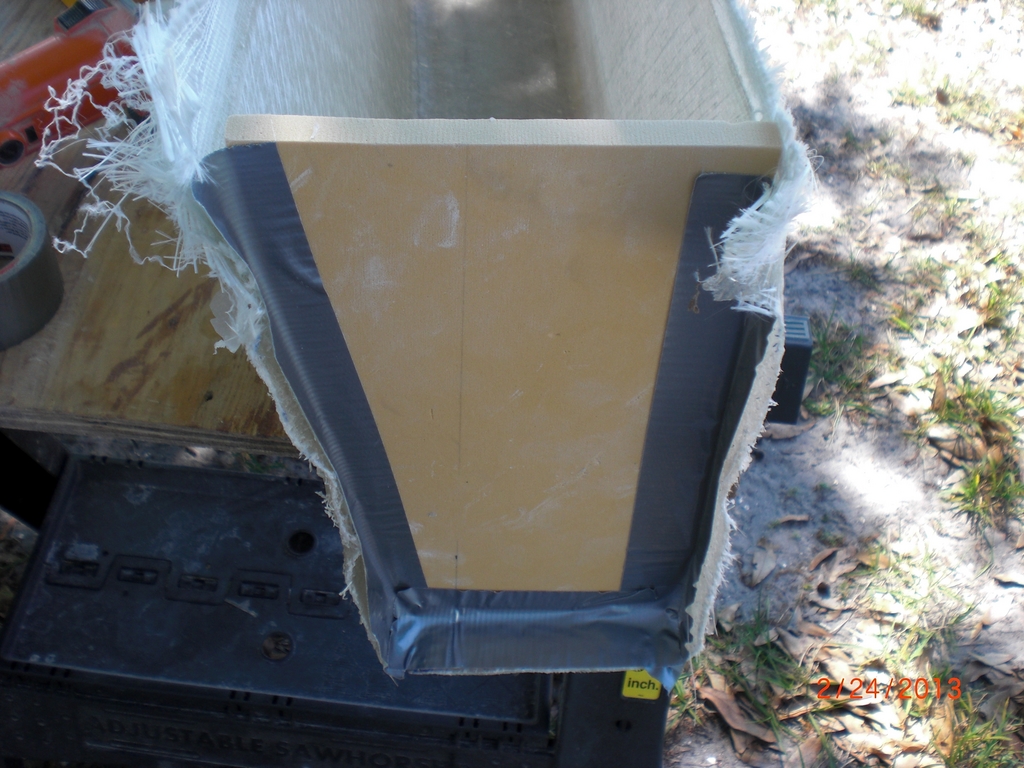
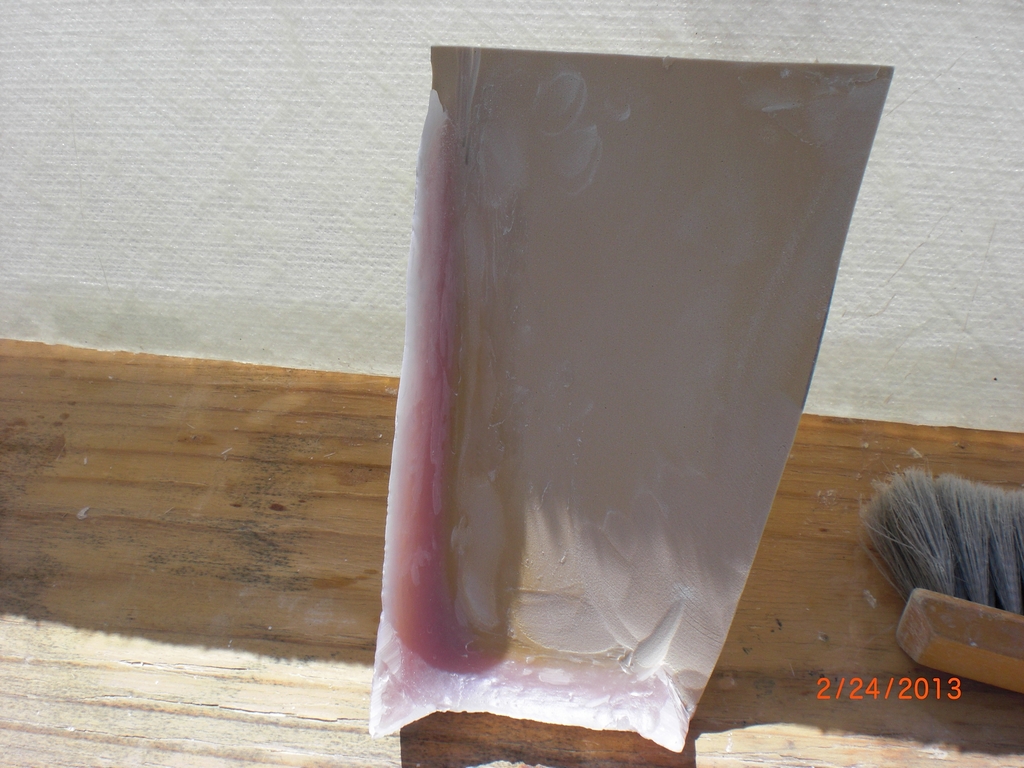
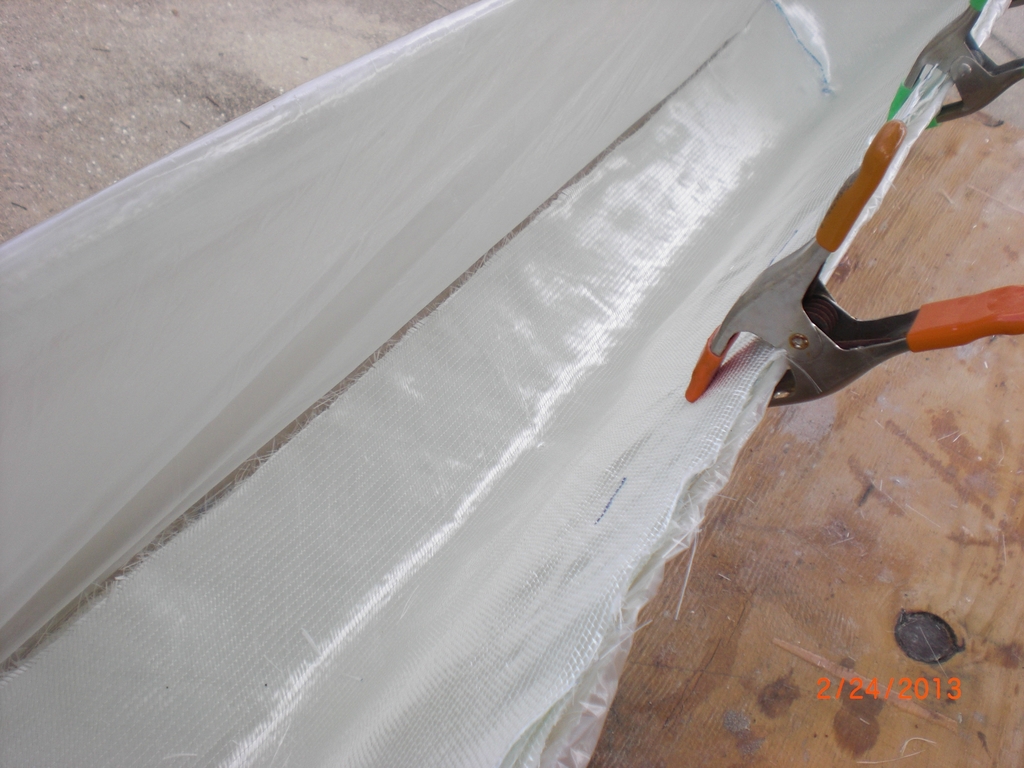
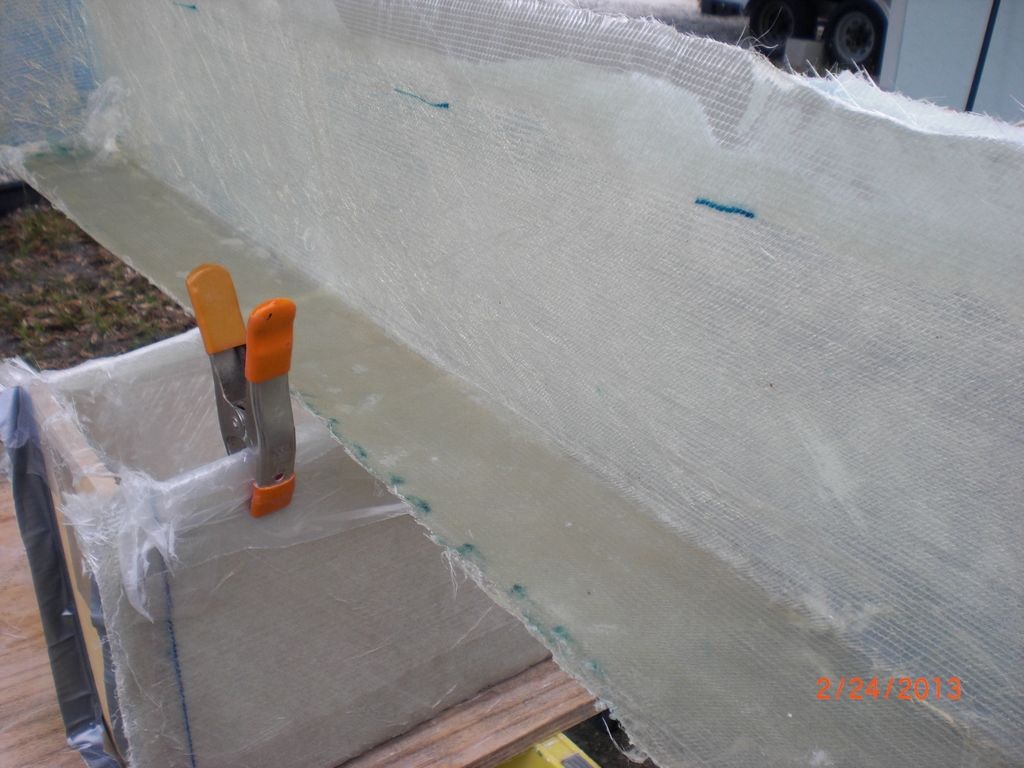
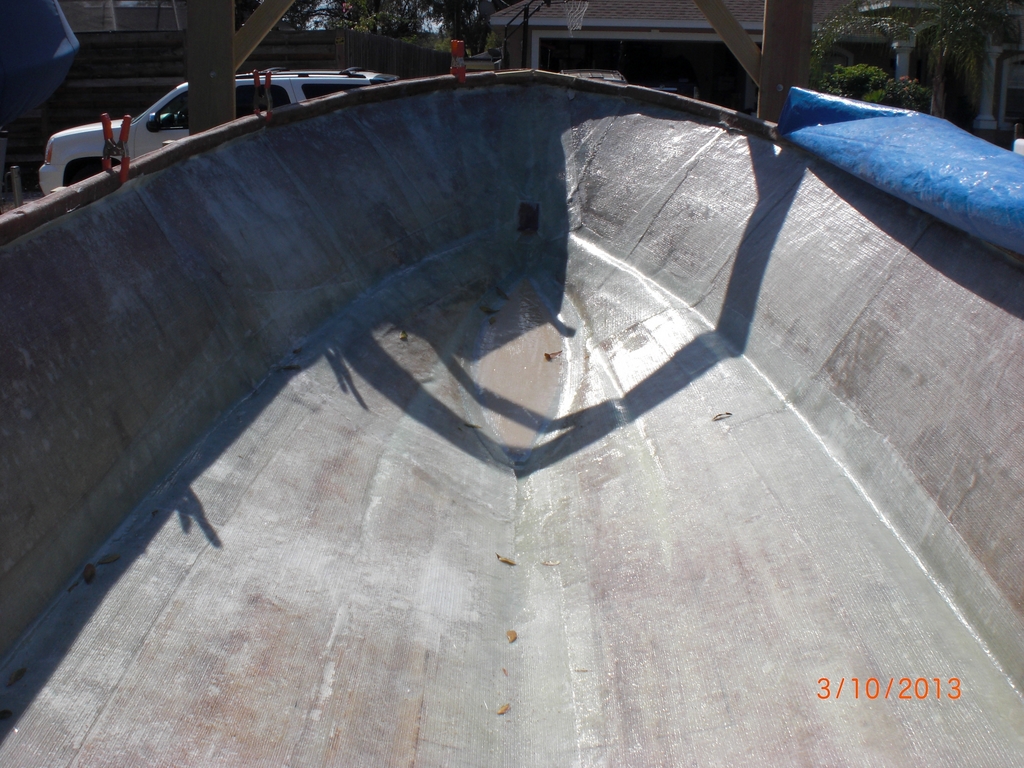
Anyway, got the port side done Saturday and then Sunday morning I scruffed a little (the glass was still not 100% cured) and then layed in the fill piece that will help divert any water from the deep part of the hull. Layed in a big fillet of putty to fill in the imperfections of the angles I had to cut along the peice and pressed the piece into the putty. Then I lam'd a piece of 1708 over the filler. Sorry it hard to see in the pic - look at the keel area forward.
Weird thing was that I thought I had most of the "drop of the hull" filled in with the filler piece (the hull on these boats drops down in the keel area as the hull goes forward, thus allowing pooling of water even when on the trailer) but as it started to cure some of the resin started pooling up in the 1ft area aft of the filler. This is happening with the trailer jacked up for normal drainage, so anyone thinking of filling this area in might want to put a couple pieces in at different angles to run that water farther to the aft.
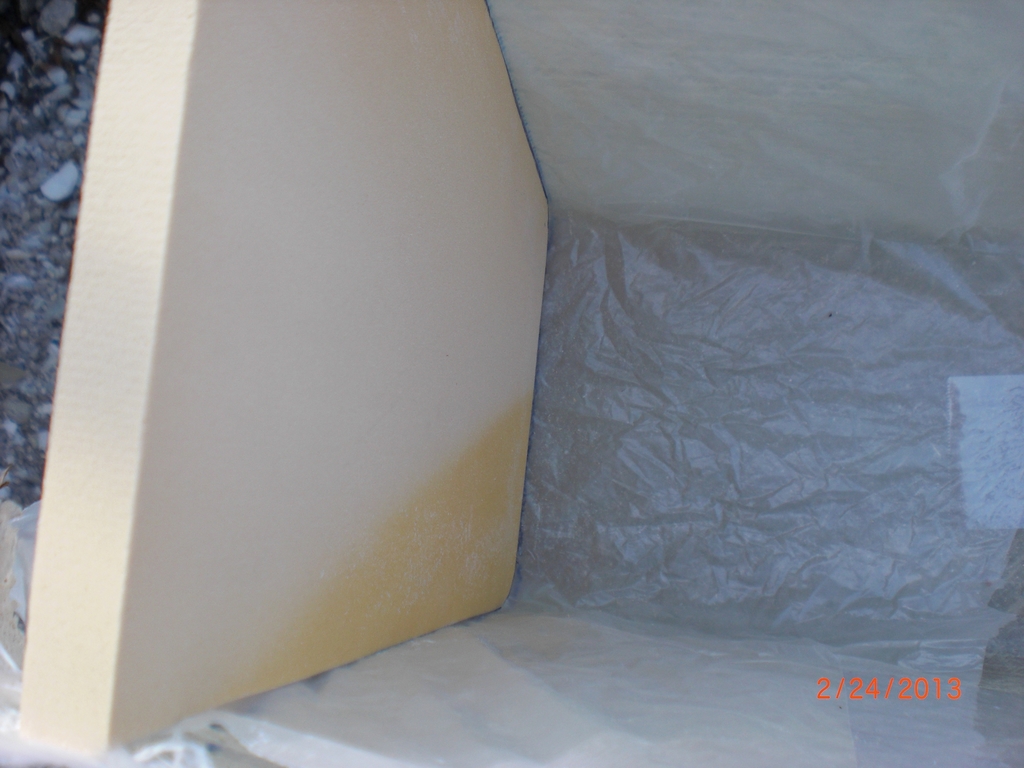
I will have to make sure I design to allow water that might get into the area, to drain out.
Looks like I have a couple areas that are a little dry in the lam, just a couple and overall the hull will still be fantastically stronger than it was without this layer of epoxy on it. I have 3 layers of 1708 in the chines and 4 in the keel - ought to be strong.
Next weekend I can start laying lines again, marking the stringers and scribing them in - going to have the tarp back up for sure. My neck might stop glowing from the sunburn by then
1971 170 Aquasport Rebuild
Re: 1971 170 Aquasport Rebuild
Last edited by Rickk on Tue Feb 12, 2013 5:31 am, edited 2 times in total.
- tech_support
- Very Active Poster
- Posts: 12318
- Joined: Wed Dec 31, 1969 7:00 pm
- Location: Vero Beach, FL
- Contact:
Re: 1971 170 Aquasport Rebuild
That is a big job, and it looks good from where Im sitting
Re: 1971 170 Aquasport Rebuild
Thanks Joel. Glad that part is done and glad to have a good substrate to build upon.
Re: 1971 170 Aquasport Rebuild
I came home the other day and there was about 150 gallons of rain in the boat - no leaks :cheers: Have to cut the drain hole one of these days.
Also, as I was bailing the boat out I learned how the water pooled aft of the filler I put in the front of the boat - it doesn't :cheers: I will still put in a drain mechanism to the aft though.
This weekend was another huge milestone for me - I've been dinking around on this boat, building this and that and lam'ing this and that and it still looked (and felt) like I was not making any forward progress. Today I got these cut in
Of course it was quite a job and took two days (boy is my neck red again, winds were blowing about 30 mph gusts so we couldn't put up the tarp - It was crystal clear skies though, I had a hat on but of course no sunscreen and I was looking down all the time - thank god for aloe).
The scribing was good and they are within an 1/8" of the height I planned. These stringers are sitting in the hull without any tacking - a beautiful thing for a 12 degree hull (more slope up front).
For the builders that want to know what thickness x layers of glass is: Here is the tops of my stringers, 3 layers of 1708, 1 of 1808 and then a layer of some 1/16" mat (no clue what weight, had it laying around) on the very inside.
Here are the sides of the stringers - 3 layers of 1708 and 1 of 1808 - shy of a 1/4".
Should be pretty stout - will be lam'd into the hull with 3 layers of 1708 - 4, 6 & 8" - things will be a 1/2" thick at the bottom.
Now I need to build a cradle to lock these things in and then start working the fuel tank notch, support and install. Another weekend....
Re: 1971 170 Aquasport Rebuild
Rick; that's some real nice clean work.
bill
bill
Re: 1971 170 Aquasport Rebuild
Thanks Bill.
Re: 1971 170 Aquasport Rebuild
Got a little more done today - again too windy to put up the tarp - sun was smoking.
So I made the braces to keep the stringers where I wanted them
The inside is the critical spacing
The front brace was a lot of finagling, again the inside is the critical spacing
Laid the fuel tank on top and marked the places to cut it in - from the back
From the front
I decided to start the fuel tank at the back of the console and let it run forward . I figured that with all the batteries right above the back portion it should act like it used to. We took the plunge.
Next step is to create the fill pieces to enclose the notch. Also need to build a cradle for the tank - from the back.
From the front
I got overheated and had to go chill for a while. Then we decided to drill the drain hole in the transom so I don't have to bail 150 gals of water again. Drilled it and then sealed it with one coat of epoxy. Will sand that and put another coat on it. The thickness of the transom core was amazing - at least to me
The dark part to the right is the transom glass before the core - 3/4", then the 1.5" of wood (we needed to drill all of this in 3 shots so the core got damaged as we pryed it from the hole saw. The portion to the left is the lams on the inside of the transom. Total, almost 3" thick at the bottom of the hull.
Re: 1971 170 Aquasport Rebuild
Today I wanted to build the molds and lam up the filler for the cut-outs in the stringers.
I decided to use one of bulkheads I had lam'd earlier as a mold to make the filler - it has one 90 degree side and a flat top. I just needed to "dam" it off for the ends. When I cut the notches I allowed 3/8" for expansion front to back (I emailed INCA for advice or installation instructions and got no reply - understand that the tank is 12 years old already but.... just saying) so I used that measurement and marked the mold. I used some scrap Jasper board and cut them to fit. I'll show you one end of the dams. My intention was to build the dams with big fillets of poly so the cloth would bend easier. I started by laying some visquene down and then taped the jasper board on the lines I'd marked and then layed in a big fillet. Not too easy to do in a 5" spot and I only needed the 90 degree side and the bottom but ended up going up the other side just to make it transition right.
I head out to get a sandwich for my wife and I and waited for it to cure.
I popped them out and this is the dam before I cleaned it up. Before:
After:
I then taped the dam back in
I then lined the entire mold with visquene and started dry cutting the 1708 in - 3 layers. The blue line is 1" more than I need in height so I knew where to stop the resin.
This is what one of them looked like in the mold
and out - with visquene still on
and with it peeled off. I will trim it down at least an inch in height and about 2-3 inches in depth. The stuff at the end is a little pile of the paper thin poly resin that was stuck to the visquene that I broke off and left in the corner.
Next weekend I'll pull the stringers out and grind the inside down a bit, scribe the fillers in, grind the fillers and then epoxy them in.
Re: 1971 170 Aquasport Rebuild
What's your motivation behind using that tank?
Those stringers are a work of art. Seems a shame to cut them open just to fit that tank.
Brian
St. Leonard, MD
1980 Wenzel 1400
2003 Maycraft 1800 Skiff
St. Leonard, MD
1980 Wenzel 1400
2003 Maycraft 1800 Skiff
- tech_support
- Very Active Poster
- Posts: 12318
- Joined: Wed Dec 31, 1969 7:00 pm
- Location: Vero Beach, FL
- Contact:
Re: 1971 170 Aquasport Rebuild
I got a pit in my stomach when I saw the cuts in the stringers Such pretty work.
Not trying to alarm you though. You can bring back the strength by tying it back together with glass. After you fill stringer with foam, you can shape the foam that expands out of the hole so the tank will fit, then cover it with glass overlapping the stringers.
Who is online
Users browsing this forum: Ahrefs [Bot] and 6 guests