Here's some more porn guys

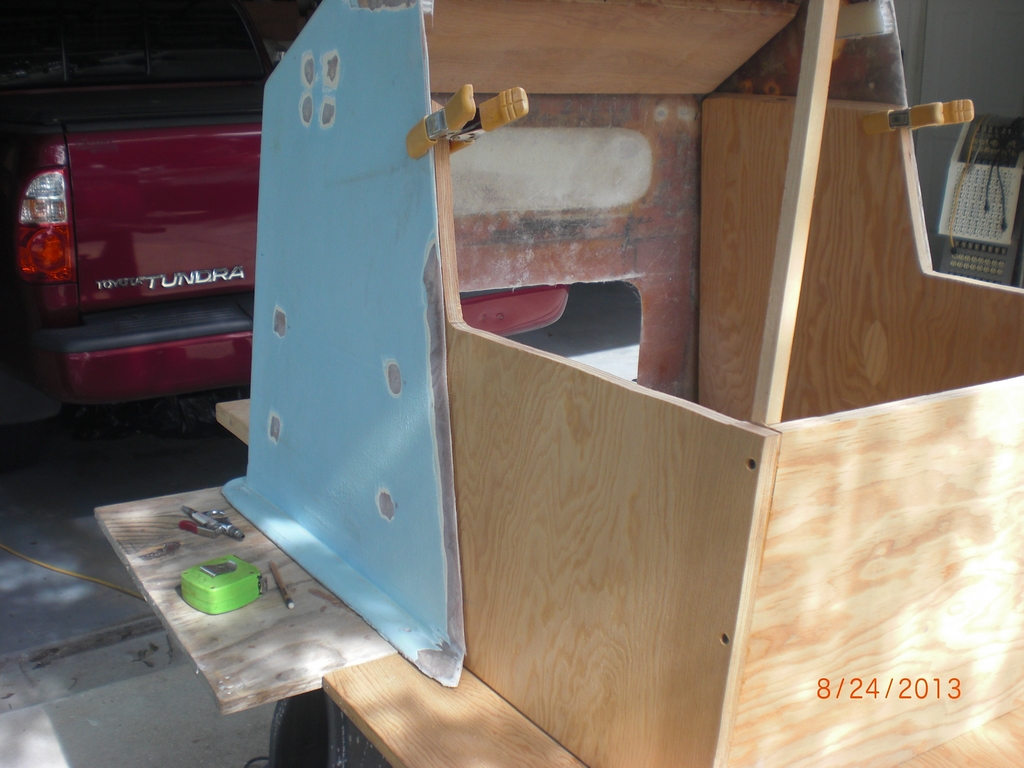
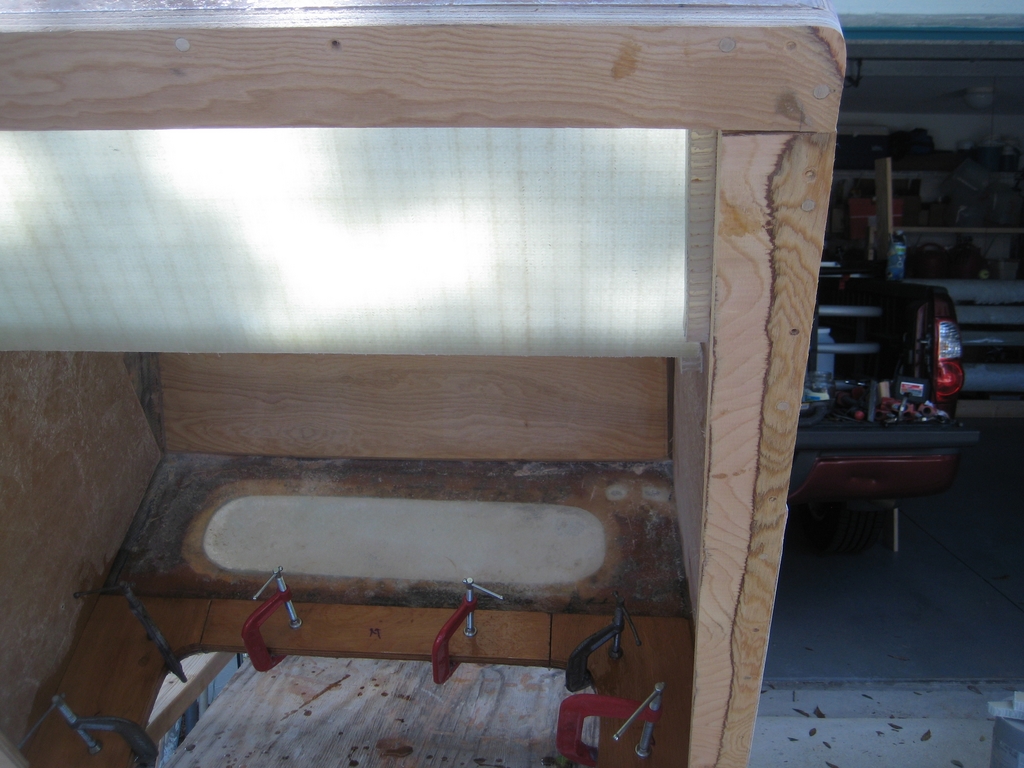
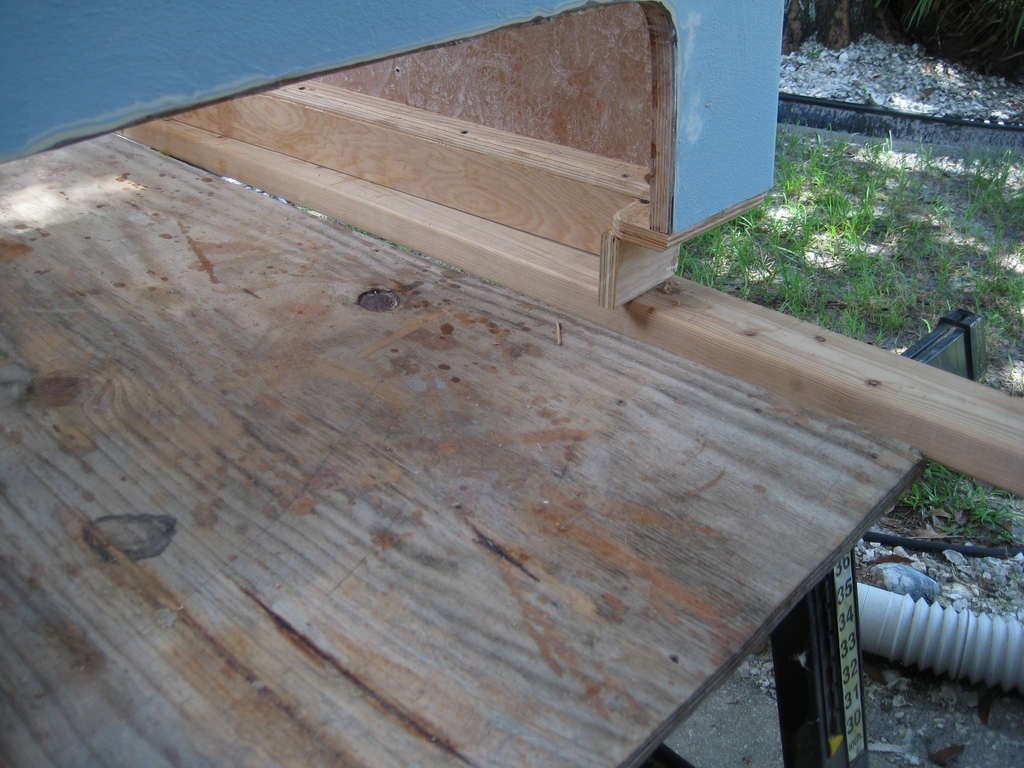
More console work - started laying out the height, the length and getting it glued together - screws are temporary, will be removed and replaced with dowels.
The "sticks" in the corners are oak and are pinned and trimmed after the glue dries. The oak is a corner filler (cut at a 45) so the glass goes though the corner easily.

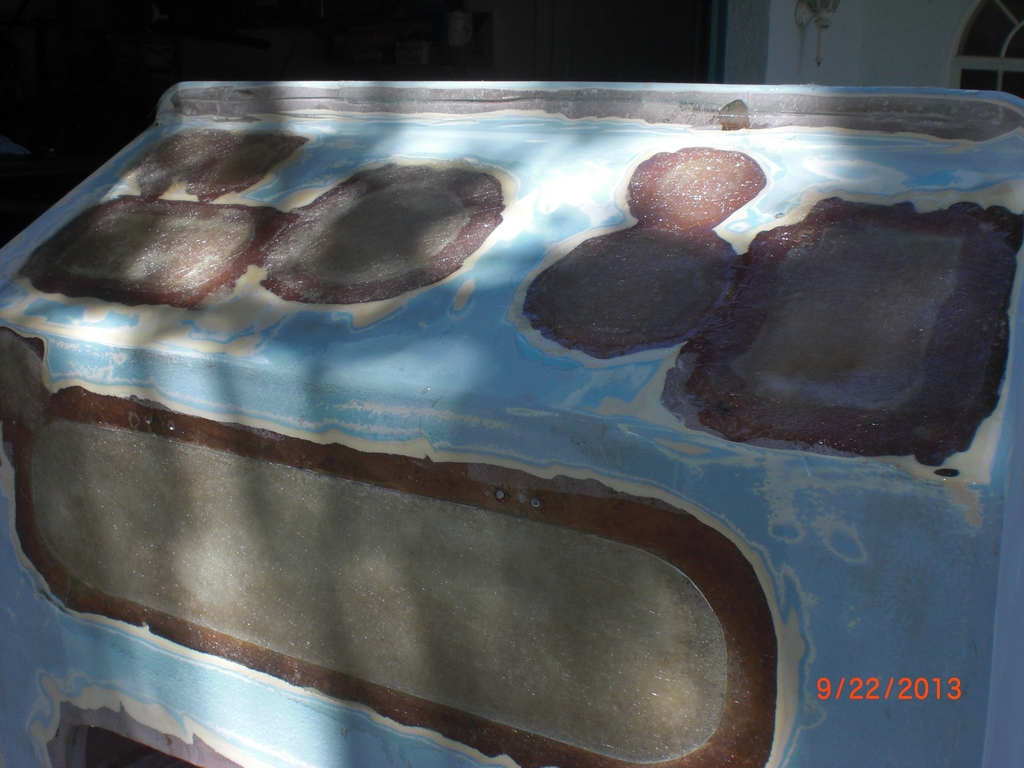
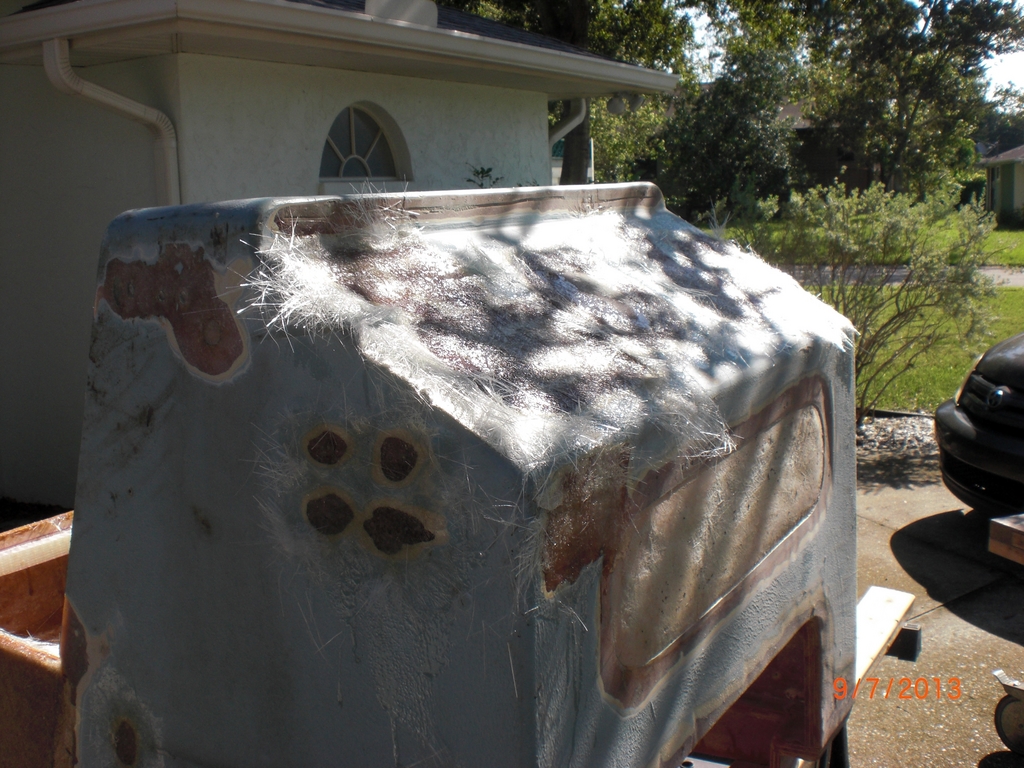
While I was at it I ground down everything on the console for filling. I was covered in dust/glass by 8:15A

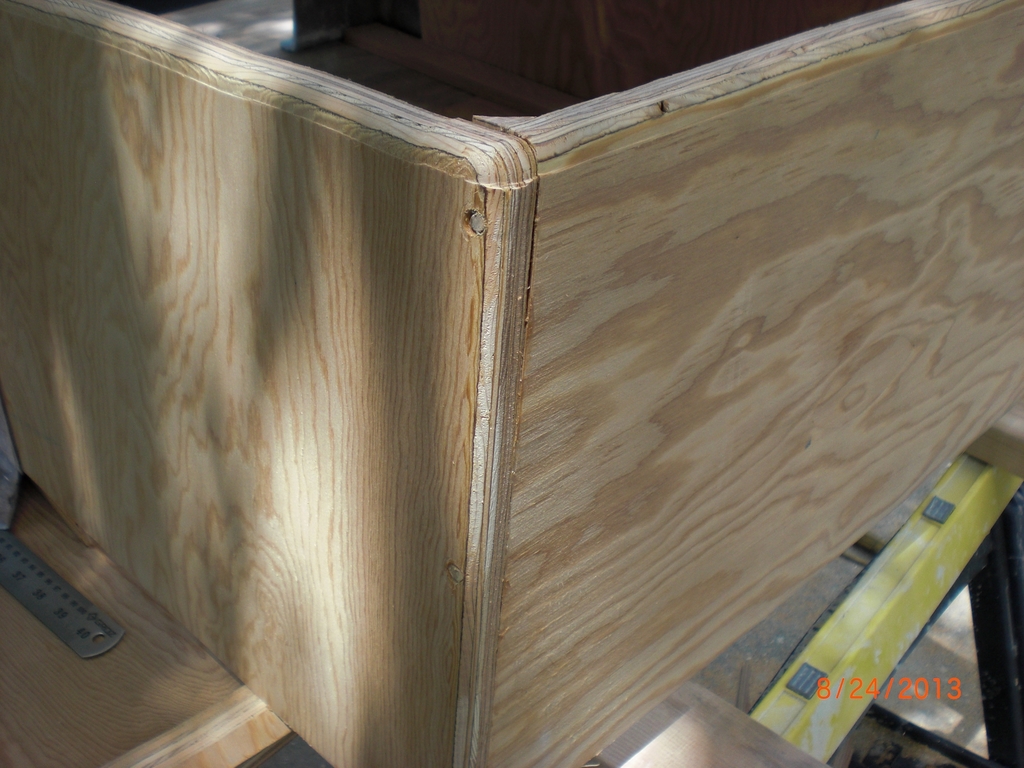
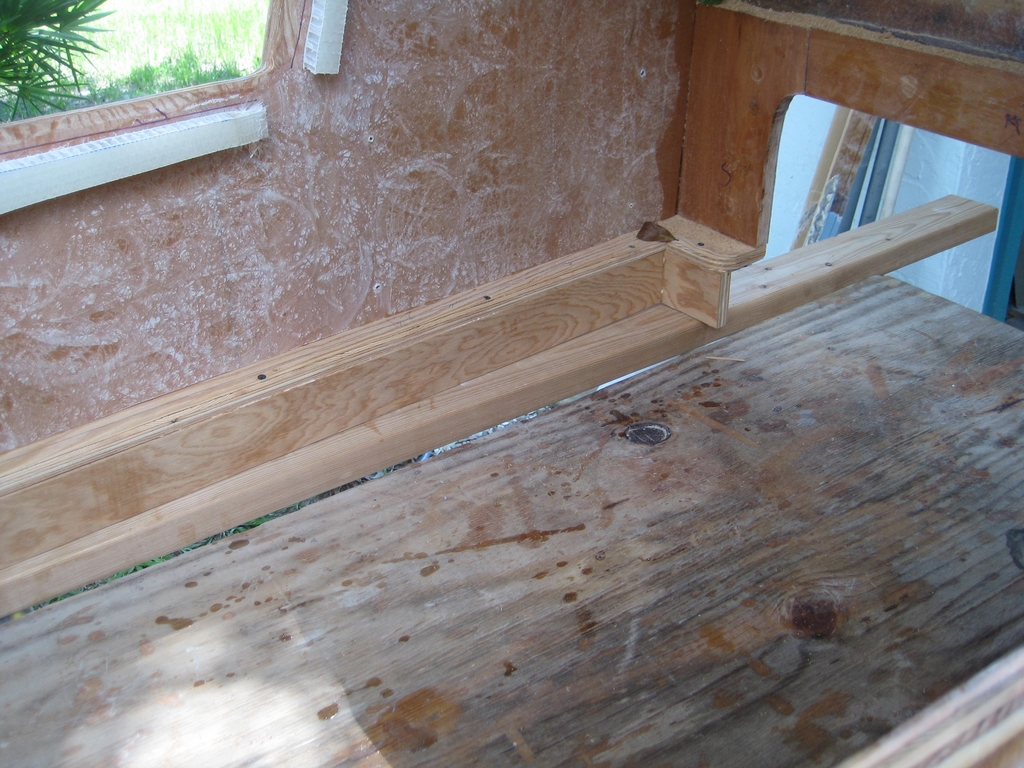
Removed the screws and drilled for dowels and glued them in. Then I routed the corners so the mat would cover it easily. I then followed it up with a belt sander to clean it up.
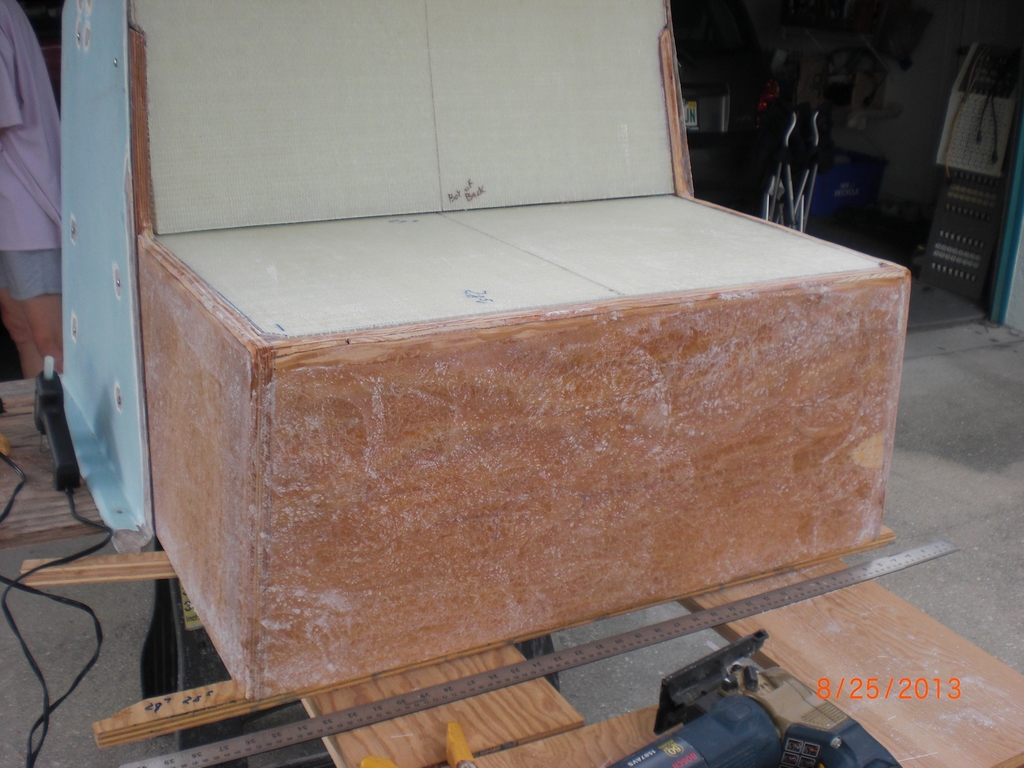
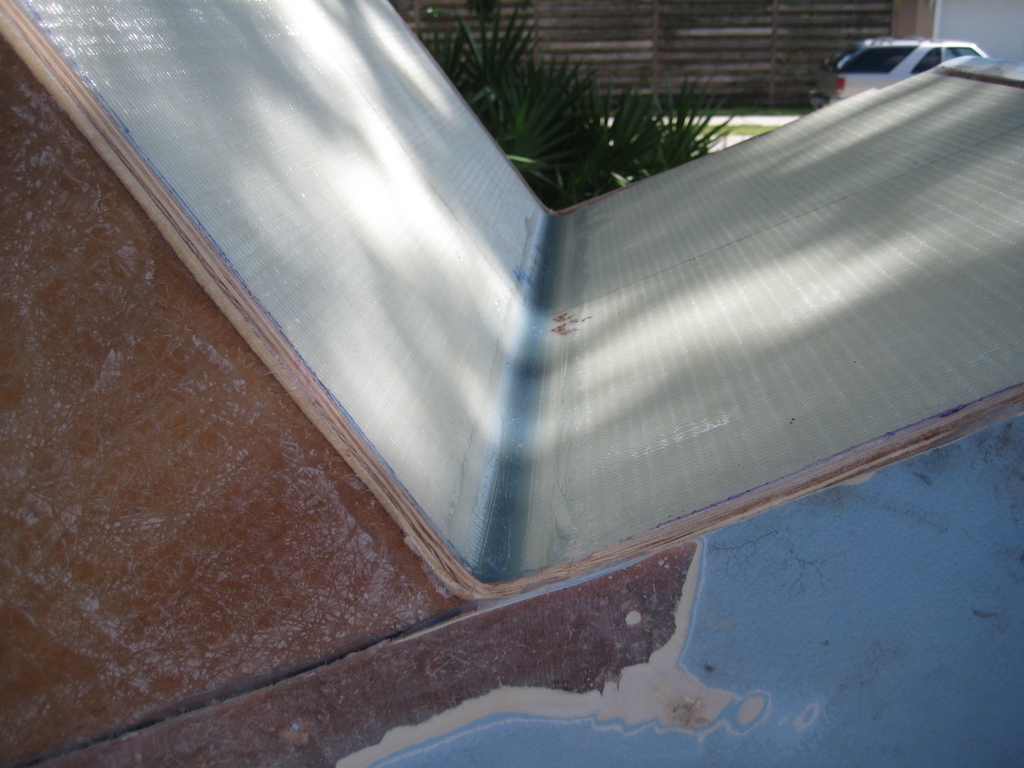
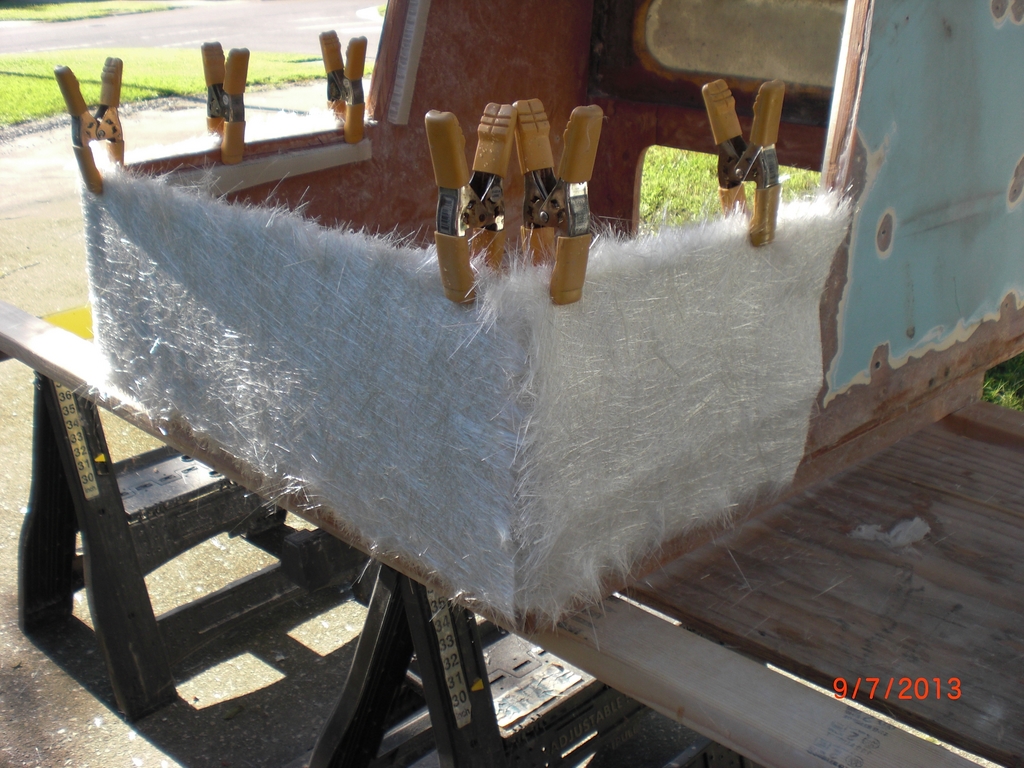
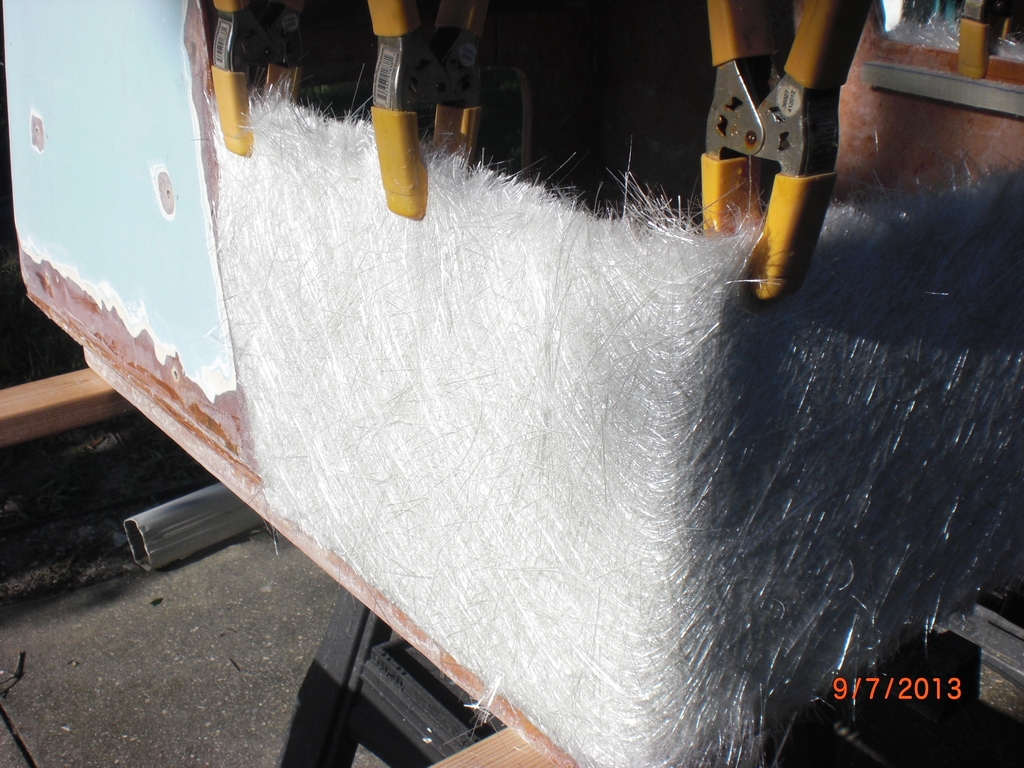
I put a layer of mat on the wood inside and out. The next morning I suited up in the tyvek suit and started scruffing up/grinding the wood and the inside of the console. I was soaked in the 30 minutes it took to get all the material scruffed. When I had everything the way it needed to be I mixed up some thickened poly and troweled it on the inside sides of the console and then pulled the wood into the putty with some stainless screws. (Sorry about the poly guys but I'm going to gelcoat everything above the deck - epoxy is everything below the deck)
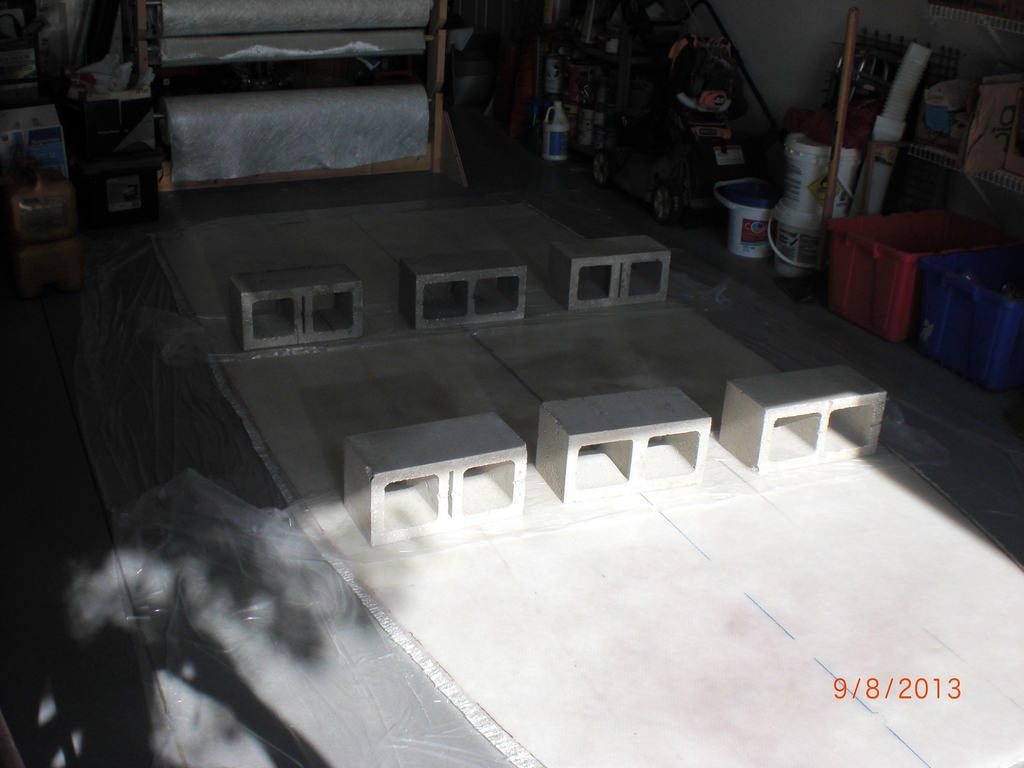
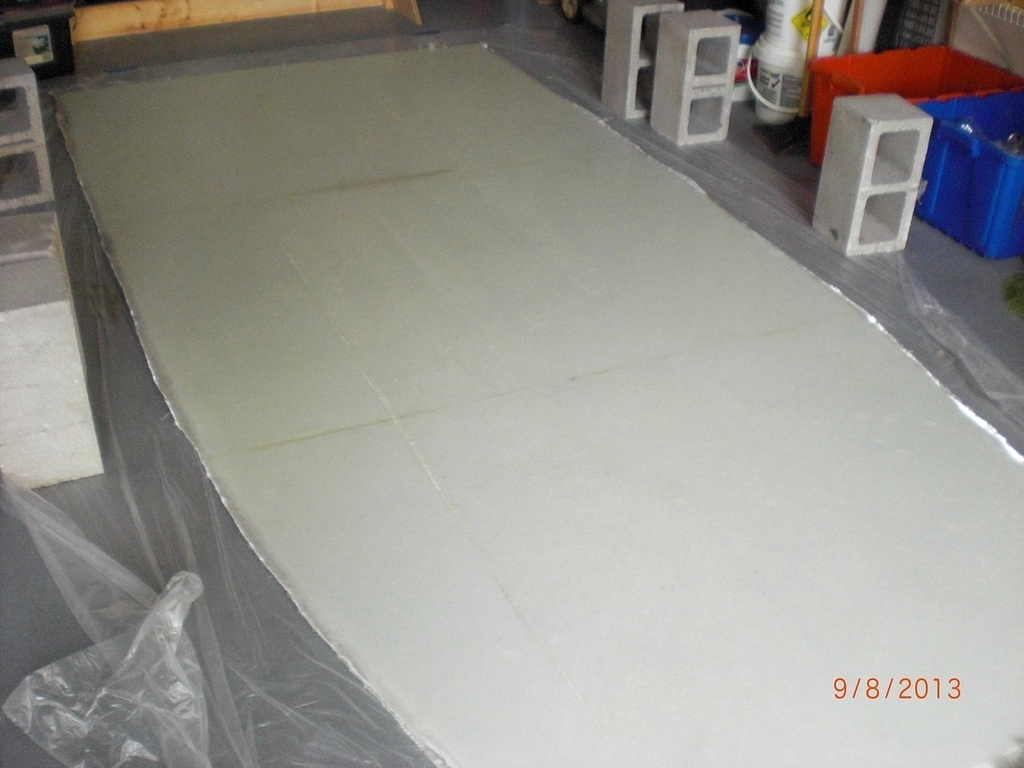
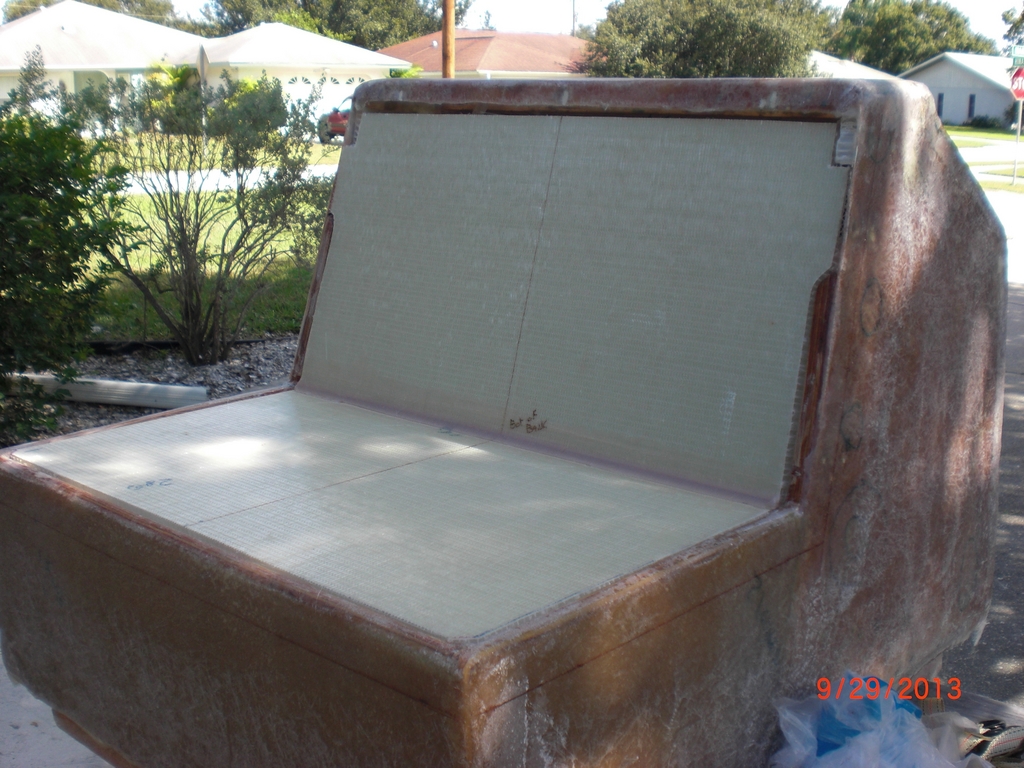
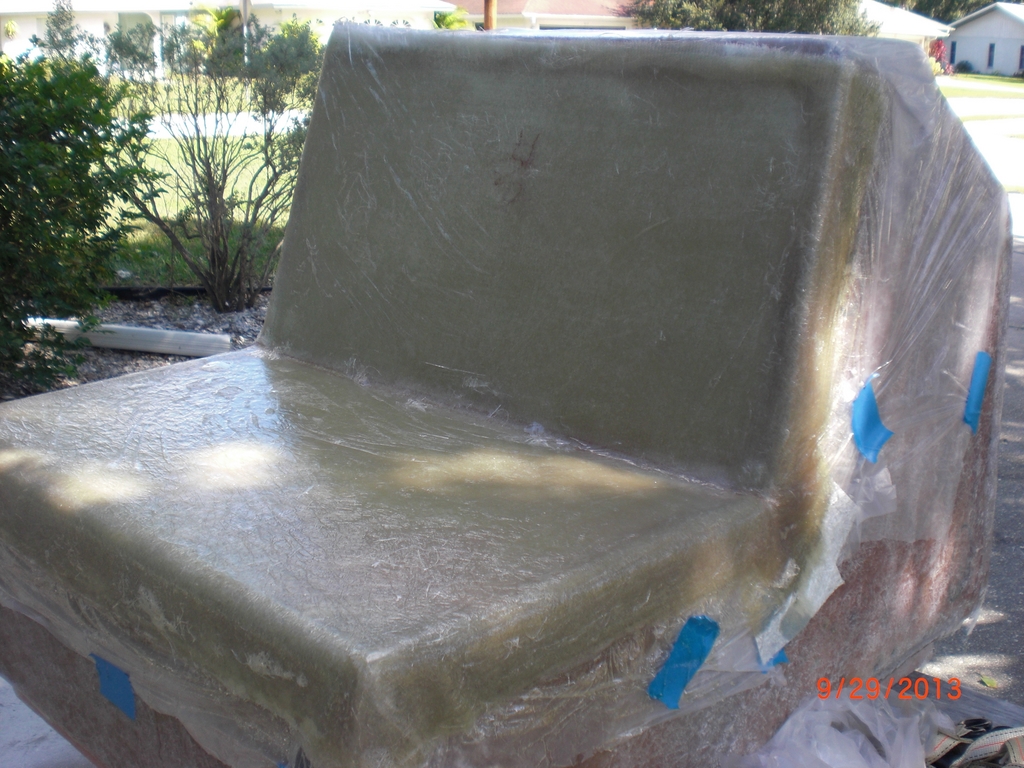
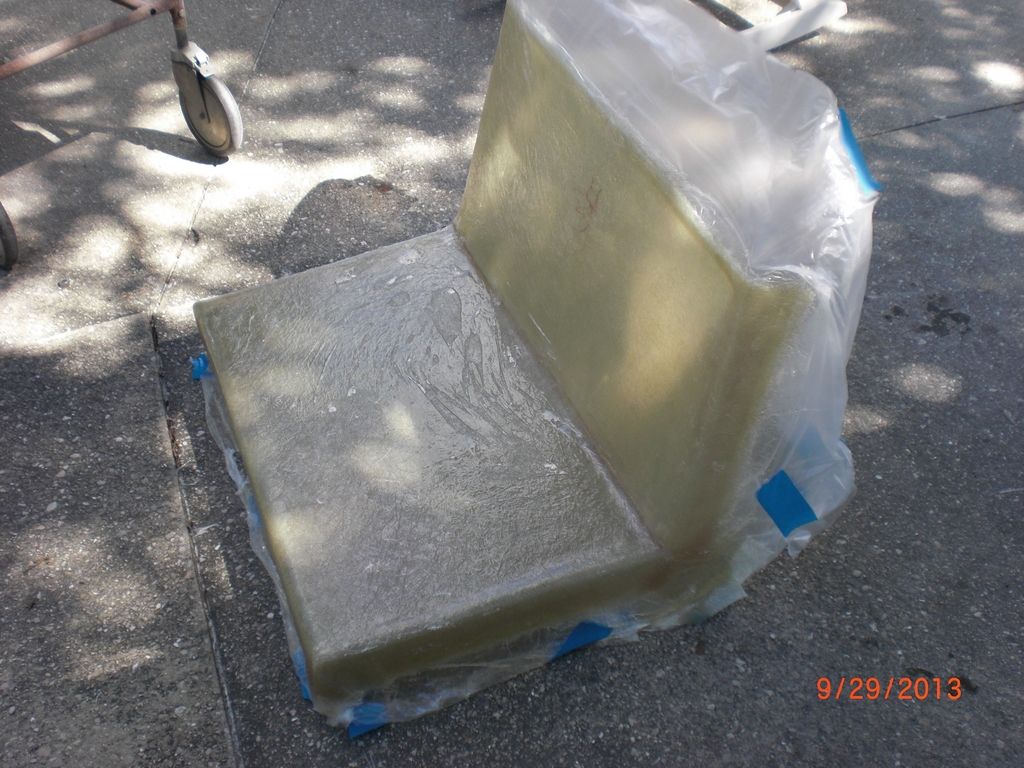
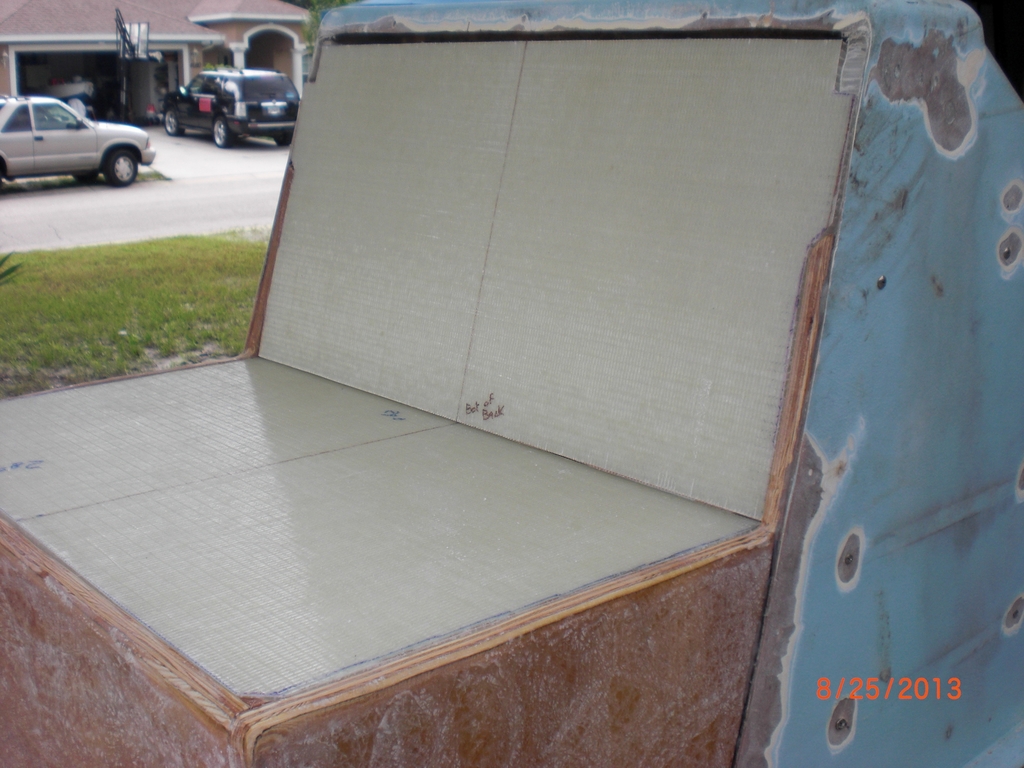
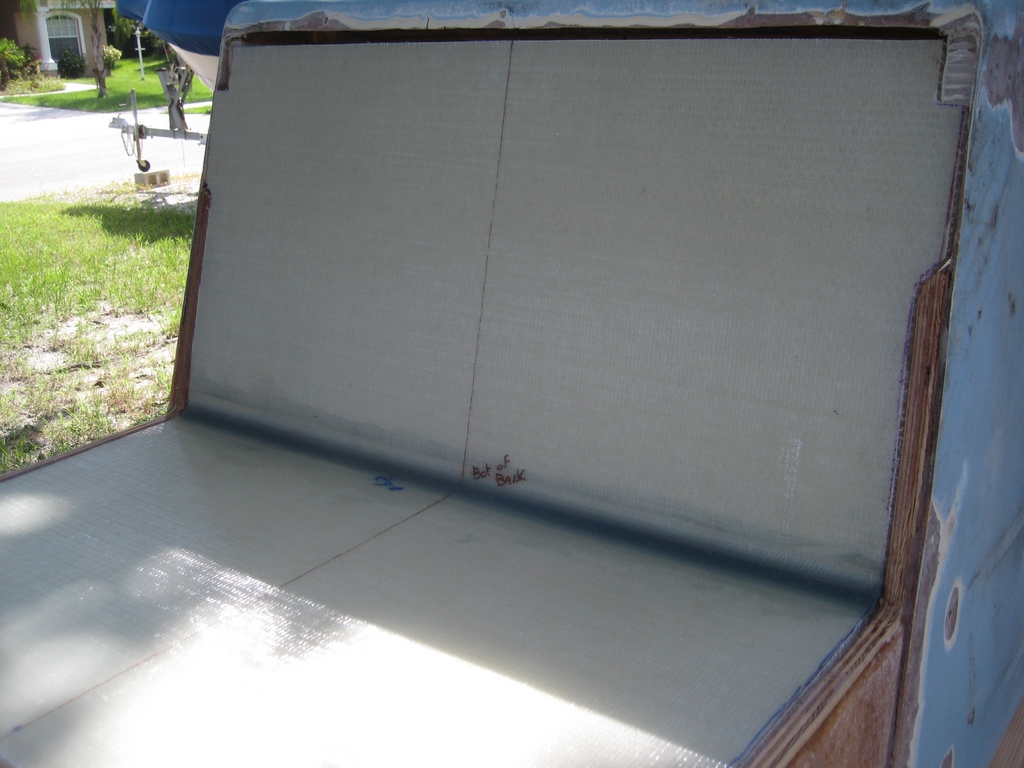
I had about 4' x 33" left of the Plascore sheet that I had lam'd up a few months ago (can't believe it's been that long) and I cut that up into the seat and the backrest.
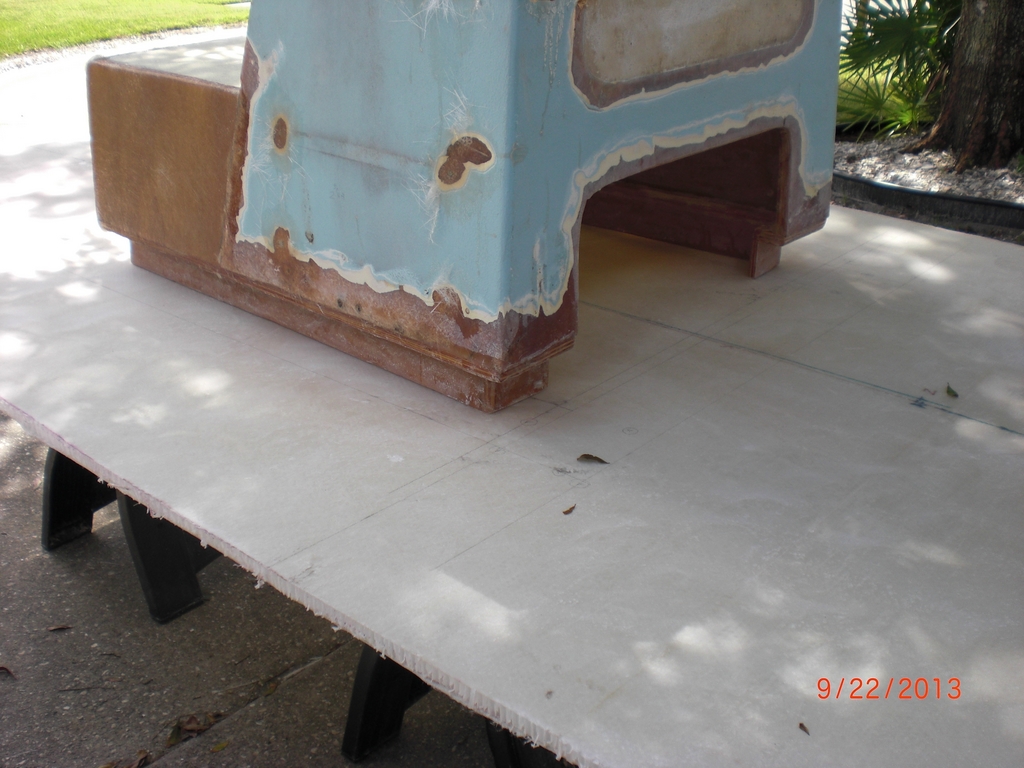
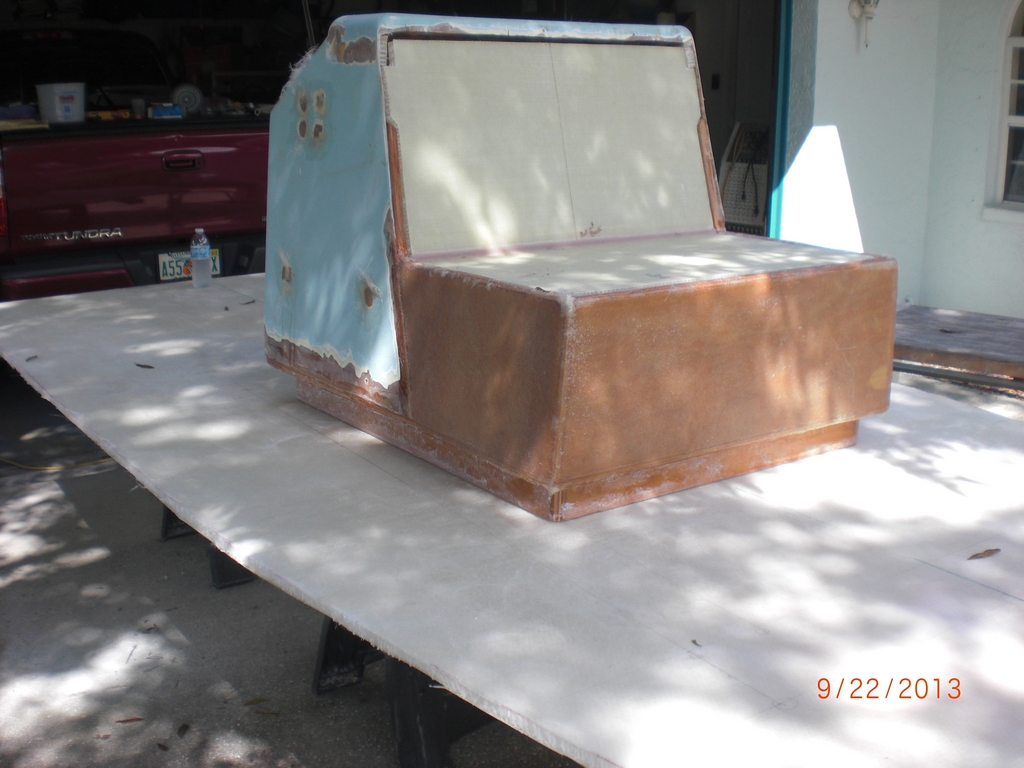
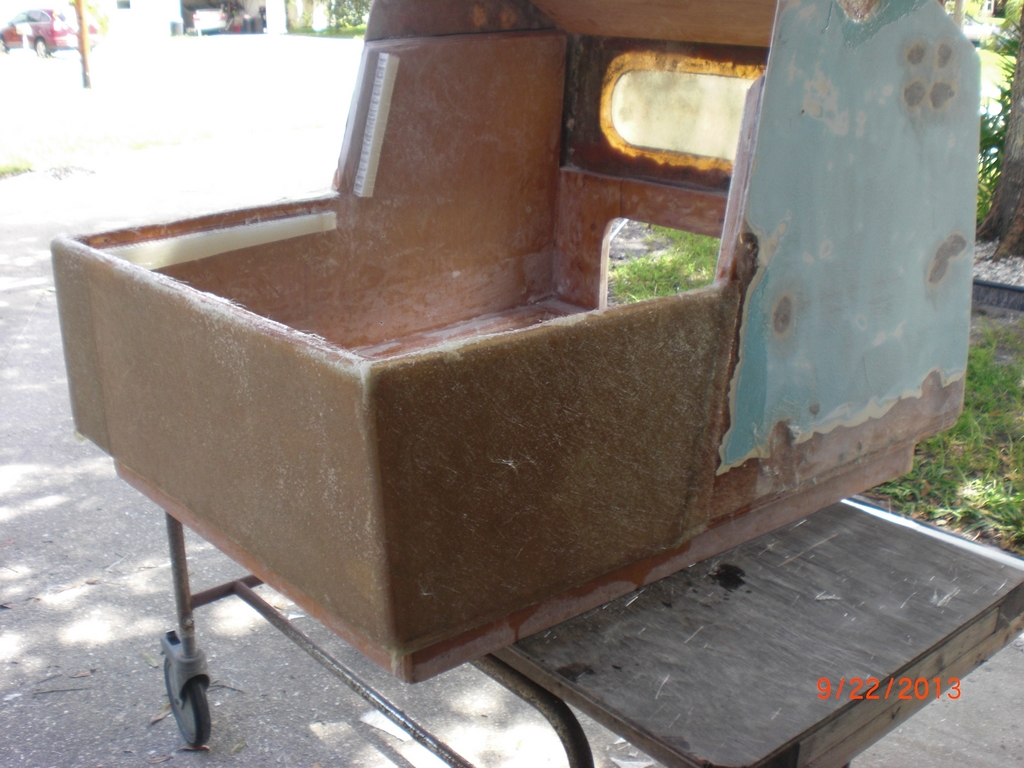
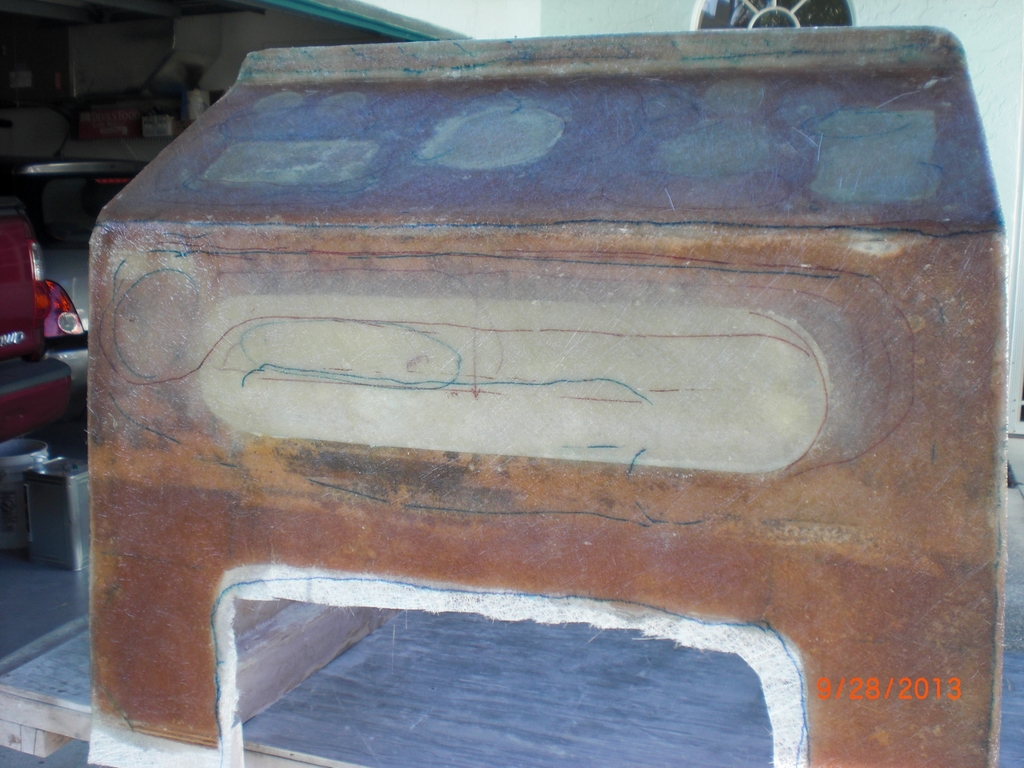
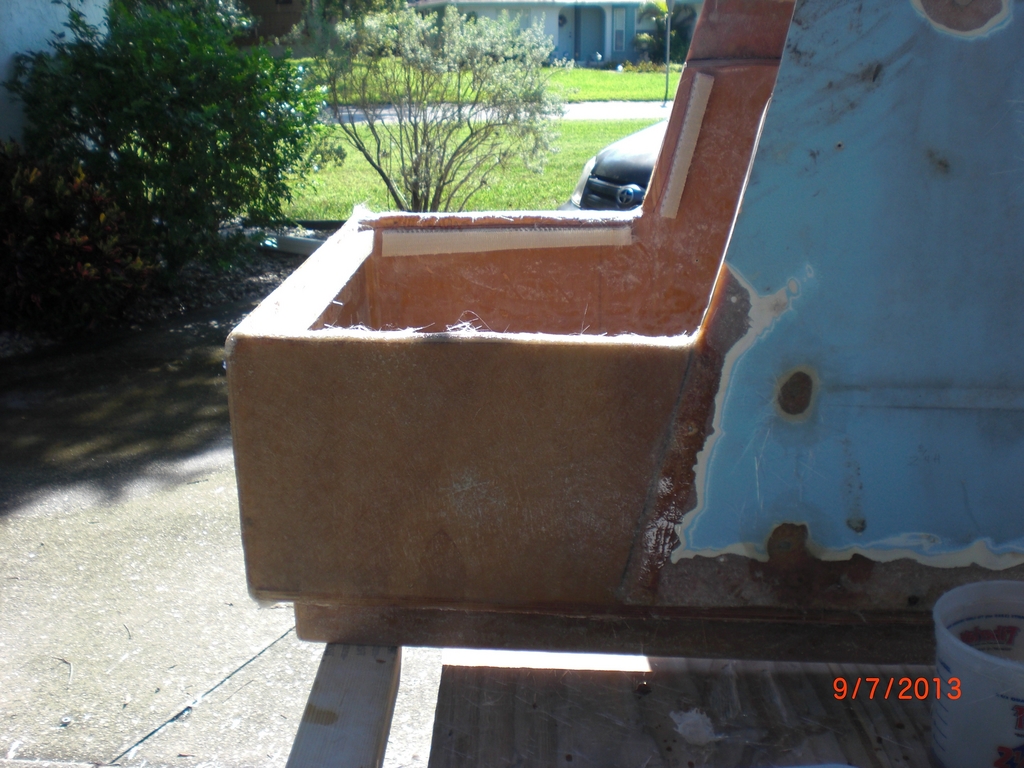
This is what the front of the console looked like before - a cooler in front that left about a foot gap between if you wanted to lean back on the console (and why wouldn't you)
http://www.classicaquasport.com/gallery ... le&cat=500
It looks like I will be able to get 3 batteries under the seat - 2 for the trolling motor and the engine battery. That will leave the entire console free to hang the pumps and buss bars and whatever else I may need.

What I'm going to do is lay glass/cloth across the seat/back the way it is and bring the glass over the edge about 2". If you look at the 74/75 170's, they had a opening hatch that was the seat and backrest to gain access to the inside of the console - so I'm making a retro hatch like that. Not sure why they stopped making that access - probably for the baitwell that became the standard under the seat. Only difference is I'm going over the sides of the console a bit. Now I need to find the latches to do it.
http://www.classicaquasport.com/gallery ... 19&cat=552
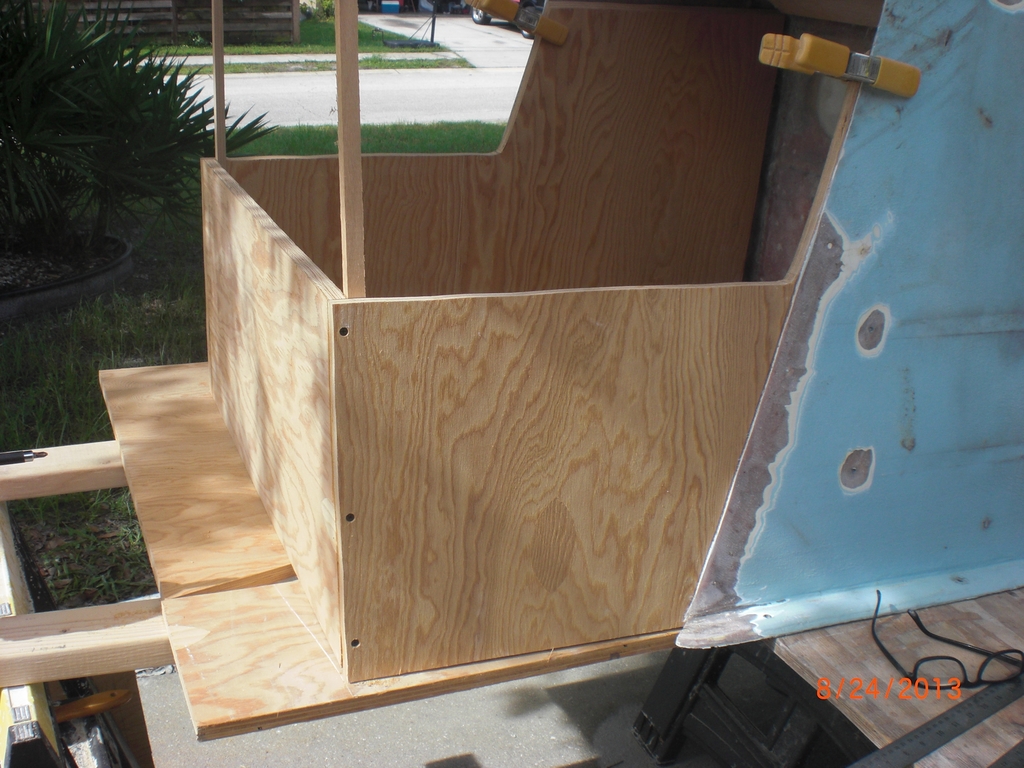
Somewhere over the next week I heard about toe kicks on consoles and decided to change up the design.
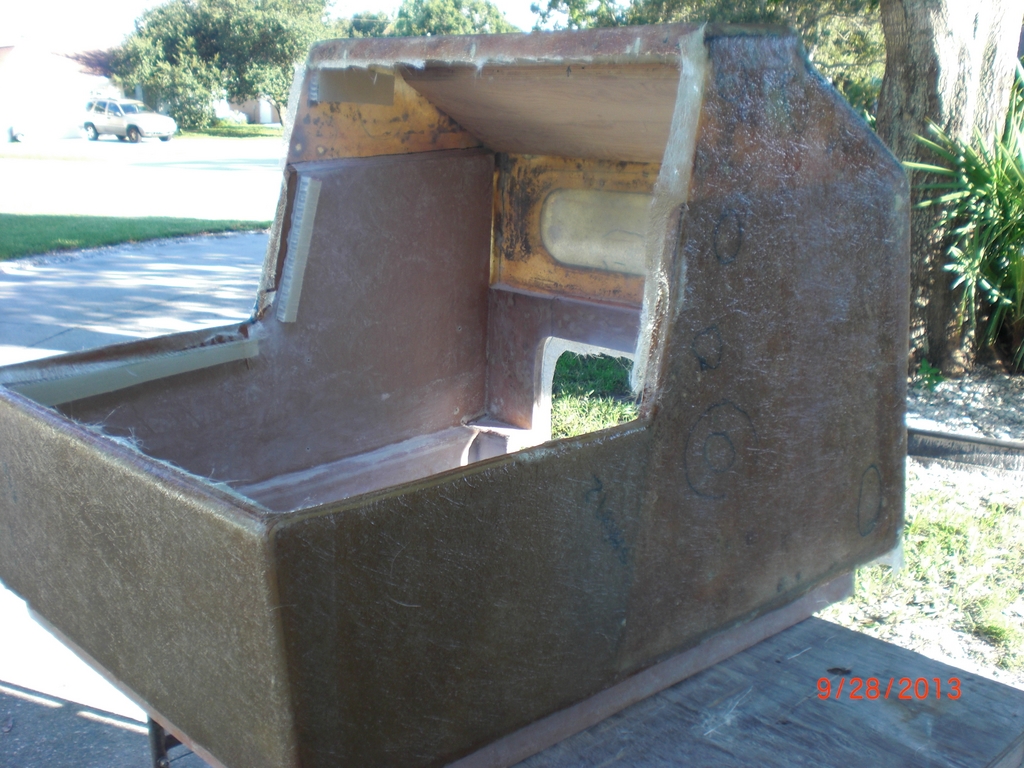
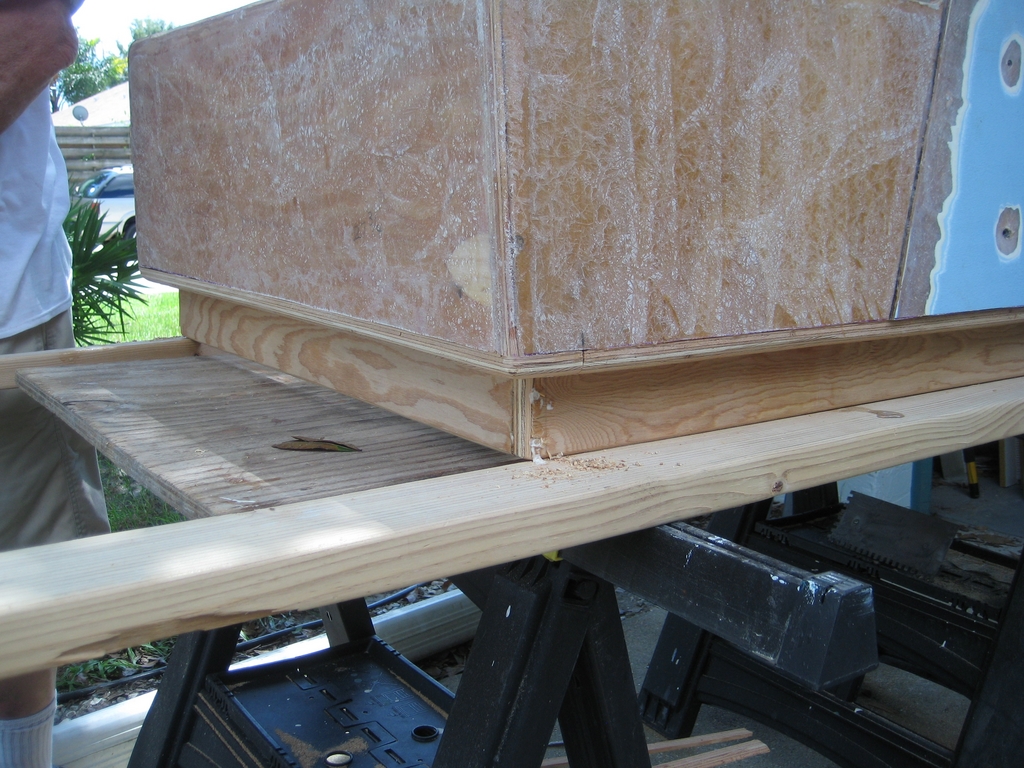
Started on the toe kick design and implementation. Cut 3 1/2" off the bottom of the console and glued/screwed/doweled a piece of 3/4 ply on the bottom to start the turn for the toe kick. I'll round everything with a router in the morning. There will be a 2 3/4" deep toe kick all the way around and it will be 2 3/4" high.

I added wood to the helm side of the console for the toe kick. The helm side will still be open to the sole. Had to belt sand the ply on the sides - seems the jigsaw had a little angle to it when I cut the bottom off the console

I had some extra putty from gluing in the wood on the helm side and that allowed me to lay a fillet on the seat/backrest to connect them - one day at a time....
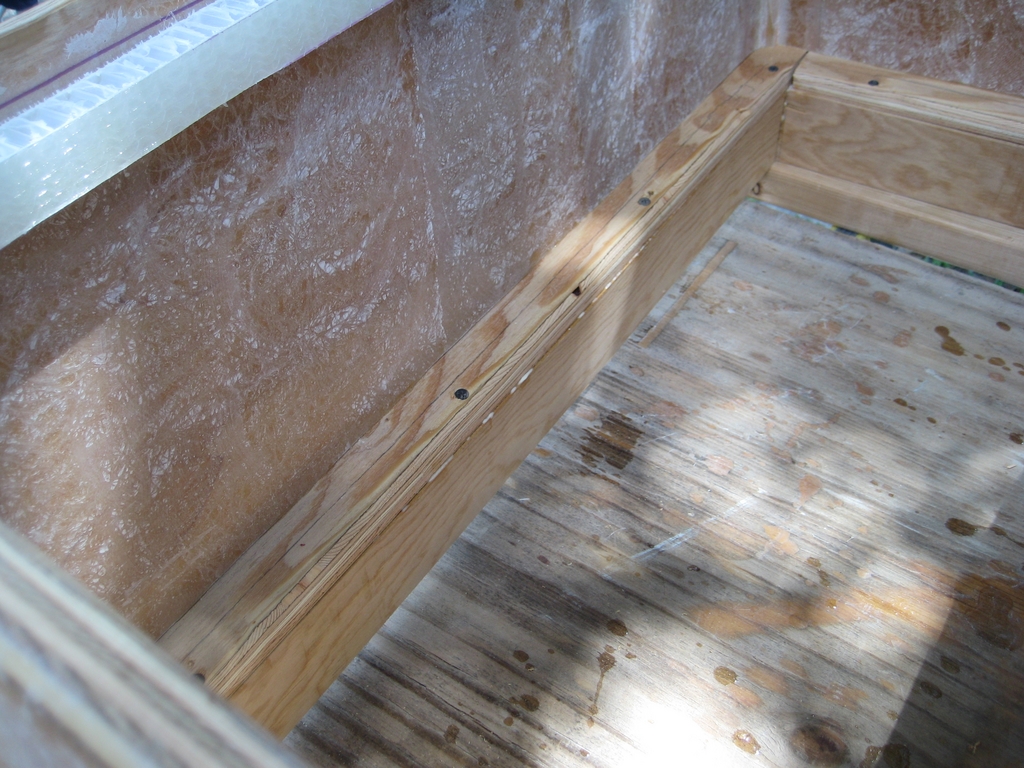
I screwed and glued everything together and then after a 30min wait, removed the screws, routed and doweled the base onto the console.
All the screws will be replaced with wood dowels
I think it is looking sweet - I tested my toes under it after I connected it all and my wife came out at that time and of course had to make sure her toes fit right - hers fit better of course.
Tomorrow I will start glassing it all in. I have to grind the console skin down 12:1 and then a lot of build up to get it all ready. Gonna be sweet. Lost a little battery room but I'll figure it out.
A little progress .... I need to build up the glass thickness to match the existing console thickness, I figure a couple more layers tomorrow should do it. Using 1.5oz mat to build it up - should have figured some heavier cloth into the schedule
With chopped mat you can pull some glass from the edges and the result, besides the extra glass strands (which I put in a bucket), is that it will traverse a corner - you're actually pulling part of the glass out so plan to overlap/pull glass out of the mating glass.
I have a couple of layers to go
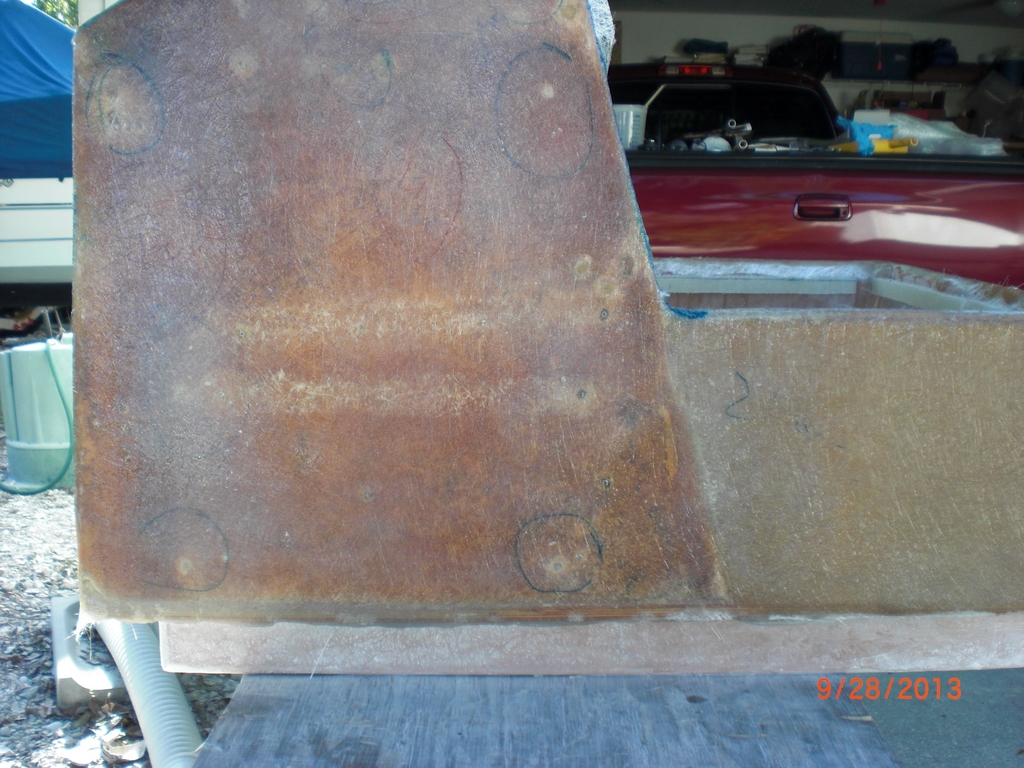
Started filling the old holes in the console - will need a few more layers
Then, while the console was doing it's hardening thing, I started cutting the sole in - came out not too shabby. :cheers: The casting deck comes in at 10.5 ft and what you see is 12ft of sole.
I used a product called Plascore and it's a honeycomb composite board. Here is a link to a guy that built his entire boat out of plascore - good info on joints and fillers. I think that some of the joints are unnecessary on a flat surface but it does show the versatility of composites
http://mountaindogs.net/plascorehull
http://mountaindogs.net/plascoredrifter
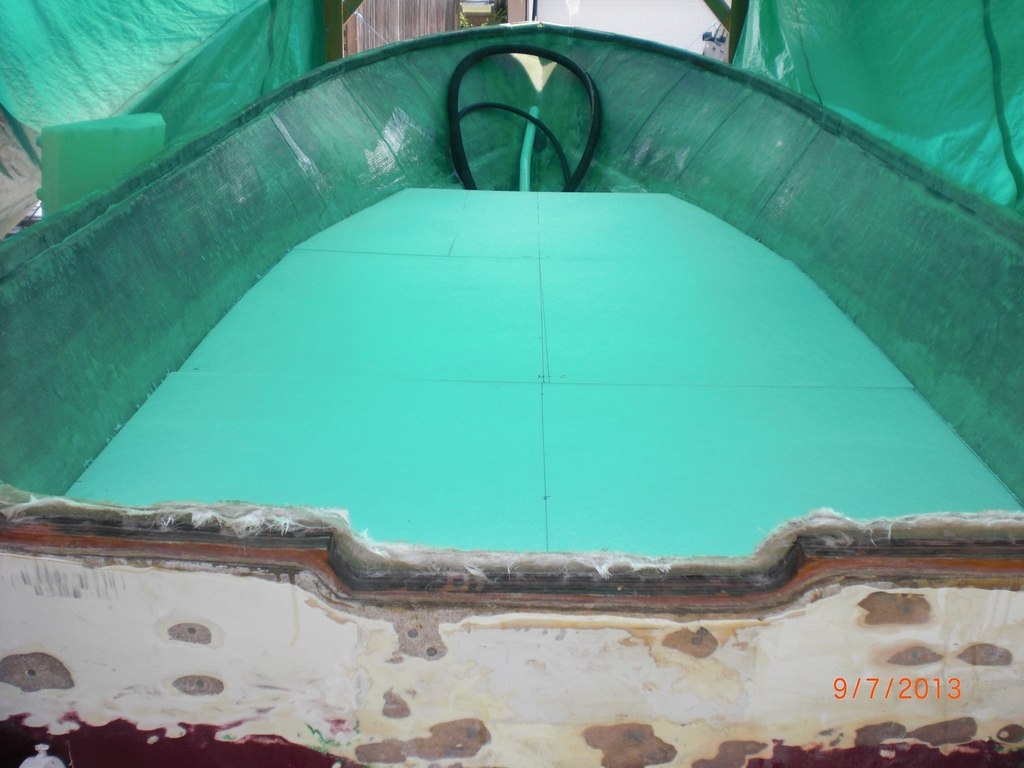
Got the sole glassed on both sides - Poly on one side (top) with just a 3/4oz mat to tie it together and epoxy on the other with a layer of 1708.