Page 1 of 1
PH18 started
Posted: Fri Nov 03, 2006 6:48 pm
by Deedaddy
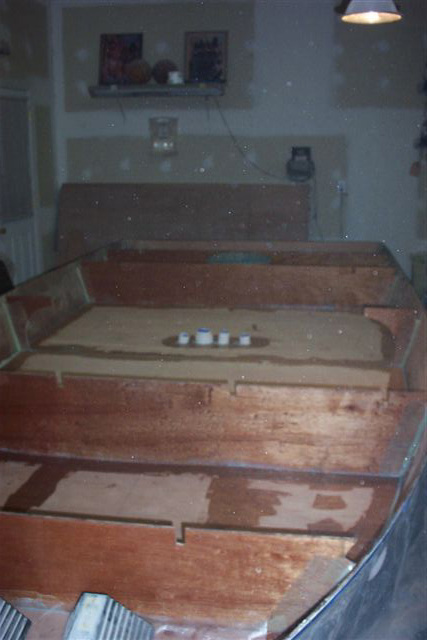
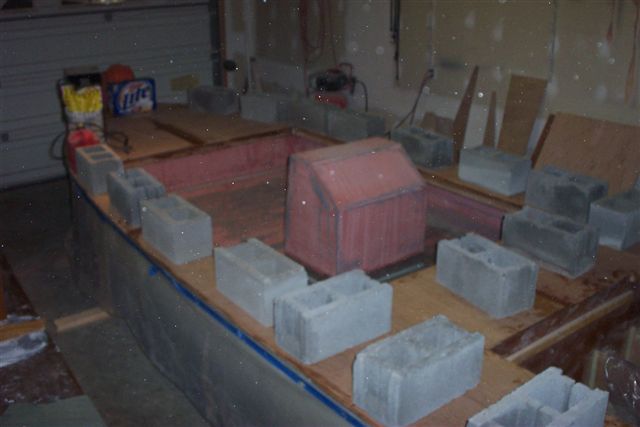
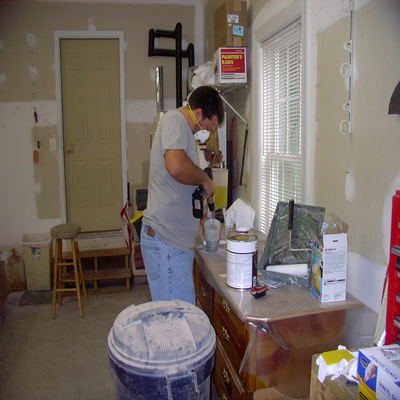
Just started a ph18 with my son-in-law. Will post pictures in a day or two.
Posted: Sat Nov 04, 2006 1:18 pm
by sharpwit
Wow! Two new phantoms in one day! Congrats and good luck on your build! Does anyone know how many phantoms are built to date? This has to be one of the most popular home-built hulls out there. Amongst power boats, that is. Anyway, please keep us posted.
Posted: Sat Nov 04, 2006 1:47 pm
by Deedaddy
Good start but will have to wait for splices to harden on side panels to do anymore.
Goes fast with some help.

Posted: Sat Nov 04, 2006 8:06 pm
by stickystuff
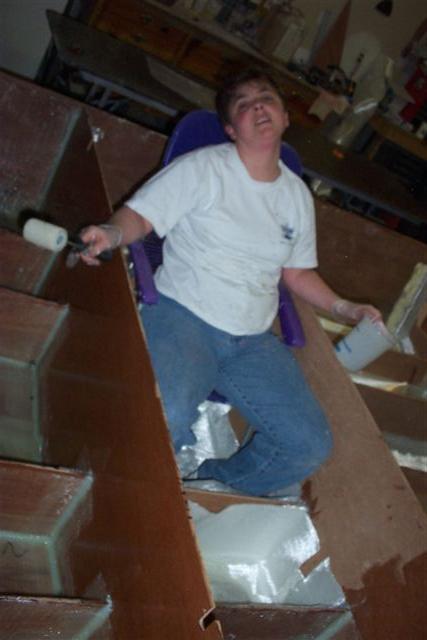
Ahh, the memories. I remember when I started my PH16. Its been 6 years now. "Sport'N A woody " is still strong as ever. Starting to show her age. Hope to give her a new coat of paint this winter. The only thing I see that youare doing right now is building on the floor. Your back will greatly appreciate it if you were to raise it up about two feet. Other than that you will love it. Super solid and stable hull to fish from.

Posted: Sun Nov 05, 2006 2:01 pm
by Deedaddy
Looks like I should have ordered the glass sooner.
Posted: Sun Nov 05, 2006 3:46 pm
by sgorey
you make it look easy. Looking forward to watching the rest of your build.
Steve
Posted: Sun Nov 05, 2006 4:01 pm
by Deedaddy
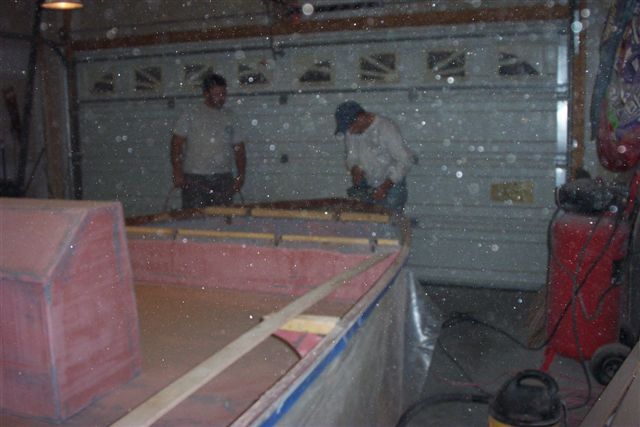
It is easy when all you do is tell someone what to do...LOL
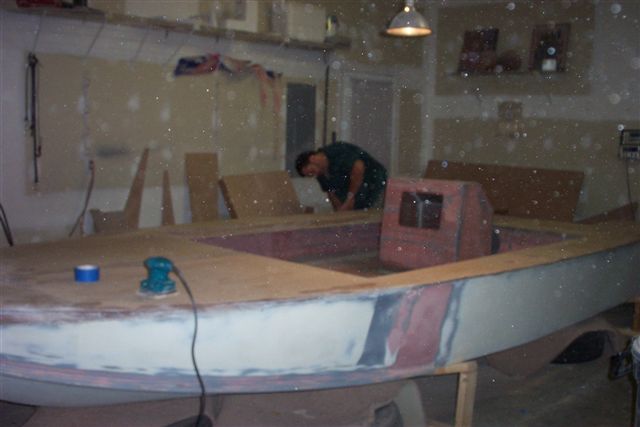
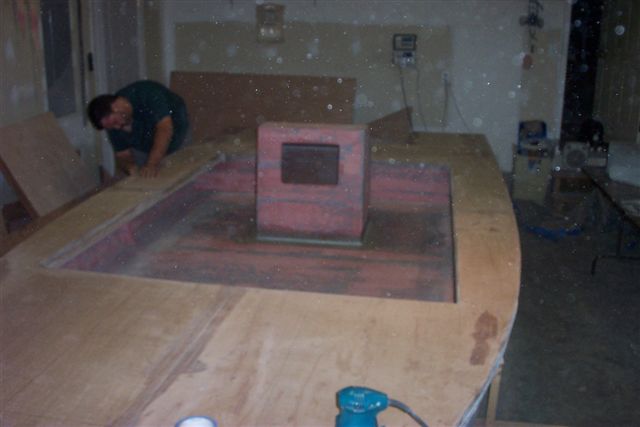
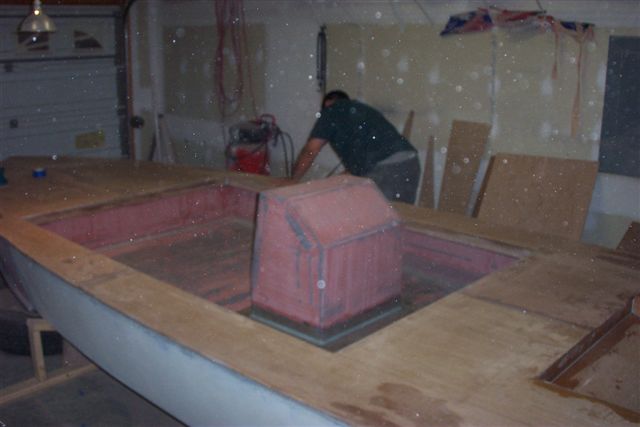
Two days down and they are having a great time.
 http://gallery.bateau2.com/thumbnails.php?album=558
Posted: Wed Nov 08, 2006 8:38 pm
by Deedaddy
Posted: Wed Nov 08, 2006 10:08 pm
by jayb01
You ain't wastin no time are ya!


Posted: Wed Nov 08, 2006 10:30 pm
by Deedaddy
To old to waste time...LOL
Of course there is plenty of time to nap waiting for epoxy to harden.
Nice pics jayb01.........
Posted: Fri Nov 10, 2006 10:48 am
by Deedaddy
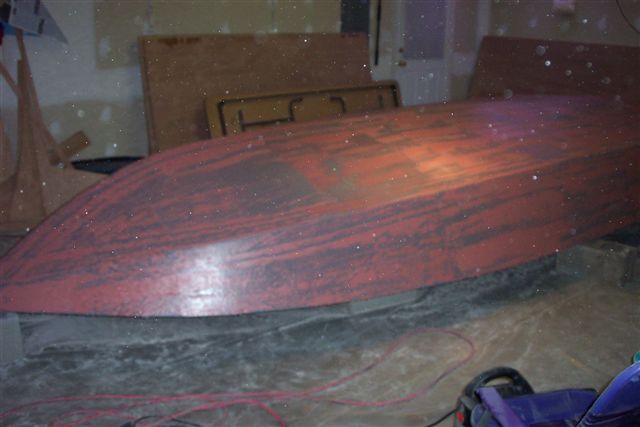
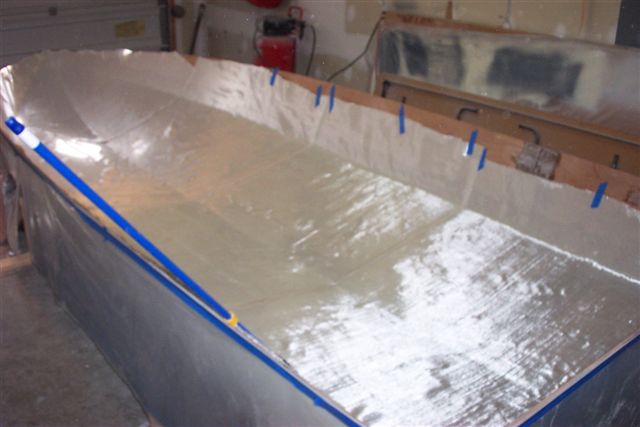
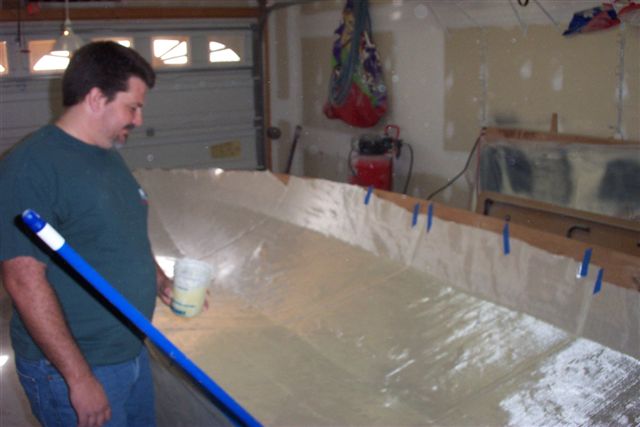
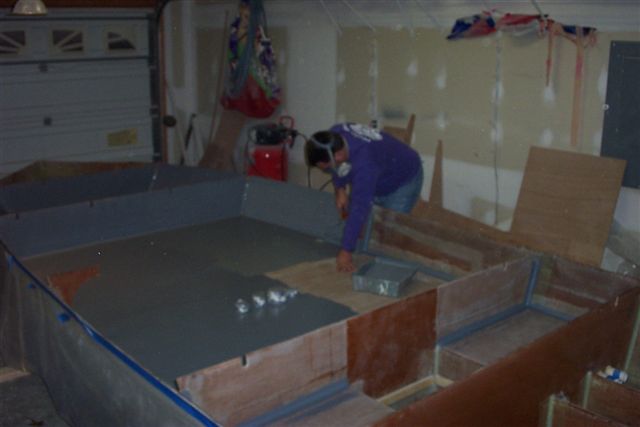
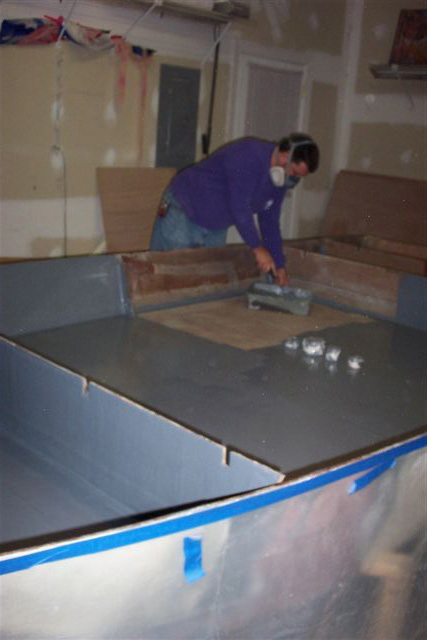
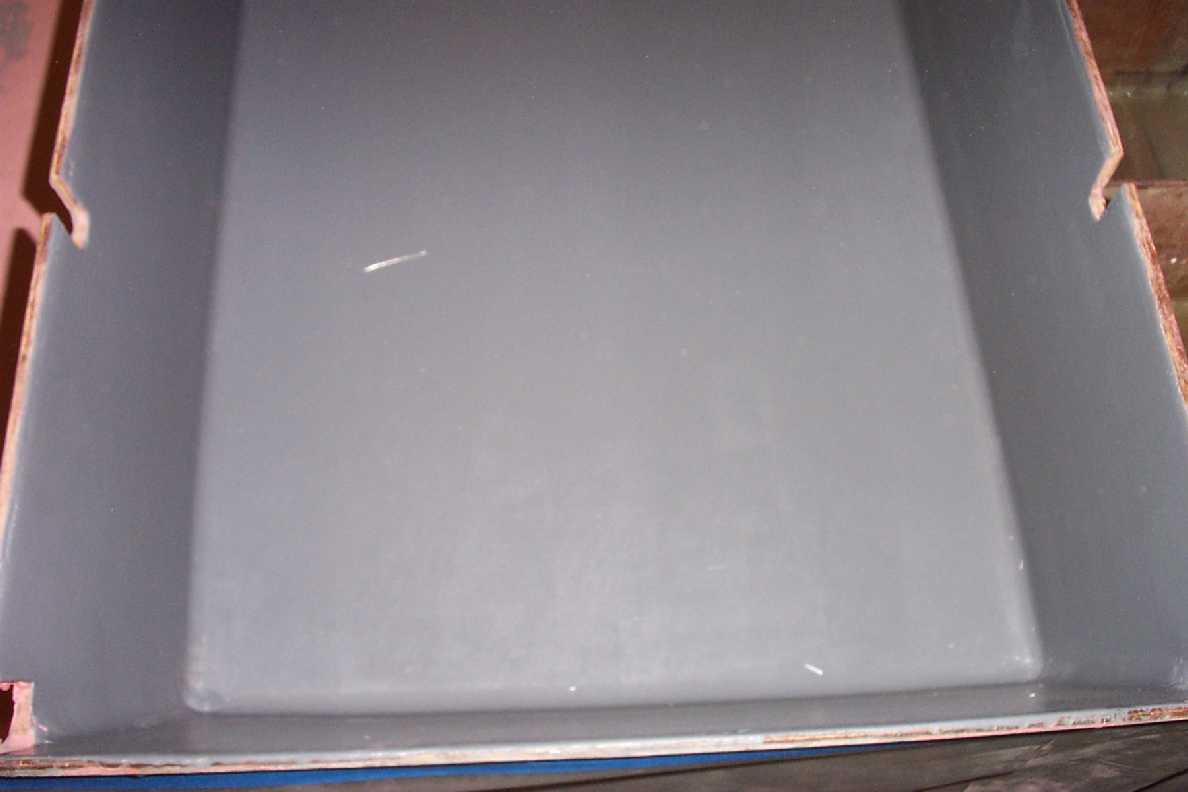
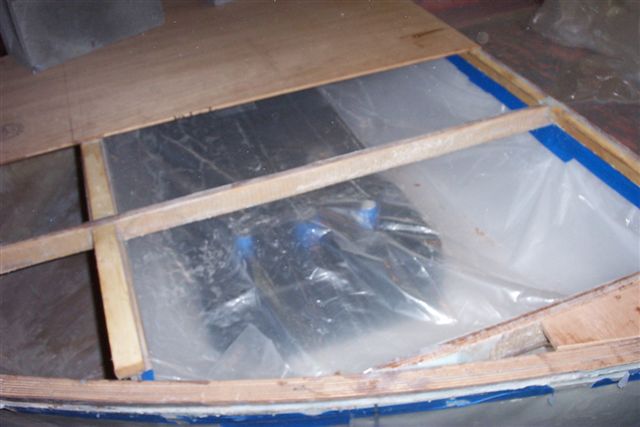
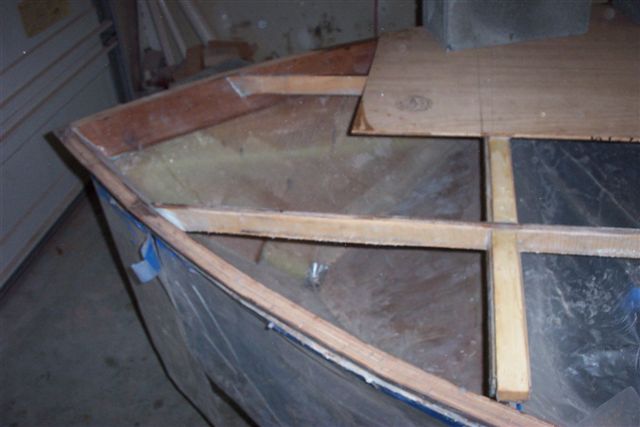
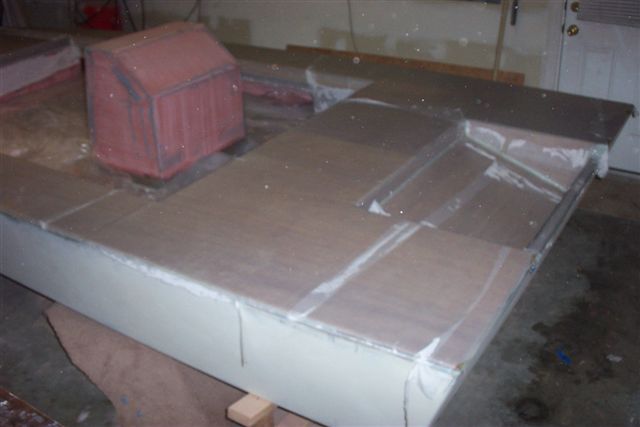
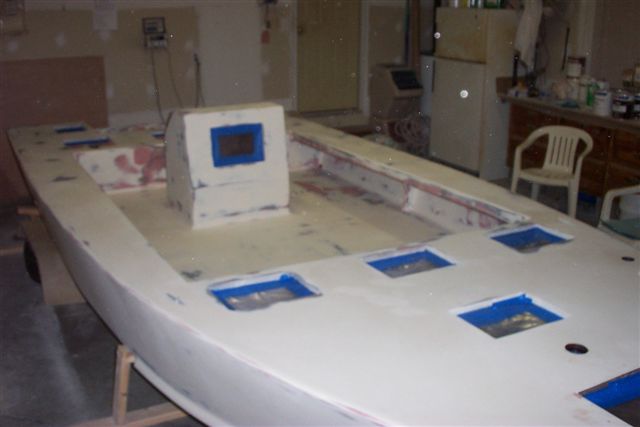
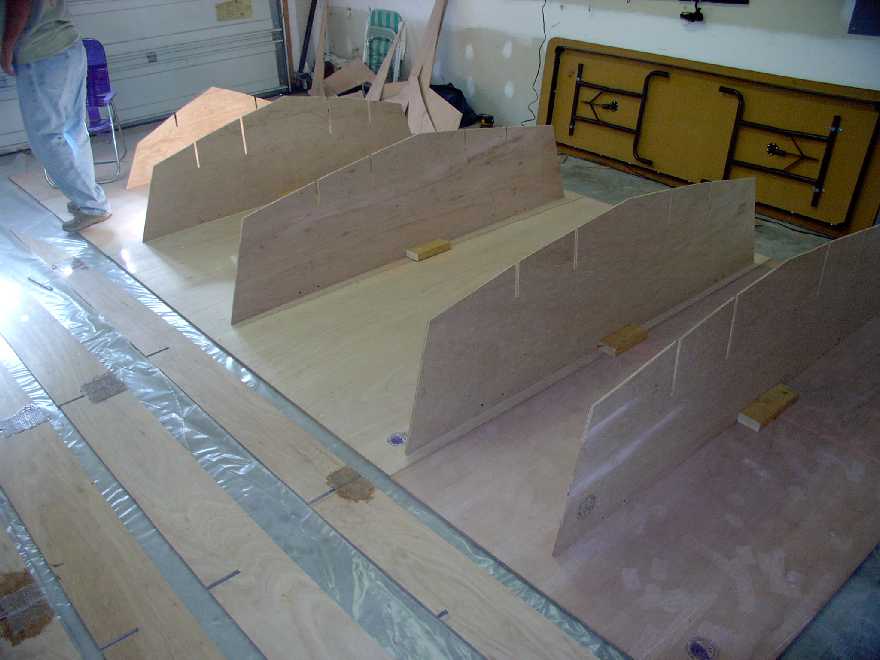
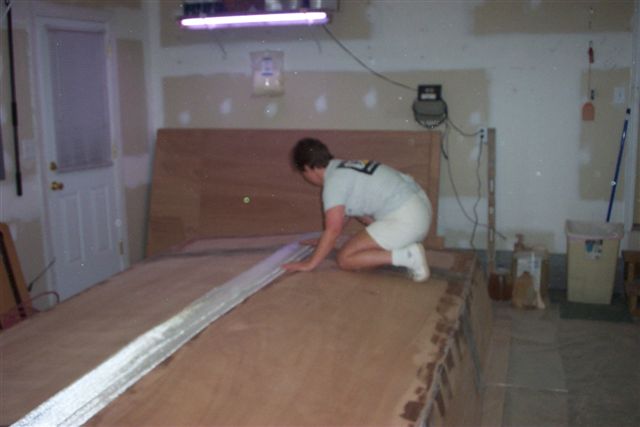
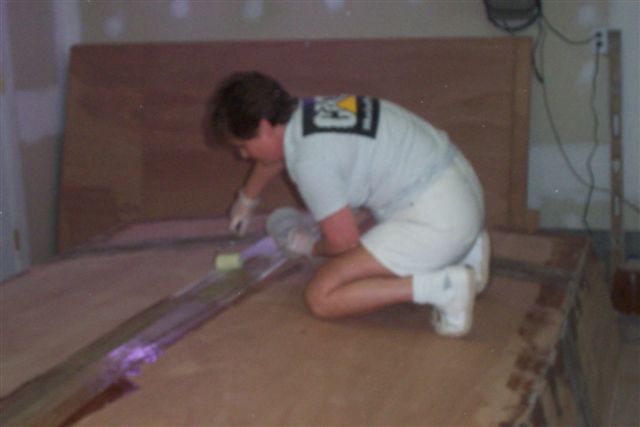
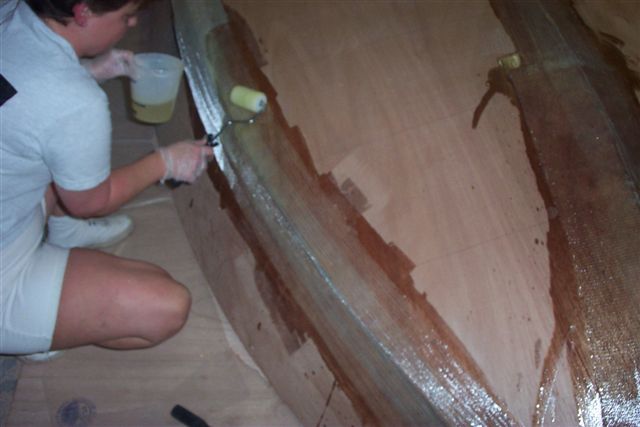
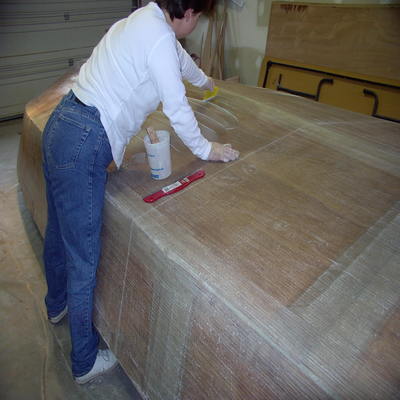
Cut out the glass for the hull.
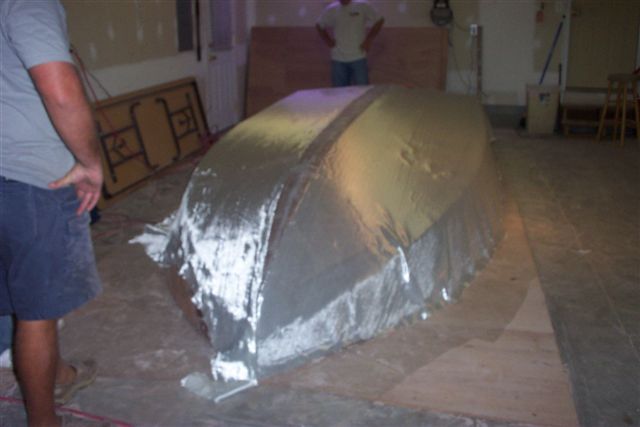
Coated hull with epoxy at 6:30 pm. Let it set for 3 hours.

Started glassing at 9:30 pm and finished peelply at 12:30 am.
Posted: Fri Nov 10, 2006 11:03 am
by tech_support
nice progress. It shows how clean the laminations look when you do it all at once. 3 hours isn’t so bad, when you consider all the mixing.
Plastic will sure make the fairing easier.
Let me guess, you have a 200 hp outboard for this one

Posted: Fri Nov 10, 2006 11:25 am
by Deedaddy
I am not sure what size engine they want but I think it is a 70 to 90 hp 4-strock. 200hp would be fun...
...I will watch from shore...LOL
So far they have about 34 man-woman hours it. Started last friday. The only thing I have done it draw out the parts on the plywood. The peelply is linen. Fairing will be quick, Kathy is use to doing fairing on large hulls up to 65'.
Thanks Joel for the quick shipping of the glass.
Posted: Fri Nov 10, 2006 12:45 pm
by ChuckS
You said that the peelply you used is linen.....does it release easily? Is there a pattern or weave imprinted on the glassed surface after removal of the linen? Was it a special type of linen used? Thanks for the info......
Posted: Fri Nov 10, 2006 1:44 pm
by Deedaddy
I was wrong it is nylon release peel ply fabric. The fabric leaves a fine surface impression for priming and secondary bonding. It also helps remove excess epoxy.
Saves alot of sanding.
Posted: Fri Nov 10, 2006 3:31 pm
by mud390
Do you have any pictures of this peelply? What about a purchasing source? Boat looks great and I'm intently watching this thread!
Kris
Posted: Fri Nov 10, 2006 3:45 pm
by tech_support
Reel peel ply is expensive, try to find the nylon cloth at craft store. maybe $3 to $4 a yard, and it can be used several times.
Posted: Fri Nov 10, 2006 4:22 pm
by Deedaddy
shine wrote:Reel peel ply is expensive, try to find the nylon cloth at craft store. maybe $3 to $4 a yard, and it can be used several times.
The reason I could afford the real thing is my sons company buys it in factory rolls (275 yds)@$3/yd. Retail is 6.50/yd
It took about 12 yds which would be $78.
Posted: Fri Nov 10, 2006 5:02 pm
by Doug
I could not imagine fairing a 65' boat

Makes me tired even thinking about it.
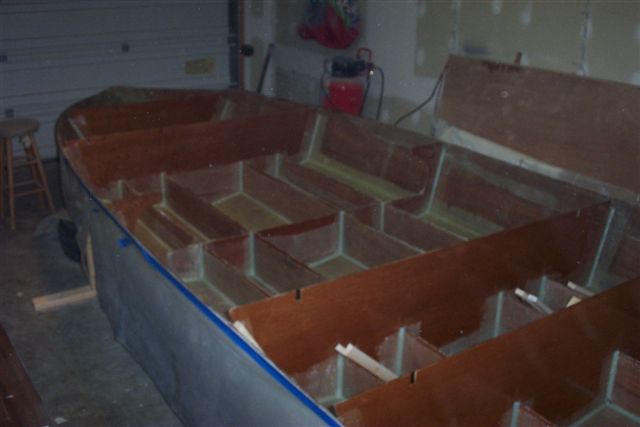
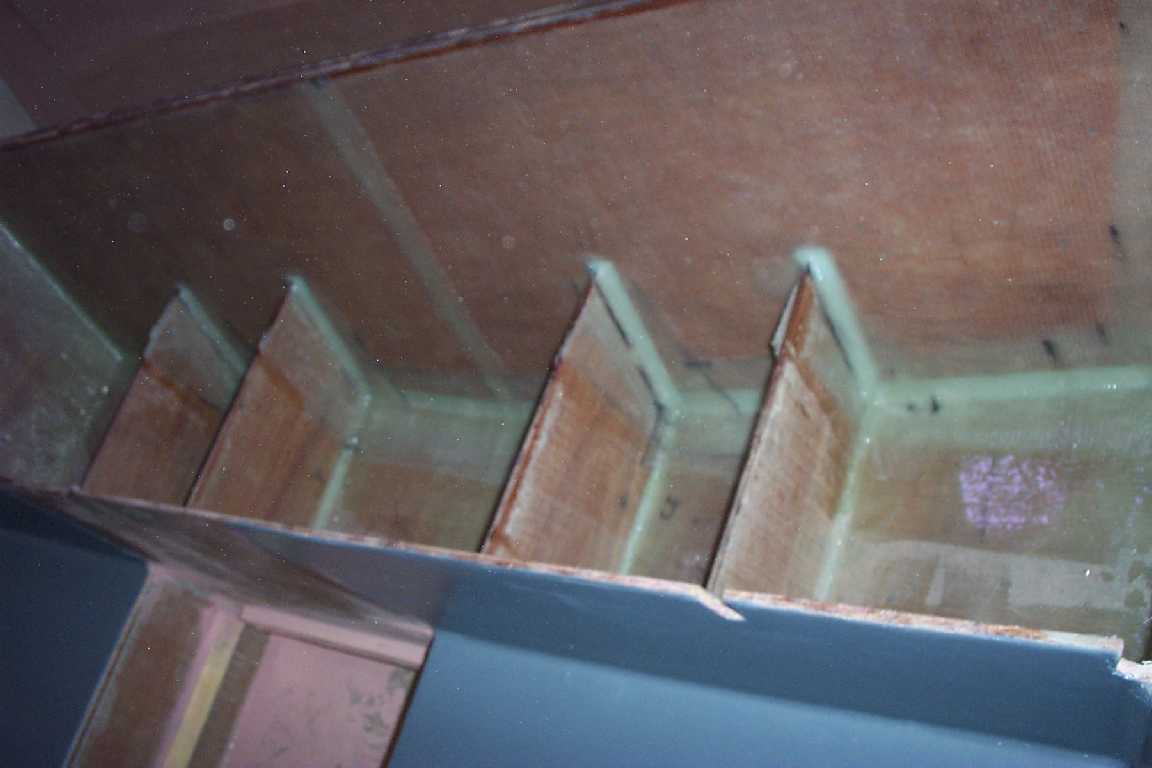
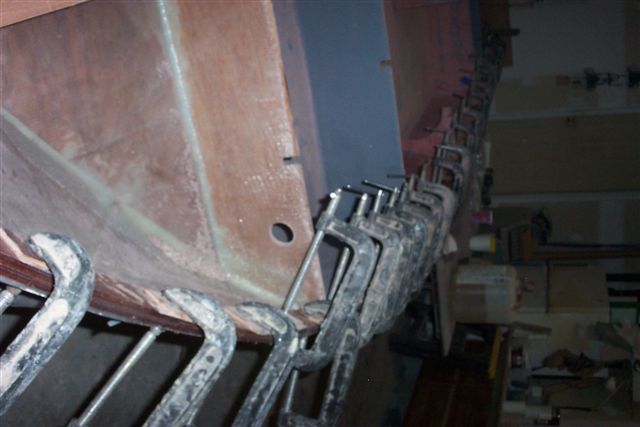
Fillets, Tabs and cleats on all the stringers and bulkheads is also fun on a PH I must say. I would highly recommend glassing in the stringers and bulkheads before fairing to eliminate any hull movement and potential for introducing hooks and dips after it's faired. It takes some extra flips but that's easier than fairing again over a nicely painted hull.
Posted: Fri Nov 10, 2006 5:33 pm
by Deedaddy
That may be a good way. I did not do it on my cx25 and did not have any problem. Just made sure the hull was well supported and that the structure fit without binding. There are many ways to approach any part of the building process. It is what work best for you in most cases.
Posted: Fri Nov 10, 2006 8:30 pm
by Deedaddy
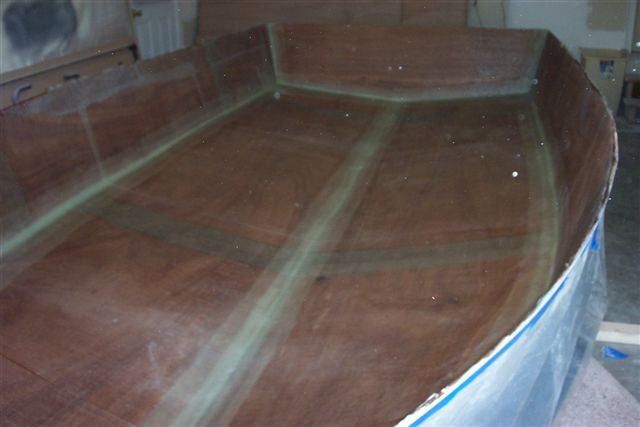
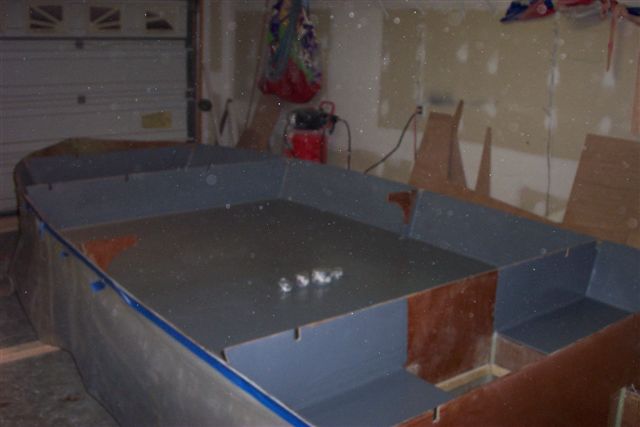
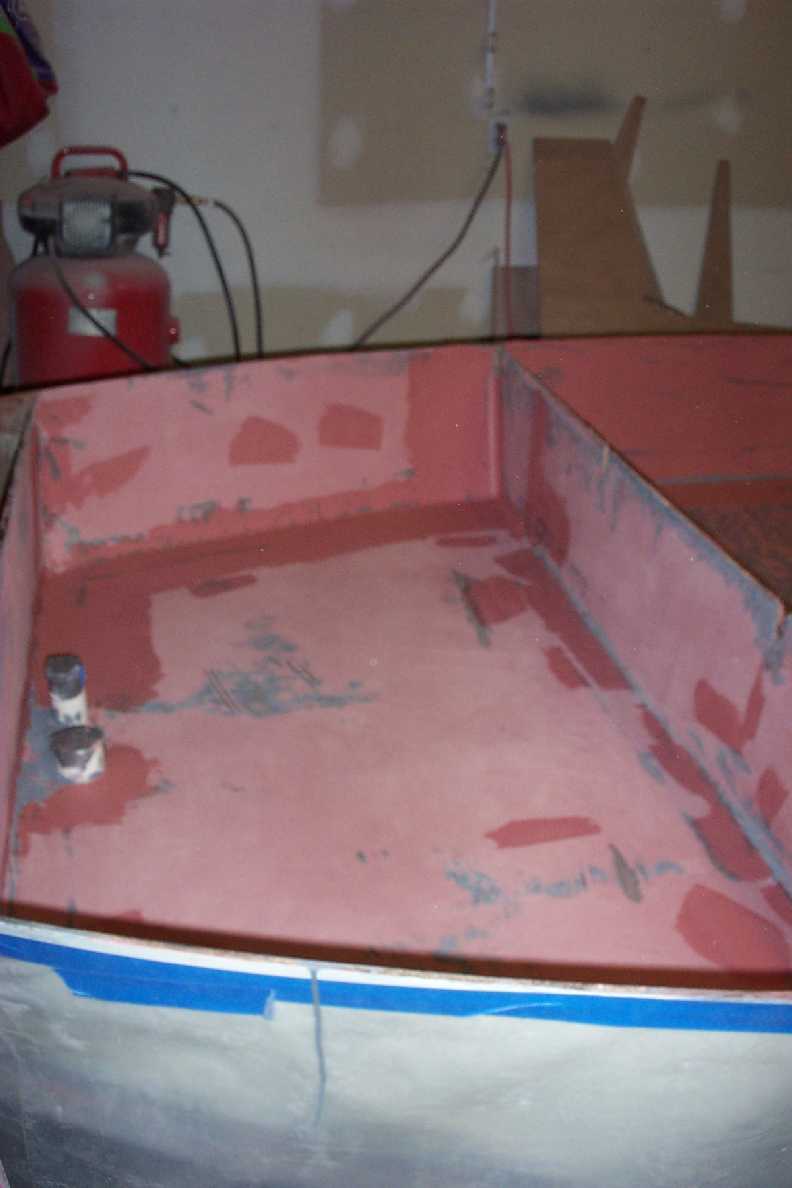
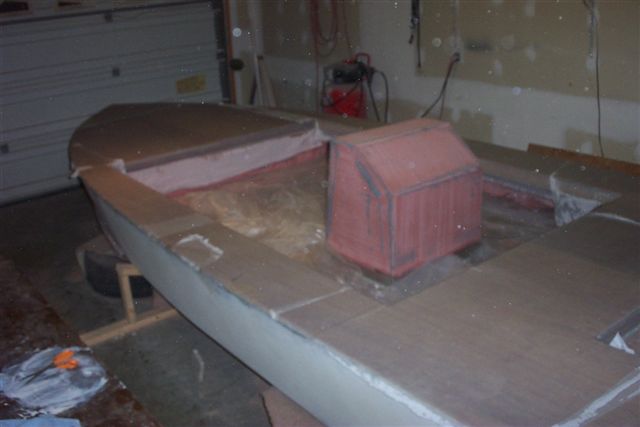
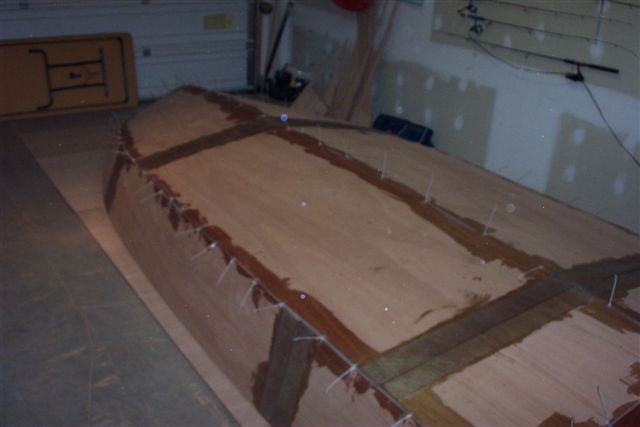
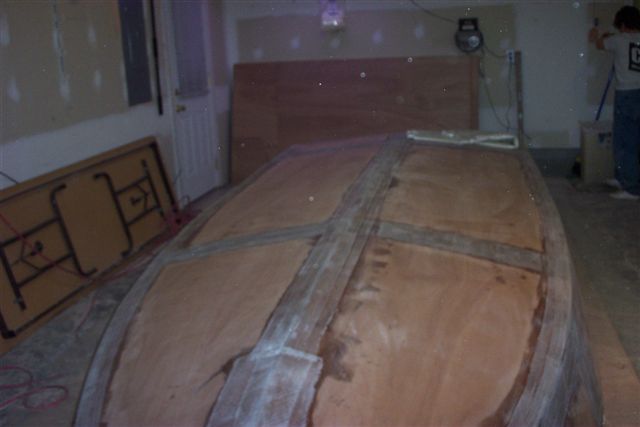
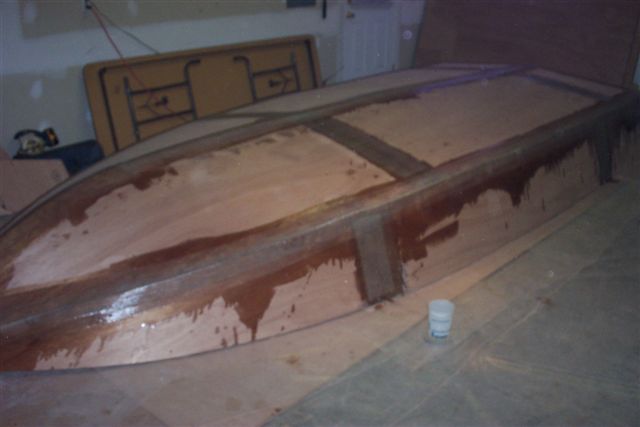
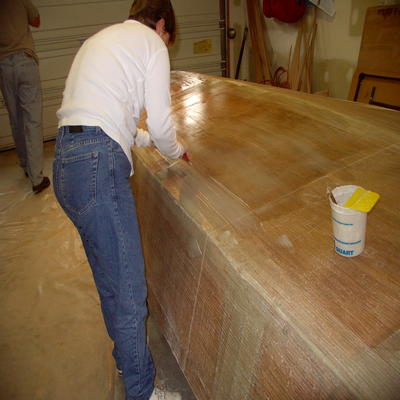
Removing the peel ply
The peel ply really get the glass down to the wood.
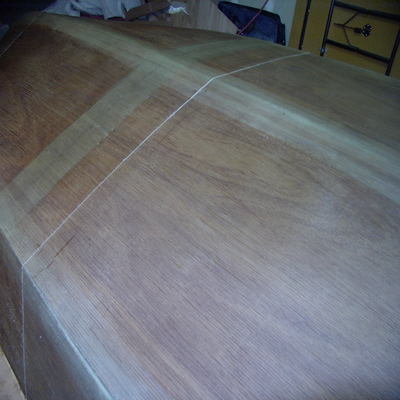
Sanding off the ridges at peel ply laps.
Will wait til tommorow to wash off any blush.
Posted: Sat Nov 11, 2006 11:27 am
by Doug
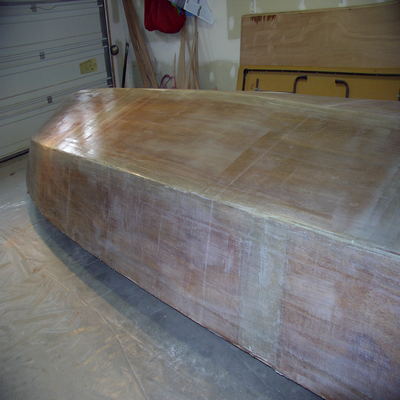
The big difference is the PH hull is only 1/4" ply where the CX25 is 1/2" + so it is a lot more prone to dips and waves till the inside is glassed and stringers are attached.
The hull is looking good. I like the way the peel ply worked. It will save a lot of fairing time.
Posted: Sat Nov 11, 2006 4:01 pm
by Deedaddy
The cx-25 has 3/8" bottom and 1/4" sides and wider panels. We will see how it goes. I did not take it pass primer until the inside was finished.
Posted: Sun Nov 12, 2006 1:11 pm
by Deedaddy
Posted: Wed Nov 15, 2006 7:58 am
by Deedaddy
Posted: Wed Nov 15, 2006 8:10 am
by tech_support
Again, what great progress

Posted: Wed Nov 15, 2006 10:41 am
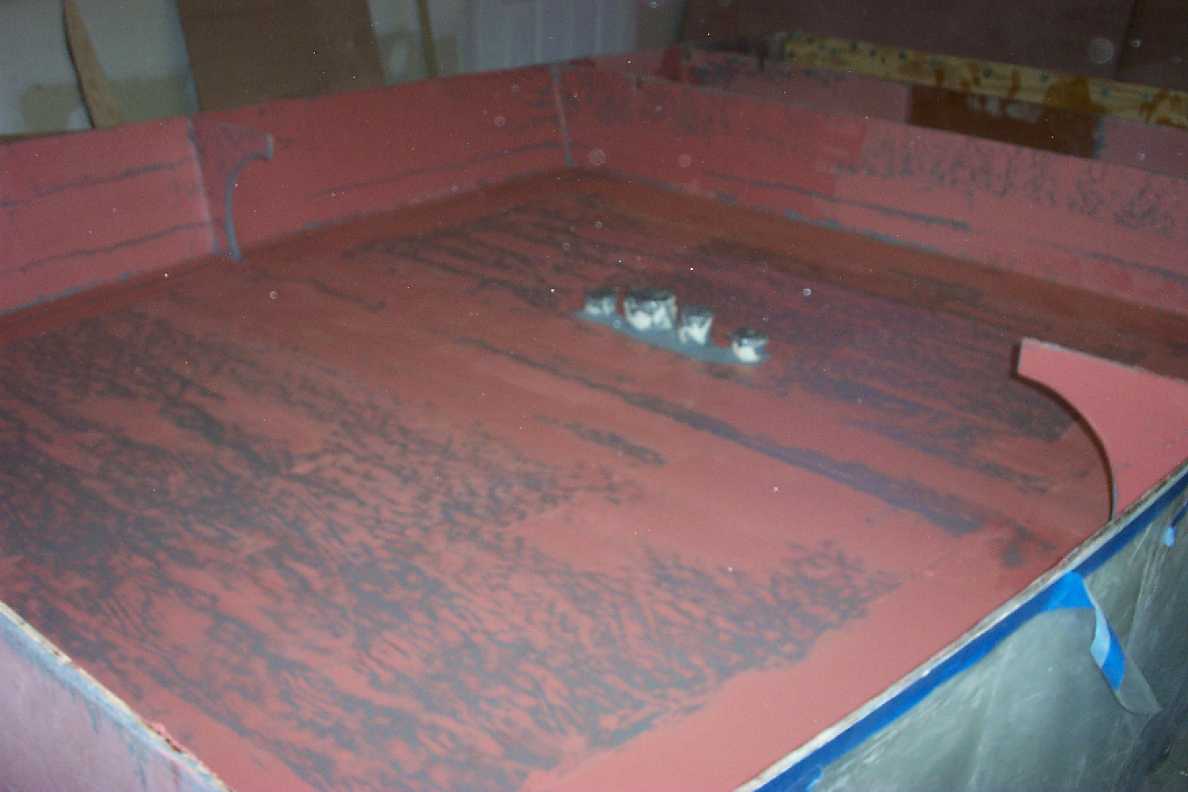
by Deedaddy
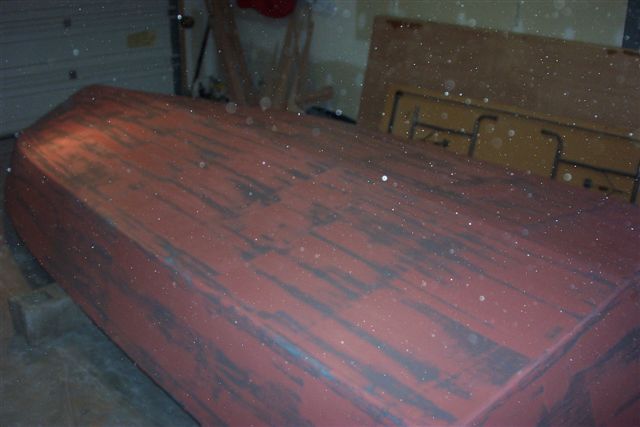
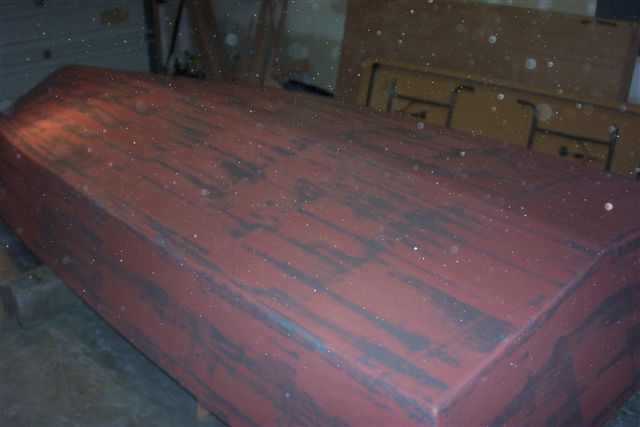
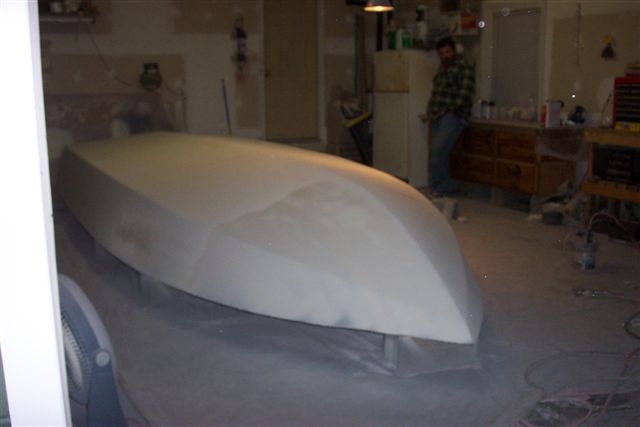
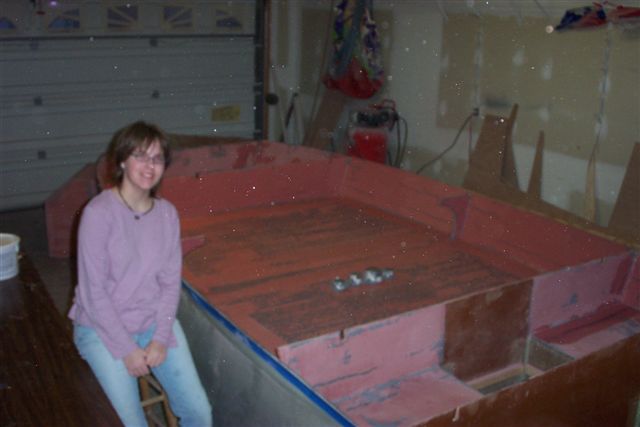
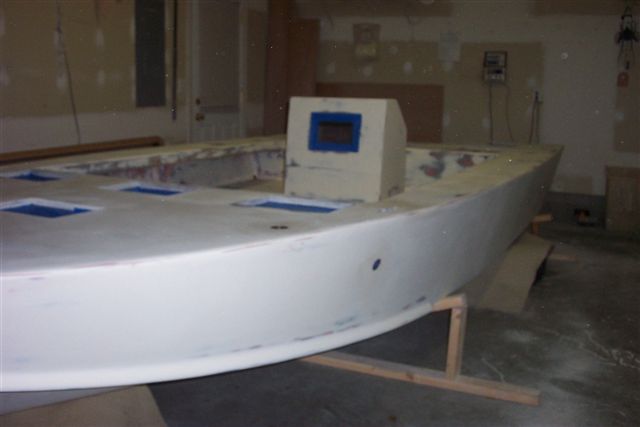
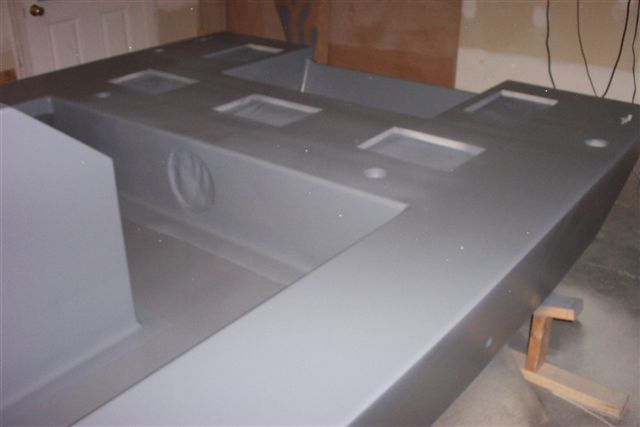
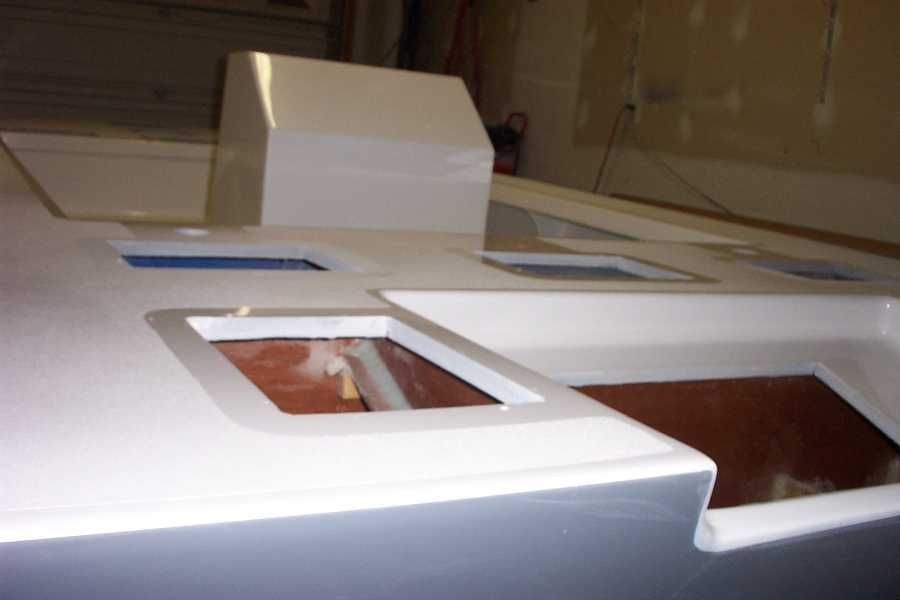
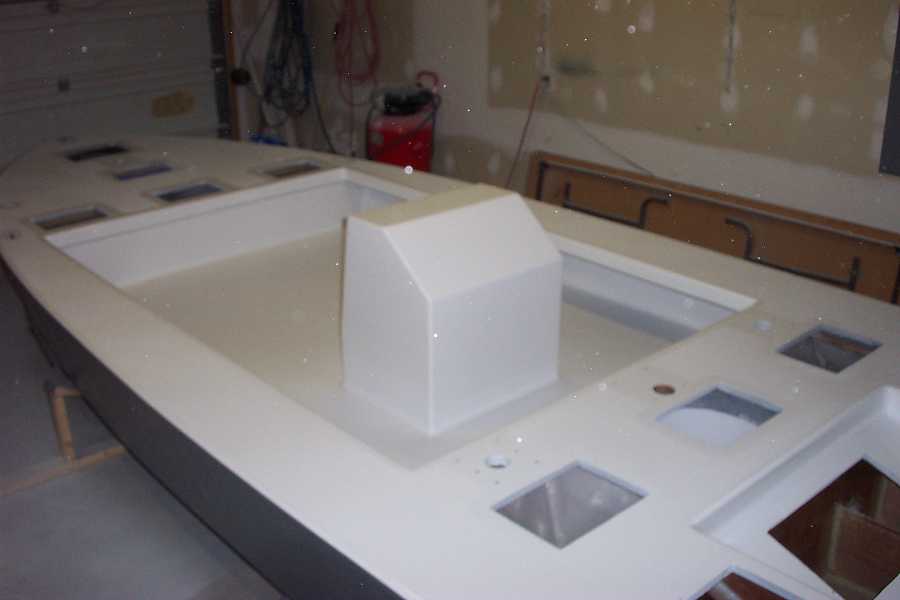
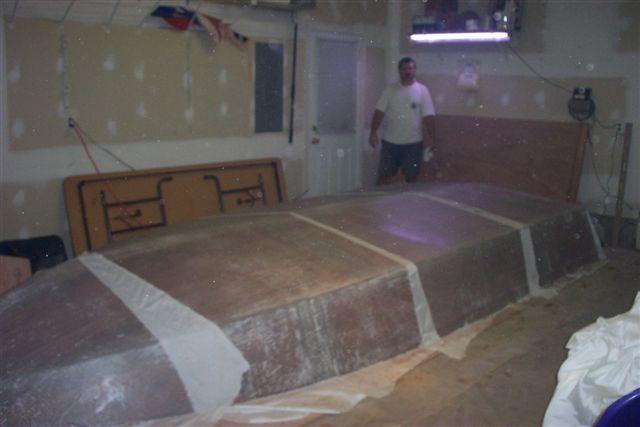
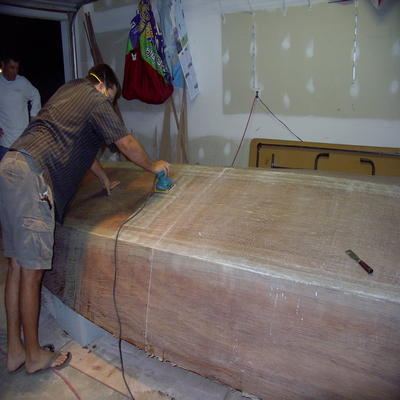
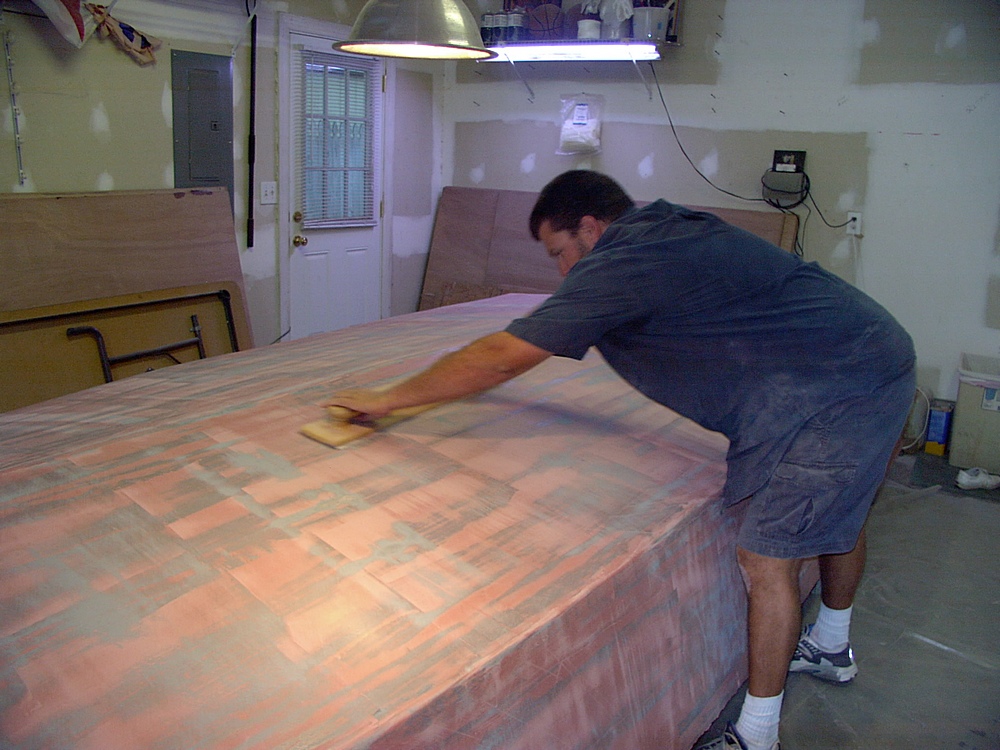
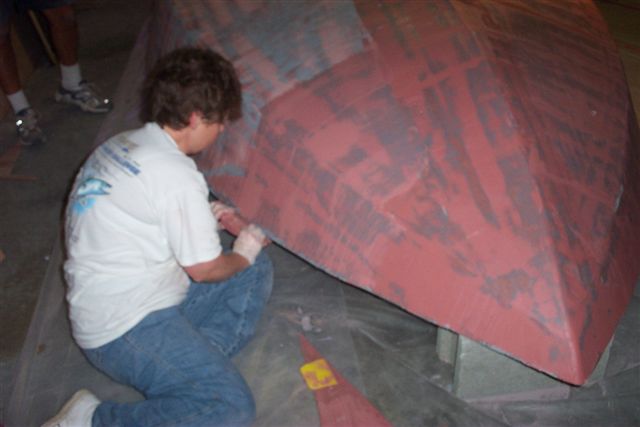
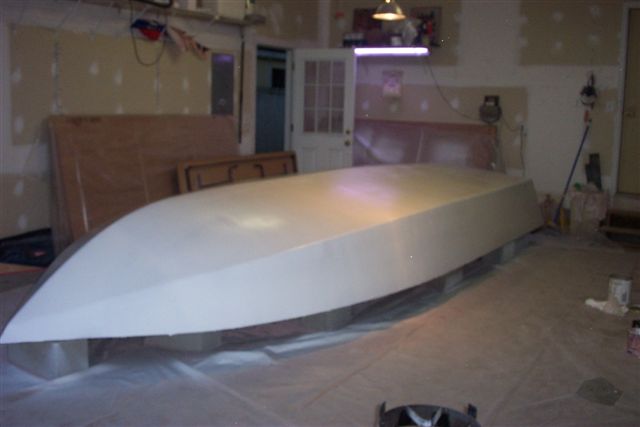
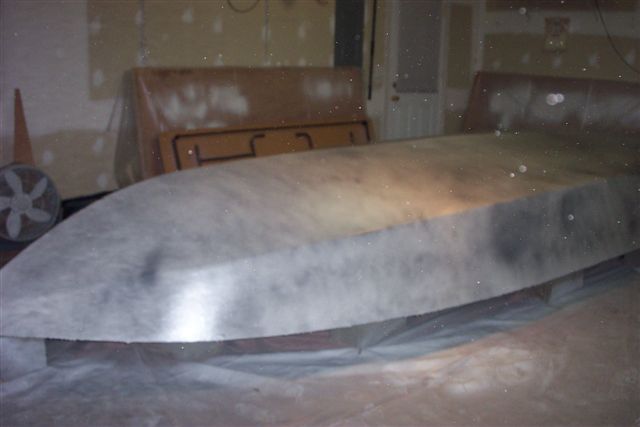
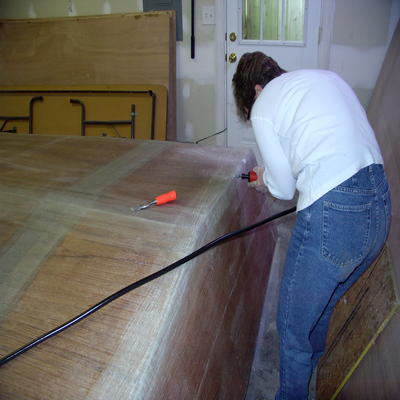
The plan is to board sand and pull fairing compourd again tonight. You can see that the first pull was length wise. The next one will be width wise. That should finish filling the deepest low spots. Then board sand again the next day and wash. Add another coat of primer and board sand to reveal any remaining low spots. They are having fun now.
Posted: Wed Nov 15, 2006 1:45 pm
by ChuckS
This is an awesome tutorial/pictorial on finishing and fairing.....thanks for the great pictures! Keep'em coming!
Posted: Wed Nov 15, 2006 5:15 pm
by Deedaddy
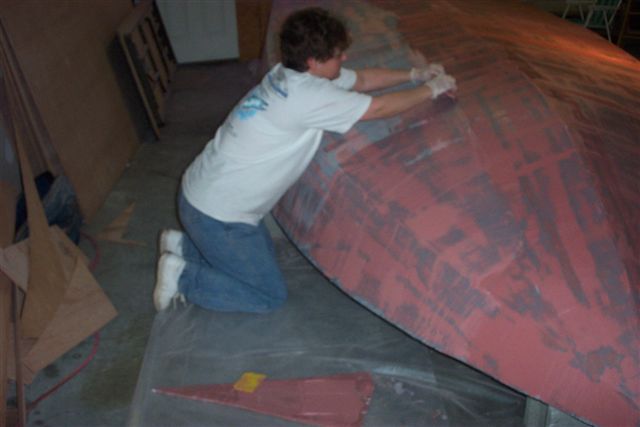
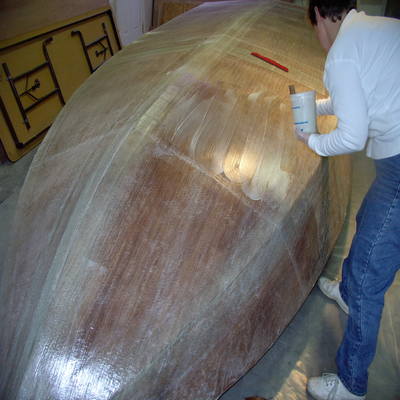
Sanding is good for a workout.
Keep the board inline with the keel and make long diagonal strocks.
Posted: Thu Nov 16, 2006 11:52 am
by Doug
It's great to see how experienced builders fair a boat
It would have saved me a lot of work learning the tricks the first time as well as learn a few more.
One thing I have not seen before is priming first then fairing and priming again? Is that a common process?
Posted: Thu Nov 16, 2006 12:50 pm
by Deedaddy
The product we are using to fair with calls for primer. The primer has some build up and helps by turning the surface all one color. When you add fairing compound the low spots are red and the high spots are gray after pulling across the surface with a long straight edge. Gives you a guide to sanding. The board sander should be used to sand to the primer but not beyond. After the second pull you should sand back to the same level as you did the first time.
You should follow the directions from the manufacture of the fairing compound as to surface prep. If I was mixing my own with epoxy I would not prime but use the same process when fairing.
I am not sure what Quick Fair calles for but am sure it is in the directions.
Posted: Thu Nov 16, 2006 2:13 pm
by Newt
Does anyone wet sand as done on auto paint jobs?
Posted: Thu Nov 16, 2006 4:40 pm
by Deedaddy
Newt wrote:Does anyone wet sand as done on auto paint jobs?
Sometimes wet sanding maybe used in the final finish. At the fairing stage we are using 80 grit paper to level .....fair.....and give a good secondary bond.
The paint we plan to use is Awlgrip that will be sprayed in 4 coats wet on wet. Wet sanding will only happen if there is a run.
Posted: Thu Nov 16, 2006 6:56 pm
by Newt
You might want to check out Eastwood before sanding runs too much
http://www.eastwoodco.com/jump.jsp?item ... pe=PRODUCT
Posted: Thu Nov 16, 2006 9:19 pm
by Deedaddy
Thank you....I have don't that in the past but free hand. Cool tool.
Posted: Sat Nov 18, 2006 5:07 pm
by Deedaddy
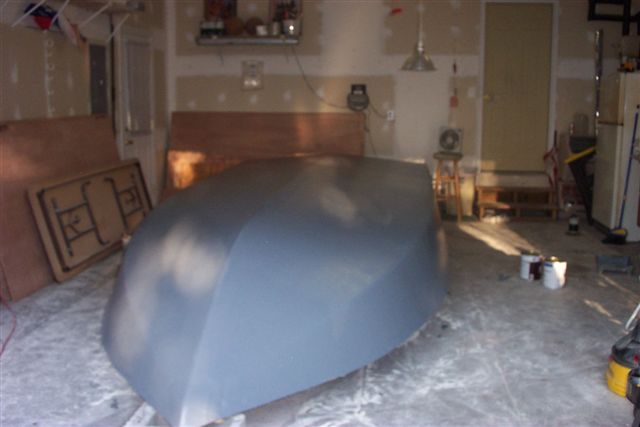
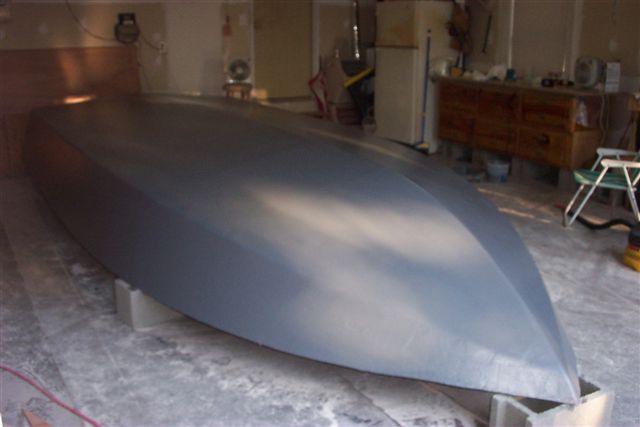
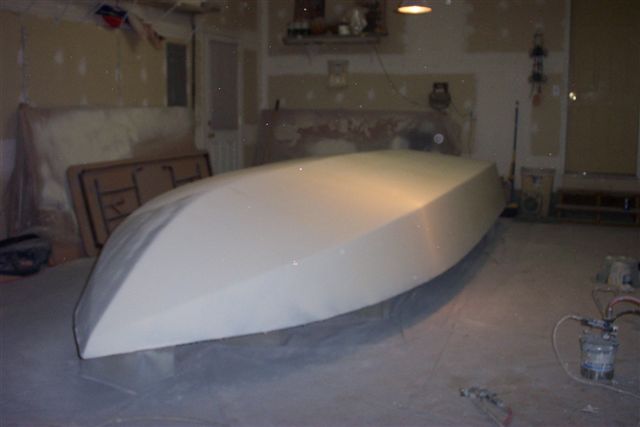
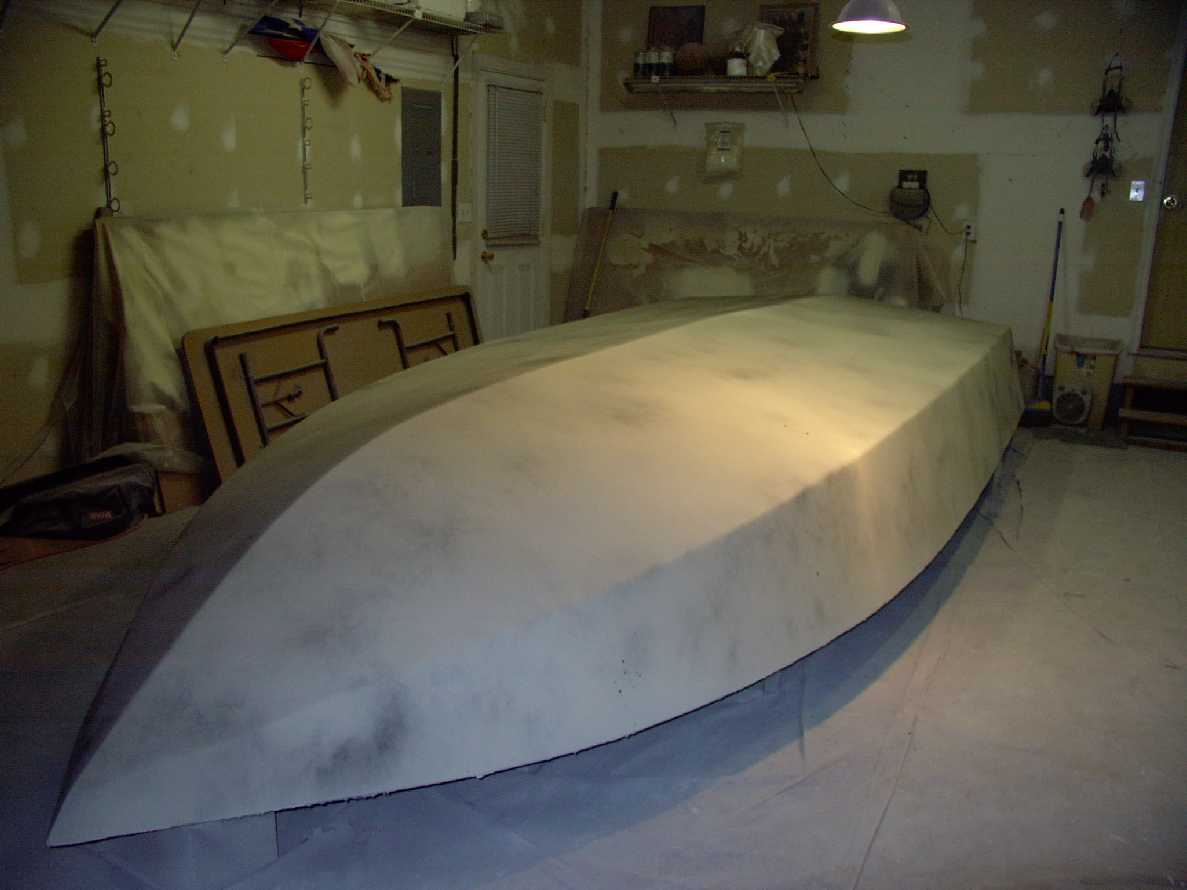
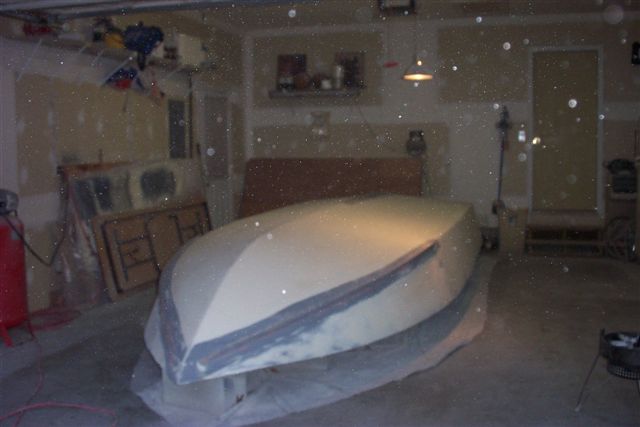
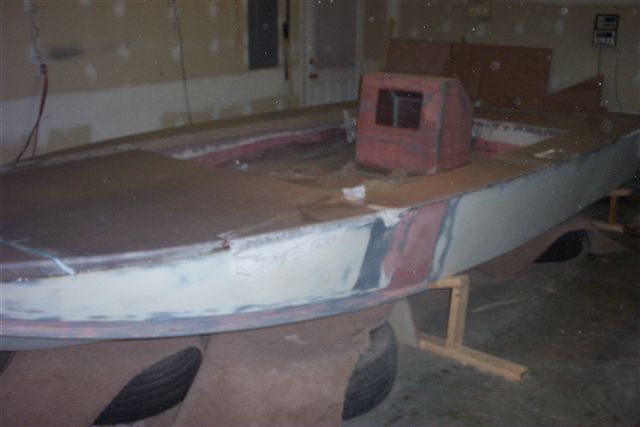
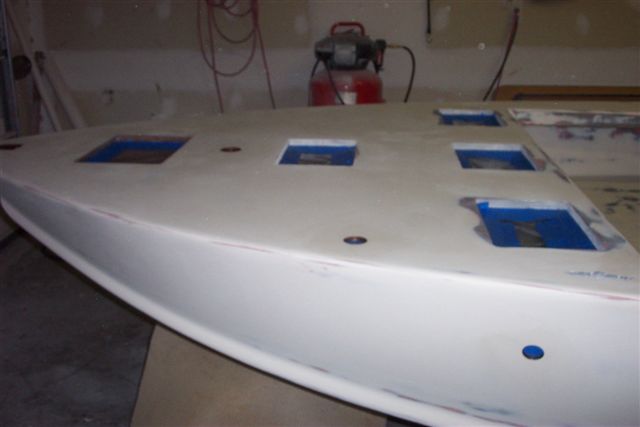
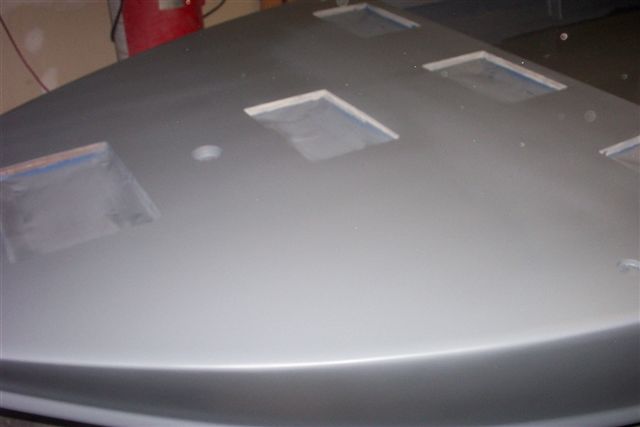
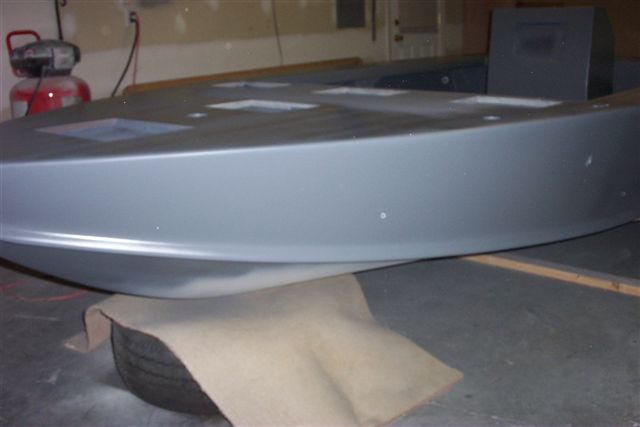
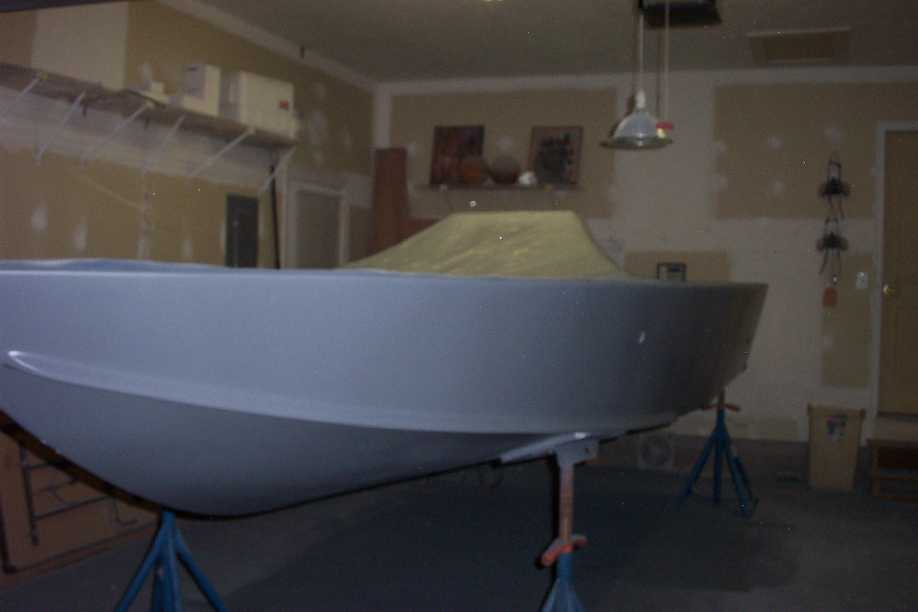
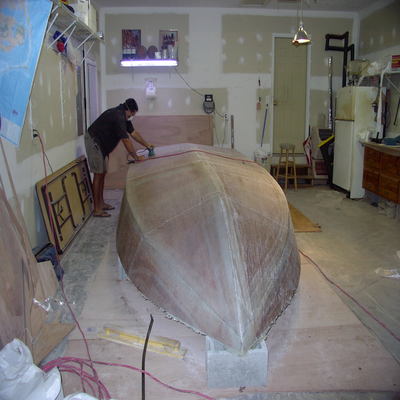
The hull is ready to spray on some high build primer.
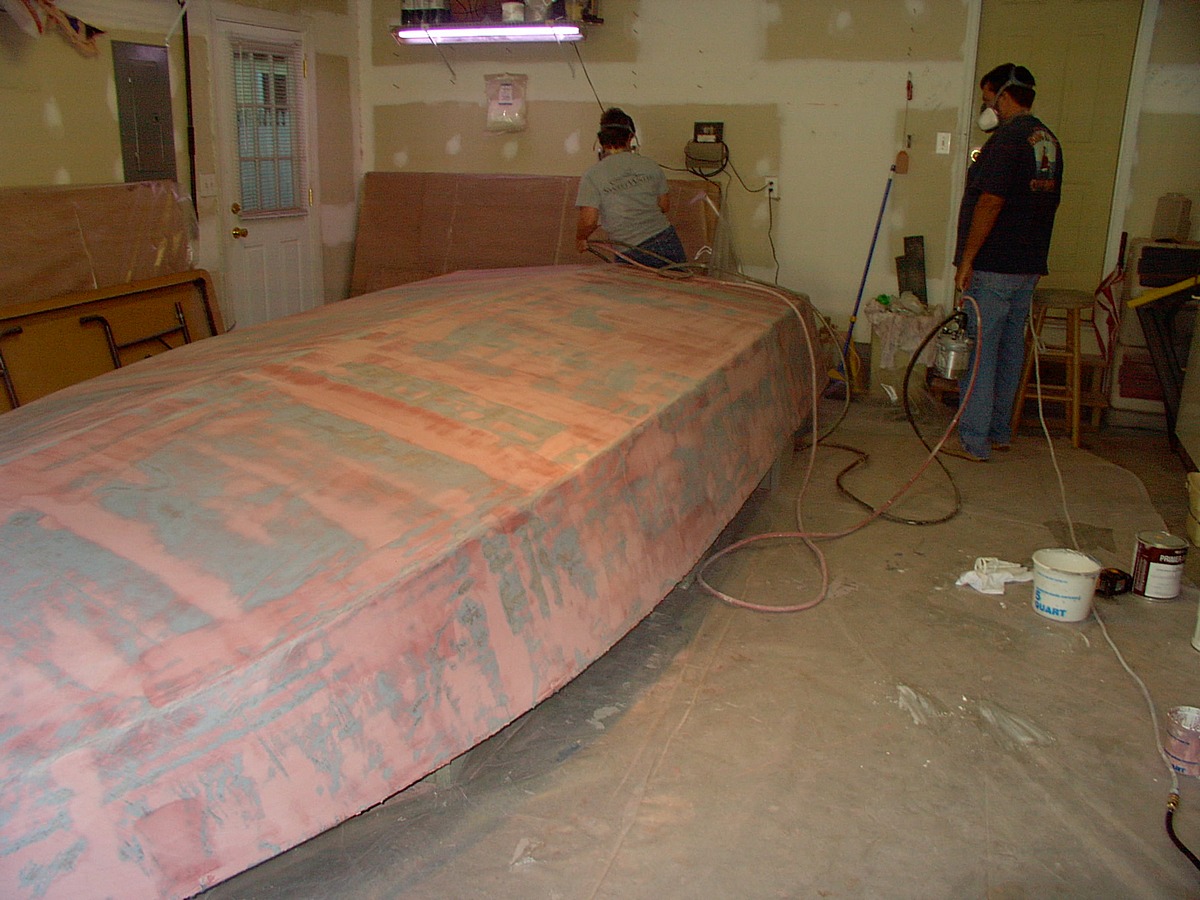
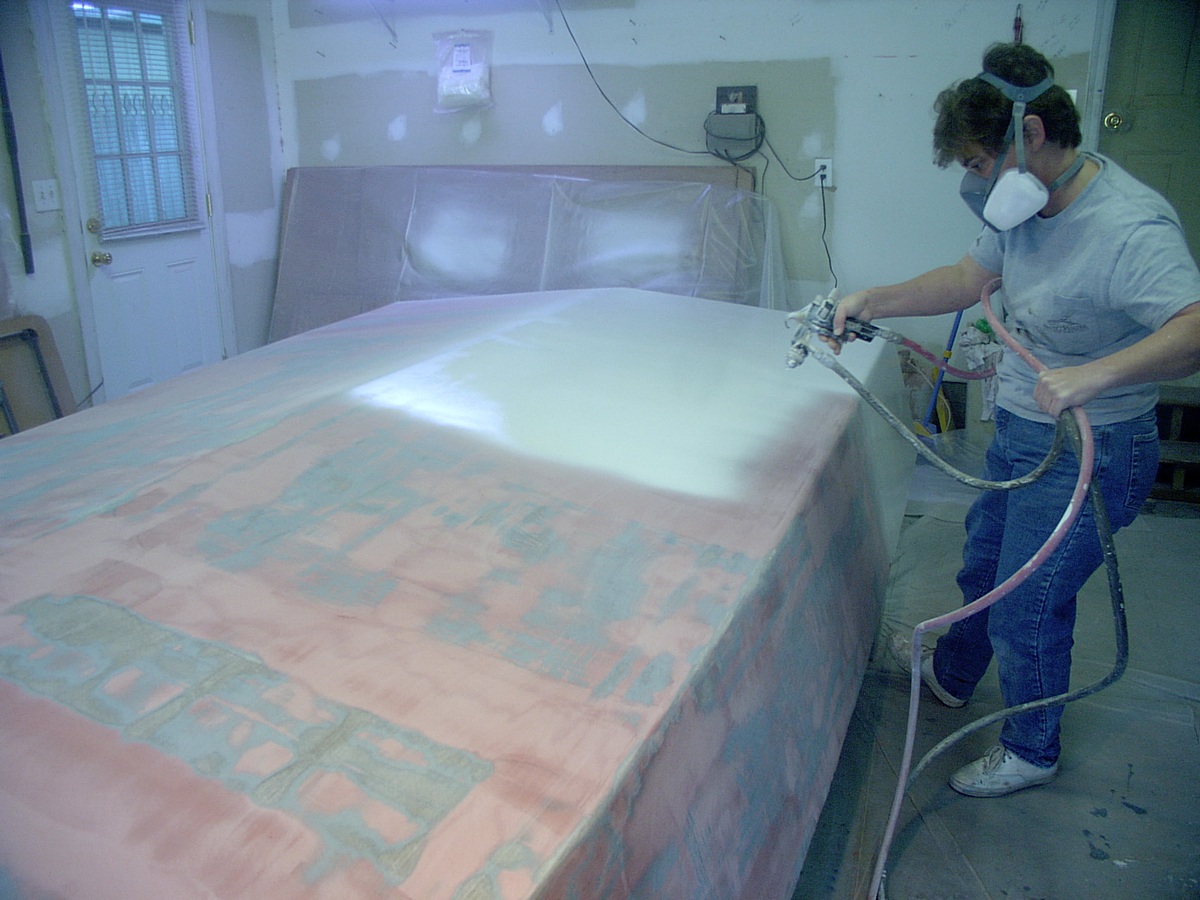
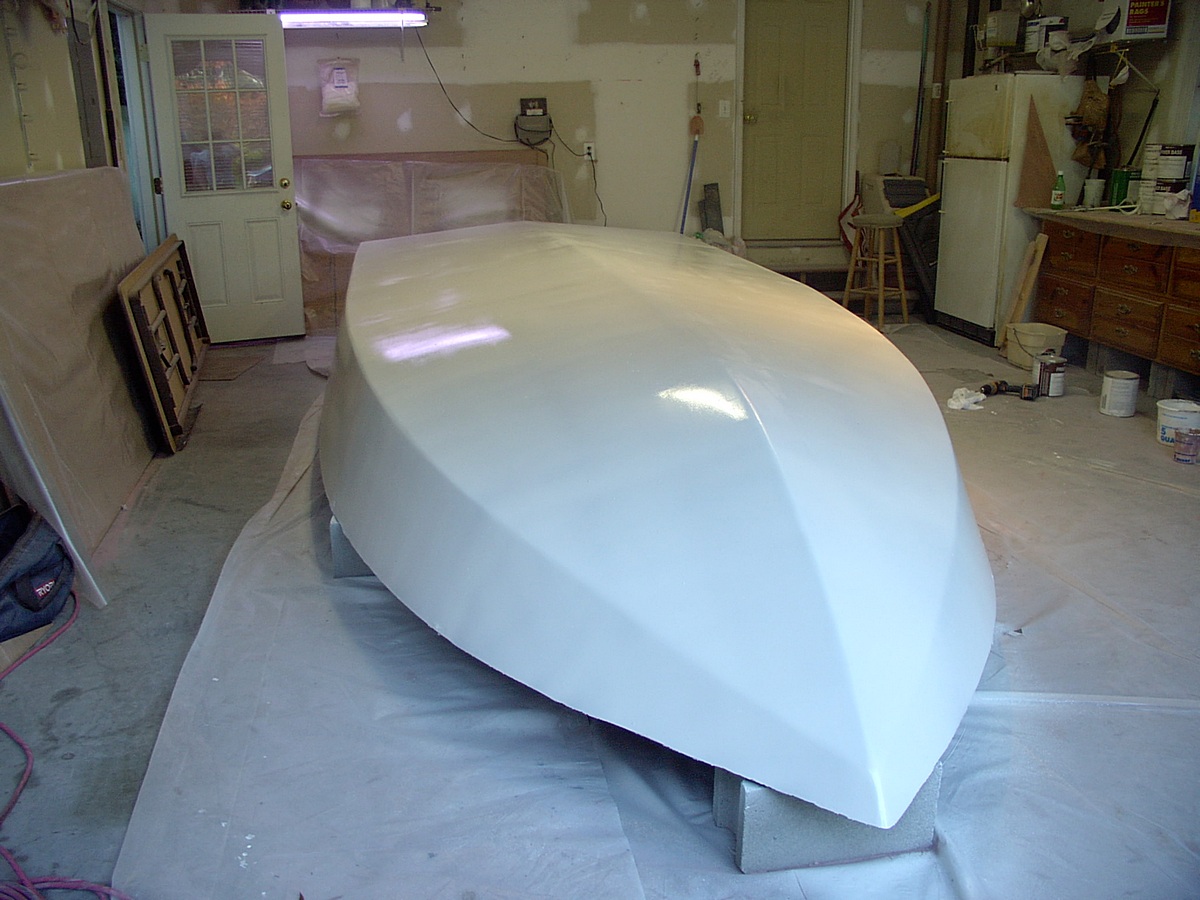
One more coat and then sanding again.
Posted: Sat Nov 18, 2006 7:24 pm
by Deedaddy
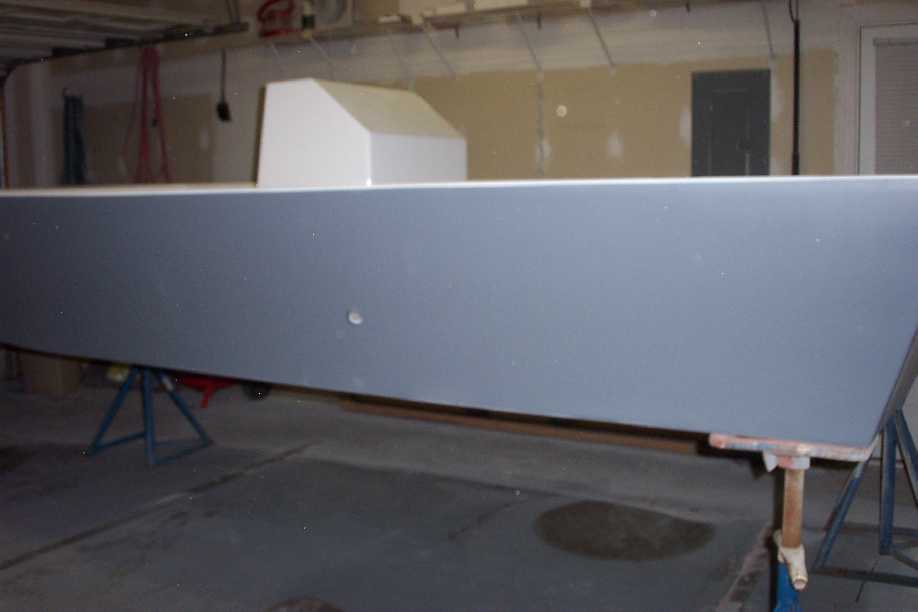
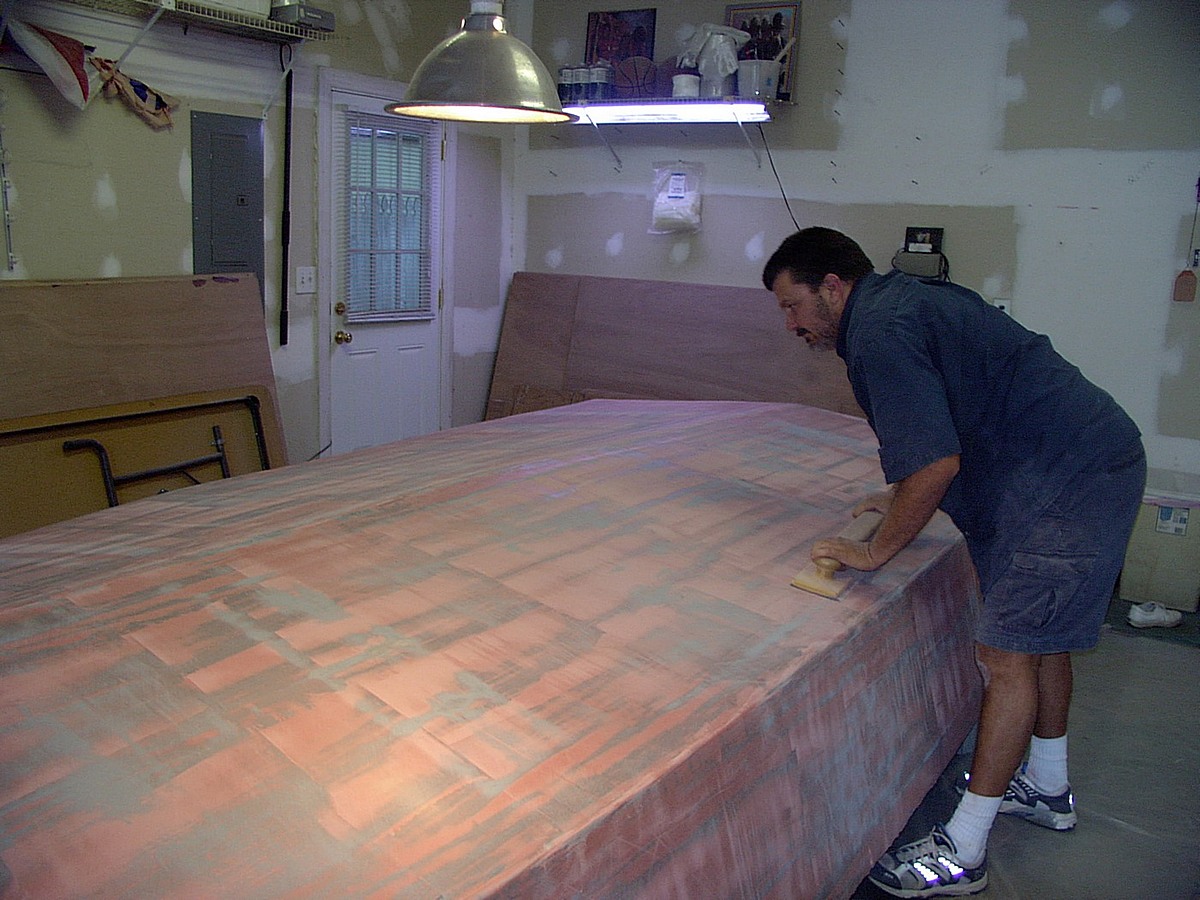
Second coat of high built primer is finished and lightly sprayed with pray primer. When it is board sanded the gray will be untouched in any low spots.
Posted: Thu Dec 07, 2006 7:59 pm
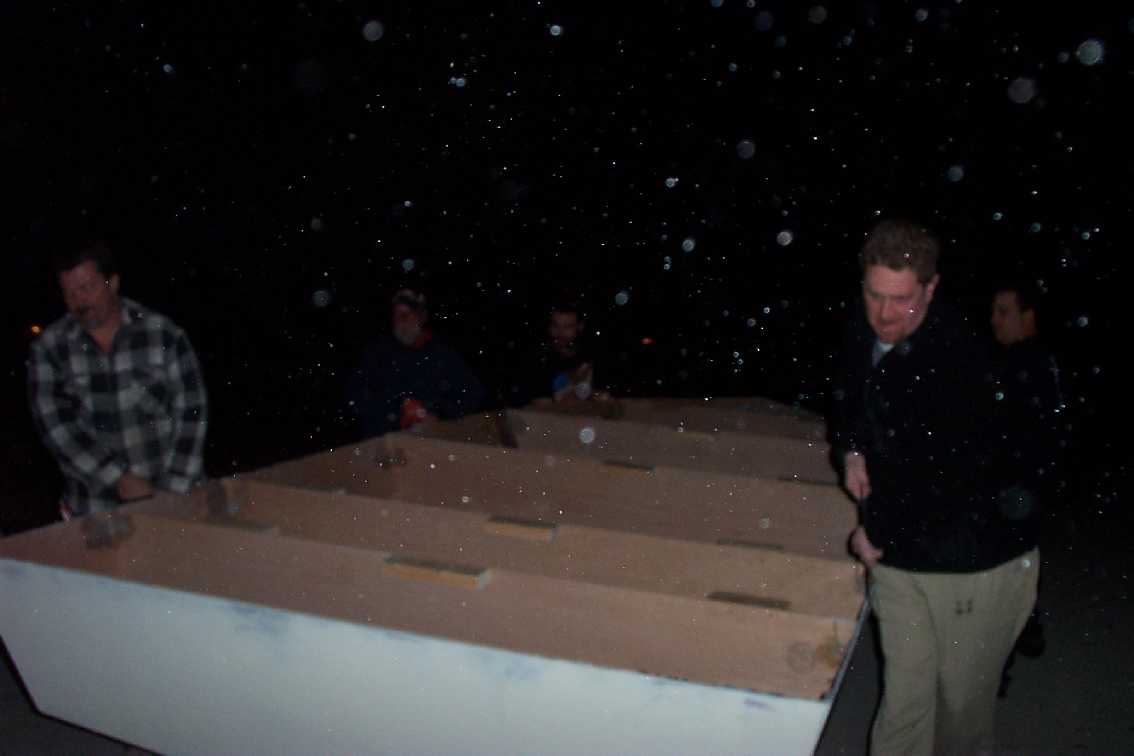
by Deedaddy
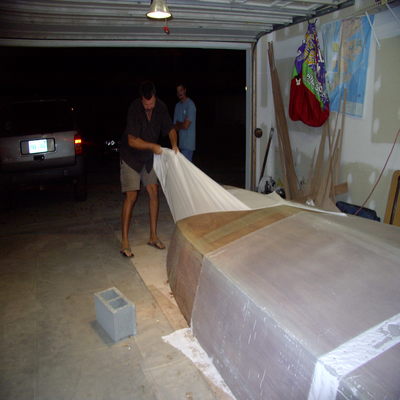
Posted: Thu Jan 25, 2007 9:11 am
by Deedaddy
Posted: Thu Jan 25, 2007 9:39 pm
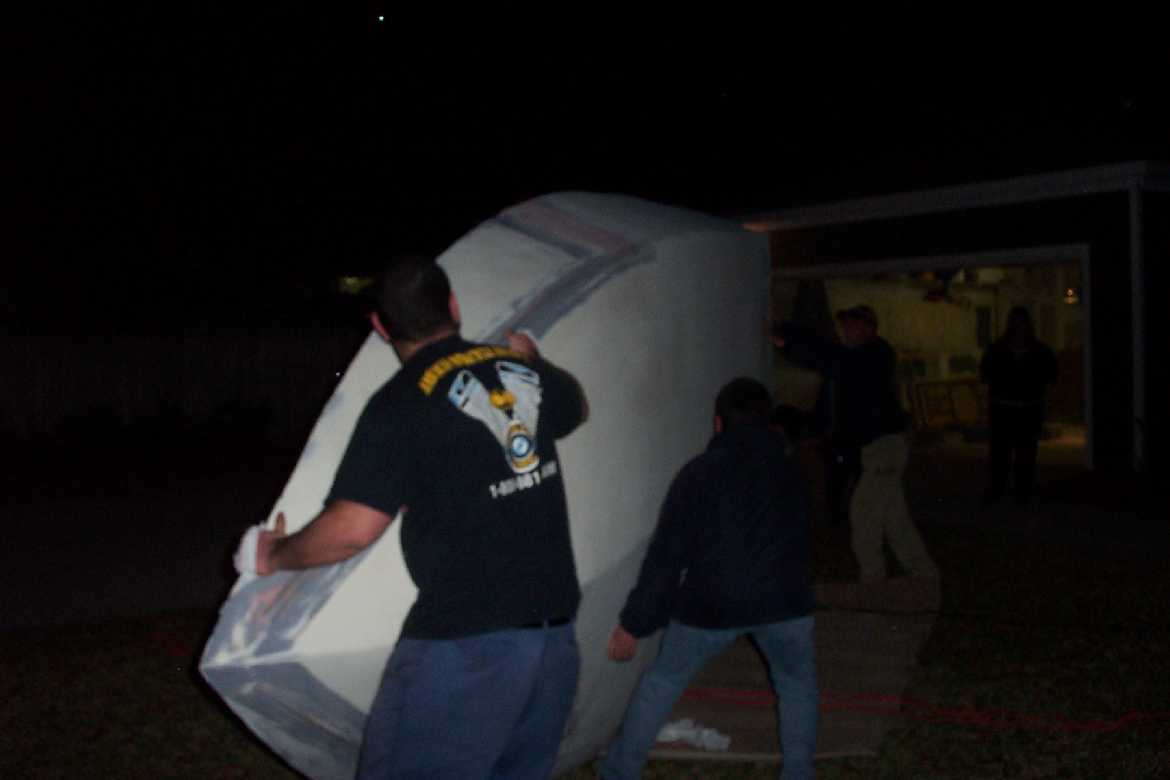
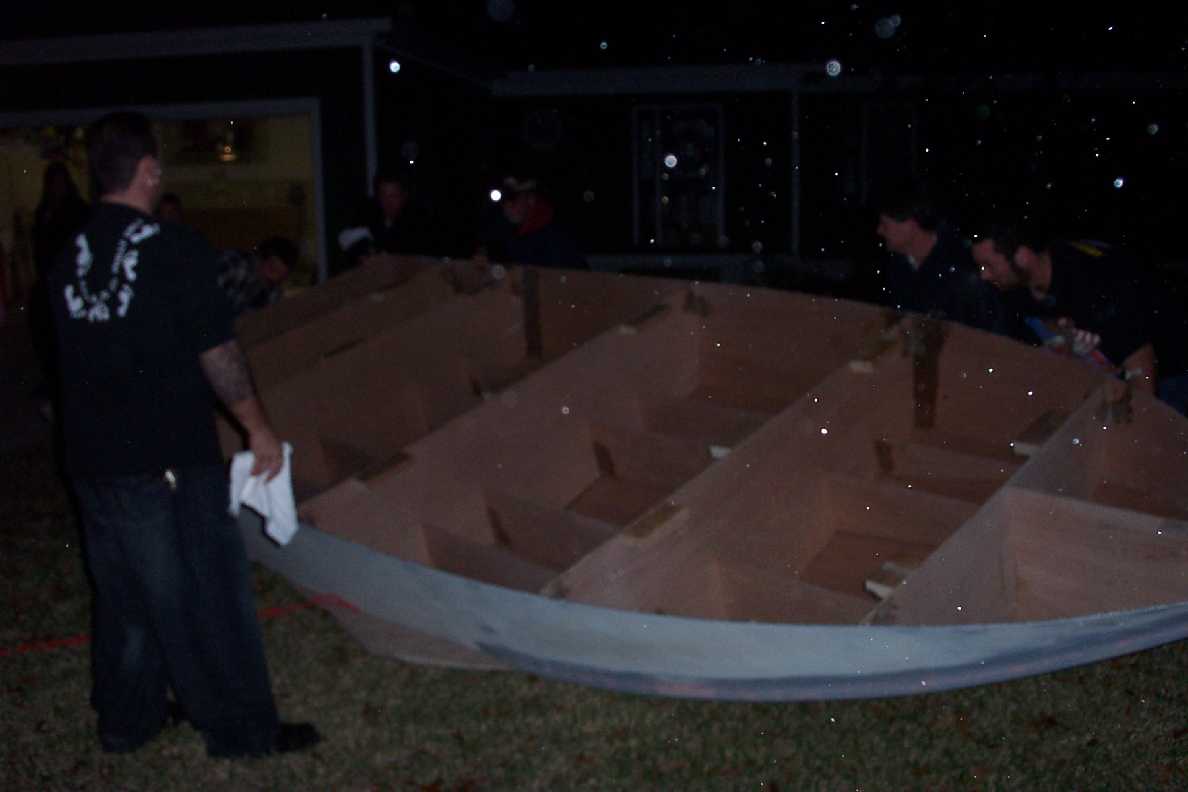
by PastorBob
you've got some great friends to come and help flip in the snow!
Boat looks Great!!
Posted: Fri Jan 26, 2007 6:49 am
by Muddler
I can't wait to get mine to this point!! Cutting ply today.
Bill
Posted: Wed Jan 31, 2007 10:59 am
by Deedaddy
Posted: Wed Jan 31, 2007 11:39 am
by tech_support
Once again, text book fiberglass work.
Posted: Wed Jan 31, 2007 12:27 pm
by jacquesmm
I second that: great fiberglass work.
Posted: Wed Jan 31, 2007 4:37 pm
by tech_support
Deedaddy,
Would you mind if I use some of those images for our "hall of fame" gallery? You will get credited

they would be great for the PH18 construction category
This is the gallery I am working on....
http://www.bateau.comindex.php?cat=2
Joel
Posted: Thu Feb 01, 2007 10:01 am
by Deedaddy
Joel,
Use what ever pictures you like.
Don
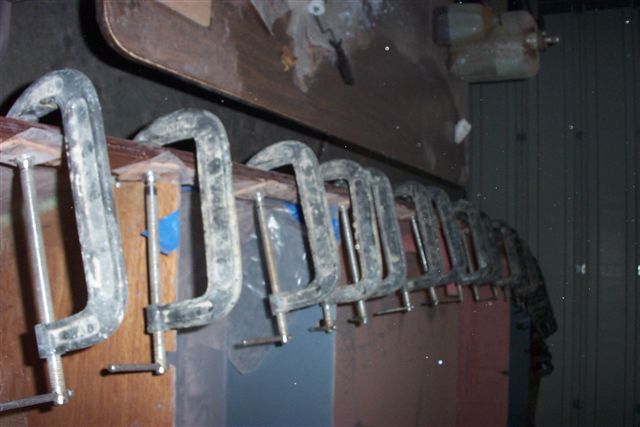
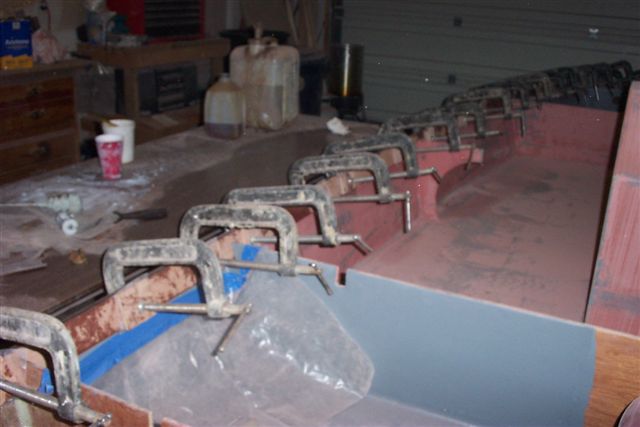
Posted: Sat Feb 03, 2007 8:58 pm
by Deedaddy
Posted: Sat Feb 03, 2007 10:03 pm
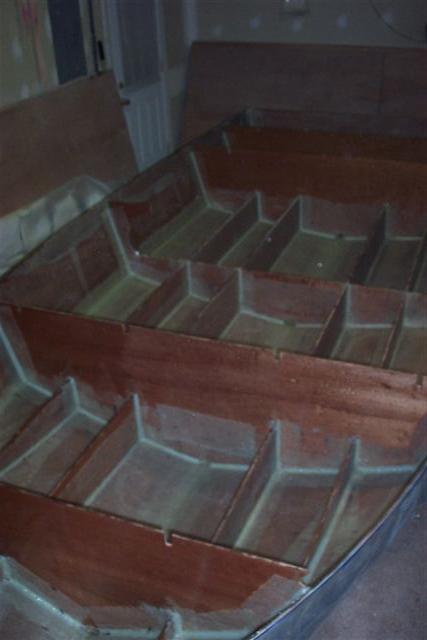
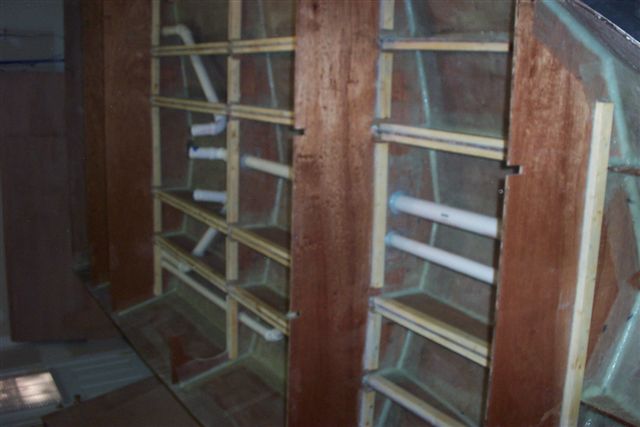
by jayb01
Dang Dee,
I'm tired just looking at all those corners and crannies.
Posted: Sun Feb 04, 2007 10:03 am
by Muddler
Just curious, But why is it the vast majority of the pictures I see have "her" doing the work? Is it her boat, or is she hired help?
Like I said, Just curious.

Bill
Posted: Sun Feb 04, 2007 7:37 pm
by Deedaddy
Muddler wrote:Just curious, But why is it the vast majority of the pictures I see have "her" doing the work? Is it her boat, or is she hired help?
Like I said, Just curious.
Bill
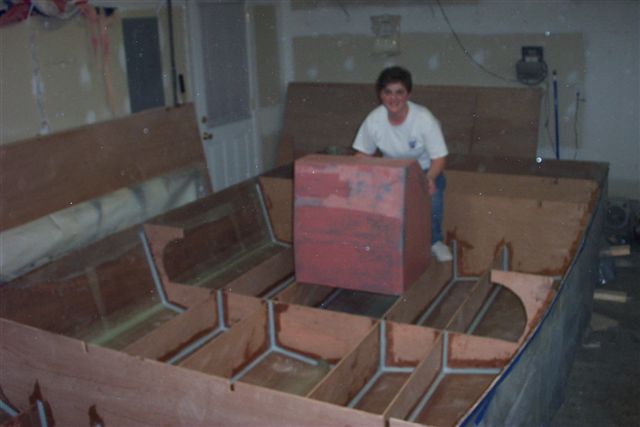
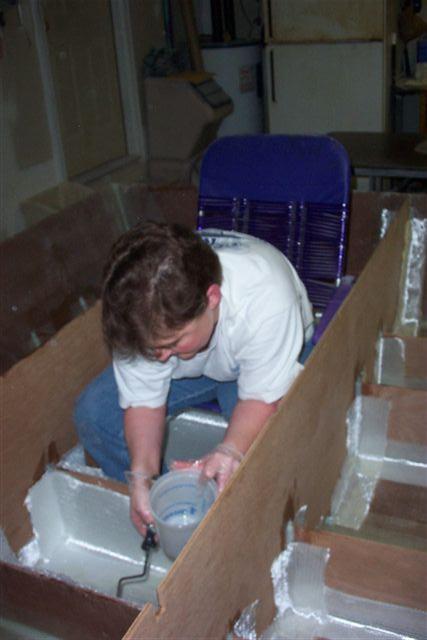
It is her and her husband's boat. She is the one with a few years of professional boat build experience in glass and finish work. Her husband does most of the epoxy mixing and alot of sanding. I have only helped with some of the layout and setup.
Posted: Sat Feb 10, 2007 4:38 pm
by Deedaddy
Posted: Sat Feb 10, 2007 6:43 pm
by stickystuff
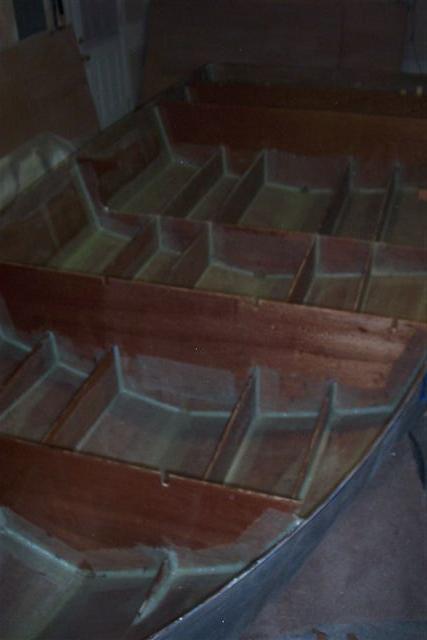
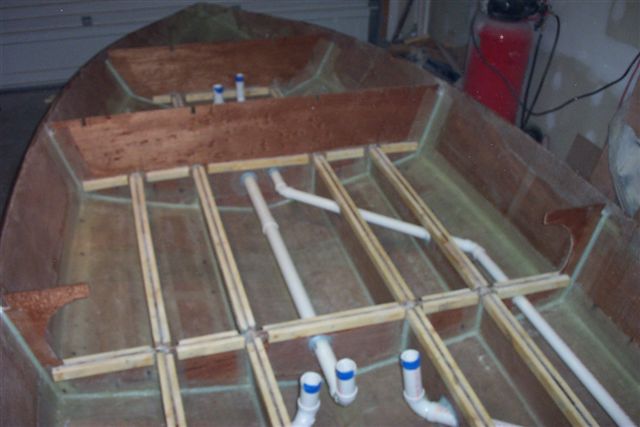
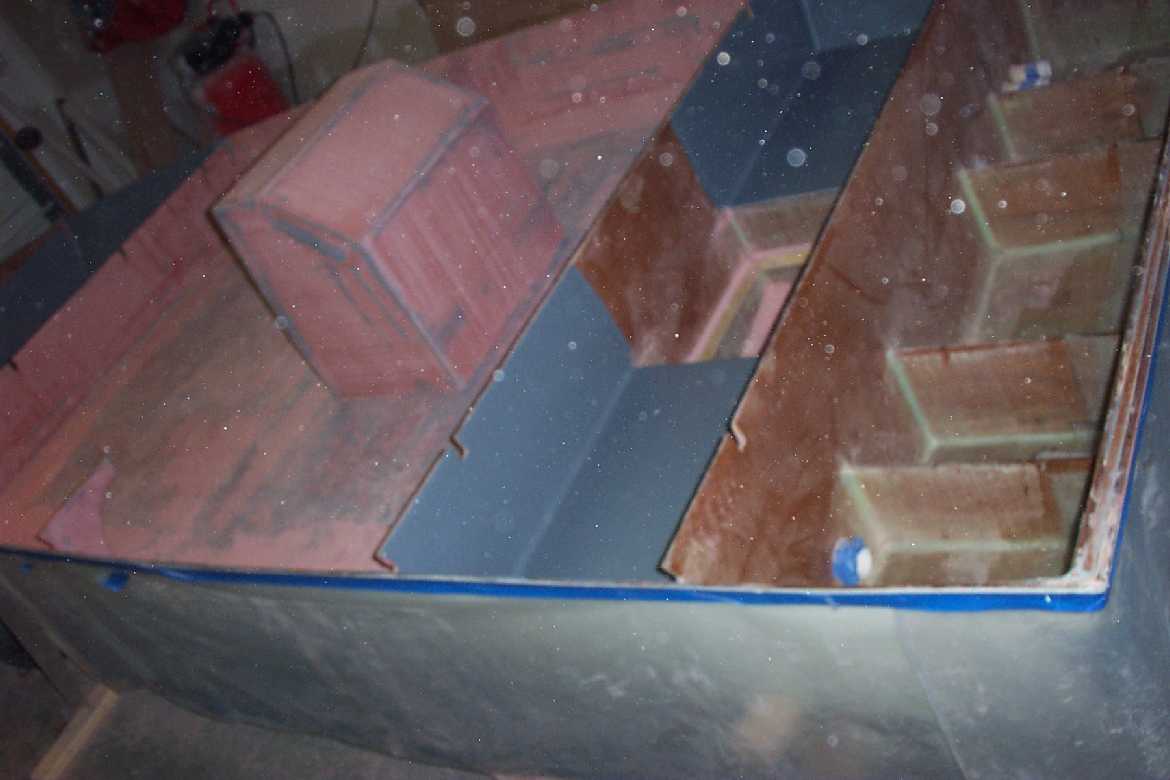
I hope I don't discourage you. I see a bad problem in the pipeing. The rigging tubes that go to the consol, You really need an electrical sweep el instead of the angle fittings you have. There is not enough room for the steering and shift cables to make the bend. I would hate to see you deck the hull in and then not be able to get your cables through. Not being critical but just talking from experience. Beautiful job on all the fillets and glass work. I always said a woman has better feel for final finish work. Congrats. Awsome looking. I am jealous.
Great Picts
Posted: Sat Feb 10, 2007 6:45 pm
by Kingfish
Great Picts Deedaddy!!
We are building the Va. PH22 and have been trying to determine the scant tube layout. Your picts are very good. We will also be interested in your gas fill and tank installation. Nice work!
Kingfish
Posted: Sun Feb 11, 2007 7:51 am
by Muddler
Beautiful, beautiful!! I am following in your footsteps. I am about a month or so behind where you are now with construction. Your pictures are going to be a great help. Keep up the great work. Be sure to pass along the kudos to the owners.
Bill
Posted: Sun Feb 11, 2007 1:33 pm
by Deedaddy
stickystuff wrote:I hope I don't discourage you. I see a bad problem in the pipeing. The rigging tubes that go to the consol, You really need an electrical sweep el instead of the angle fittings you have. There is not enough room for the steering and shift cables to make the bend.
Good point Ken.
I have talked to Kathy about that and she is planning on using hyd. steering. The lines for that will go in ok but the stift cables will need a larger pipe.
Posted: Thu Feb 15, 2007 7:31 pm
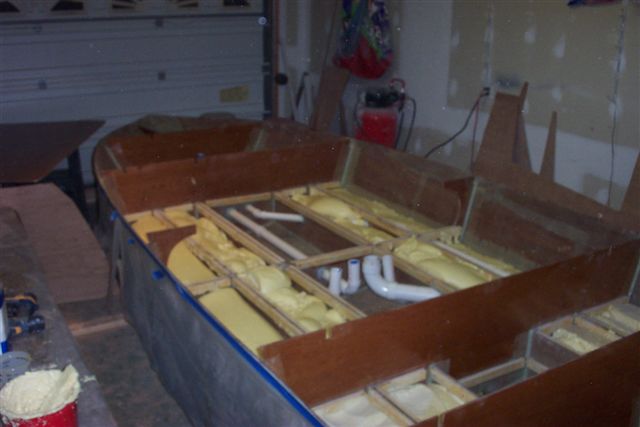
by Deedaddy
Foam is in along with a 3" pipe for shifter cables. Thanks Ken for pointing it out. That is one of the great things about this forum. If you see something point it out!

Sanding Board
Posted: Sat Feb 17, 2007 7:22 pm
by Kingfish
Hey Deedaddy
Where did you get that large sanding board you were using when sanding the hull? Did you buy it or make it?
Kingfish
PH 22 in progress
Re: Sanding Board
Posted: Sun Feb 18, 2007 10:50 am
by Deedaddy
Kingfish wrote:Hey Deedaddy
Where did you get that large sanding board you were using when sanding the hull? Did you buy it or make it?
Kingfish
PH 22 in progress
I buy them from a wholesaler that sells to boat building companies. If you wish to buy one or more email me and I will send you details on price.
Question about primer application.
Posted: Sun Feb 18, 2007 4:07 pm
by Muddler
DeeDaddy,
Your son-inlaw's boat is progressing along nicely. I am at the point of applying the fairing compound to the exterior of the hull. I have made one application. I will be sanding shortly, and was wandering about the application of the primer you used after the initial faring application. How much primer did you use for the exterior of the hull? I will roll and tip for the application method. The roll and tip tutorial says that a gallon kit (1-gal primer, 1-gal catalyst) will do 160 sq feet. That's 2-gallons= 160 sq-feet, about the square footage of the hull of the PH18.
Seems way low, I was thinking should be 160 per gallon. Any thoughts?
Bill
Re: Question about primer application.
Posted: Sun Feb 18, 2007 8:27 pm
by Deedaddy
Muddler wrote:DeeDaddy,
Your son-inlaw's boat is progressing along nicely. I am at the point of applying the fairing compound to the exterior of the hull. I have made one application. I will be sanding shortly, and was wandering about the application of the primer you used after the initial faring application. How much primer did you use for the exterior of the hull? I will roll and tip for the application method. The roll and tip tutorial says that a gallon kit (1-gal primer, 1-gal catalyst) will do 160 sq feet. That's 2-gallons= 160 sq-feet, about the square footage of the hull of the PH18.
Seems way low, I was thinking should be 160 per gallon. Any thoughts?
Bill
There were several coats of primer used during the fairing process. The fairing compound used was awl-quik and the primers were also by the same company. Fair took several steps to get to a near perfect surface. The amount that it will take depends on the level of fairness you are happy with. So I don't have the answer for you.
Posted: Mon Feb 19, 2007 9:21 pm
by Deedaddy
Posted: Wed Feb 21, 2007 6:51 pm
by _Mike
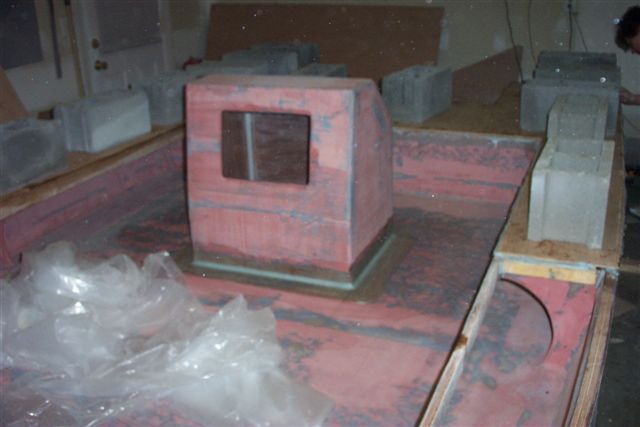
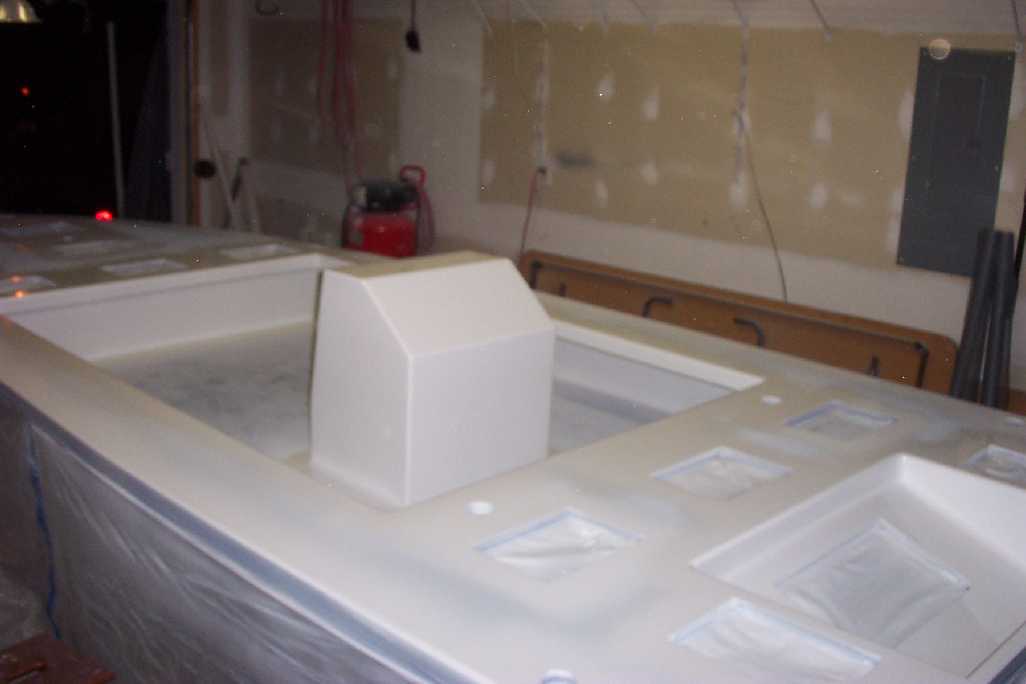
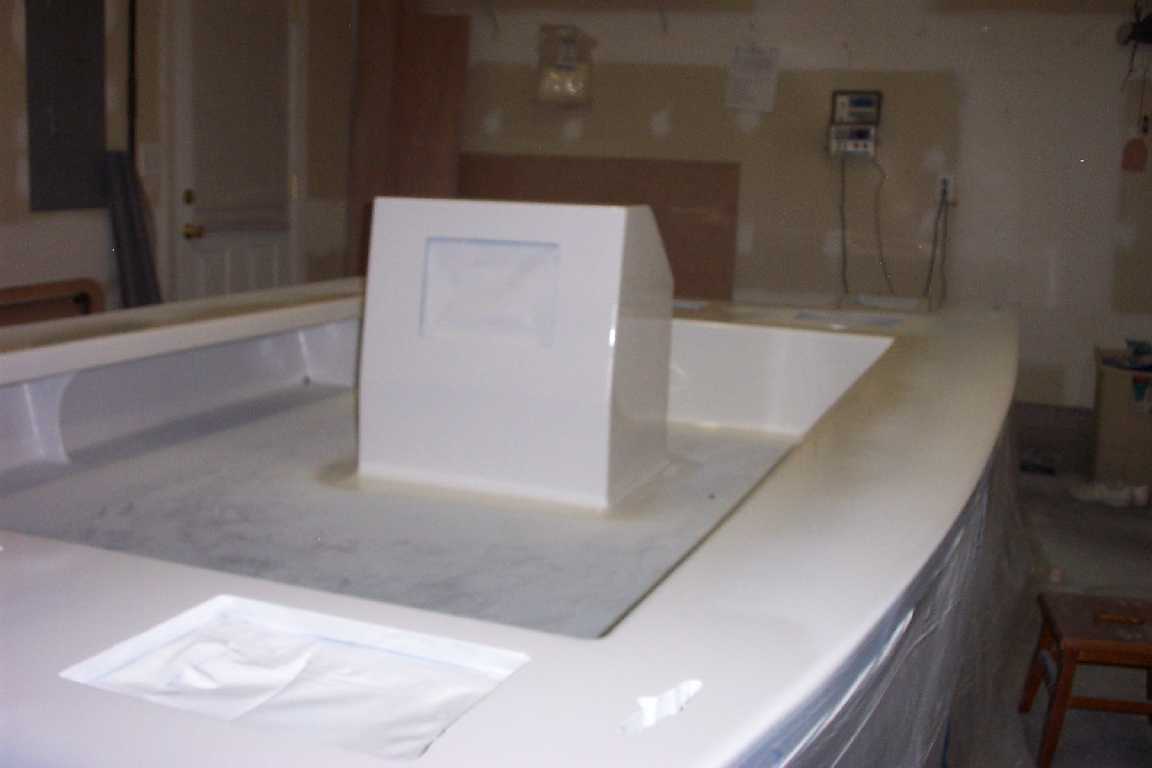
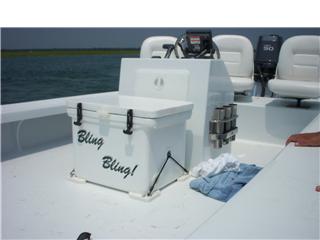
That thing is looking sweet. Is that the livewell in the plans?
Posted: Thu Feb 22, 2007 12:48 pm
by Deedaddy
_Mike wrote:That thing is looking sweet. Is that the livewell in the plans?
Nope
Posted: Tue Feb 27, 2007 6:44 pm
by Deedaddy
Posted: Wed Feb 28, 2007 10:56 am
by Cracker Larry
You aren't fooling around with that build
Looks great!
Posted: Sun Mar 04, 2007 1:16 pm
by Deedaddy
Posted: Sun Mar 04, 2007 4:36 pm
by timoub007
Looks good!
Question though, what are all those "spots" on the inside of the transom?
Tim
Posted: Sun Mar 04, 2007 4:58 pm
by Deedaddy
timoub007 wrote:Looks good!
Question though, what are all those "spots" on the inside of the transom?
Tim
They are drywall screws and fender washers used to clamp the layers of plywood to get the thickness needed. They will be removed as soon as the epoxy has harden and another layer added.
Posted: Sat Mar 10, 2007 10:42 am
by Deedaddy
Posted: Sun Apr 15, 2007 2:35 pm
by Deedaddy
Posted: Mon May 28, 2007 9:09 am
by Deedaddy
Posted: Mon May 28, 2007 9:34 pm
by Deedaddy
Posted: Tue May 29, 2007 7:59 am
by tech_support
the spray rail is faired in nice, also I love the hull to deck joint
Posted: Thu Jun 07, 2007 7:35 am
by Deedaddy
Posted: Sat Jun 09, 2007 7:58 pm
by Deedaddy
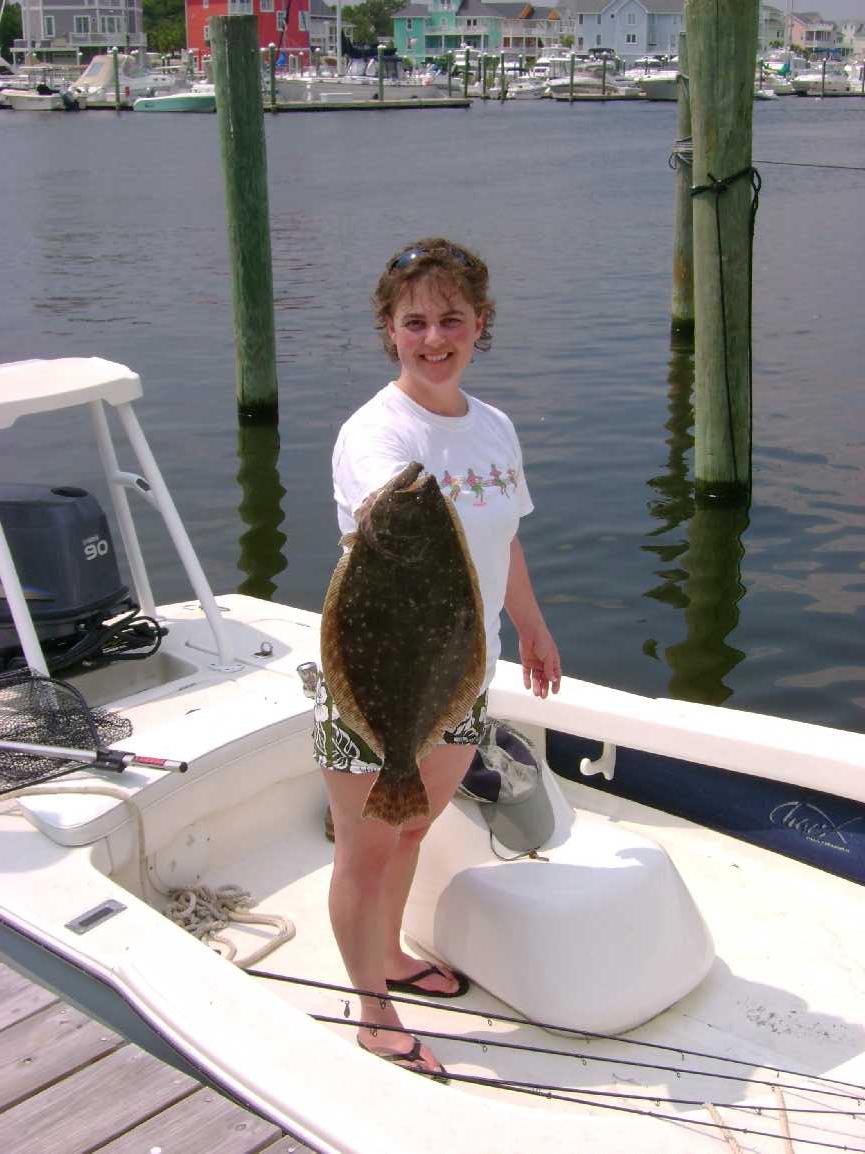
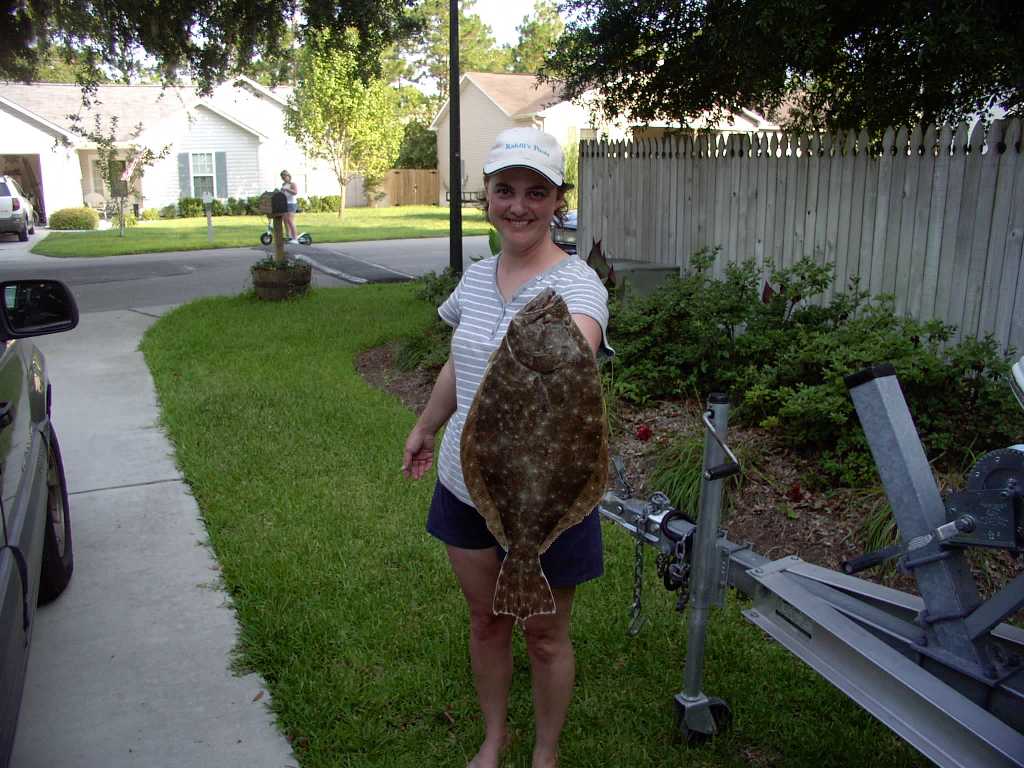
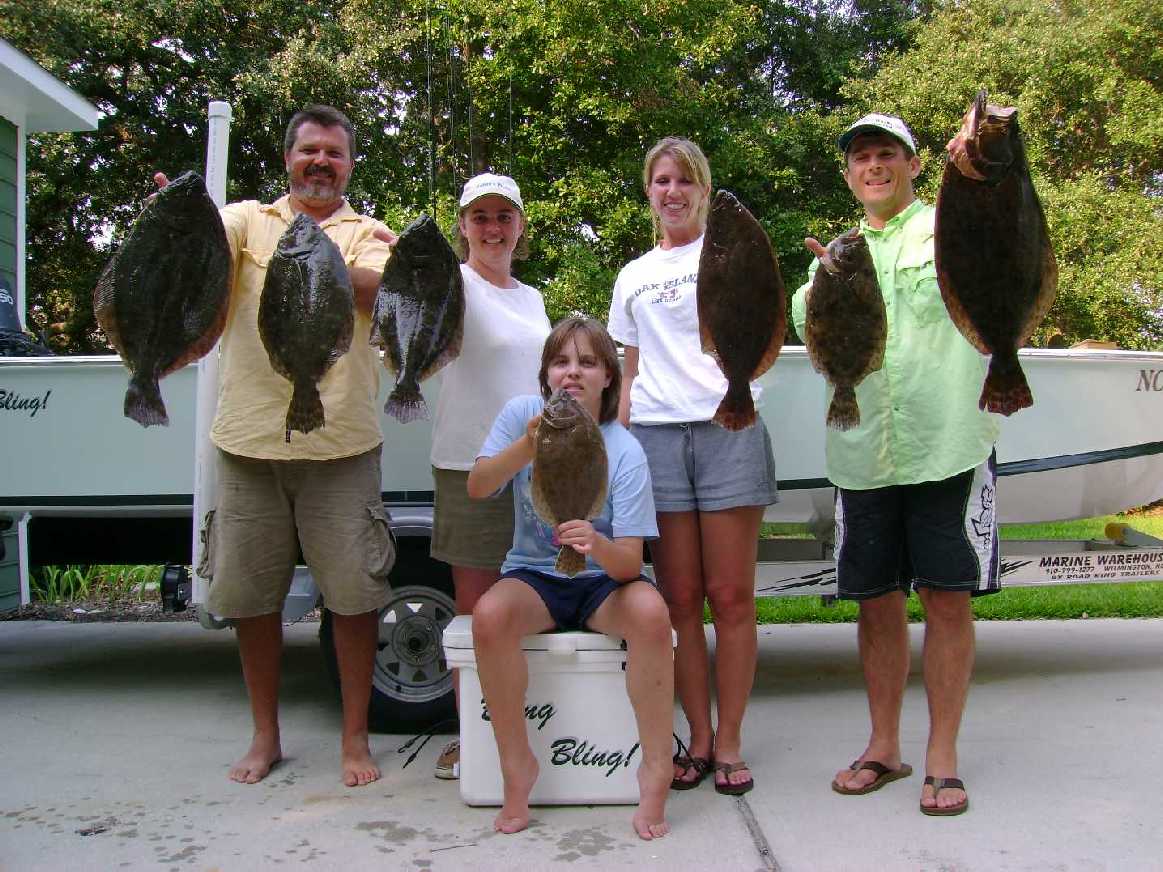
Well it had to happen. Kathy did not work on her boat today. I guess it is ok she took got $400 for a 2nd place 4.45# flonder.
Posted: Sat Jun 09, 2007 11:29 pm
by timoub007
Dat's a nice flattie!!!
And the boat isn't looking half bad either.
Keep up the great work and keep the pictures coming. It is looking great.
Tim
Posted: Sat Jun 16, 2007 12:53 pm
by Deedaddy
Posted: Sun Jun 17, 2007 6:43 pm
by timoub007
DeeDaddy,
The topside looks amazing. Your crew does great work, and the prior experience really shows off.
Another question, is that the standard Bateau center console design with the front seat portion cut off? I really like the proportions of that one how you have it done. If it is different, can you provide the basic deminsions?
Thanks and keep up the great work and pics.
Tim
Posted: Sun Jun 17, 2007 8:26 pm
by Deedaddy
timoub007 wrote:DeeDaddy,
The topside looks amazing. Your crew does great work, and the prior experience really shows off.
Another question, is that the standard Bateau center console design with the front seat portion cut off? I really like the proportions of that one how you have it done. If it is different, can you provide the basic deminsions?
Thanks and keep up the great work and pics.
Tim
It is the standard console.
Posted: Tue Jun 19, 2007 7:07 am
by Muddler
Deedaddy:
Beautiful!!
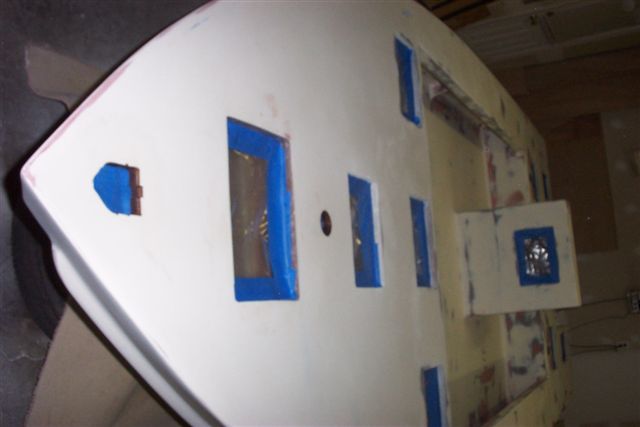
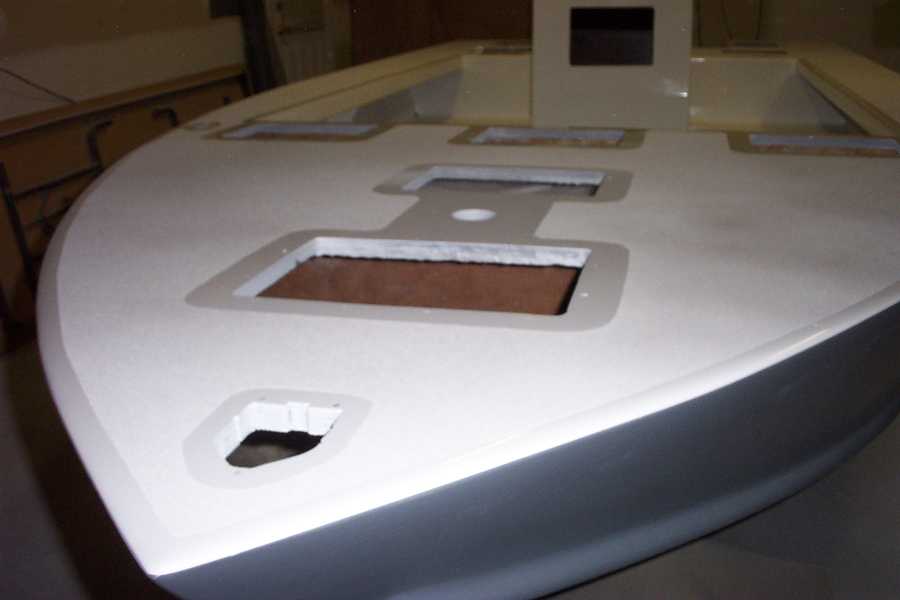
I have a couple of questions, what causes the difference in the color or surface texture around each of the hatches/deck openings? Is that non skid on the deck? Did you mask/tape off those areas and spray the deck area? I will be getting to this stage in a few weeks and am looking for ideas on how to finish the deck/hatch areas.
Many thanks,
Bill
Posted: Tue Jun 19, 2007 8:17 am
by Deedaddy
Muddler wrote:Deedaddy:
Beautiful!!
I have a couple of questions, what causes the difference in the color or surface texture around each of the hatches/deck openings? Is that non skid on the deck? Did you mask/tape off those areas and spray the deck area? I will be getting to this stage in a few weeks and am looking for ideas on how to finish the deck/hatch areas.
Many thanks,
Bill
Yes the areas were taped off with fine line tape with hatches and assoc. temp. in place. Then sprayed with topcoat-nonskid.
Posted: Tue Jun 26, 2007 7:16 pm
by Deedaddy
Posted: Wed Jul 11, 2007 6:58 pm
by sportfish
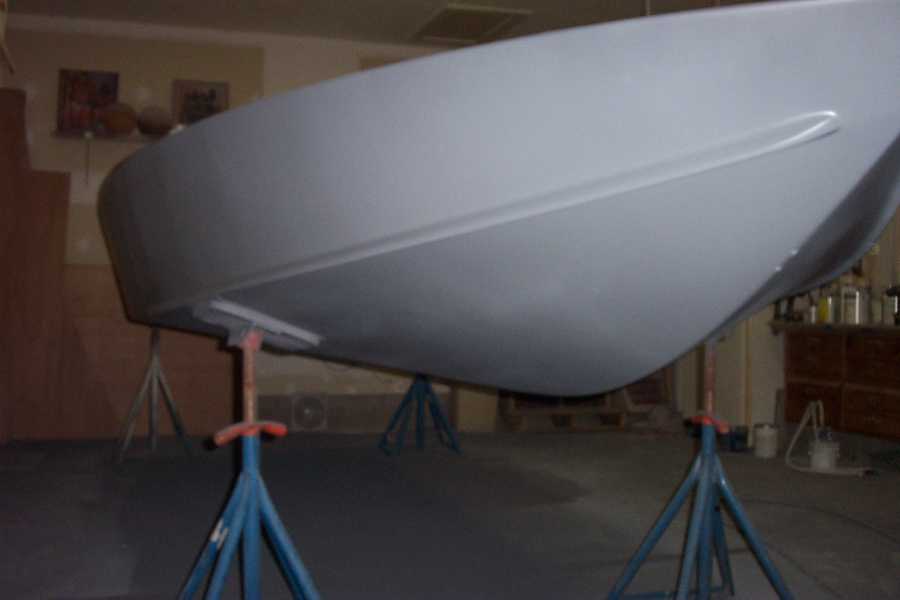
Don, the new pics of the hull painted look amazing.
What kind of paint did you use? Sprayed on?
Keep up the good work!
Posted: Wed Jul 11, 2007 7:38 pm
by TomW
Nice looking PH Deedaddy.
Tom
Posted: Wed Jul 11, 2007 7:46 pm
by Deedaddy
sportfish wrote:Don, the new pics of the hull painted look amazing.
What kind of paint did you use? Sprayed on?
Keep up the good work!
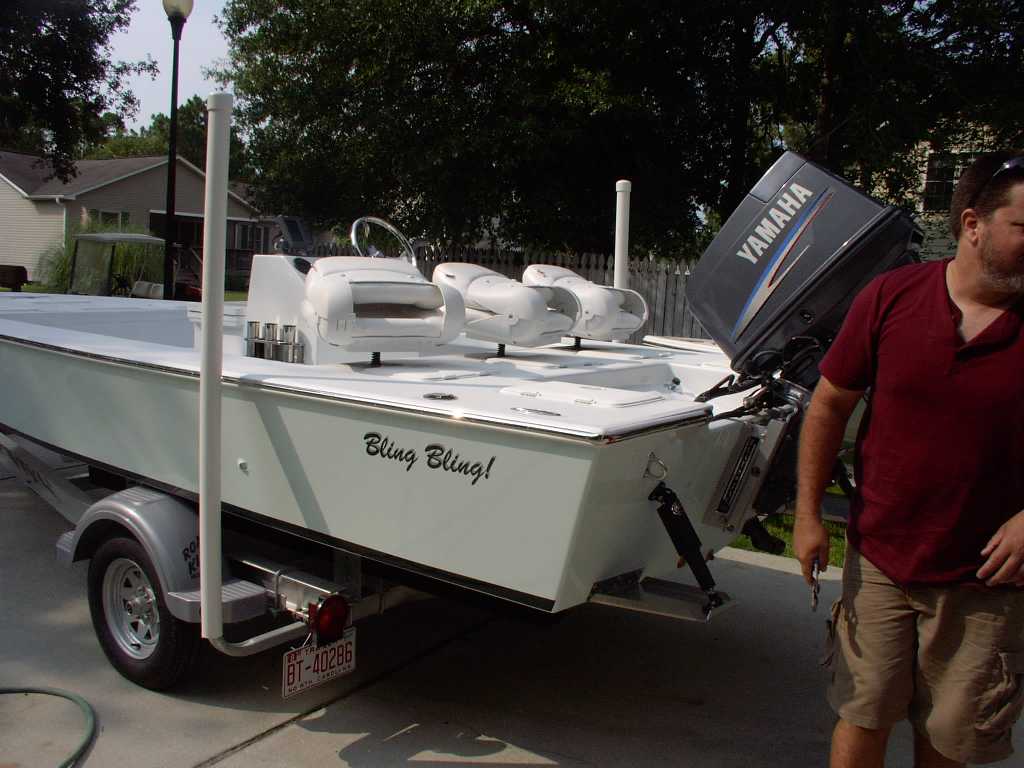
The paint is Awl-grip...sprayed
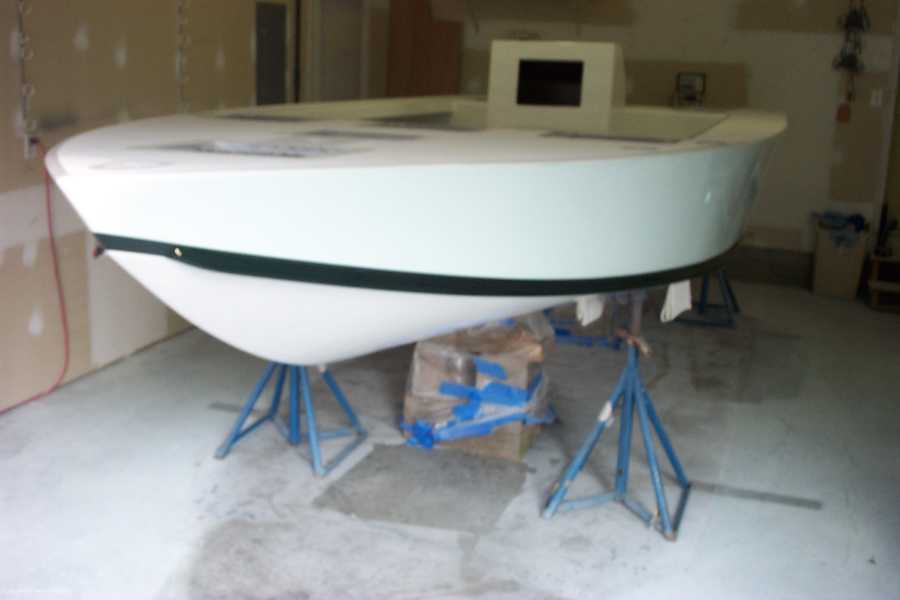
The rigging should be finished in a couple of weeks. Kathy and Neil have done a great job. The finish is yacht grade.
Posted: Thu Jul 12, 2007 12:07 am
by TomW
Now that is a great looking boat. I love the black stripe is it going to stay. It should. Gives it a touch of meanness.
Tom
Posted: Thu Jul 12, 2007 8:03 am
by Deedaddy
TomW wrote:Now that is a great looking boat. I love the black stripe is it going to stay. It should. Gives it a touch of meanness.
Tom
The stripe is a dark green ...it just does not show up in the pic. It should be a better pic in sunlight.
Posted: Thu Jul 12, 2007 8:35 am
by TomW
I love dark green even better. A real touch of class.
Tom
Posted: Thu Jul 12, 2007 6:13 pm
by Cracker Larry
DeeDaddy, that makes me feel downright inadequate
Yall do some fine work
Posted: Wed Jul 25, 2007 9:58 am
by BuenKarma
Looks awesome, definitely inspiring. Are you planning to post pictures of the rigging? I am particularly interested in how one makes quality flush hatches, which it looks like you are doing? Also, did you plumb any of it for a live well? I saw the plumbing pics, but I'm guessing most of that was electrical routing?
Thanks
Caleb
Posted: Wed Jul 25, 2007 10:12 am
by Deedaddy
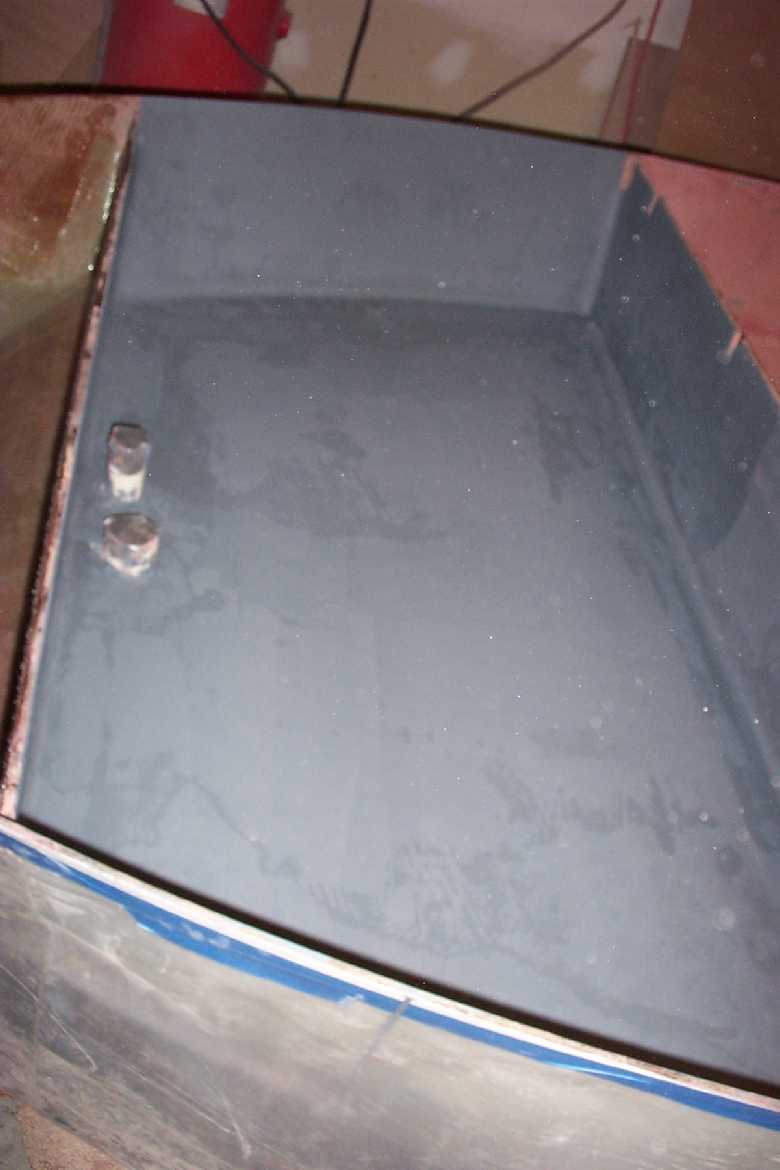
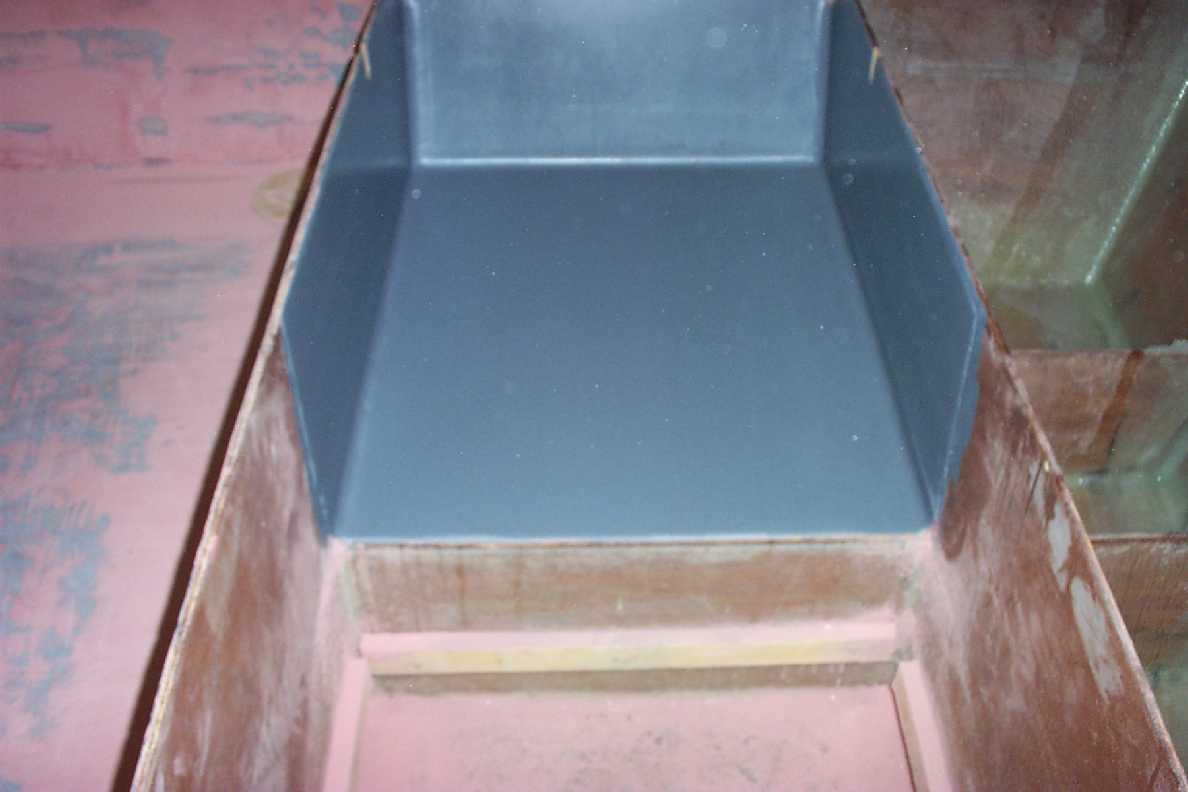
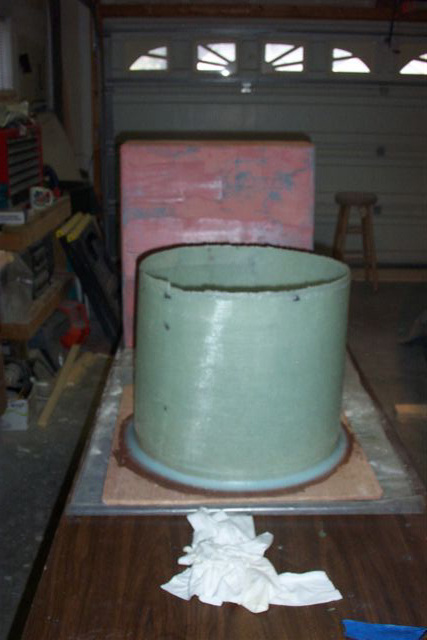
The hatches are tempco low-profile. Pictures of the live well are posted. It was made using a round trash can as a plug.
Posted: Wed Jul 25, 2007 10:21 am
by BuenKarma
Awesome thanks. I have never put a live well in before, any places anyone might now of a step by step or do it yourself guide?
Thanks
Caleb
Posted: Mon Jul 30, 2007 9:13 pm
by Deedaddy
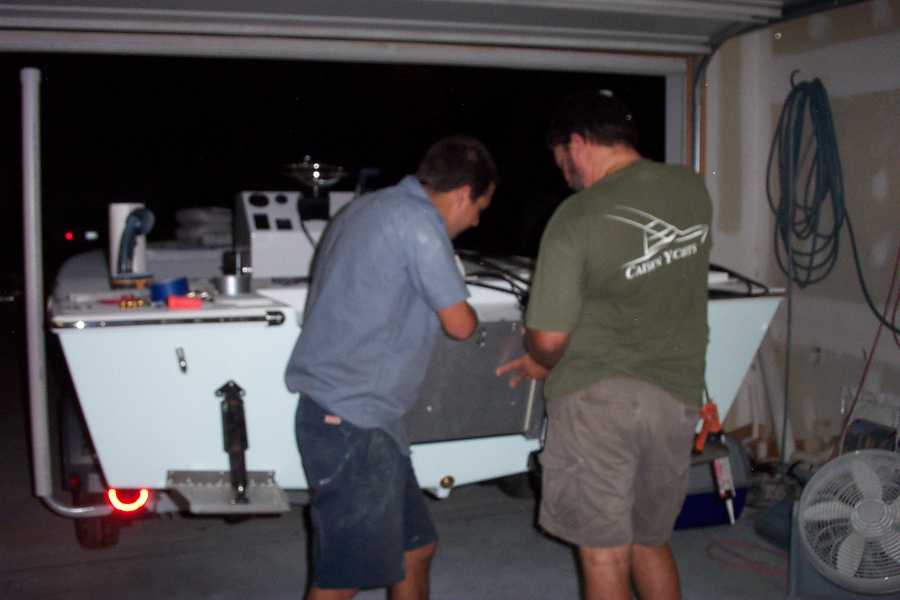
Rigging is getting close. Should be launched this week.
Launched
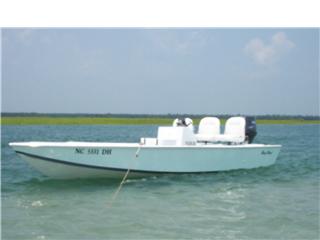
Posted: Sun Aug 05, 2007 12:11 pm
by Deedaddy
Today was the day!!!
Don't forget the plug
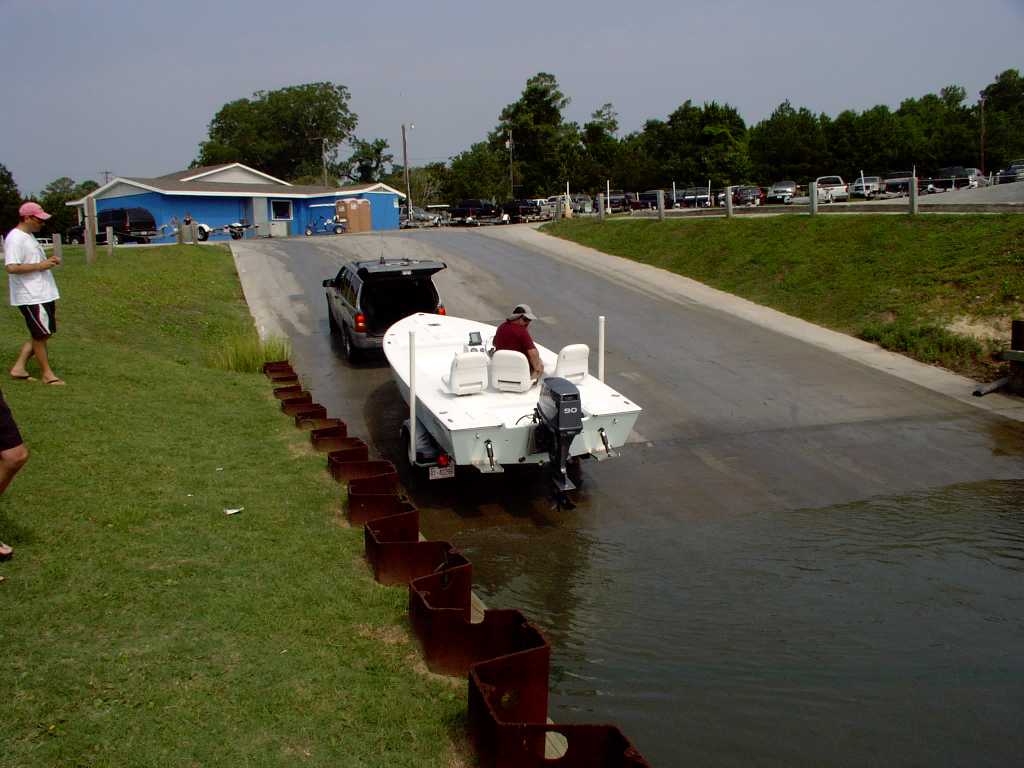
Looks good beside the $50,000 production boat.....and biger also

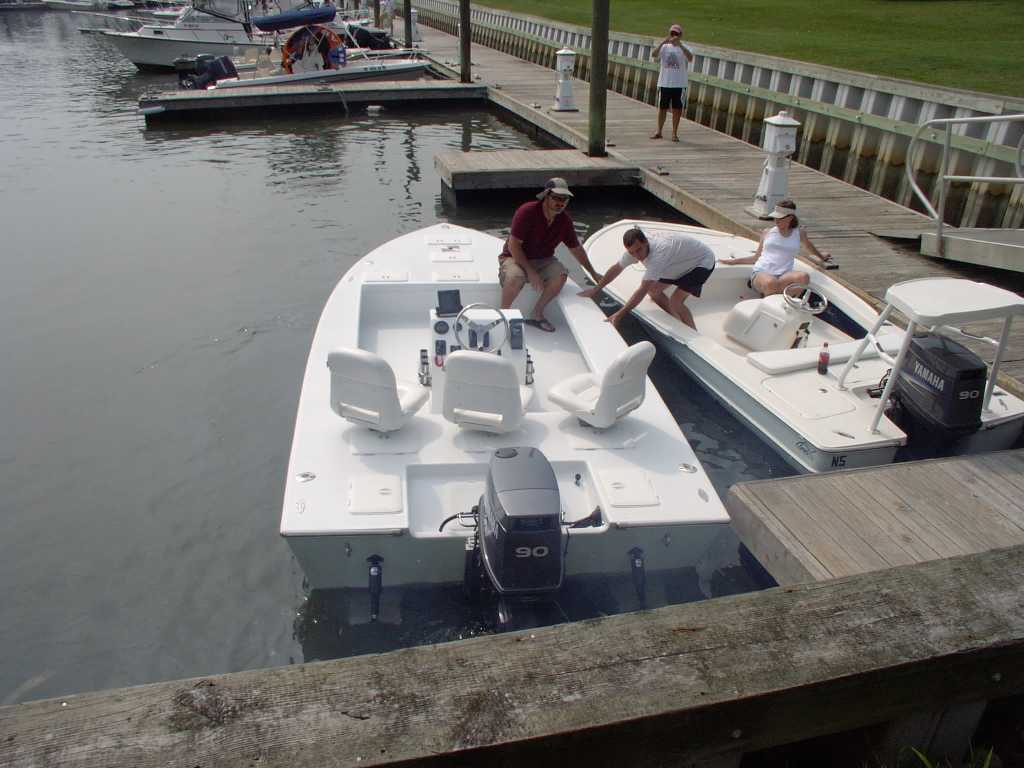
Well I will have to wait for the report but looks good from here. I bet the sanding was worth it now
My little girl and hubby built a great boat!!!!
Posted: Sun Aug 05, 2007 12:17 pm
by Daniel Huckleberry
Beautiful day, beautiful launch, and beautiful boat. I know you are proud! Congratulations.
Huck
Posted: Sun Aug 05, 2007 1:19 pm
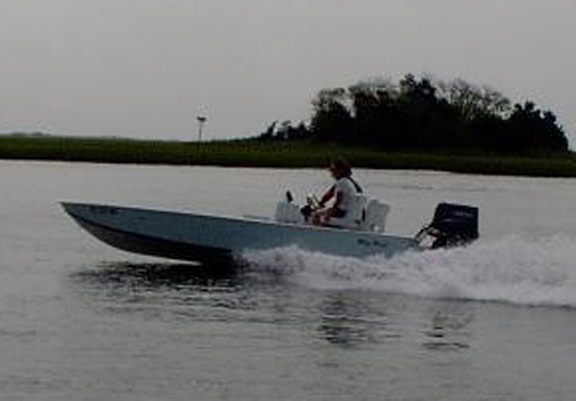
by TomW
Way to go DeeDaddy, gorgeous launch. Made that little production boat look silly. Beautiful lines up at speed. You certainly did build a GREAT boat. ENJOY
Tom
Posted: Sun Aug 05, 2007 2:45 pm
by Deedaddy
TomW wrote:Way to go DeeDaddy, gorgeous launch. Made that little production boat look silly. Beautiful lines up at speed. You certainly did build a GREAT boat. ENJOY
Tom
Thanks Tom.
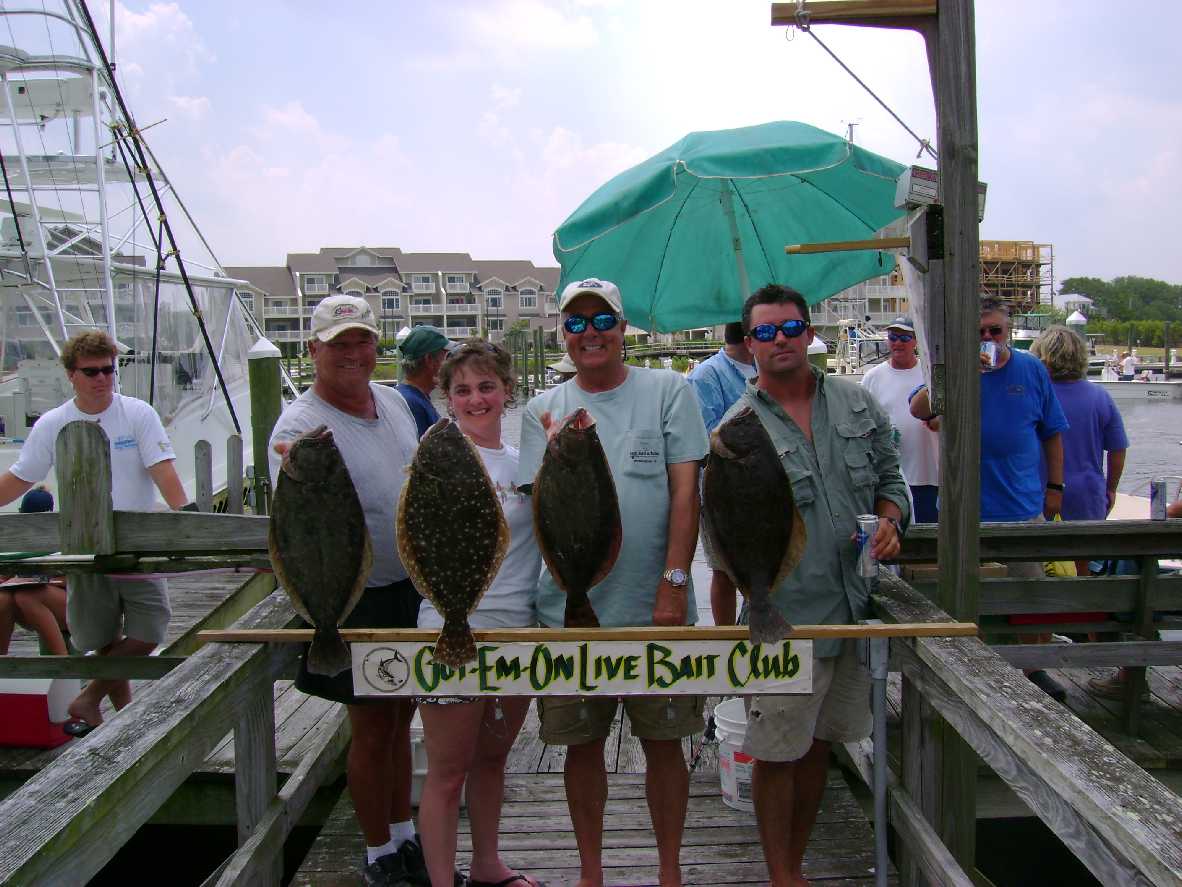
Just talked to Kathy and she said the boat proformed great. Need to lower engine mount one notch to get better control at low speeds and in turns.Great stability for fishing! She is having a great weekend having also took third place in fishing tourment saturday...4# flounder.
Posted: Sun Aug 05, 2007 2:57 pm
by TomW
Nice flounder heard they were biting over your way. Enjoy the eating!
Tom
Posted: Sun Aug 05, 2007 6:24 pm
by Deedaddy
Launched one and started another same day.

Its a Simmon Sea Skiff look alike.
Posted: Sun Aug 05, 2007 7:31 pm
by BuenKarma
Awesome daddy!!! I started to stray from the course of the PH18 but this seals the deal for me, I can't wait to start mine!!! How does that Yamaha 90 2stroke do on it? I am having a hard time deciding weather to go 2 or 4 stroke, you save a ton of weight, but I'm just not sure. Top speeds? Mileage?
A+ work on the boat, it is truly inspiring
Caleb
Posted: Sun Aug 05, 2007 7:45 pm
by Cracker Larry
Beautiful job, Don and family
That is fantastic
Posted: Mon Aug 06, 2007 8:50 am
by tech_support
Its catching fish already
Posted: Mon Aug 06, 2007 9:21 am
by dborecky
I love that boat. It looks awesome. I have the plans but decided to build the FS14 first. I would love to know the exact numbers you are getting with that 90 hp at different rpms and loads....
Congrats again and I look forward to watching your next build take shape. By the way, are you building this one yourself or do you have extra labor as well...?
Posted: Mon Aug 06, 2007 12:44 pm
by Deedaddy
dborecky wrote:I love that boat. It looks awesome. I have the plans but decided to build the FS14 first. I would love to know the exact numbers you are getting with that 90 hp at different rpms and loads....
Congrats again and I look forward to watching your next build take shape. By the way, are you building this one yourself or do you have extra labor as well...?
It will be a few days before I know max speed ...have to break it in by the book.
Next build is my own. You can follow it at
http://www.amateurboatbuilding.com:8080 ... t/240.page or at my site.
The plan is not from bateau so I don't thing it should be posted here.
Posted: Mon Aug 13, 2007 6:36 pm
by BuenKarma
Any luck on getting those specs? I am leaning towards the 4stoke, but your results just might sway me...
Caleb
Posted: Mon Aug 13, 2007 7:07 pm
by stickystuff
From one Phantom owner to another, great job. Nice and clean, clean lines and great finish. You won't find a more stable platform that the Phantoms have. Thumbs up to you.
Posted: Mon Aug 13, 2007 8:46 pm
by ks8
Great picture next to the production boat! Congrats and enjoy!
Posted: Tue Aug 14, 2007 6:06 pm
by Deedaddy
BuenKarma wrote:Any luck on getting those specs? I am leaning towards the 4stoke, but your results just might sway me...
Caleb
Not yet. The speed odometer seems to not be working.
Posted: Fri Aug 24, 2007 9:16 am
by Deedaddy
Don't know how fast it is but the catching is great..
Posted: Sat Sep 15, 2007 9:32 am
by Muddler
I am at the stage of installing the chase tubes and had several questions.
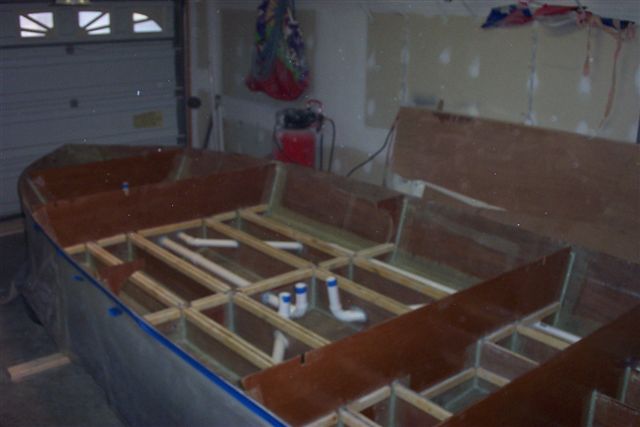
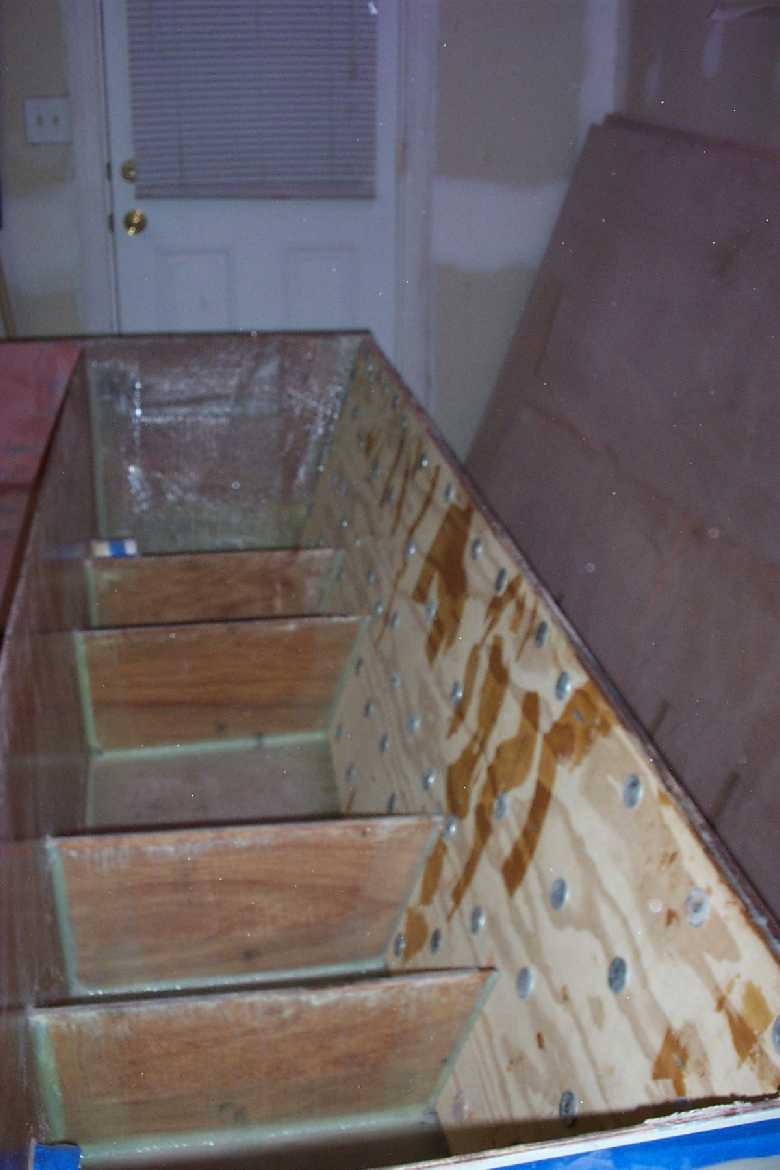
On the starboard side of your boat you appear to have three tubes running to the stern.
1. One tube is 3" for the shift cables?, is it located between the inside and out side stringers?
2. Where does it stop, between at the stern and the last bulkhead?
3. One tube is 2" inch, is this for the hydraulic steering?
4. Is that a 1" tube from the gas tank area to the stern for the fuel line or is it 1.5"?
You and the family have done a superb job. I can only hope mine looks this good.
Thanks in advance.
Muddler
Posted: Sat Sep 15, 2007 11:29 am
by Deedaddy
Muddler wrote:I am at the stage of installing the chase tubes and had several questions.
On the starboard side of your boat you appear to have three tubes running to the stern.
1. One tube is 3" for the shift cables?, is it located between the inside and out side stringers?
2. Where does it stop, between at the stern and the last bulkhead?
3. One tube is 2" inch, is this for the hydraulic steering?
4. Is that a 1" tube from the gas tank area to the stern for the fuel line or is it 1.5"?
You and the family have done a superb job. I can only hope mine looks this good.
Thanks in advance.
Muddler
1, 2, and 3 are yes. 4, is also 2" and is for the fuel line to the bow under casting deck.
Posted: Fri Nov 09, 2007 1:05 pm
by dborecky
I'm sure you have that motor broat in by now.....
What are the numbers with the engine set up you have set up? RPM Vs Speed including WOT?
Just curious to see how she is running...
Derrick
Posted: Mon Nov 12, 2007 5:07 pm
by Tagged
Ditto what he said. Beautiful boat. howz it running?
Tag
 [/img]