
mecreatures D15
-
mecreature
- Very Active Poster

- Posts: 770
- Joined: Thu Jun 29, 2006 4:54 pm
- Location: Indiana

-
mecreature
- Very Active Poster
- Posts: 770
- Joined: Thu Jun 29, 2006 4:54 pm
- Location: Indiana
I have not used it much but it works good.
I just use standard sheets (cut to fit) and 3M adhesive on both surfaces. Let dry to a tack and stick um together. I got the 3M 99.. the 3M 77 would work though. I also cut several outdoor carpet pieces with the rubber back to go inbetween the board and the paper... just a bit of give so you dont have hard board on your ply.
thinner board would probably work better.
-
mecreature
- Very Active Poster
- Posts: 770
- Joined: Thu Jun 29, 2006 4:54 pm
- Location: Indiana
I got the outside glassed. it got down to 18 degrees but with 6 100 watt bulbs and a space heater it was hard in the morning. I had to work it more then I wanted but got alot of air out. the back over it and filled the weave pretty good.
Lesson learned.. get help putting down the big sheets of fabric. It would have made life easier. but all in all it seems to be good..
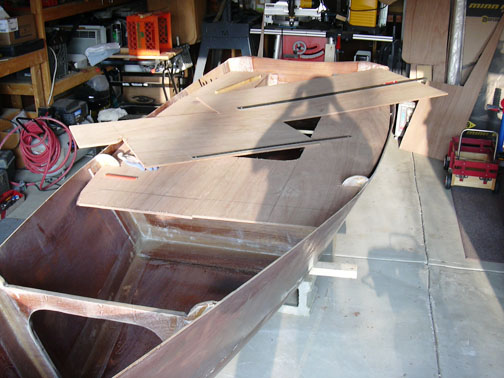
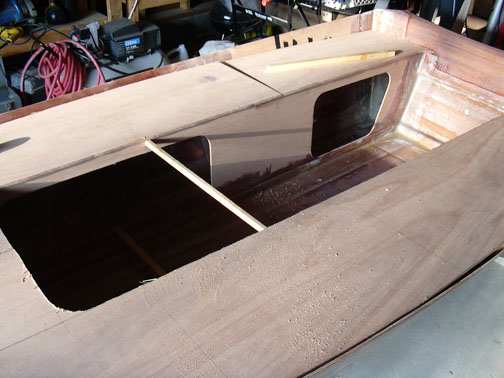
Now for a quick round of sanding and filp over to do some more of the inside.
I am slowly getting all my accessories together.
I will update pics shortly.
Lesson learned.. get help putting down the big sheets of fabric. It would have made life easier. but all in all it seems to be good..
Now for a quick round of sanding and filp over to do some more of the inside.
I am slowly getting all my accessories together.
I will update pics shortly.
-
mecreature
- Very Active Poster
- Posts: 770
- Joined: Thu Jun 29, 2006 4:54 pm
- Location: Indiana
a few pics..
looks to be a great weekend here in april..
I hope to get a round of sanding the whole inside and some c??k??^??e seats..
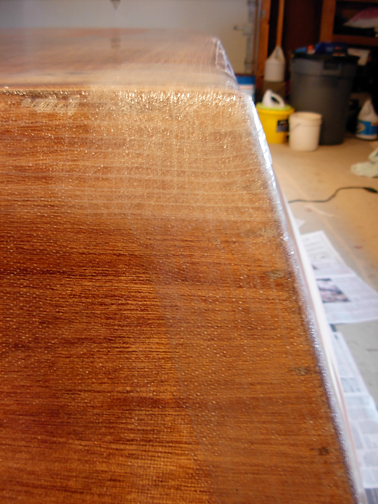
Everything is glassed on the outside and weave is filled. Looks better up close then it does in the pic.
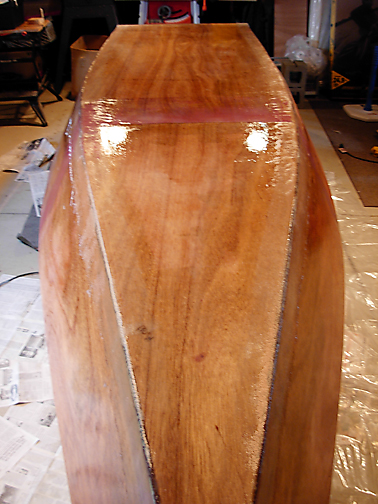
after cure a bit too much epoxy in spots but it will keep me out of the fabric when I sand.
Now for finish on inside and then filp back over and finish outside.
looks to be a great weekend here in april..
I hope to get a round of sanding the whole inside and some c??k??^??e seats..
Everything is glassed on the outside and weave is filled. Looks better up close then it does in the pic.
after cure a bit too much epoxy in spots but it will keep me out of the fabric when I sand.
Now for finish on inside and then filp back over and finish outside.
-
mecreature
- Very Active Poster
- Posts: 770
- Joined: Thu Jun 29, 2006 4:54 pm
- Location: Indiana
-
mecreature
- Very Active Poster
- Posts: 770
- Joined: Thu Jun 29, 2006 4:54 pm
- Location: Indiana
Who is online
Users browsing this forum: Yandex [Bot] and 14 guests