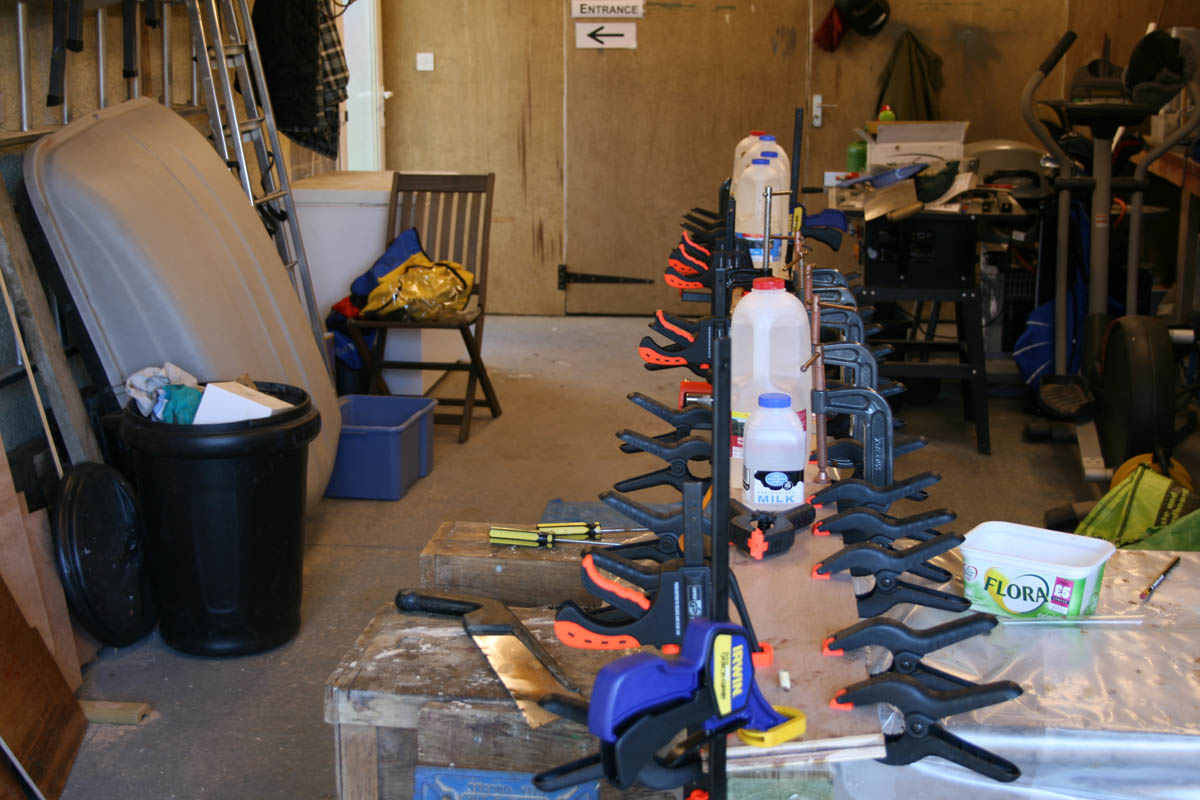
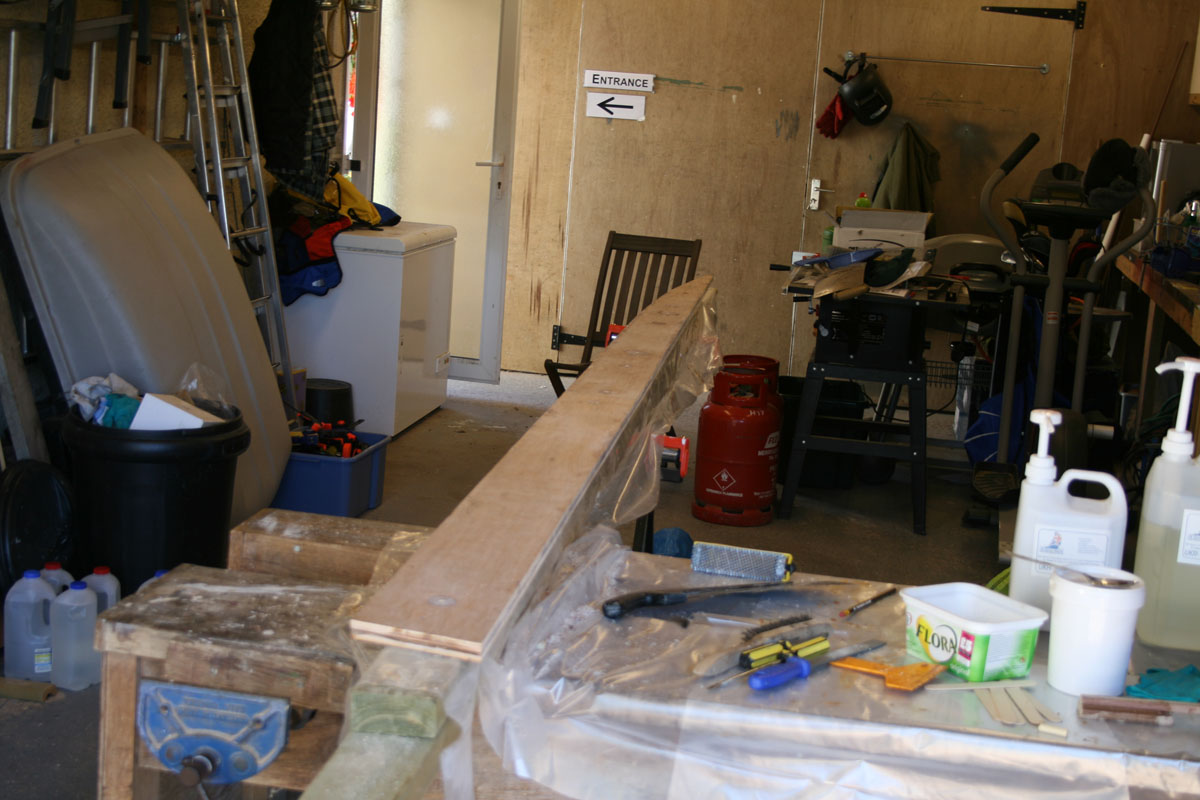
A British FS17

To help other builders, please list the boat you are building in the Thread Subject -- and to conserve space, please limit your posting to one thread per boat.

Please feel free to use the gallery to display multiple images of your progress.
jeremy
Active Poster
Active Poster
Posts: 483
Joined: Thu Sep 09, 2004 3:14 am
Location: Louisville, CO

Post by jeremy »

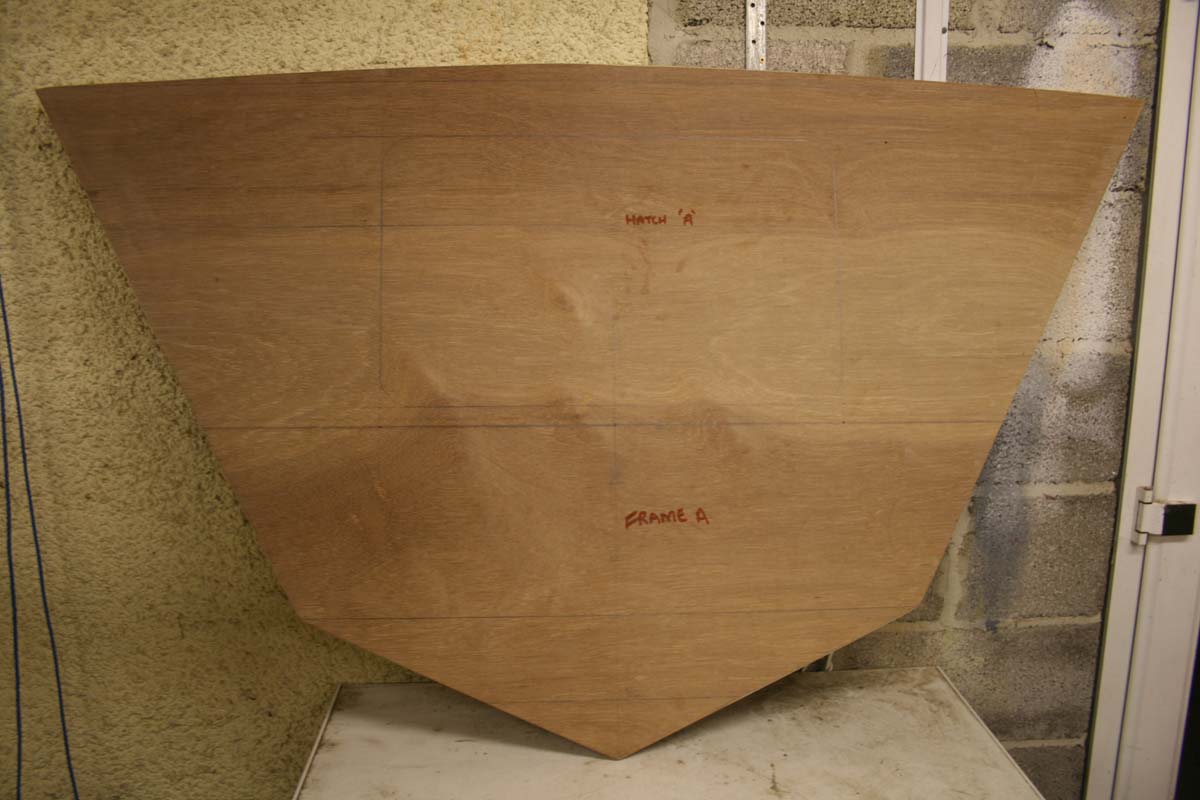
Sure, you linked to the thumbnail instead of the other photo.
Click on the thumbnail in the gallery to open the page and link to that picture instead.

Image

steve292
* Bateau Builder *
* Bateau Builder *
Posts: 1052
Joined: Tue Nov 28, 2006 12:04 pm
Location: somerset u.k

Post by steve292 »

[quote="jeremy"]Sure, you linked to the thumbnail instead of the other photo.
Click on the thumbnail in the gallery to open the page and link to that picture instead.


thanks! such a simple thing to do when you know how.
Steve

User avatar
Cracker Larry
* Bateau Builder - Expert *
Posts: 22491
Joined: Fri Mar 11, 2005 3:39 pm
Location: Savannah, GA

Post by Cracker Larry »

anyone got any advice about getting nice big pagefillers in..a la KS8, Wobblylegs, Cracker larry
I usually resize all my pictures to 800 X 600 and try to keep the file size in the 200KB range. These fill the page without being too large for it.

Good luck with the build. The best advice I can give is, if you don't know something, ask, and don't proceed until you know :wink:
Completed GF12 X 2, GF16, OD18, FS18, GF5, GF18, CL6
"Ships are the nearest things to dreams that hands have ever made." -Robert N. Rose
User avatar
hglucky13
New Poster
New Poster
Posts: 6
Joined: Thu Jul 19, 2007 11:46 pm
Location: san diego

Post by hglucky13 »

good lucK with the build!! i am very excited to see your build :D I am building the same boat, with the raised freeboard ,center cockpit, and intended to build a full height bench against the motor well for bait and coolers. I have also tossed around the idea of having a casting deck out to the b station.or at least midway between a and b. I like the raised freeboard for the ability to lean my thighs against the gunwale when fishing for tuna. but want the casting deck for bass fishing. trying to make this an all around boat for myself and my kids. wish i could afford two boats!!!!

steve292
* Bateau Builder *
* Bateau Builder *
Posts: 1052
Joined: Tue Nov 28, 2006 12:04 pm
Location: somerset u.k

Post by steve292 »

[quote I like the raised freeboard for the ability to lean my thighs against the gunwale when fishing for tuna. quote]

I don't think i'll be doing much tuna fishing in the Bristol channel, but I can dream. I to aim to have the casting deck out to station B, as I enjoy fly fishing & spinning for our european bass.There seems to be a lot of interest in these boats,so I feel the pressure from my peers already,& not a panel spliced yet.
PROGRESS.
frames A,B,E cut, both motorwell sides cut out,frames C & D marked out. Transom marked out,stringers cut.
I am doing it in stages mainly because I have limited storage for the ply, I cant store it flat so I am only buying 6 or so sheets at a time, I am tying to get all the frames,both stingers & the transom ready(laminated) before I aquire more materials.
will post pics on Monday(family gathering tomorrow).
Cheers,
Steve

steve292
* Bateau Builder *
* Bateau Builder *
Posts: 1052
Joined: Tue Nov 28, 2006 12:04 pm
Location: somerset u.k

Post by steve292 »

Big evening for me,got the first stringer laminated.I thought having 30 odd clamps was enough, but I think i'm wrong by about a factor of three.
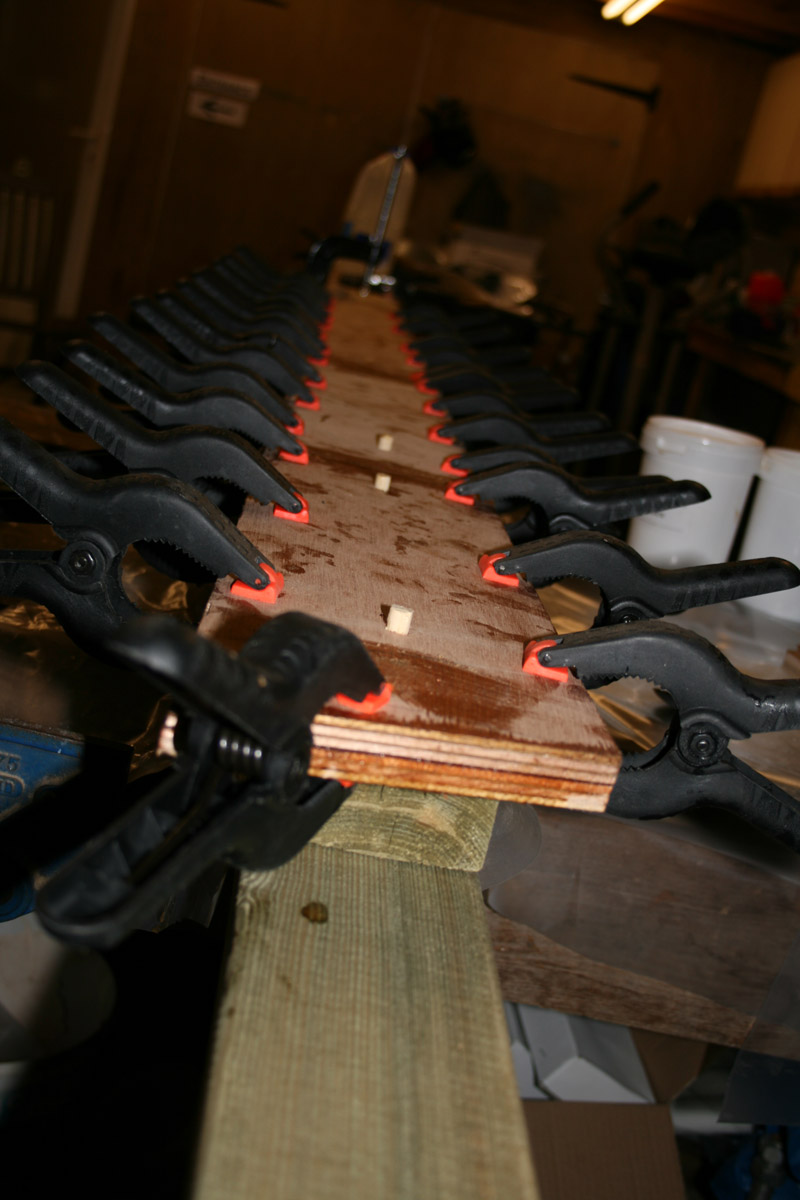
I have some pic's which I will post tomorrow when I have some more time.I used the dowel method to keep the stringer pieces in alingnment during glueing.It has also been a usefull excercise in mixing glue to get a good consistency.Had a small amount left at the end ,so I thickened it a bit more & filleted some scrap together out of interest, just to see if I have got the idea in my head properly.
Regards,
Steve

steve292
* Bateau Builder *
* Bateau Builder *
Posts: 1052
Joined: Tue Nov 28, 2006 12:04 pm
Location: somerset u.k

Post by steve292 »

Today I finally got both stringers assembled & dressed.
I used the dowels to hold the pieces in perfect alignment during the epoxy glue cure-
Image

I underestimated how many clamps I'd need so I went & got another half dozen before I embarked on the second stringer-
Image
After the glue had set up overnight I used a surform to remove the epoxy that had oozed out of the joint,while it was still green. They now look like stringers & have stiffened up considerably.
Image
I now feel up to the my next little milestone, which is assembling & glueing the transom clamping boards. I will post more pics as I go on
regards,
steve
P.S the thinking chair tip I got from the Dougster

mecreature
Very Active Poster
Very Active Poster
Posts: 770
Joined: Thu Jun 29, 2006 4:54 pm
Location: Indiana

Post by mecreature »

Its going to be fune to watch this thing go together..

I got a feeling that work space is going to fill up quick..

keep the pics coming..

User avatar
tech_support
Very Active Poster
Very Active Poster
Posts: 12318
Joined: Wed Dec 31, 1969 7:00 pm
Location: Vero Beach, FL
Contact:

Post by tech_support »

Steve, you do not need that many clamps :!: :D

One of the only mistakes you can make with epoxy is squeezing too hard. The more epoxy left in the joint the better :!:

Lower
Active Poster
Active Poster
Posts: 318
Joined: Thu Jun 14, 2007 12:40 pm
Location: Grafton, Ma

Post by Lower »

You killin me Steve. I am dying to get working on the boat, but life keeps interfering. Heading up to Maine for a few days. When I get back, I gotta get busting.

Thanks for posting pics. Fun to watch the build. Also helps others (like myself) when we get to that point. Sorry you don't have anyone to follow, but someone has to lead the show!

Post Reply

Who is online

Users browsing this forum: No registered users and 11 guests