A British FS17

To help other builders, please list the boat you are building in the Thread Subject -- and to conserve space, please limit your posting to one thread per boat.

Please feel free to use the gallery to display multiple images of your progress.
steve292
* Bateau Builder *
* Bateau Builder *
Posts: 1052
Joined: Tue Nov 28, 2006 12:04 pm
Location: somerset u.k

Post by steve292 »

Slow progress this week,due to the rugby world cup, but some never the less,
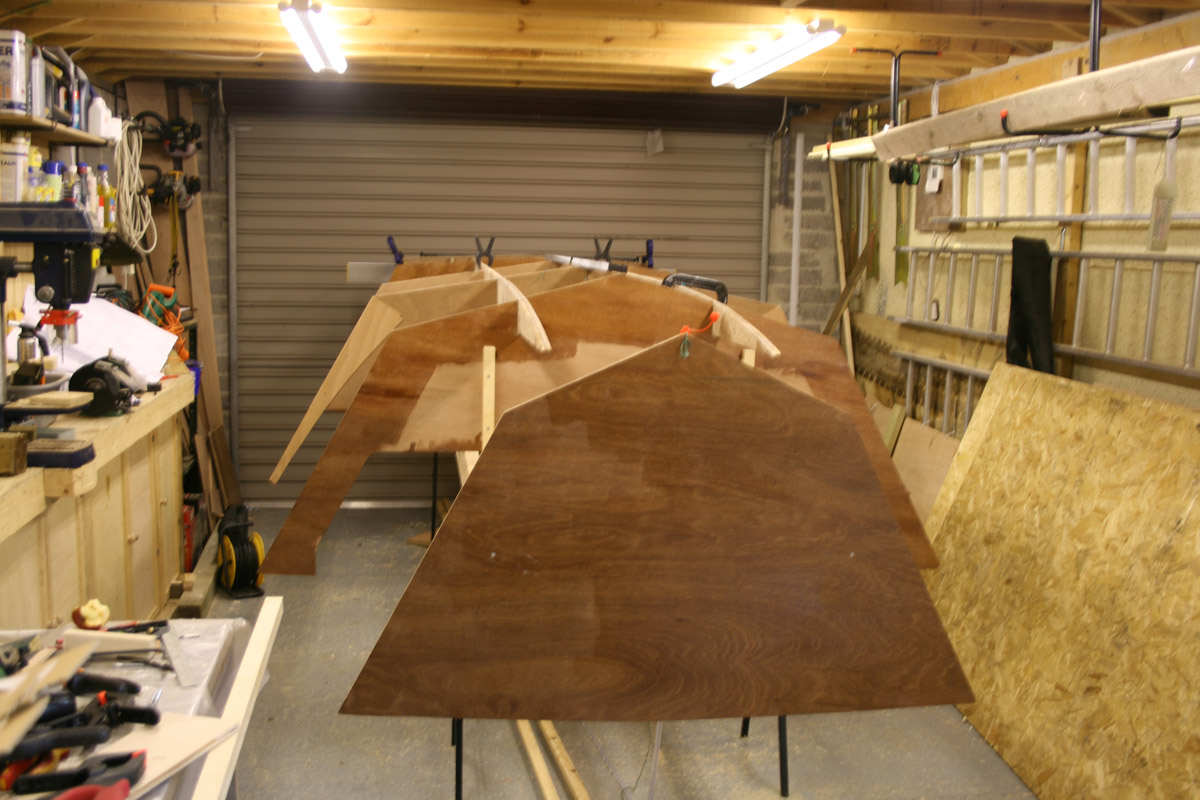
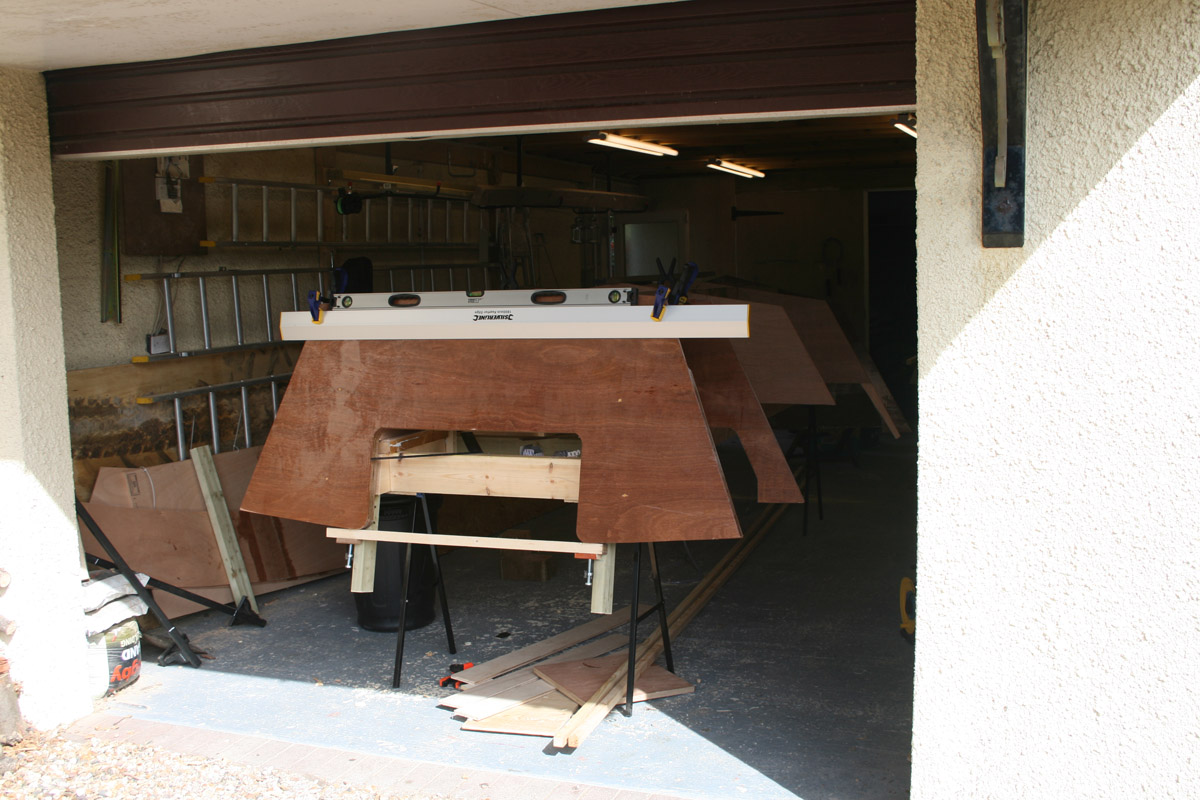
I have mounted the frames on the jig & also the transom.
Image
I am going to have to re-cut frame D due to what is best described as a momentary loss of brain function in that I marked it with a measurement that is not on any of the drawings, anywhere. I was always taught to think thrice , measure twice & cut once.One day I will take that advice & save myself time in the process. Nevermind.I can use the ply later on something else. I am gong to recut the frame from OSB later today.
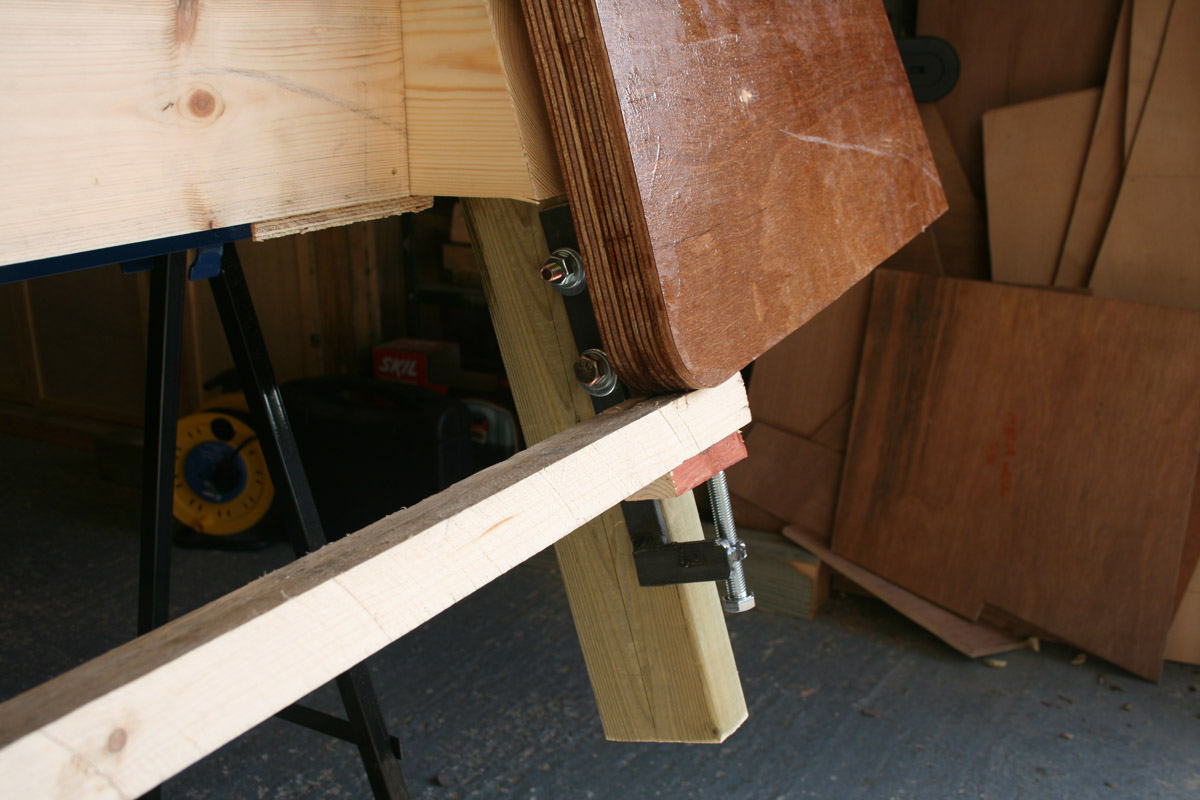
I made some screwed adjusting brackets for the transom mounting as it was to big & heavy to hold & adjust on my own.
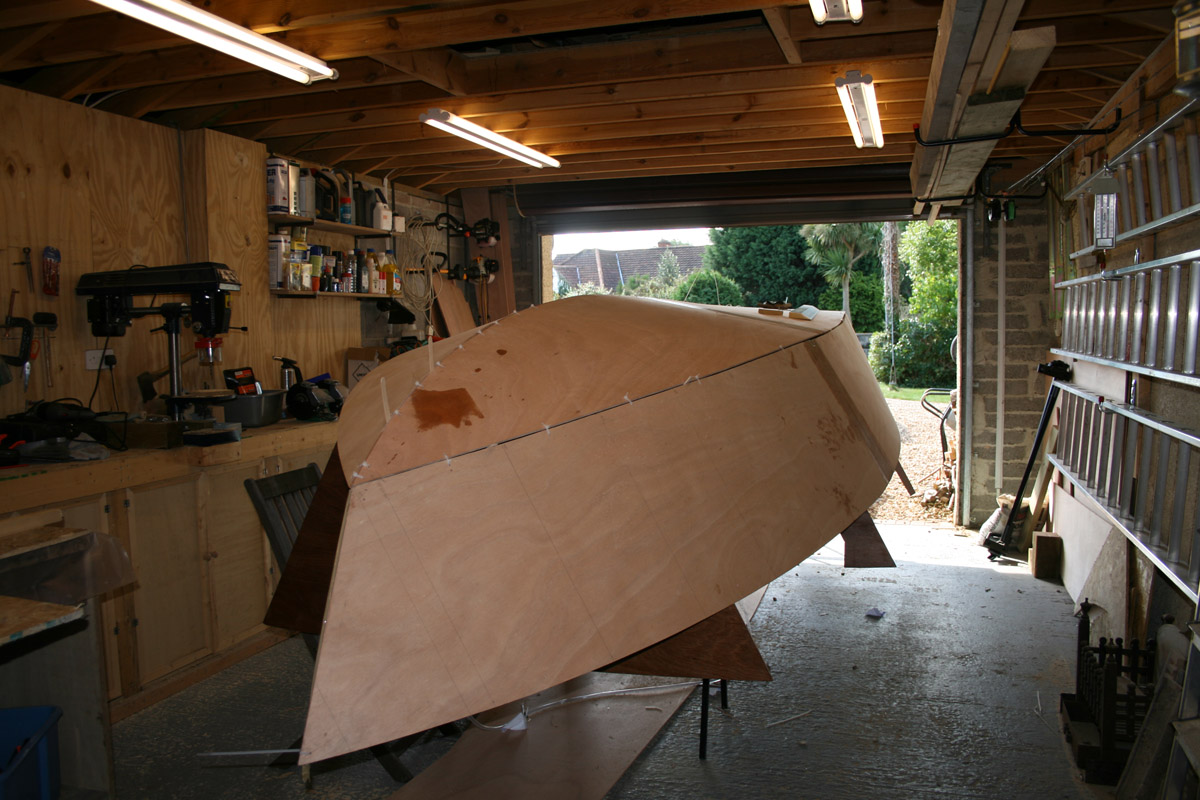
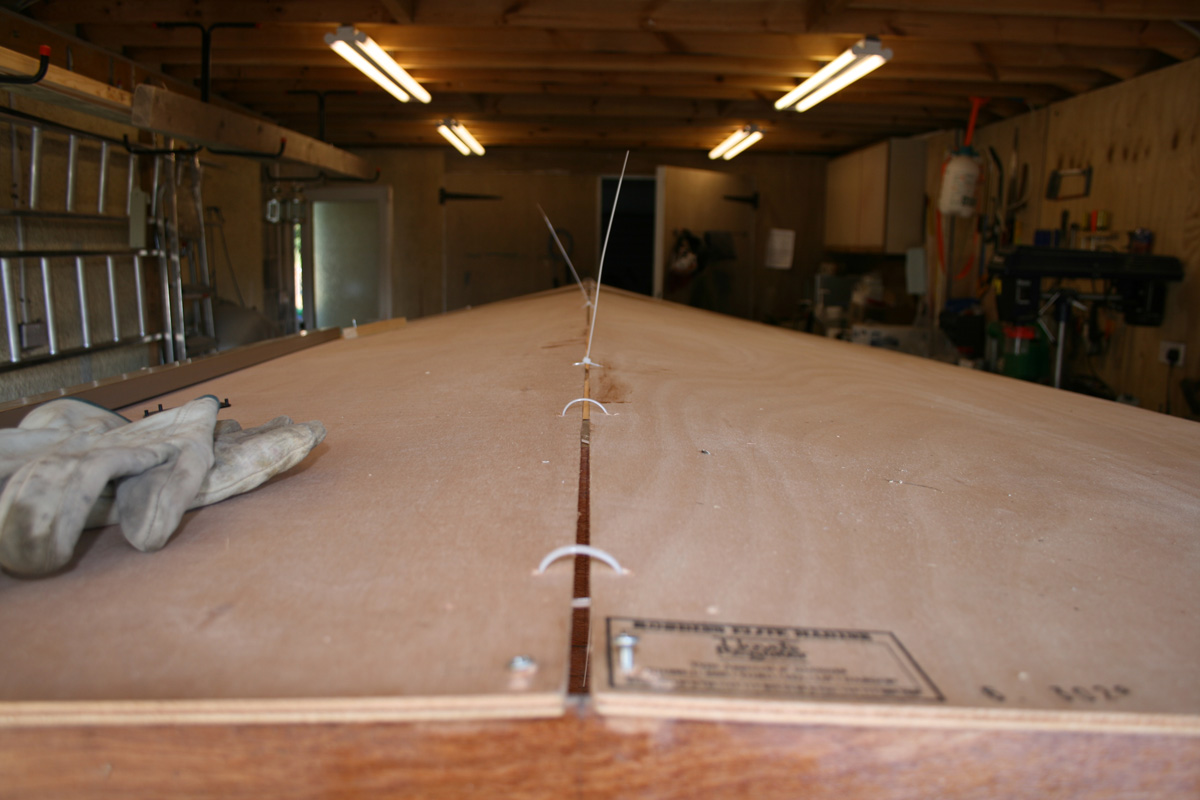
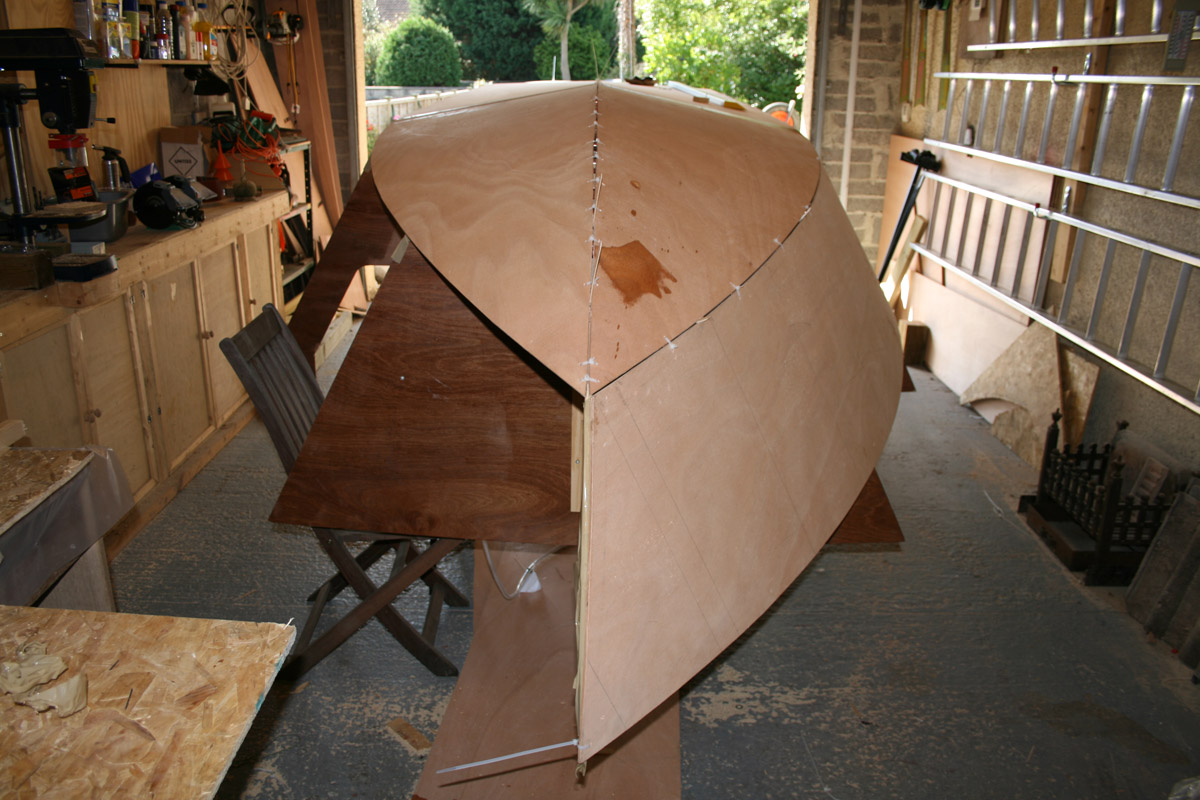
here are some pics-
overall view of transom
Image
& one of the adjusting gizmo-
Image
& last another view of the molds on the strongback
Image
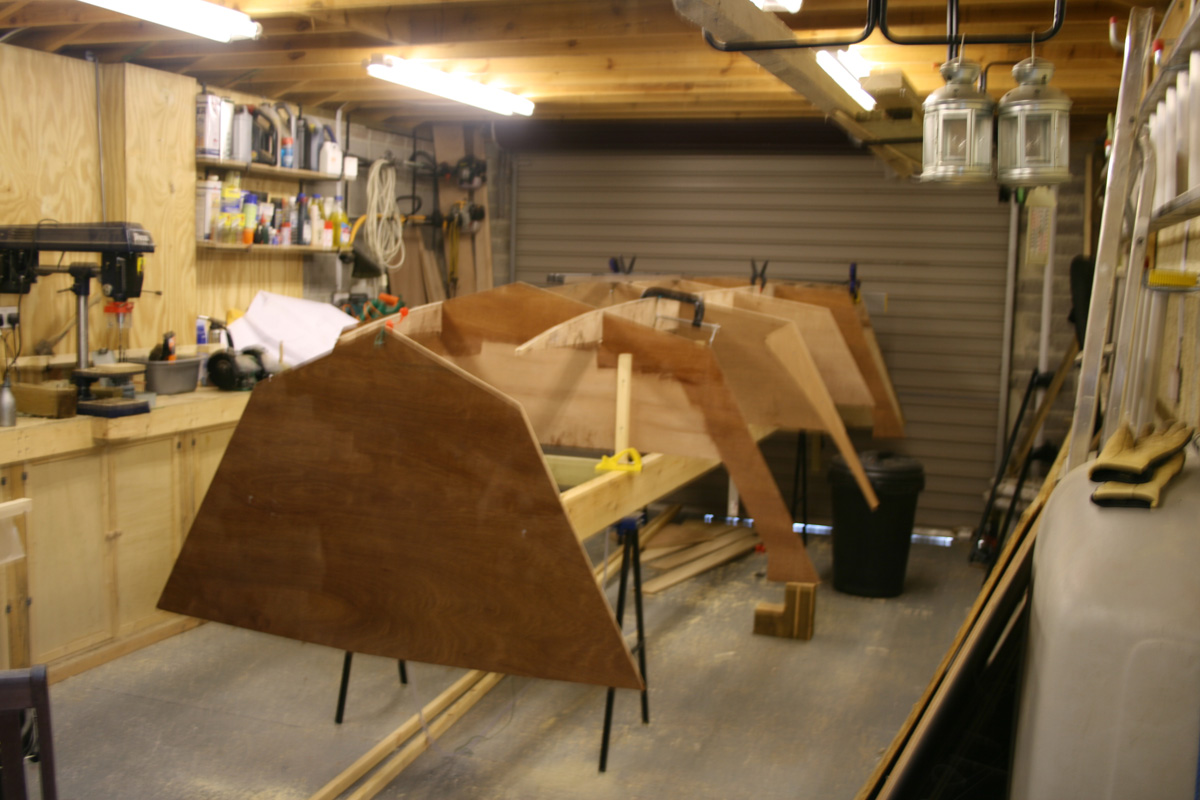
You might be able to see that the stringer is proud of frame D. the measurement I got wrong was the baseline to chine. Should have been 89, marked & cut at 59. 59 appears nowhere on the frames drawing,so what I was thinking I don't know.
Steve

Daniel Huckleberry
Very Active Poster
Very Active Poster
Posts: 862
Joined: Mon Jun 19, 2006 12:40 pm
Location: Fairhope, Alabama

Post by Daniel Huckleberry »

If that's the worst mistake you make, you will be superfine! 8)

Looks great. Build on!

Huck

Jerry-rigged
Very Active Poster
Very Active Poster
Posts: 634
Joined: Tue Oct 04, 2005 3:22 pm
Location: Hopefully fishing Christmas Bay

Post by Jerry-rigged »

Wow 8O

Seeing the frames all cut out makes me relize that boat is a lot bigger than I was thinking when the plans were released... 8)

Looks Nice...

Jerry
Fishing from a paddle boat...

Lower
Active Poster
Active Poster
Posts: 318
Joined: Thu Jun 14, 2007 12:40 pm
Location: Grafton, Ma

Post by Lower »

Looking good man. Your pulling ahead of me! I've made zero progress. Left suddenly last week to attend a funeral. Just returned today. Can't wait to get going again.

Jerry...just an FYI...he is building the raised sheer version. Makes those pieces look bigger than the standard build.

steve292
* Bateau Builder *
* Bateau Builder *
Posts: 1052
Joined: Tue Nov 28, 2006 12:04 pm
Location: somerset u.k

Post by steve292 »

Lower wrote:
Jerry...just an FYI...he is building the raised sheer version. Makes those pieces look bigger than the standard build.
It will be interesting to see a standard boat on it's jig to see just how bigger 8 extra inches of side panel makes it appear. I will agree with Jerry tho, it looks bigger than I envisioned.

Lower, you can only go as fast as life lets you............I am so keen to get on that I am trying to find time where none exists,thats how the stupid small mistakes are creeping in. Rushing.

colonialc19
Very Active Poster
Very Active Poster
Posts: 612
Joined: Tue Apr 24, 2007 4:09 pm
Location: Colonial Heights,VA

Post by colonialc19 »

Steve, great progress, good to see the jig up, keep pluggin along!
Daniel

steve292
* Bateau Builder *
* Bateau Builder *
Posts: 1052
Joined: Tue Nov 28, 2006 12:04 pm
Location: somerset u.k

Post by steve292 »

some photo's in the album "steves FS17" update later tonight,time permitting.
Steve.

steve292
* Bateau Builder *
* Bateau Builder *
Posts: 1052
Joined: Tue Nov 28, 2006 12:04 pm
Location: somerset u.k

Post by steve292 »

since last time I updated this thread I have recut frame "c" from OSB (horrible stuff to work with btw) & mounted it on the jig.
I had two evenings last week where I had a couple of hours at a time to work & here is the result
Image
As you can see both bottom panels are on & stitched, this went easy with hardly any stiches pulled tight on the straight part of the keel.The keel & planing surfaces seem really good with no hook or rocker that I can see or measure with the 1800mm staight edge I have. I realise this may change as the sides are hung.
It is also sitting nicely on the frames & stringers. The bow I did have to open up the gap between the panels with a jigsaw as the stitching pulled it into shape.
this is the view along the keel from the transom-
Image
& one down the centre from the front-
Image
finally, the tip of the bow panel came out right on the money at the bow mold,which I was dead chuffed about :P
I will post a pic later of that, with a hopefully fully assembled stitched hull.
I can tell you it looks a lot bigger than I thought,a bit daunting thinking about sanding 8O
I realise I might be a trifle ahead of myself here, but am now looking for suggestions on the best way to tape the hull, i.e do the transom then the keel,then chines or?????. which way produces the neatest overlaps?. I don't think I will be able to fillet & tape in one session, my plan is this;

-fillet all the seams in one session & let cure
-radius all the edges & sand,precut all the tapes at my leisure
-coat seams with epoxy & tape all in one go

-unless someone has a better one :help:
any suggestions/tips would be appreciated please.


Steve

Lower
Active Poster
Active Poster
Posts: 318
Joined: Thu Jun 14, 2007 12:40 pm
Location: Grafton, Ma

Post by Lower »

Awesome Steve! That's what I've been waiting for. Hull looks nice...and like you say BIG! I'm slowly moving along as well. Just finished cutting everything out and put my epoxy order in. Time to start glueing things together. Thanks again for posting the pics. I'm enjoying watching it come together.

colonialc19
Very Active Poster
Very Active Poster
Posts: 612
Joined: Tue Apr 24, 2007 4:09 pm
Location: Colonial Heights,VA

Post by colonialc19 »

Looking great Steve! hope mine comes together that good.
Daniel

Post Reply

Who is online

Users browsing this forum: Yandex [Bot] and 8 guests