
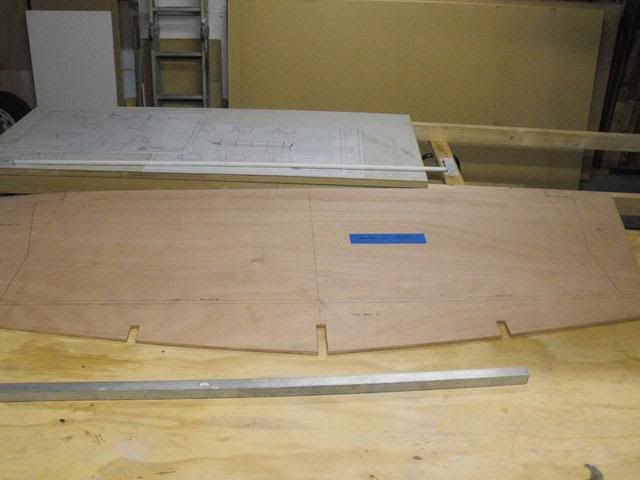
G'day topwater, 0.5 mm seems to be just right for the depth of the cut.
First I champhered the wood at the cut to allow for some epoxy/glue powder mix ( personal choice ) then planed off one side and layed up with glass, after it was cured I then planed the other side followed by glue then the glass etc.
At this stage I do intend to do all the external joints this way and some of the internal butt joins.
OB17 Underway downunder.
-
sideslippa
- Active Poster

- Posts: 320
- Joined: Fri Jan 16, 2009 10:06 pm
- Location: Australia
After fairing and sanding. Not a lot of fairing material required.

Last edited by sideslippa on Tue Mar 03, 2009 8:08 am, edited 1 time in total.
-
sideslippa
- Active Poster
- Posts: 320
- Joined: Fri Jan 16, 2009 10:06 pm
- Location: Australia
-
sideslippa
- Active Poster
- Posts: 320
- Joined: Fri Jan 16, 2009 10:06 pm
- Location: Australia
-
Bowmovement

- Very Active Poster

- Posts: 987
- Joined: Wed Nov 19, 2008 10:11 pm
- Location: Lynwood Wa, By way of Eastern N.C.
-
sideslippa
- Active Poster
- Posts: 320
- Joined: Fri Jan 16, 2009 10:06 pm
- Location: Australia
-
chicagoross

- * Bateau Builder *
- Posts: 1927
- Joined: Wed Aug 29, 2007 3:42 am
- Location: Guam, USA, middle of the Pacific Ocean
-
sideslippa
- Active Poster
- Posts: 320
- Joined: Fri Jan 16, 2009 10:06 pm
- Location: Australia
That's the idea Chicagoross, Lets hope it works out that way. Some others have also done the same thing and say it saves time in the long run. I think it should be every bit as strong too. I have tried to break the test piece and it is incredibly stiff, I was not able to break it with out jumping on it.
Best regards... Steve.
Best regards... Steve.
-
Lucky_Louis

- Very Active Poster
- Posts: 1081
- Joined: Wed Jun 25, 2003 1:00 am
- Location: West Coast, CANADA
Looking awesome Steve. I had thought about recessing the butt joints too but Santa didn't bring my power plane until after all the outside joints were spliced and taped.
A few main things I learned about fairing
- use the best sandpaper available. boatbuilding time is precious and valuable too.
- don't be afraid of agressive grits (by the time I finished I was starting with 30 grit)
- don't flog a dead horse, feel the paper, if doesn't feel sharp, toss it.
- use a scraper instead of sanding wherever you can. not so much for fairing but for finish work, removing ridges, drips, and runs. Very fast, and no dust.
If I had followed my above advice, I could have saved 50% or better on my fairing time and been far less frustrated. Hope this helps.
Last edited by Lucky_Louis on Mon Mar 16, 2009 10:40 am, edited 1 time in total.
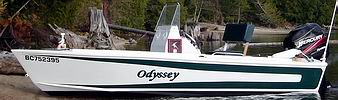 OB17 Splashed June 2007
Who is online
Users browsing this forum: Bing [Bot] and 11 guests