
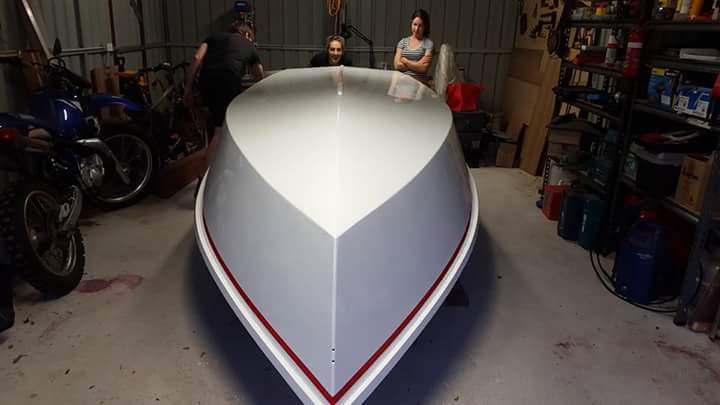


You certainly are man, nice work!!boat_AUS wrote:so i have been really powerin into the build now

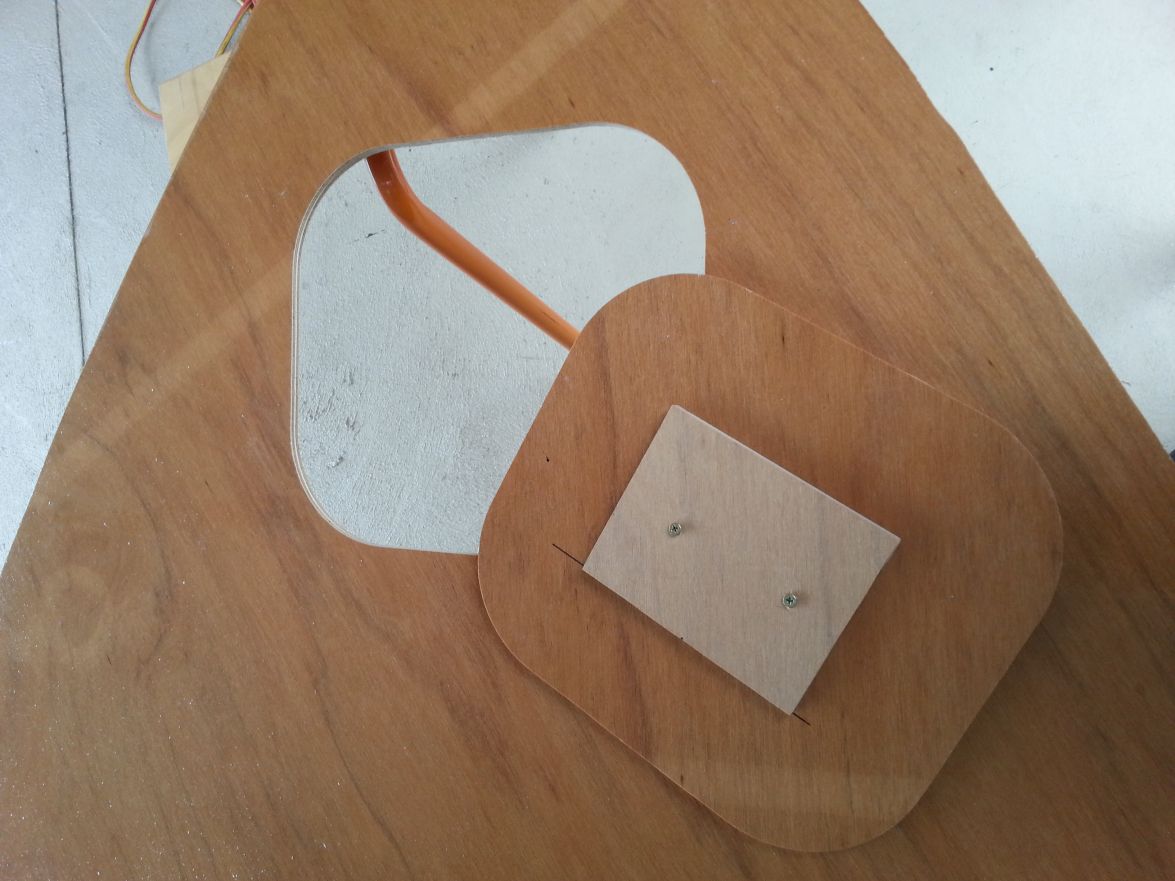
Very nice work.boat_AUS wrote: i have cut out hatches in the bow x1, and in the rear seat x3 using the router. i cut a template square taking into account the offset from the edge of the router to the centre of the bit so i could just run the router around the edge, making sure to set the depth of cut just short of all the way through so that the template doesnt move. using a 2mm bit im going to use the cut out middle piece as the hatch and im pretty happy with the results, saving a bit of wasted ply.
Very nice work.boat_AUS wrote: i have cut out hatches in the bow x1, and in the rear seat x3 using the router. i cut a template square taking into account the offset from the edge of the router to the centre of the bit so i could just run the router around the edge, making sure to set the depth of cut just short of all the way through so that the template doesnt move. using a 2mm bit im going to use the cut out middle piece as the hatch and im pretty happy with the results, saving a bit of wasted ply.
So am I!im pretty happy with the results,
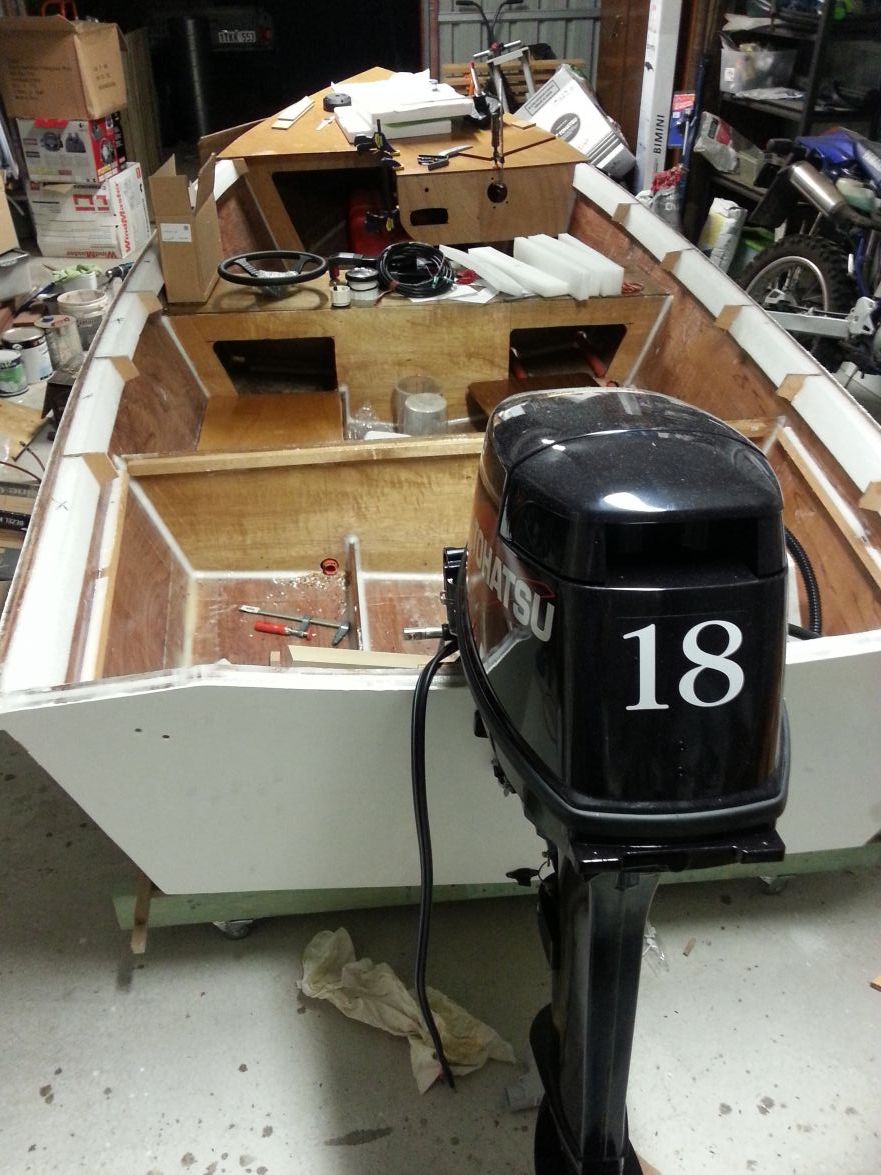 you can also see the helm/cockpit area being fitted up. Need to get the engine controls mounted, but need to have the gunwales on to make sure of clearance.
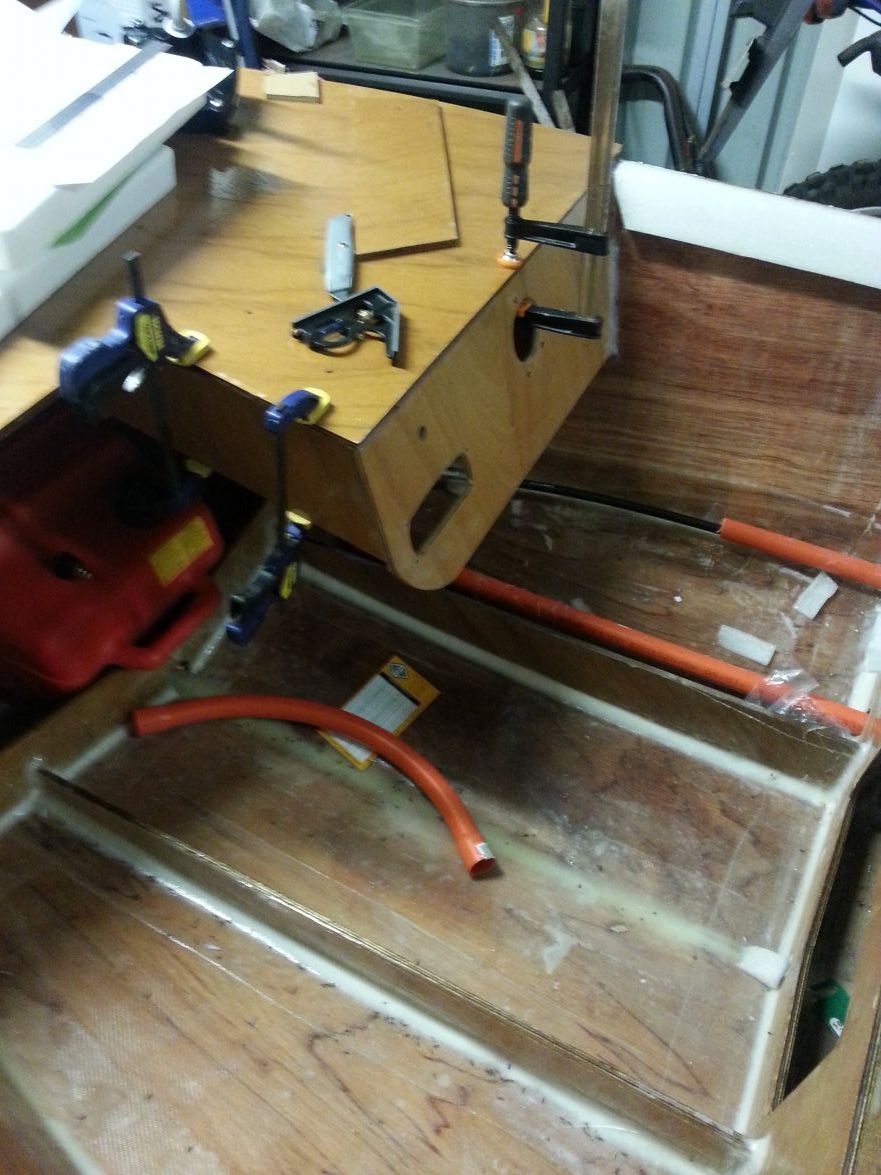
Users browsing this forum: No registered users and 15 guests