
Matt's FL26 - building the Wren
-
AtTheBrink
- * Bateau Builder *

- Posts: 1557
- Joined: Mon Nov 07, 2011 8:51 am
- Location: Ingleside, TX
- Location: Texas Coastal Bend
Re: Matt's FL26 - building the Wren
Yep getting real close and real excited, I am going to try to get some more pictures up today. Thanks for that explanation of "sussed". 
Mike
"Come, follow me and I will make you fishers of men."
Matthew 4:19
"Come, follow me and I will make you fishers of men."
Matthew 4:19
Re: Matt's FL26 - building the Wren
I've also thought a thruster might be a good idea on the FL26.That immersed forefoot must surely make it a bitch to maneuver at low speeds.
-
Matte
- Frequent Poster

- Posts: 49
- Joined: Sat May 14, 2011 10:53 pm
- Location: Sydney australia
- Location: Sydney Australia
Re: Matt's FL26 - building the Wren
i'm heading in that direction Rob ... I dont have to decide immediatly, but i would prefer to put in the tunnel while shes upside down (just easier to fair - need to create a rise and a recess to minimize drag).
Building a FL26 in a dirt floor tractor shed
Re: Matt's FL26 - building the Wren
Matt,
You or someone mentioned avoiding extra weight up front.Remember this boat came close to getting a ballast tank to keep weight in the bow.
You or someone mentioned avoiding extra weight up front.Remember this boat came close to getting a ballast tank to keep weight in the bow.
-
Matte
- Frequent Poster
- Posts: 49
- Joined: Sat May 14, 2011 10:53 pm
- Location: Sydney australia
- Location: Sydney Australia
Re: Matt's FL26 - building the Wren
Thanks Rob - i had forgotten that! Been a while since i read through the archive.
Building a FL26 in a dirt floor tractor shed
-
Matte
- Frequent Poster
- Posts: 49
- Joined: Sat May 14, 2011 10:53 pm
- Location: Sydney australia
- Location: Sydney Australia
Re: Matt's FL26 - building the Wren
Might be pushing it, but i have this bad-boy as a 'may-be' for the deck.

Building a FL26 in a dirt floor tractor shed
-
Matte
- Frequent Poster
- Posts: 49
- Joined: Sat May 14, 2011 10:53 pm
- Location: Sydney australia
- Location: Sydney Australia
Re: Matt's FL26 - building the Wren
G'day all,
Thought i would 'check in' ... not much in the way of progress, except 4 days of fairing. For not much progress, i am absolutly buggered...
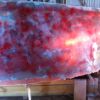
First i knocked the peaks down with a dry wall sander ~ gimbal (? - sorry, can't spell) mounted 9 inch head, loaded with 60 grit, followed up with 40 grit torture boards to some modest success.
Since its such a bugger to get down to the farm, and there is always so much to do, i have taken to (reluctantly) 'pushing' the epoxy a bit, hence the quartz heat lamp. (having consulted with the epoxy manufacturer)

I am terrified of going through the glass - there is a fairly thick layer of epoxy on top (school boy error #1) there is a small amount of latitude .... certainly not enough for comfort though.
I decided to try something different, something i really should have done in the very begining and would have saved me a LOT of heartache - applying the fairing mix with a 4mm grout scraper. If i wasn't so impatient i would have done this on the flared bow ... instead i went with a short cut that has so far taken at least four times as long.

The nicest thing about doing it this way is it is easy to sand down the peaks and get a fair shape quickly ... before coming back and building the groves up in a second round. (easier to apply thant to remove)
Thought i would 'check in' ... not much in the way of progress, except 4 days of fairing. For not much progress, i am absolutly buggered...
First i knocked the peaks down with a dry wall sander ~ gimbal (? - sorry, can't spell) mounted 9 inch head, loaded with 60 grit, followed up with 40 grit torture boards to some modest success.
Since its such a bugger to get down to the farm, and there is always so much to do, i have taken to (reluctantly) 'pushing' the epoxy a bit, hence the quartz heat lamp. (having consulted with the epoxy manufacturer)
I am terrified of going through the glass - there is a fairly thick layer of epoxy on top (school boy error #1) there is a small amount of latitude .... certainly not enough for comfort though.
I decided to try something different, something i really should have done in the very begining and would have saved me a LOT of heartache - applying the fairing mix with a 4mm grout scraper. If i wasn't so impatient i would have done this on the flared bow ... instead i went with a short cut that has so far taken at least four times as long.
The nicest thing about doing it this way is it is easy to sand down the peaks and get a fair shape quickly ... before coming back and building the groves up in a second round. (easier to apply thant to remove)
Building a FL26 in a dirt floor tractor shed
-
Matte
- Frequent Poster
- Posts: 49
- Joined: Sat May 14, 2011 10:53 pm
- Location: Sydney australia
- Location: Sydney Australia
Re: Matt's FL26 - building the Wren
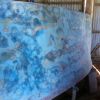
The above does not do it justice - this is the what it looked like after sanding off the guide coat ... smooooth.
As an aside - i would be profoundly greatful if i could buy QuickFair in this country! (The local S3 reps nolonger import it and I am waiting for the new Kiwi mob to get their 'dangerouse goods' compound gazetted ... either way, what is expensive in the US is vastly more so when imported to Australia via New Zealand!)
I guess most of you have been there - done that, and know how utterly appalling the fairing process can be
For those that haven’t, the advice I was given: ‘fair until you can not possibly fair any more and walk off visceral disgust. Repeat process three more times.’
To which I would add :
Good sandpaper helps (emery paper is utterly useless for longer than about three seconds). Make a couple of good fairing boards. Change paper often. Pace yourself. Be systematic, take the time to shape the fairing compound (again, on is easier than off) … please please please wear a good quality mask. (although I also did alright with a couple of fancy 3m disposables)
Towards the end of the last day I concentrated on the transom as it was manageable and gave me a standard to work to…
Building a FL26 in a dirt floor tractor shed
-
Matte
- Frequent Poster
- Posts: 49
- Joined: Sat May 14, 2011 10:53 pm
- Location: Sydney australia
- Location: Sydney Australia
Re: Matt's FL26 - building the Wren
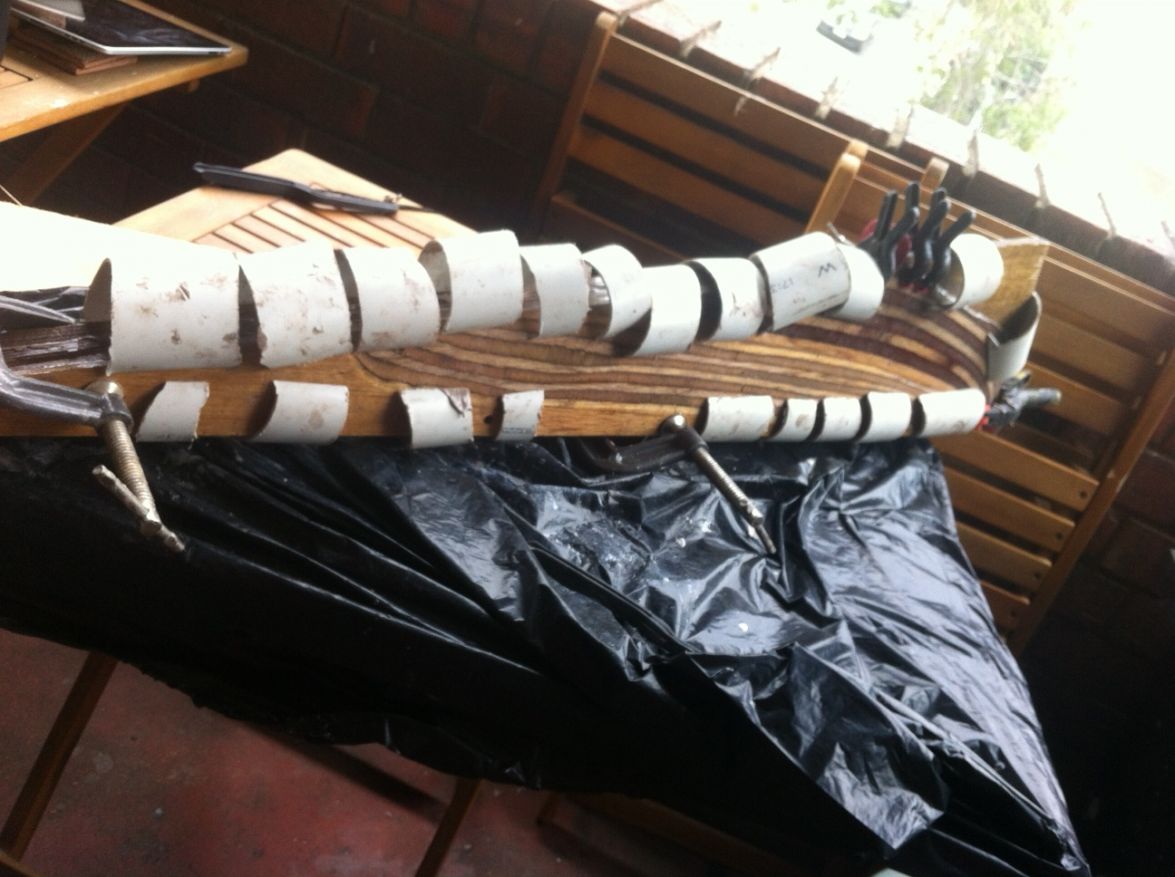
Fairing fairing ... It's time to add the skeg and keel - past time really!
Shaft is pretty much aligned, skeg to hull bit is laminated and sculpted. . . ( aligned on a wire line, final adjustments to be done in situ with a laser pointer)
Skeg to hull:
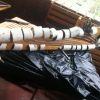
Before I do, I thought I would ask the ‘Jedi council’ if the rear of the skeg/keel should be square or rounded? (The keel is scalloped for clear water flow to the prop)
My follow up question would be – should the keel as a whole be tapered ~ thinner at the bottom than at the hull/base ? Is there any advantage for it being –say- 60mm / 2.5” at the hull and 40 mm / 1 ½ “ at the lower edge?
As always your thoughts and advice is greatly appreciated!
* note - post edited, "keel shoe" was the complete utter and diametrically incorect term for the bit where keel meets hull.
Shaft is pretty much aligned, skeg to hull bit is laminated and sculpted. . . ( aligned on a wire line, final adjustments to be done in situ with a laser pointer)
Skeg to hull:
Before I do, I thought I would ask the ‘Jedi council’ if the rear of the skeg/keel should be square or rounded? (The keel is scalloped for clear water flow to the prop)
My follow up question would be – should the keel as a whole be tapered ~ thinner at the bottom than at the hull/base ? Is there any advantage for it being –say- 60mm / 2.5” at the hull and 40 mm / 1 ½ “ at the lower edge?
As always your thoughts and advice is greatly appreciated!
* note - post edited, "keel shoe" was the complete utter and diametrically incorect term for the bit where keel meets hull.
Building a FL26 in a dirt floor tractor shed
Who is online
Users browsing this forum: Bing [Bot], Google [Bot] and 7 guests