Building an RB18

To help other builders, please list the boat you are building in the Thread Subject -- and to conserve space, please limit your posting to one thread per boat.

Please feel free to use the gallery to display multiple images of your progress.
pjb0949
Frequent Poster
Frequent Poster
Posts: 51
Joined: Tue Jul 21, 2015 9:12 am
Location: Halifax, ns

Re: Building an RB18

Post by pjb0949 »

Sunday was a good day. Got ties off and holes filled. Initial sanding to begin shaping tumblehome and application of epoxy putty to prepare tumblehome for glassing. Still need to sand tumblehome. Got about half the seams glassed.
Hope to be ready to glass the outside of the hull this coming weekend.
Image

Image

osotexan
Frequent Poster
Frequent Poster
Posts: 100
Joined: Sat Feb 01, 2014 6:38 pm
Location: Rockport TX

Re: Building an RB18

Post by osotexan »

I love the puzzle joints. Everything looks nice and clean. Great progress.

pjb0949
Frequent Poster
Frequent Poster
Posts: 51
Joined: Tue Jul 21, 2015 9:12 am
Location: Halifax, ns

Re: Building an RB18

Post by pjb0949 »

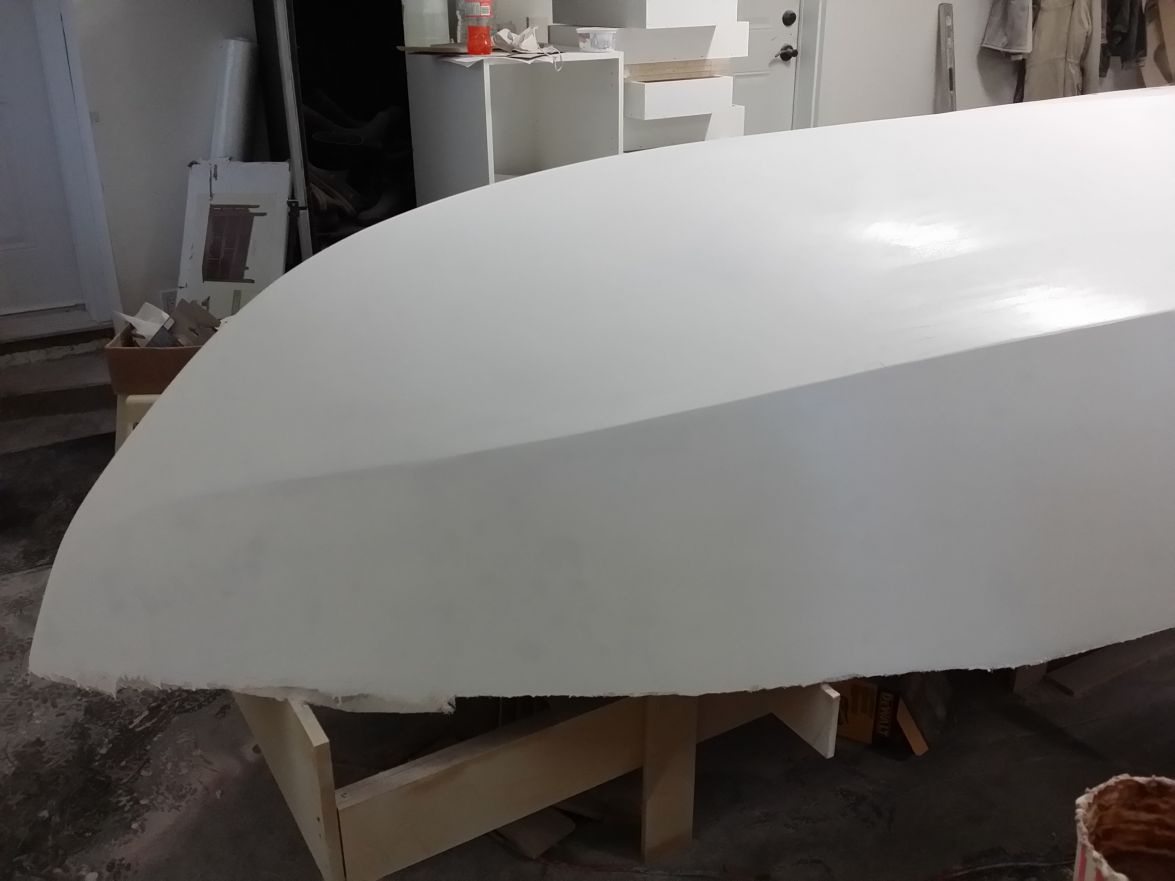
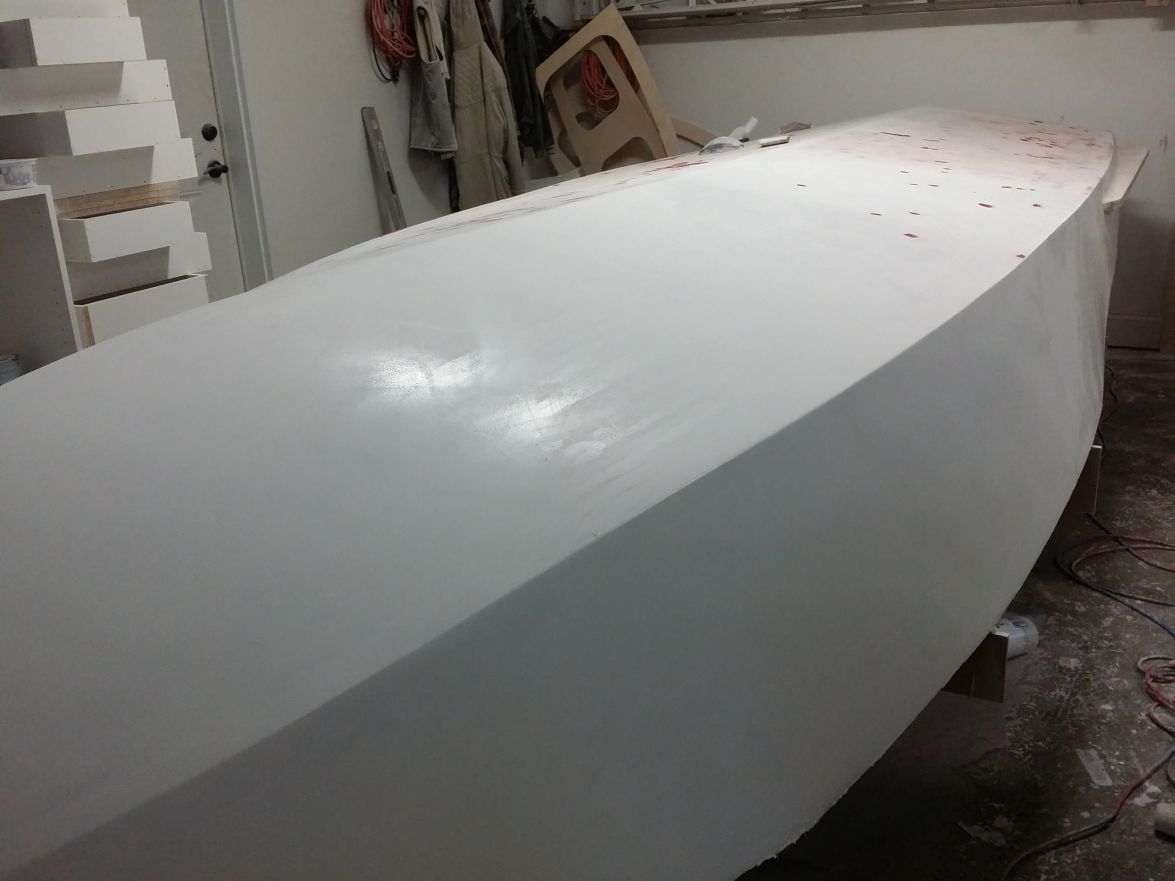
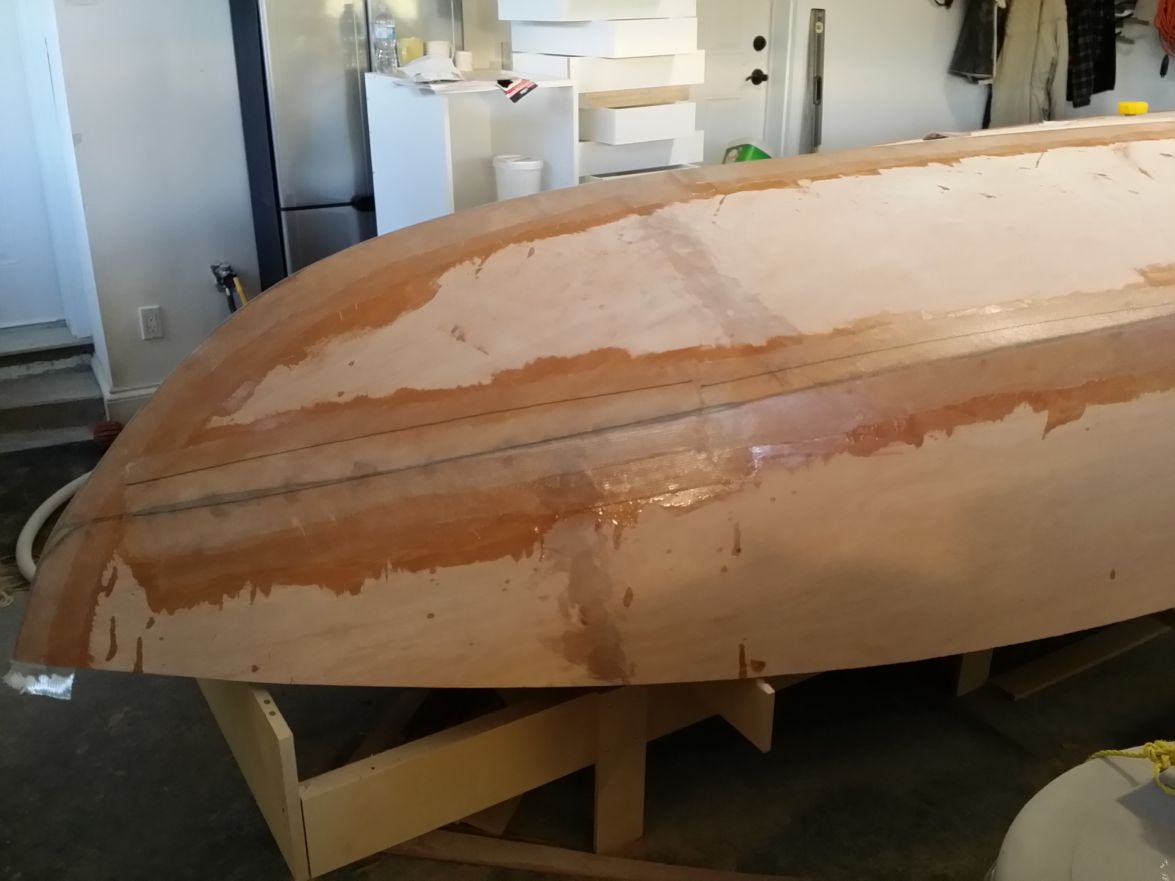
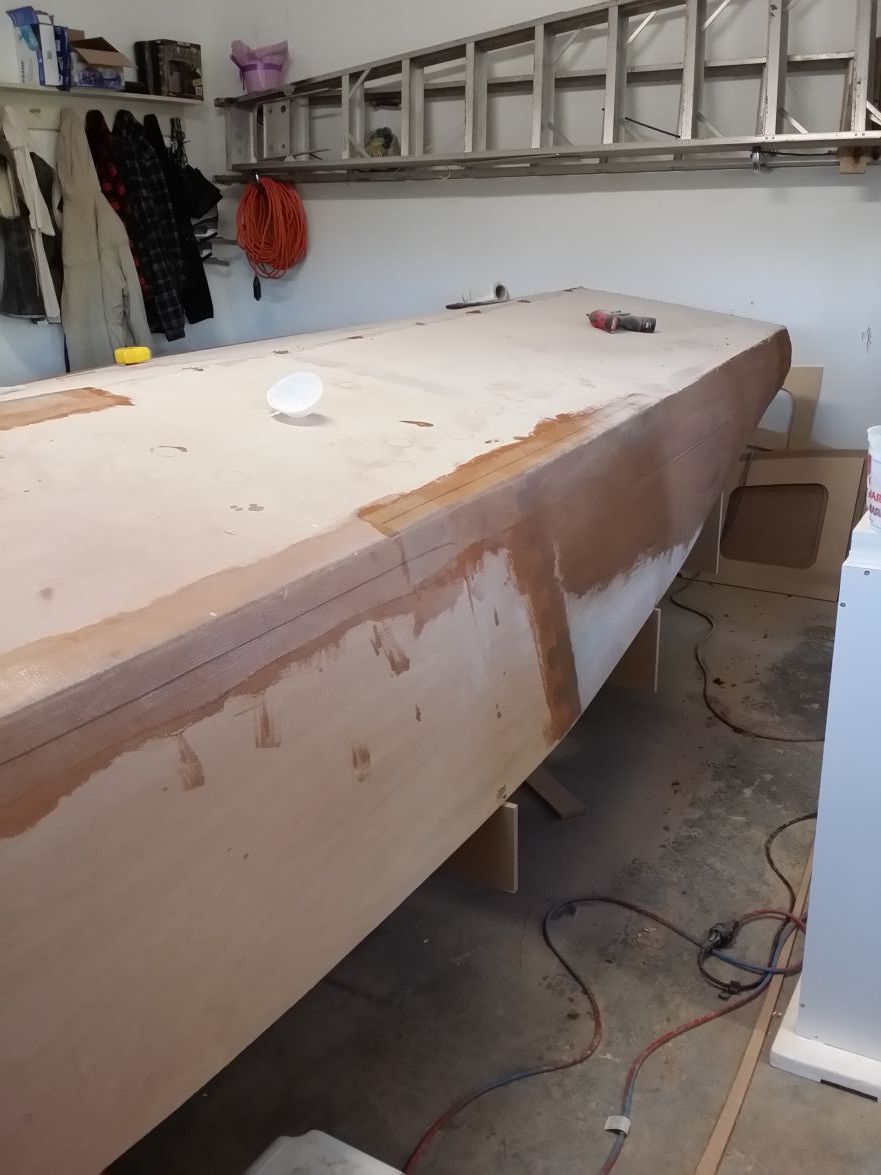
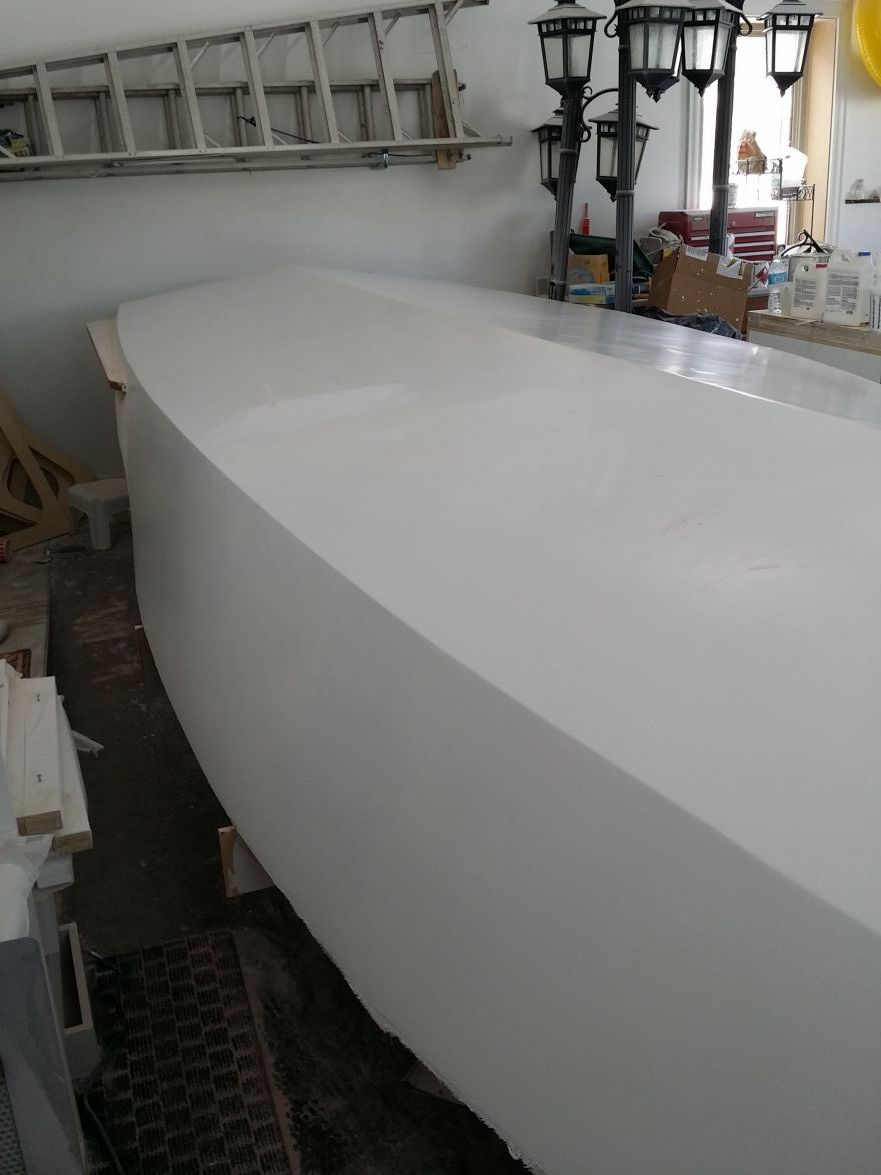
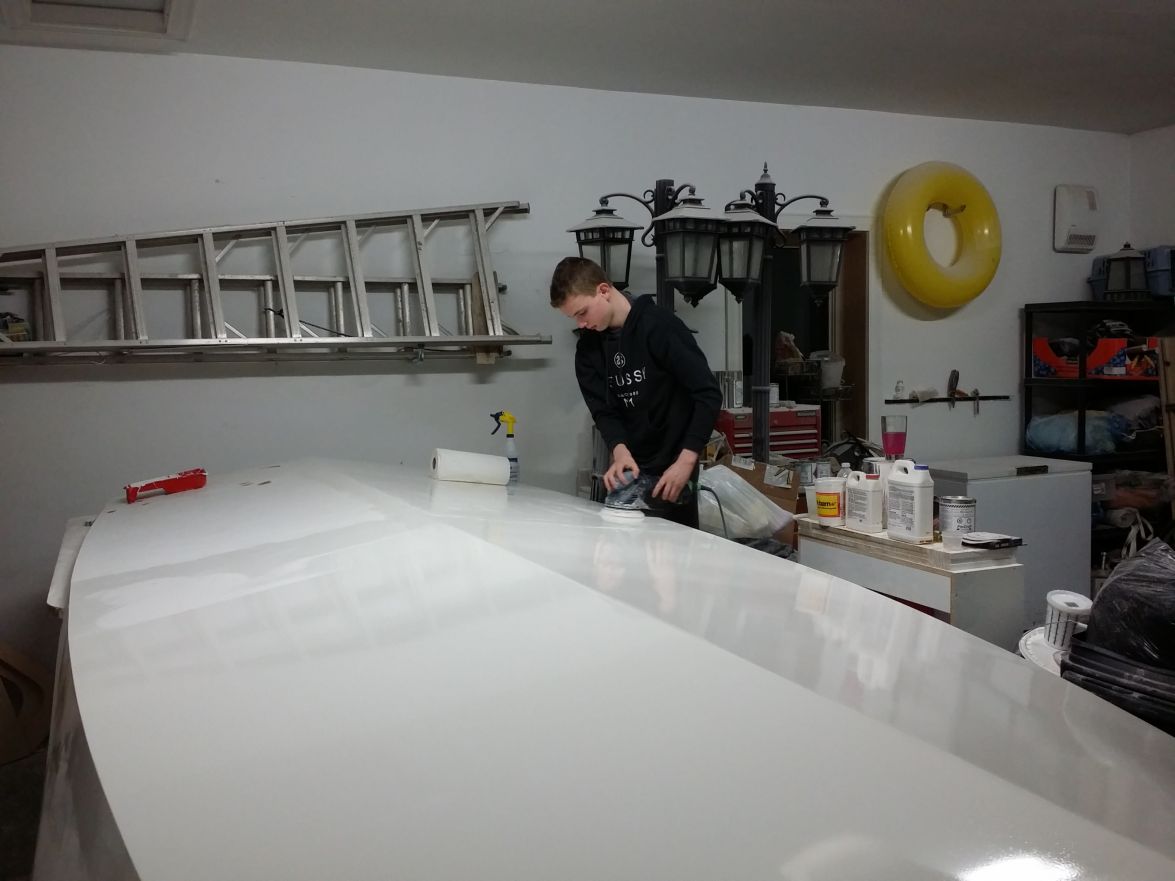
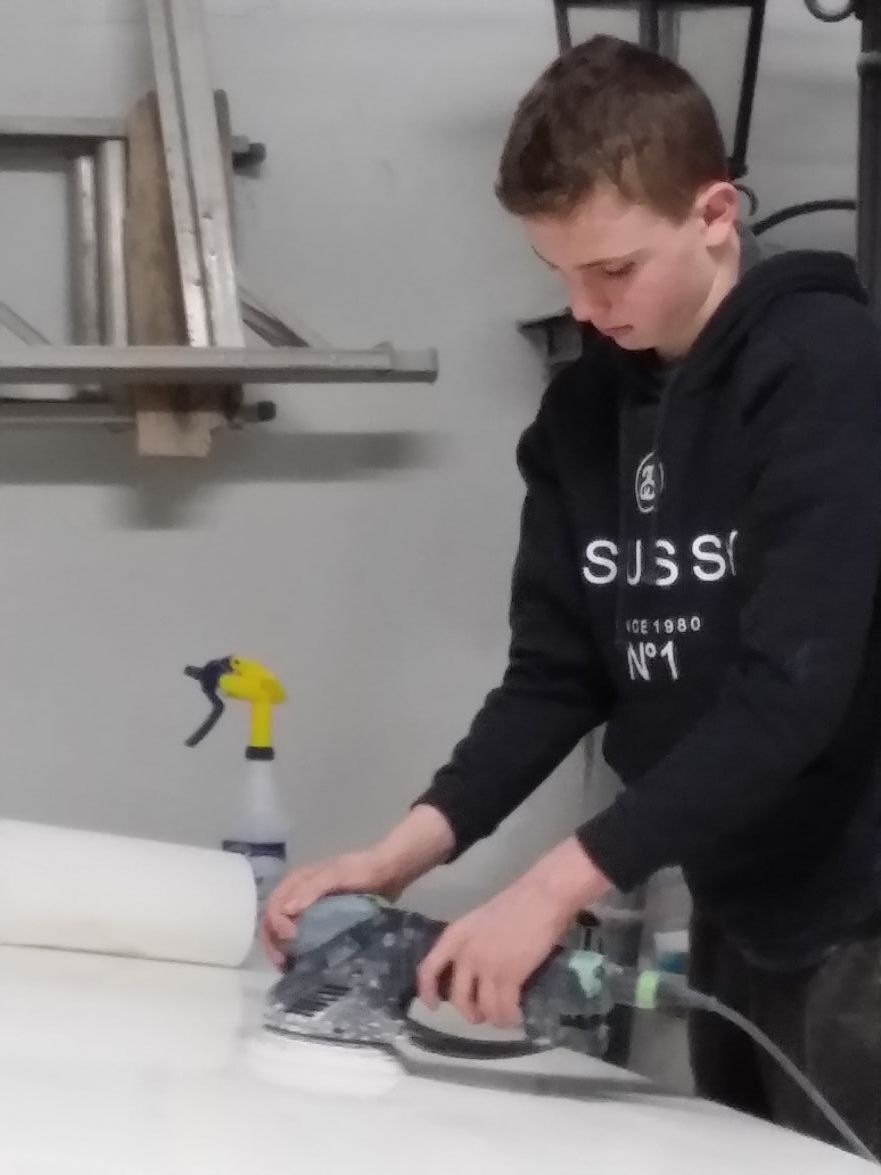
It's been more than a month since I had time to take pictures and post them. Most of my time has been spent on glassing the hull and fairing. I want a nice finish, so I have spent considerable time and materials on getting a good, smooth finish. Used a homemade fairing board and RA sander and then a rubber sanding block. Came out quite nice. My wife hasn't been too keen on all the dust on and around her car. I had to clean it a few times to keep peace.

Image

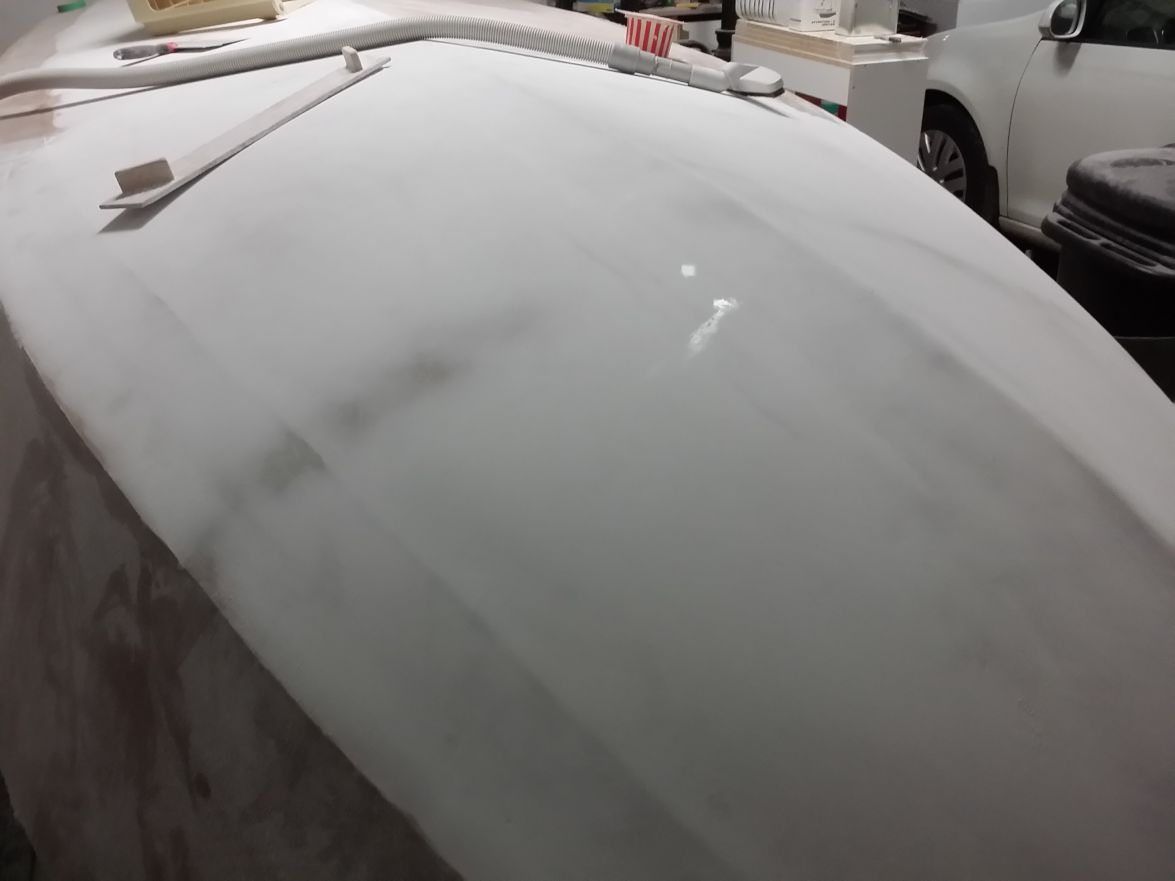
I started applying primer in sections with a roller. It's an Italian two part poly sanding primer. Had a little problem with bubbles appearing 2 or 3 minutes after application. Go over it again with the roller to flatten out and a couple of minutes later bubbles again. Have to roll it three or 4 times to get it to go smooth. Fortunately the tech rep for the paint company was in town last week and came out to see what the problem was. It required a faster reducer to get the reducer out of the paint before it starts to gel over, trapping the reducer in the primer creating bubbles.

Front part of the boat has four coats and the stern hasn't got any yet. Sanded between coats and spot puttied to fill any small pinholes, etc.

Hoping to paint bottom next weekend and turn over by 10 Dec.

Image

Image

pjb0949
Frequent Poster
Frequent Poster
Posts: 51
Joined: Tue Jul 21, 2015 9:12 am
Location: Halifax, ns

Re: Building an RB18

Post by pjb0949 »

Getting the hull faired and primed has been a longer task than I had imagined. There are still a couple little spots to be touched up before painting the bottom, but I am so sick of sanding that I had to prime it and be able to see something that looked like progress. Still have to finish fairing and priming the tumblehome area, but that will be a lot easier when the hull it flipped over.

Managed to get the last 5 or 6 feet at the stern within 1mm (1/25") of flat. Probably could have made it better with another application of fairing compound but I couldn't bear the thought of any more sanding. Besides when it's flipped gravity will probably change things on the bottom a little anyway.

Image

jacquesmm
Site Admin
Site Admin
Posts: 28215
Joined: Wed Aug 14, 2002 1:00 am
Location: Florida USA
Contact:

Re: Building an RB18

Post by jacquesmm »

It looks good from here. :)
Jacques Mertens - Designer
http://boatbuildercentral.com

willg
* Bateau Builder *
* Bateau Builder *
Posts: 565
Joined: Thu Apr 07, 2011 2:54 pm
Location: The Woodlands, TX

Re: Building an RB18

Post by willg »

Nice!

pjb0949
Frequent Poster
Frequent Poster
Posts: 51
Joined: Tue Jul 21, 2015 9:12 am
Location: Halifax, ns

Re: Building an RB18

Post by pjb0949 »

My grandson Brendan dropped by this evening to help. The more he helps the more he gets to drive it when it's launched!

Image
He's wet sanding the third coat of two part poly paint. Just two more to go.

Image
800 grit wet quickly flattens the paint ready for the next coat.

The 5th coat will get wet sanded to 1000 grit and polished with abrasive on a wool pad to give a mirror finish.

Post Reply

Who is online

Users browsing this forum: Ahrefs [Bot] and 11 guests