Steve's FS18

To help other builders, please list the boat you are building in the Thread Subject -- and to conserve space, please limit your posting to one thread per boat.

Please feel free to use the gallery to display multiple images of your progress.
K2FS18
* Bateau Builder *
* Bateau Builder *
Posts: 229
Joined: Wed Dec 03, 2014 6:38 pm
Location: CenTex

Re: Steve's FS18

Post by K2FS18 »

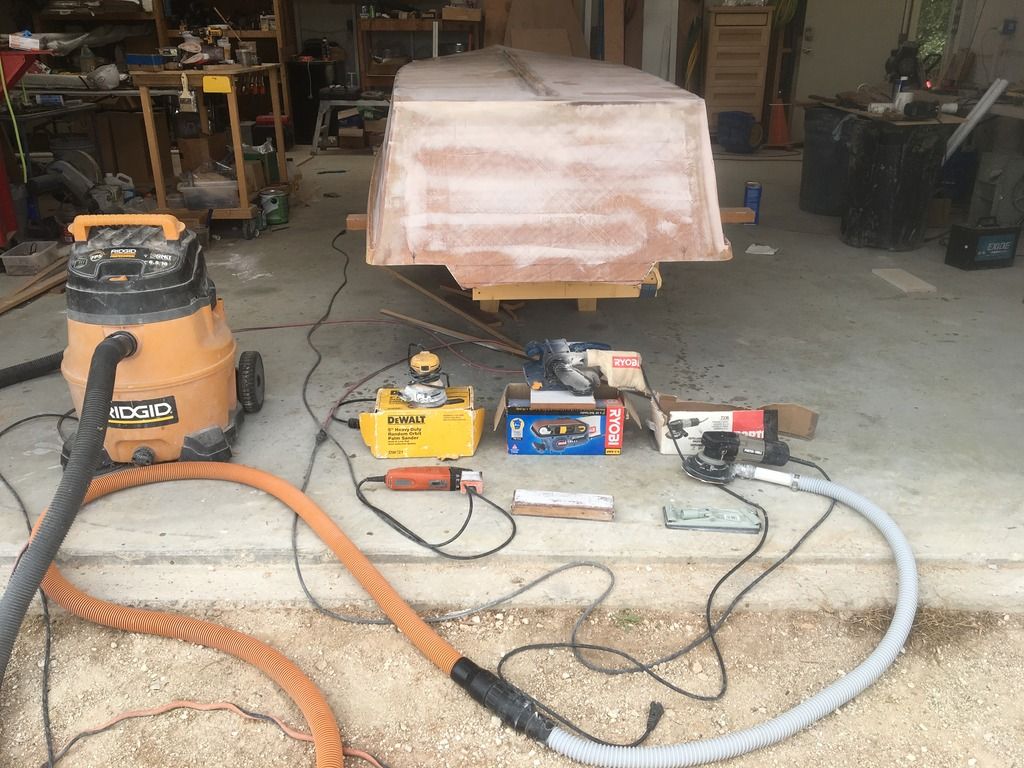
Steve, here are the tools used or not used.

Image

The shop Vac has flexible hose extension and reduces down to 1.25". It is used for the Porta Cable 6" varible speed sander with the vac attachment on the sander.

The 5" dewalt palm sander is not used at all. I haven't used this tool since I got the Porta Cable. Night in day in the sanding abilities. The belt sander was used mainly to shape the panels once cut out. I screwed the 2 halves of the panels together and sanded the edges so that both where true with each other.

The sanding block with the belt is used just to knock down the humps in the layups and build ups, but not used that much. Same with the drywall sanding pad, just used to knock down humps; but this time for the quick fair. Very little use.

The orange tool on bottom left is a Fein saw. Basicly the original oscillating multi tool. Currently I have the sanding attachment on it used to get the inside corners. This tool is used often for cutting, trimming, sanding.

seaslug
* Bateau Builder - Expert *
Posts: 727
Joined: Sat Nov 28, 2015 8:10 pm
Location: florida

Re: Steve's FS18

Post by seaslug »

Nice work K2, and especially like the laser transit. I used a pink string line, which worked fine, just not as high tech. Your strong back is about the same as mine was, with mine at 23" high, screwed firmly to the floor until the hull was glassed, than I attached 2" casters to the bottom so it could be rolled outside for the heavy sanding. I'm 5' 10" and that height was comfortable for me. The overall length of the strong back was 179" with the baseline even with the end so the transom hangs off the end of the frame, and the bow extends past the other end of the strong back 35", for a total of 214" to the tip of the bow mold. This way frame A sits over the strong back, but the bow overhangs and allows easy access from underneath for shaping the bow if you are creating the rounded chine.....Dutch, If you're planning on using the boat for poling the flats, I suggest you choose the Straight sheer (flush deck) option on the bottom of drawing D279/4, than after the hull is built and flipped I lowered the sheer line 3" at the transom to zero at the bow. This is done by clamping a long flexible batten along the sheer and eyeballing a good line. It takes a lot of adjusting and standing back and looking at it to get a good clean line. Make sure you have the bulkheads in place at least temporarily because the weight of the side panels will cause the sides to fall away from the centerline, and if you cut the sheer that way when you install the bulkheads the sheer line will be slightly off..... Also, with the rounded chine, on drawing B279/6 at the top left, I left the bow panel long instead of cutting as shown, and used the multi tool during assembly to get a perfect fit. Same drawing showing the 1" rips for the rounded bow, if you're very careful and make really straight and neat cuts, forming the bow will be easier..... As K2 said; The Porter Cable 6" sander is an excellent tool, and the multi tool essential in my book.... If I can be of any help answering questions feel free to ask. It's a great boat in every aspect, you'll love it. Have fun with your build. Mike

Dutch1
Active Poster
Active Poster
Posts: 417
Joined: Sun Mar 06, 2016 2:08 am
Location: Tallahassee, FL

Re: Steve's FS18

Post by Dutch1 »

Hey guys. Thanks for the information. It's been a few days so I wanted to post an update. I cut everything Sunday night and plan to get the stations on the strongback this week. The level is nice but I'll just use a string and measure everything 20 times . . . And, I plan to use the sureform on the edges until I get the hang of rounding the edges. A belt sander can do some damage quick. I don't plan on rounding the chine or modifying anything else. I like the old school look.

I'll also post some more pics along the way later.

Dutch1
Active Poster
Active Poster
Posts: 417
Joined: Sun Mar 06, 2016 2:08 am
Location: Tallahassee, FL

Re: Steve's FS18

Post by Dutch1 »

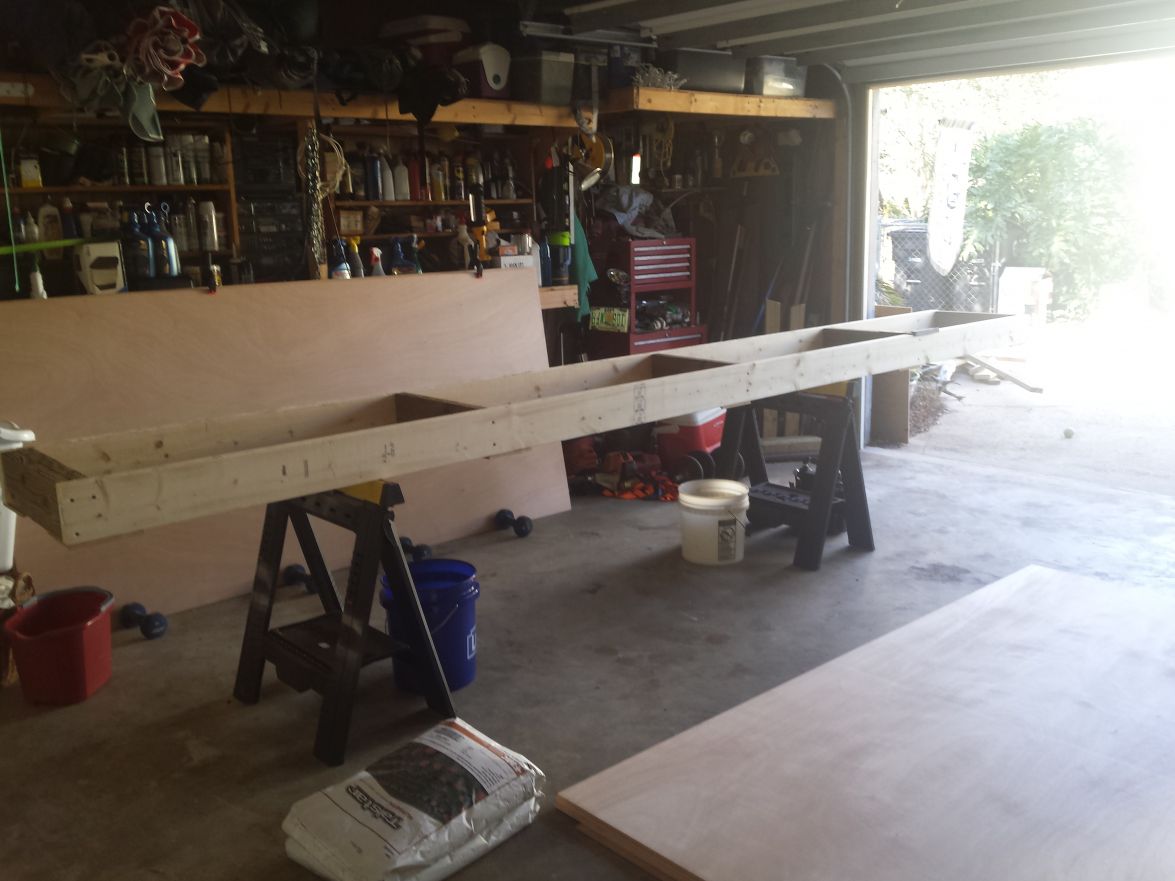
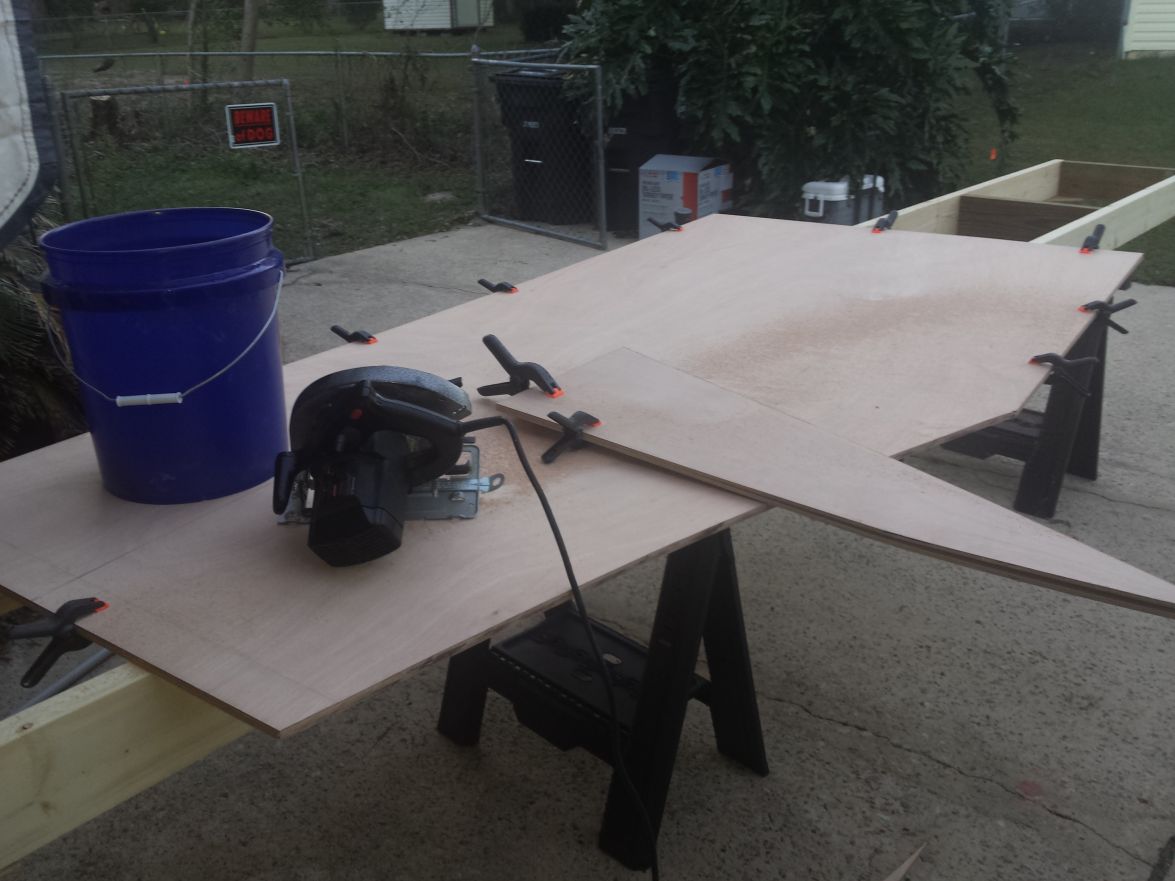
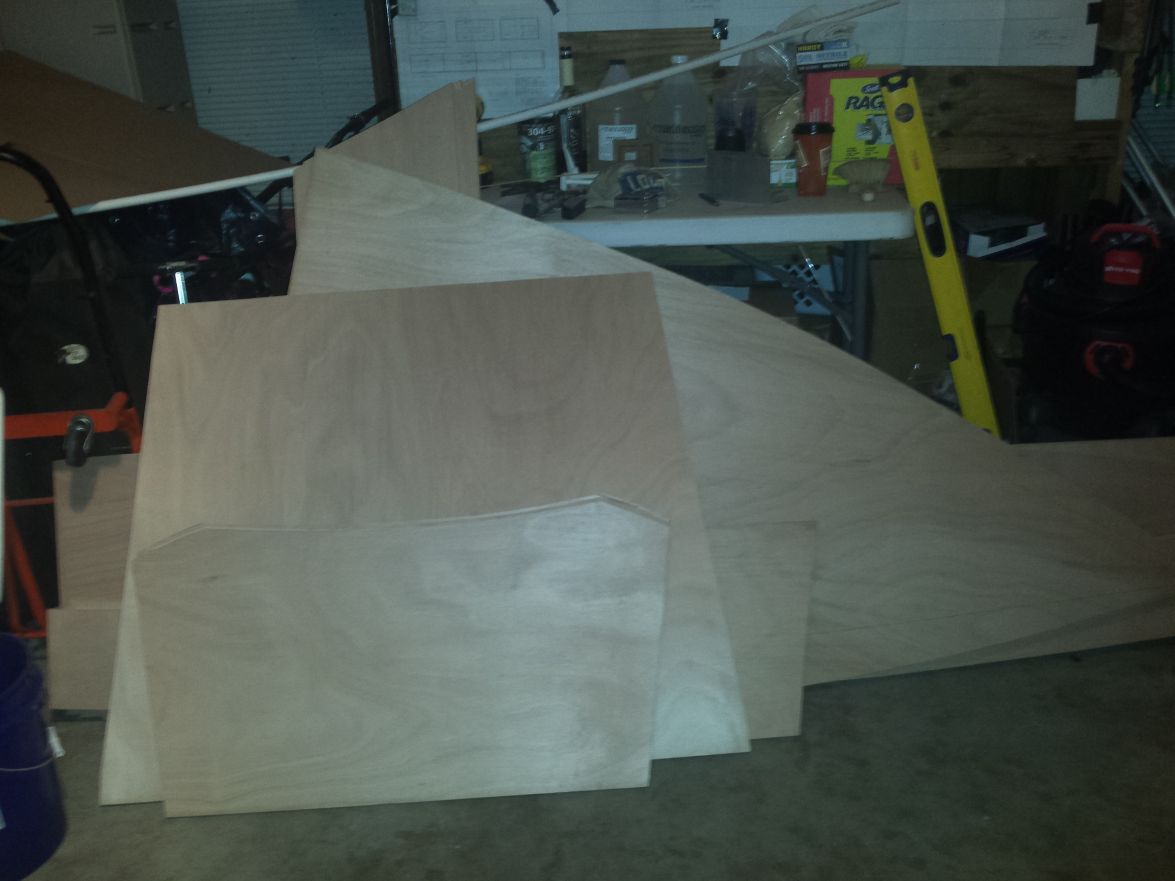
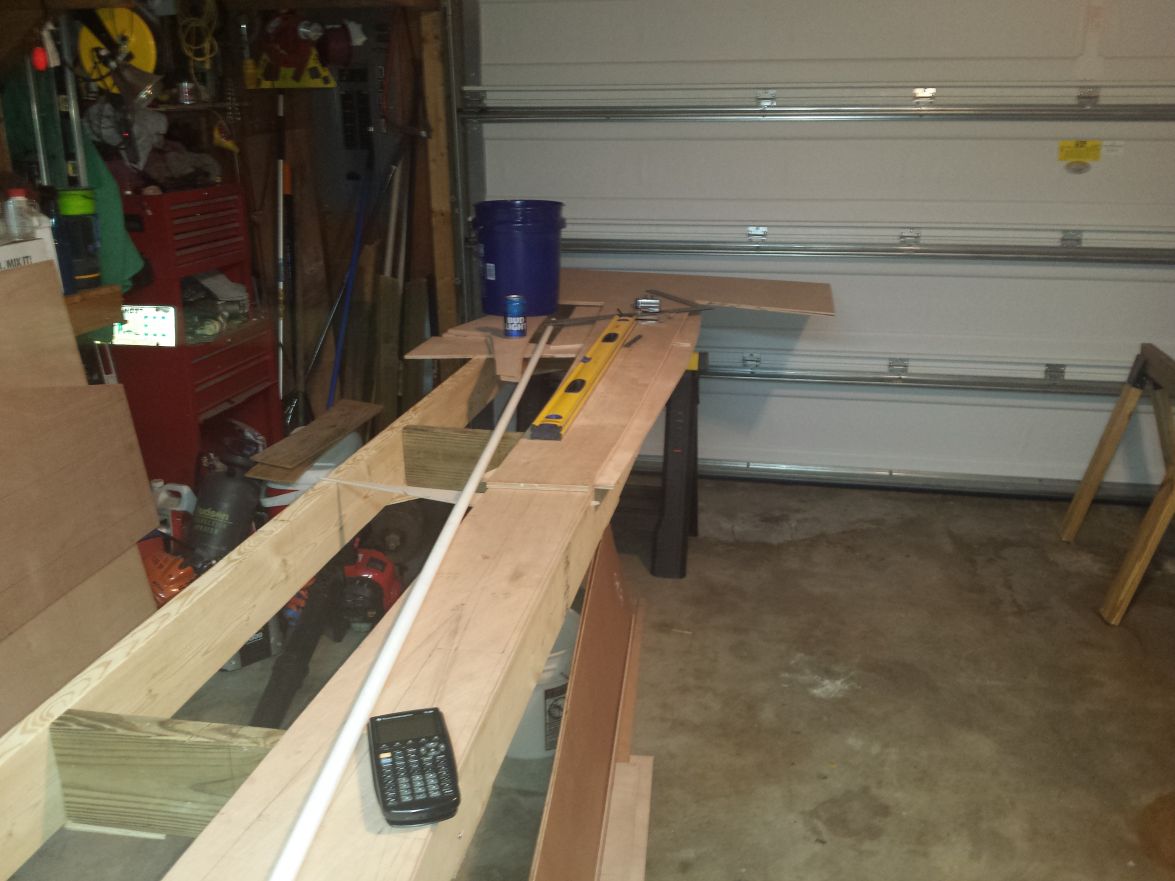
First off, I can't thank you guys enough for taking a few minutes to provide some recommendations. Thank you again! I stood at Lowe's for 10 minutes looking at those nice laser levels today and decided not to spend the money. I'll just use the string method. Here's a few pics. .

Image
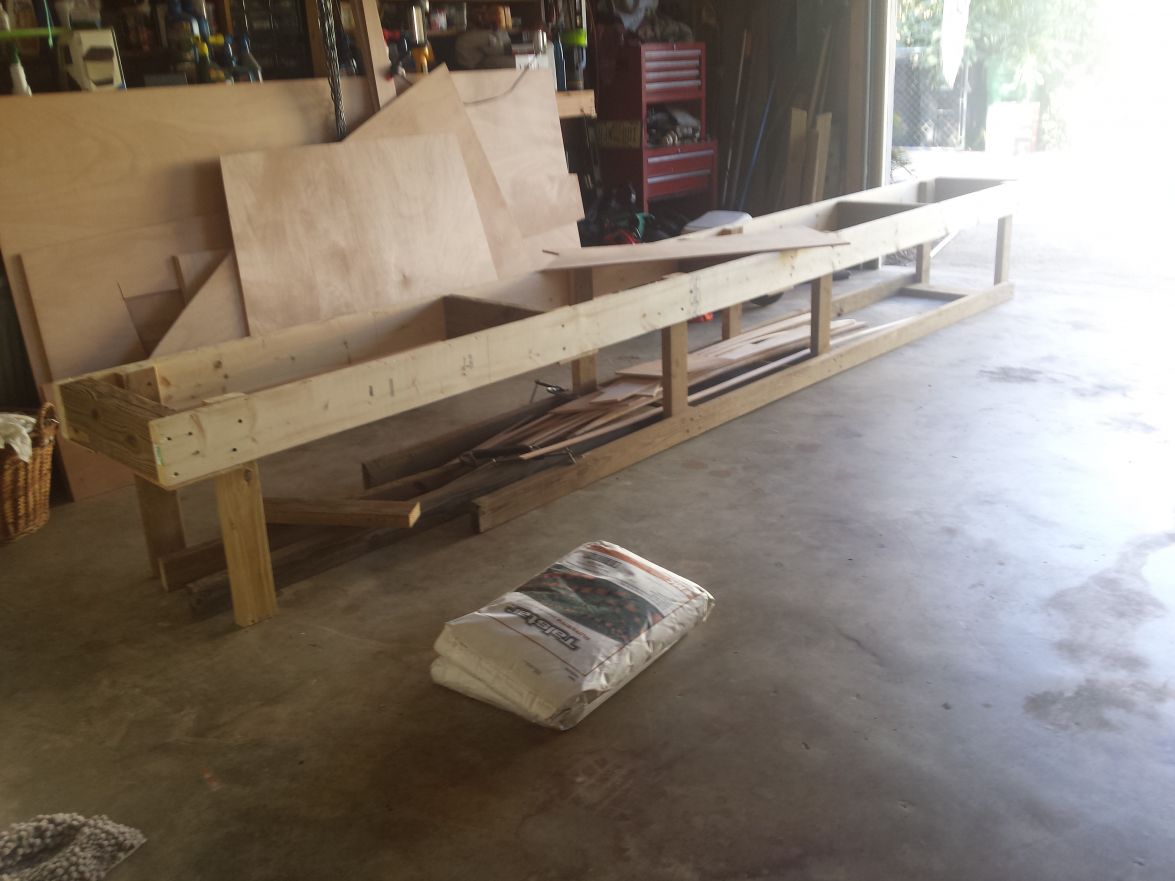
I used the sawhorses to have a good work area while I drew everything out.

Image
First Cut! Got everything but the stringers got cut last Sunday night.

Image
Everything is cut and waiting.

Image
I made the very stupid decision of not marking out the stringers before I cut everything. This cost me way too much time one night last week while I had to first figure out the center of the pieces that were left so I could measure and mark the stringers accordingly. I DO NOT recommend following my lead on that! I know, that was dumb! Just too overzealous. . I got them cut during the week and pieced together with dowel rod holes drilled and ready for epoxy glue.

Image
I worked on lowering the strongback during the week and finished it today. It wasn't finished in the pic.

Image
I got the stringers glued today after staring at the 2:1 ratio scale on the side of the quart mixing containers for far too long and then just using the pumps on the containers. I still don't get it after talking to the BBC guys and if the pumps work as they should I'll be fine.

Image
Also finished gluing the transom. I also witnessed a batch curing too fast. I let it sit in the quart container with the brush in there and it maybe lasted 30 minutes with a slow hardener.

After church tomorrow, I'm going to pull the stringers off the strongback and start splicing the long panels together.

Jeff
Site Admin
Site Admin
Posts: 8449
Joined: Fri Apr 29, 2016 12:17 pm
Location: Vero Beach

Re: Steve's FS18

Post by Jeff »

Dutch1, looks like you are off to a good start!! Keep the progress photos coming!! Jeff

User avatar
peter-curacao
* Bateau Builder - Expert *
Posts: 7607
Joined: Mon Mar 24, 2008 1:29 pm
Location: Curaçao Dutch Caribbean

Re: Steve's FS18

Post by peter-curacao »

Looks good from here 8) 8)

seaslug
* Bateau Builder - Expert *
Posts: 727
Joined: Sat Nov 28, 2015 8:10 pm
Location: florida

Re: Steve's FS18

Post by seaslug »

Try to mix small batches where possible. 30 minutes is way too long to have any amount of epoxy sit in a large container. If you think you'll be working with a batch for a long time, try to spread it out in a shallow flat type tray, it will last longer before kicking. Unless I'm doing a large lay up, I usually work with 6-12 ounces at a time, and never waste a drop. Mike

Dutch1
Active Poster
Active Poster
Posts: 417
Joined: Sun Mar 06, 2016 2:08 am
Location: Tallahassee, FL

Re: Steve's FS18

Post by Dutch1 »

Here's what happened with the pot curing too fast. I was mixing up six ounces at a time with a quart container to glue the transom. When I pumped one pump of hardener I realized I didn't know if I had pumped three or four pumps of resin. So I put two pumps of hardener and decided to check the measurement with another quart container. I mixed another 6 ounces and checked and it was OK so I mixed it up. I set it aside while I mixed some epoxy glue in the other batch and put it on the remaining transom piece. I still needed to paint the other side of the middle piece of the transom and as I pulled the chip brush out of the epoxy it felt funny and wanted to string. For lack of a better definition it felt clumpy and as I sat there for about 20 seconds looking at it wondering if that was what I had read about it literally strung like a sticky ooze. Realizing I wasted that pot since I left it in the container I mixed another three and finished the job. It was about 80-85 last night and that didn't take it long to start curing by leaving it in the quart container. I need to go invest in some of those small paint roller pans to spread it out while I use it. Now I know that the pumps output is roughly an ounce per pump so if I do that again I can just check the measurement for a batch.

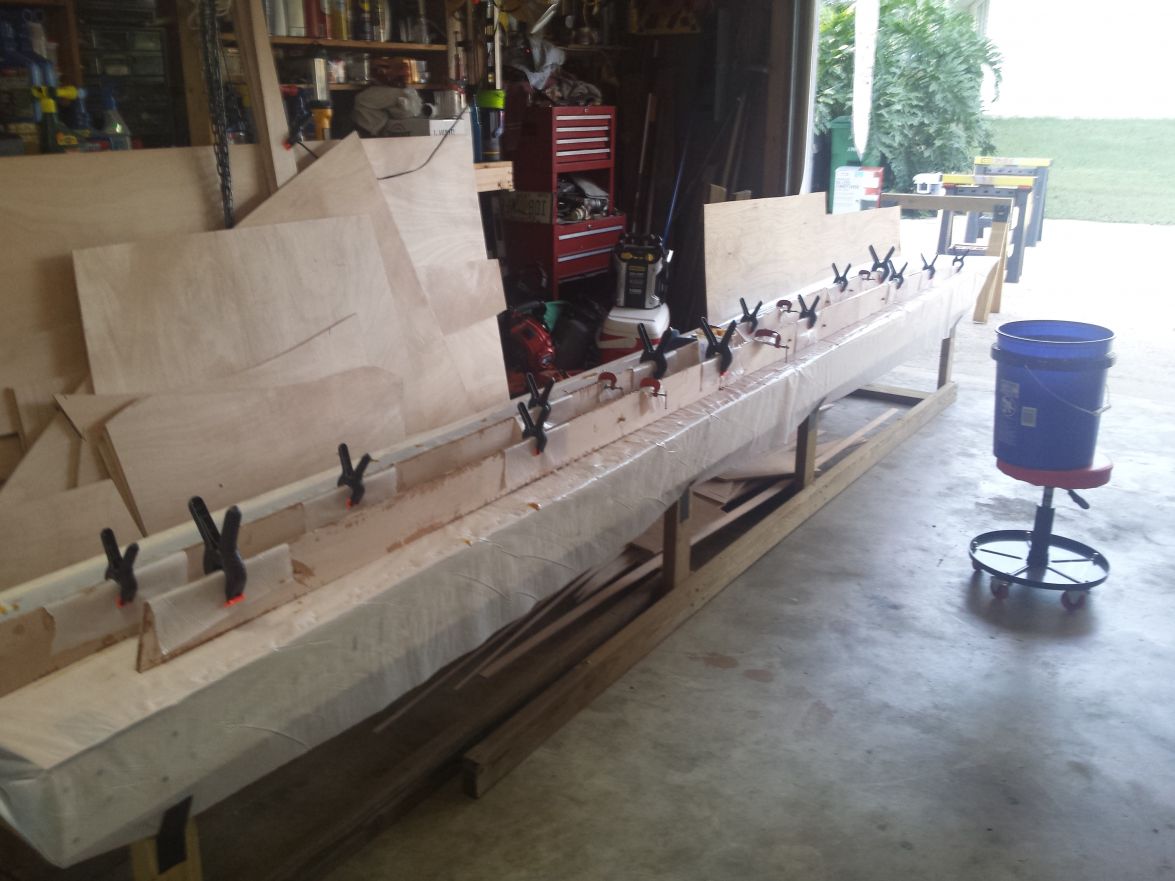
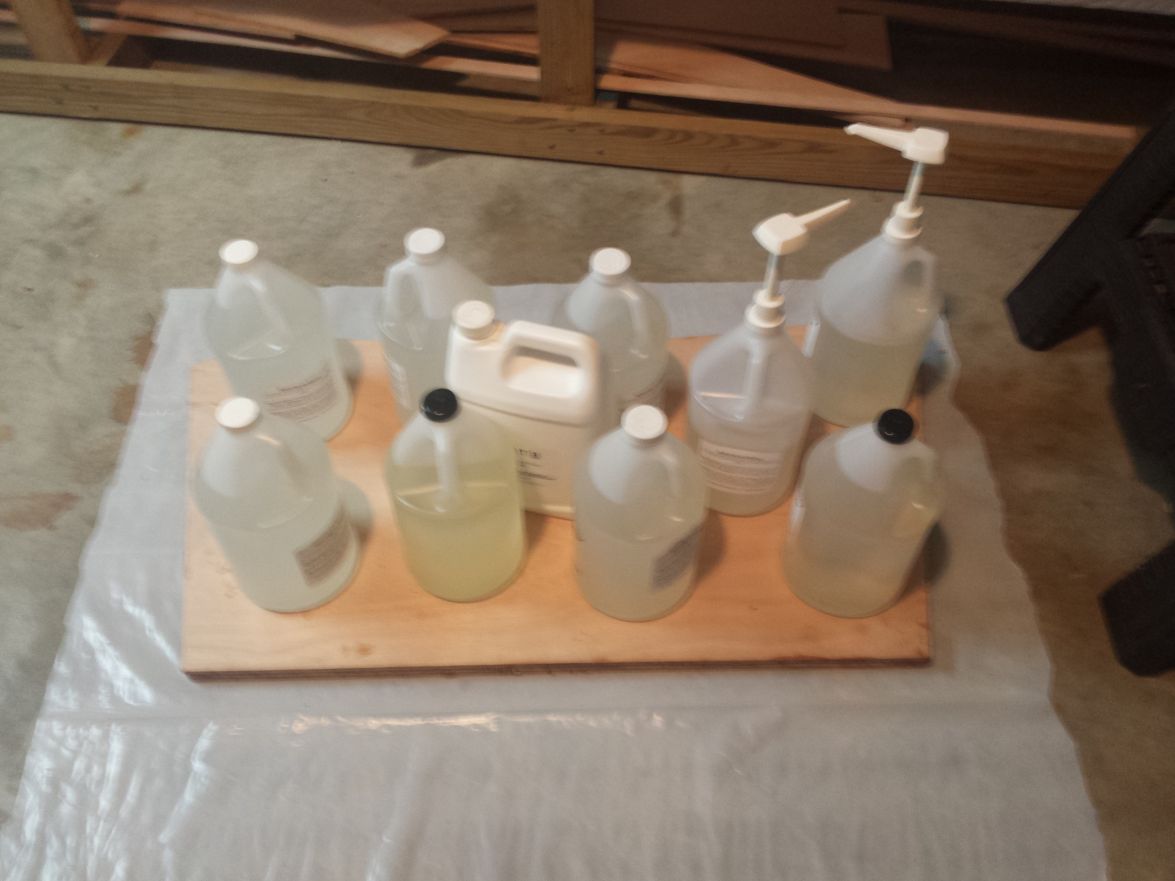
I also needed another arm last night to hold down one of the long panels I was splicing. My cut pieces have been sitting all week leaning up against the wall. One of the ends of a center hull piece wanted to bow up on me at the splice point by about 1/4". I could hold it down but the second I let up it lifted the epoxied fiberglass splice. After cussing it for a while I got all of my jugs sitting next to me so as I picked my hand up I could put a gallon of resin on it. I used a piece of plastic with a scrap piece of wood with five gallons for weight. It was my first epoxied fiberglass splice and it was trying my patience but I don't give up that easy. I spliced the other end of the long panel and decided to give it 24hours to see how I did. Tonight I flipped it. The splice looks good and there isn't a bow. I had a little epoxy seep through and puddle on the underside so I sanded it a little before splicing the other side. It's curing as I type. If I think it looks good tomorrow I'll finish the other three long panels and set up the stations. Then I'll finally be ready to put it all together. I can't wait.

Fuzz
* Bateau Builder - Expert *
Posts: 8939
Joined: Tue Aug 02, 2011 4:23 am
Location: Kasilof, Alaska

Re: Steve's FS18

Post by Fuzz »

Lots of the guys weigh the resin and hardener before mixing it and it works fine for them. Others use the pumps and that works good for them. Me, I am too lazy, I just buy a bunch of 3 oz throw away cups or larger ones. Fill two cups with resin and one with hardener and mix as needed. Hard to mess up that way. If I need a smaller batch I just fill one cup and eyeball half a cup for the other. I guess either my eye is good or I am lucky as I have never had a problem...............YET :lol: It seems to be close enough as the epoxy is pretty forgiving. At the end of three gallon bottles they are all empty at the same time. Just my two cents worth. :wink:

Dutch1
Active Poster
Active Poster
Posts: 417
Joined: Sun Mar 06, 2016 2:08 am
Location: Tallahassee, FL

Re: Steve's FS18

Post by Dutch1 »

Fuzz, thanks for letting me know. To be honest, my biggest fear is a batch not curing since I just don't have much experience using epoxy. My comfort level is growing and soon I won't even think about it as I do now. I whipped up 3oz tonight to finish splicing one long panel. It was very close to the perfect amount needed. I'm learning as I go and expected to have a few head scratching moments along the way. I'm going to post good or bad here to be honest with the folks that are on the fence about building one of these boats. If I screw up, I'll post it. I've always admired hand built boats and have wanted to do this for a long time. And, I spent the $$ on some of those nice BBC quart containers so I'm using them until I mess them all up. I originally was going to put hardener in one container and the resin in the other. I literally marked two of them with a sharpie. Now I just use the pumps and one container when I mix a batch. Then set it aside when I'm done and pull out any residue the next day after it cures.

Post Reply

Who is online

Users browsing this forum: Amazon [Bot], Bing [Bot] and 19 guests