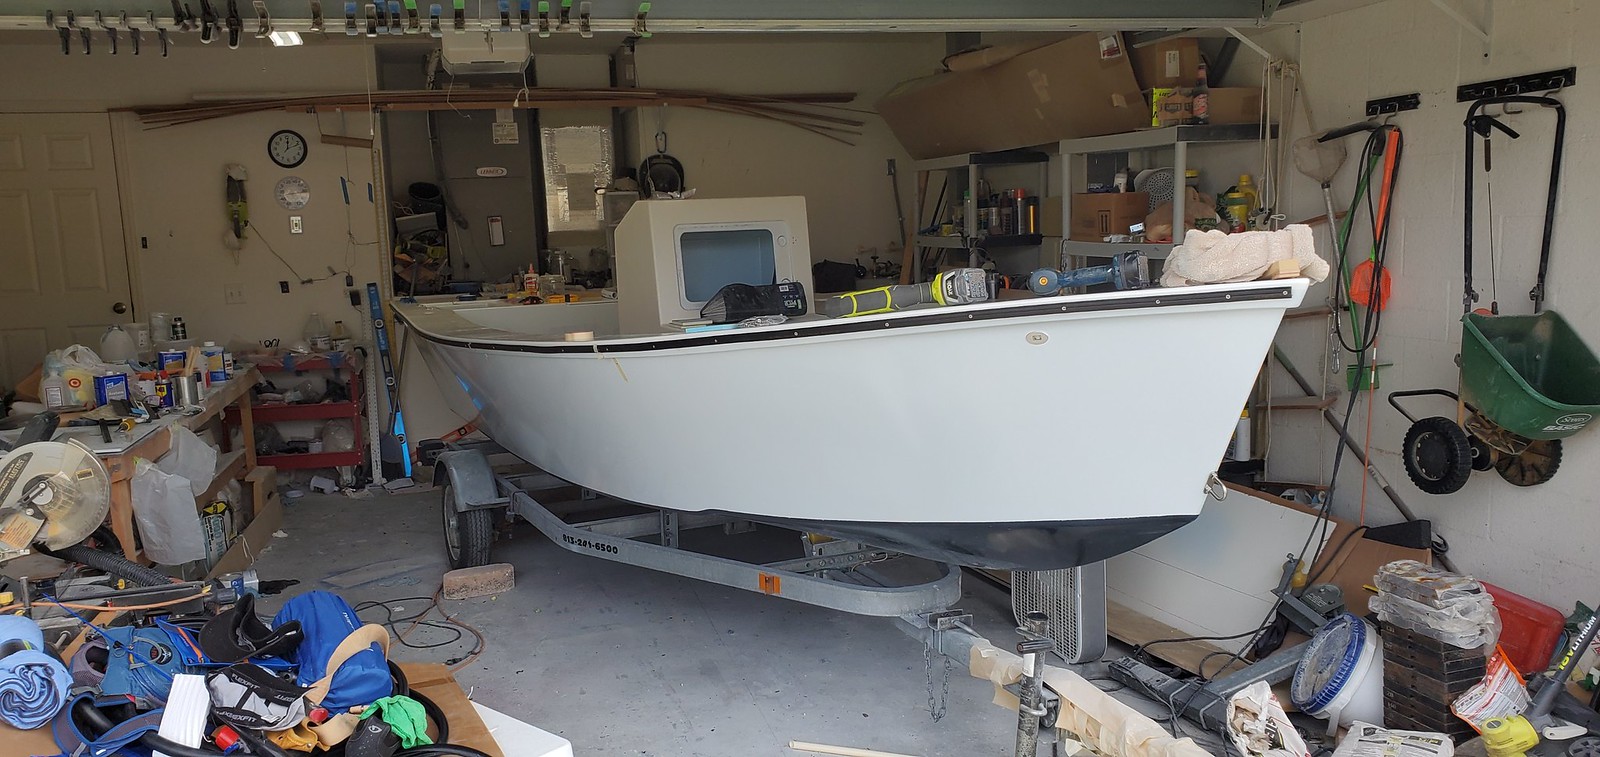
Well it’s been a bit since I posted. Progress has been made. I rolled on some rustoleum on the exterior. She has some roller marks, brush marks, orange peel, drips, and a few bugs, but it looks good enough from 20ft away so good enough. I also rolled some satin white on the cap with similar results, but much of it will be covered up by non skid.
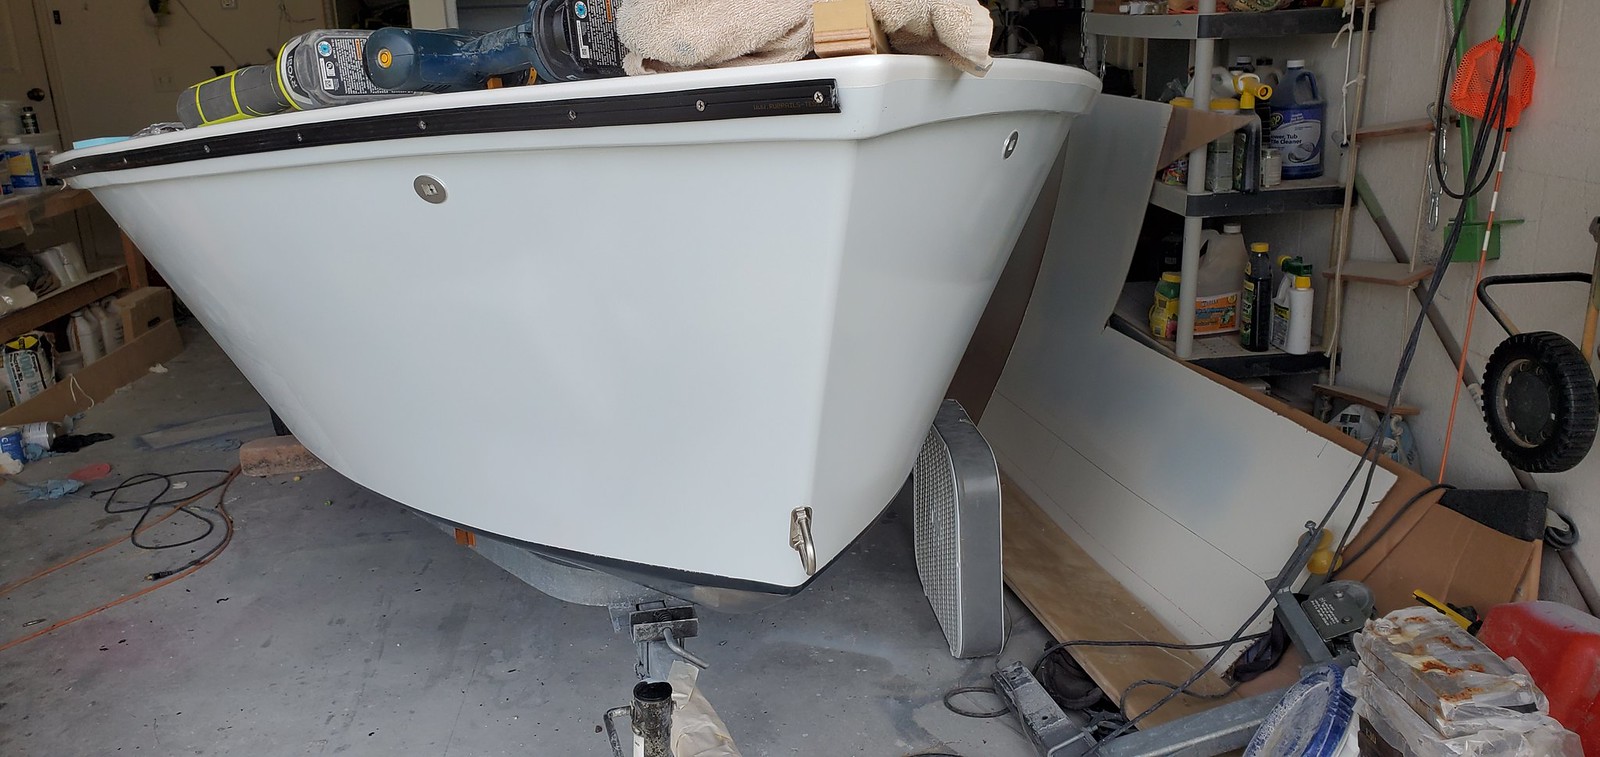
With that done I am able to work on some other things before painting the interior. I started the rub rail. So Tessilmare likes to brag that their rub rail can make it around a tight corner, well I’m calling BS on their definition. The videos they post show you how to go around a maybe 3” radius which is tight on a 40ft yatch, but not on a skiff. I’ve found personal youtube videos, but none that show a great bit of detail. The track will NOT bend around a sharp corner, as soon as I tried it folded over and warped. So I had to just cut the track and I’ll work out the rubber later.
 20201020_112317_resized
 , on Flickr
You can see how the rubber distorts, but I’m hoping I can clean it up later with a heat gun. It’s a bit worse around the bow.
 20201020_112303_resized
 , on Flickr
So back to the track. It’s a bitch to install! It comes in a coil and it is ridged plastic. I tried to straighten it but it resists a lot. I ended up just muscling it for the starboard half, and it took nearly 2 hours. For the port side my wife was able to help, and with her just managing the coil I had it drilled and screwed in about 20 minutes. I need to add a few more screws still. My plan is to let it relax for a week or 2 while I work on other things, then I’ll remove the track squirt some epoxy in the screw holes, let it cure, then dab them with some 4200 and reinstall everything.
 20201020_121954_resized
 , on Flickr
Among some other small items I was able to install the navigation lights I got from Oznium. They are barely noticeable in person, unlike the giant sharkeyes I was going to use.
 20201020_122015_resized
 , on Flickr
Installed the rear cleats, hinges, and stern light.
 20201020_122041_resized
 , on Flickr
Also did the fittings for the livewell, bilge pump, livewell pump (still have to intall the scoop), stern and bow eyes, and the underwater LED’s.
 20201020_122050_resized
 , on Flickr
I finished up most of the rear wiring. Working through that tiny inspection hatch is a pain, so I might need to change it out for a bigger hatch.
 20201021_135124_resized
 , on Flickr
 20201021_135047_resized
 , on Flickr
More to come.
Built: 15ft Skiff, 16ft Skiff, Modified Cheap Canoe, and an FS17.


 20201027_141940_resized , on Flickr
 20201027_144101_resized , on Flickr
 20201029_105748_resized , on Flickr
 20201029_105756_resized , on Flickr
 20201029_163004_resized , on Flickr
 20201029_174550_resized , on Flickr