Ok, take two on progress report:
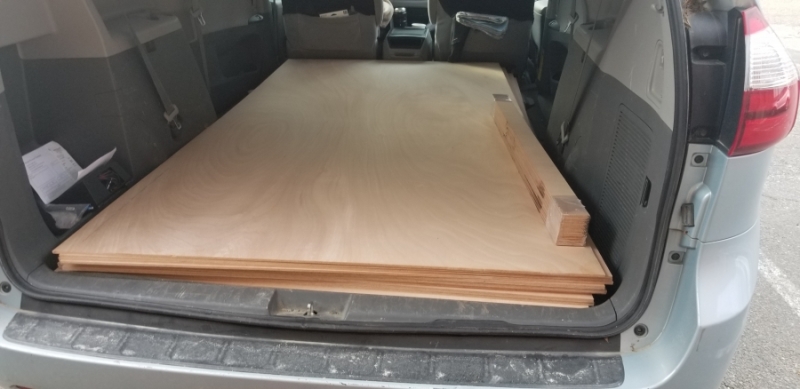
I picked up the plywood at Boulter Plywood in Medford. I had to have it trimmed from 98.5 to 96 inches to fir in the Sienna. Chris at Boulter helped me out getting it ready before I got there so I could load and go.
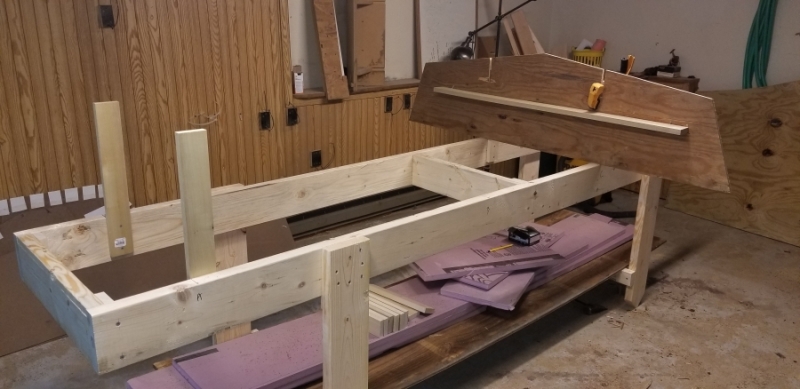
I had the jig pretty much ready to roll before I picked up the plywood. I may need to add wheels and I may need to lower it. I added some storage space underneath that will probably also need to be removed so I can stick my wife under there to help with the stitches.
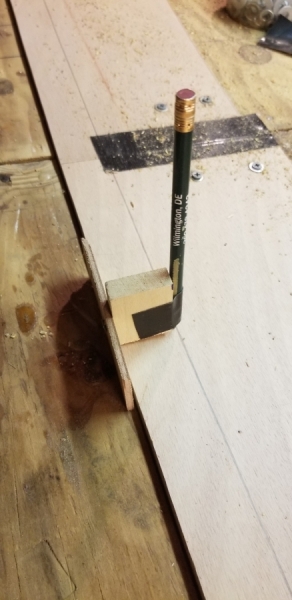
Thanks to Alan (Fair Wx Pilot) for his saw guide idea. Mine is made from 1/4" fiberboard and some fir I had, 8' long. Next time I'll use thicker MDF, maybe 3/8, and glue sandpaper to the bottom to prevent it from sliding during cuts since I normally use weights instead of clamps. This Rockwell saw makes cutting very easy and accurate, I usually guide it along with my left hand fingers on the saw "table".

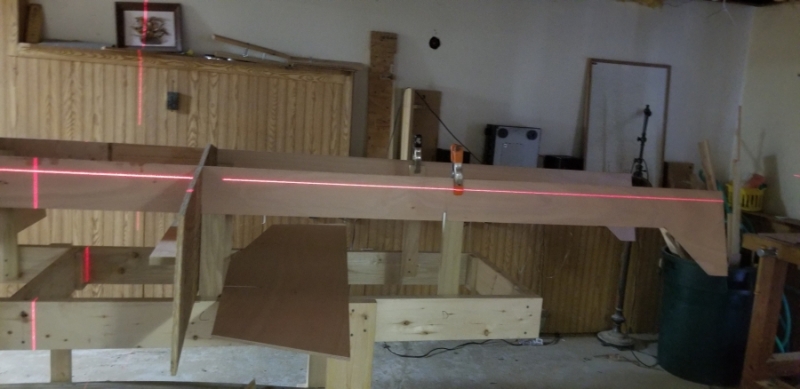
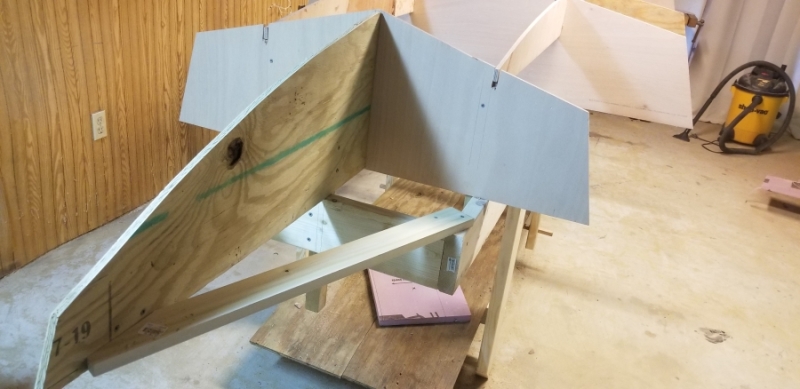
Once I got the frames cut and the stringers cut and glued up, I put the rest of the jig together, using a laser level to keep things square. I know JM says it's a self-aligning jig and for the uber-confident, I'm sure it is. For me, it's a very manual aligning jig, but the laser makes it much faster.
After cutting out all the frames, I got the transom laid up. I used 2 pieces of 9mm plus a 9mm clamp. I'm going to be using a Honda 20hp 4-stroke so figured I'd go beefy on the transom. I pre-wet all mating faces with epoxy and glued with epoxy thickened with fillet blend.
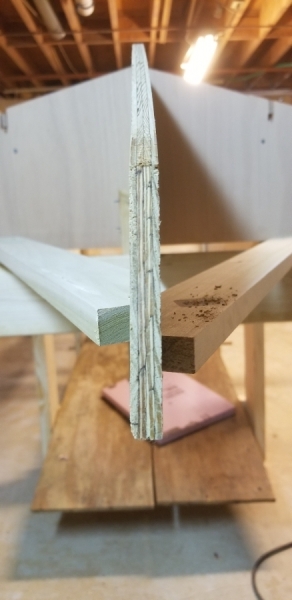
I cut grooves for the stringers on the inside piece of the transom instead of cutting the stringers short. I saw others do this, and saw where some others weren't so keen on the idea. It made mounting the transom to the jig really easy, and should make installing the stringers easy, but will require some amount of hassle while glassing the inside to ensure the grooves remain clean.
I used dowels to keep the pieces aligned while gluing.

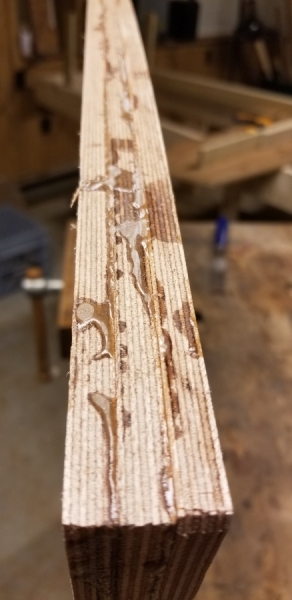
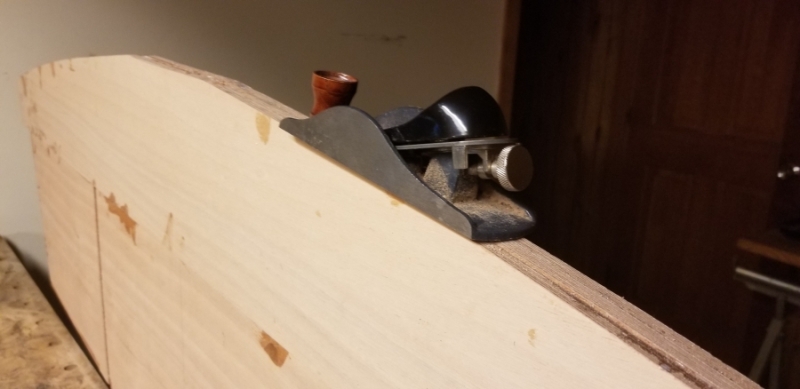
Once cured, I cleaned up the squeeze-out with a block plane. I should have cleaned this up before it cured, this is a lesson I seem to have trouble learning.

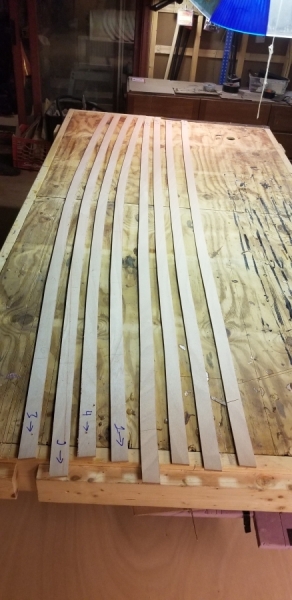
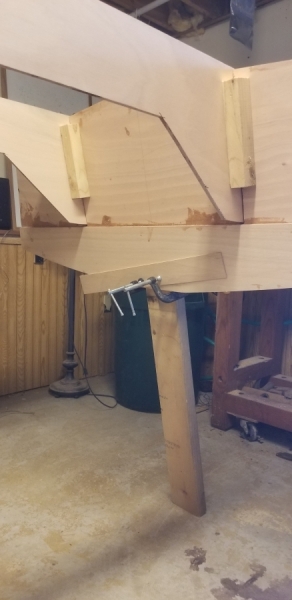
I added a jack to the transom to keep it's weight off the stringers. The stringers were upsized to 9mm from the plan spec of 6mm but they were still pretty wobbly with the hefty transom.
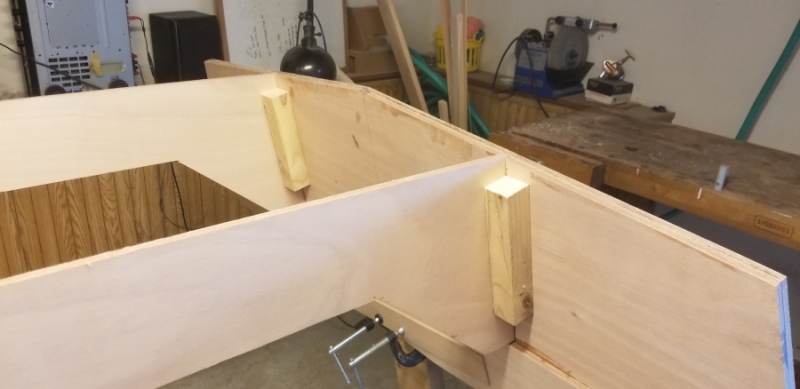
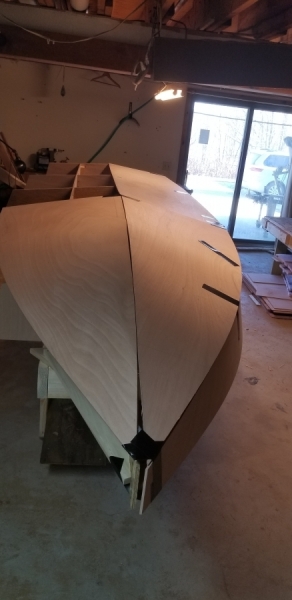
For the bow mold, I used some offset stabilizers to keep it centered, which have already paid off as I bump it about every time I walk around the bow.
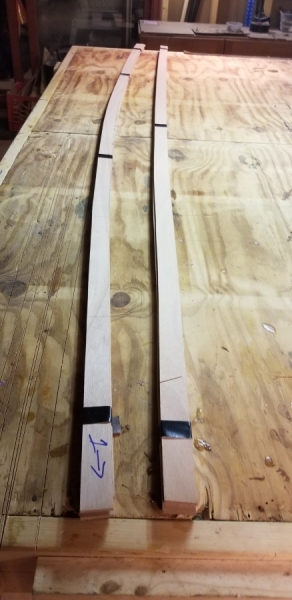
When I glued up one of the stringers I didn't get it completely straight so it rises from Frame B to the bow, I'll need to fill the gap with some TE wen i install the stringer, and it made it a little tricky getting the stringer to sit correctly on the jig.
Here's the finished jig:

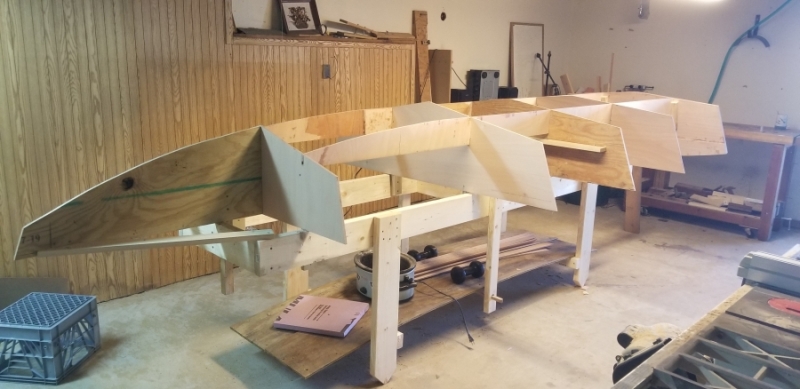
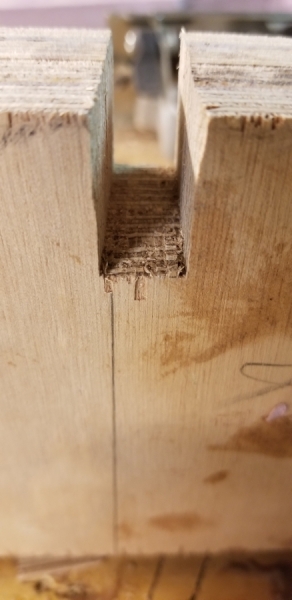
I didn't follow the correct nesting for the stringers so the butt blocks ended p in the middle of Frame B I had to double-wide the notch in that frame to accomodate them, and the notches in the stringer went through the butt blocks:
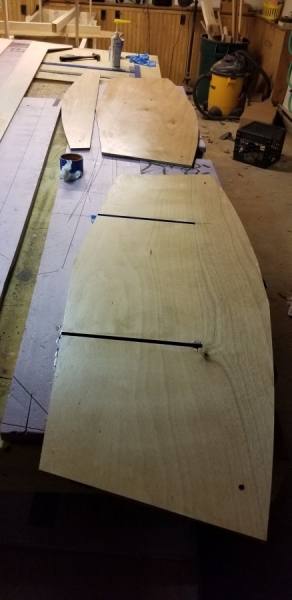
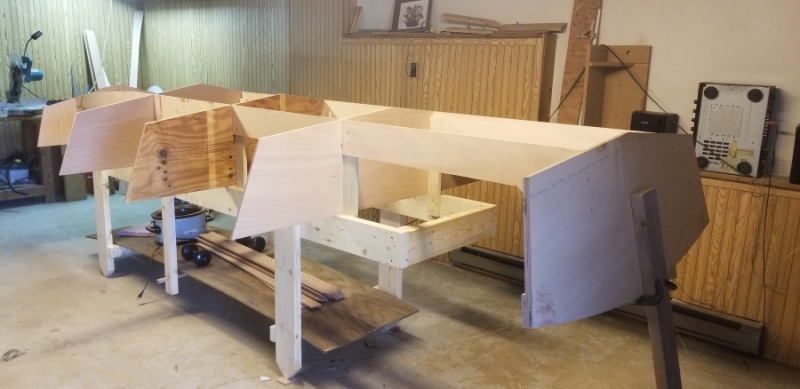
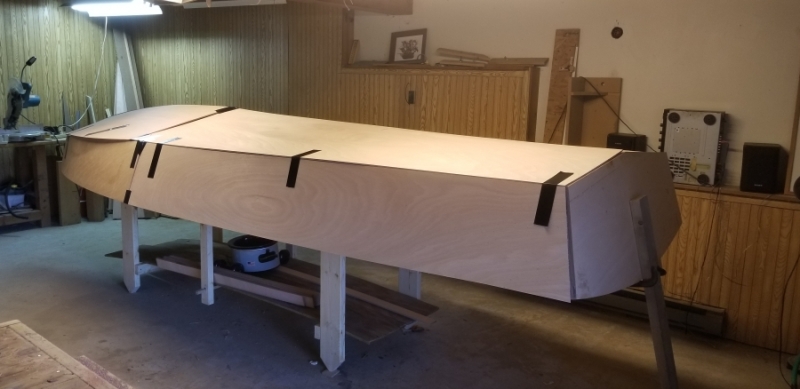
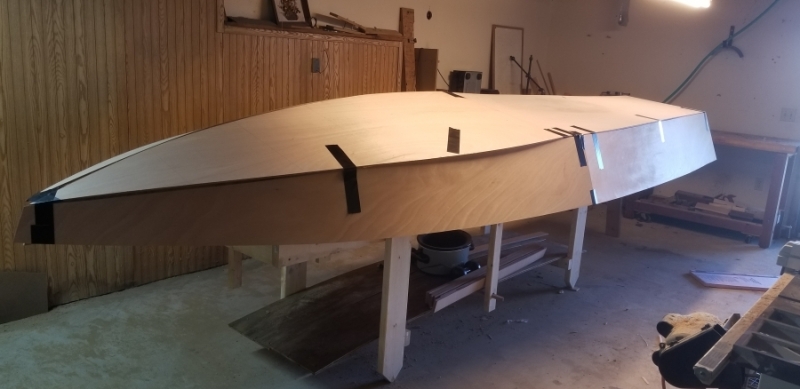
I got the hull panels cut out pretty quickly and threw them on the jig for a dryfit, they seem to fit quite well, the truth will be revealed when I actually start pulling the stitches tight at the bow.
Next step is to figure out where I'm going to get the wood for the rub rail, I have SOME leftover 6mm since the stringers moved to the extra of 9mm I had to buy, we'll see if it's enough. I read someone's nightmare tale of trying to piece together scraps so will look to avoid that. Since the sheer is not straight on this design that the rubrail idealy needs to be cut to follow the curve of the sheer, that's going to be my plan, we'll see how it goes.
The Epoxy/glass kit arrives tomorrow night(Wed) after which I can join the hull panels and start stitching. need to remember to trace the sheer for the rubrail before hanging the sides.