Cameron's FS14LS+5%

To help other builders, please list the boat you are building in the Thread Subject -- and to conserve space, please limit your posting to one thread per boat.

Please feel free to use the gallery to display multiple images of your progress.
bamaguy0
Active Poster
Active Poster
Posts: 418
Joined: Fri Sep 18, 2020 7:17 pm
Location: Apopka, FL

Re: Cameron's FS14LS+5%

Post by bamaguy0 »

Good progress this week, mostly this weekend. Focus was on the rub rails, but worked on a couple other things as well.

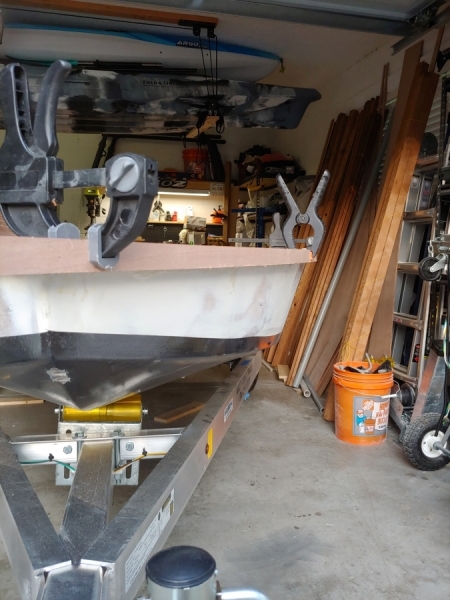
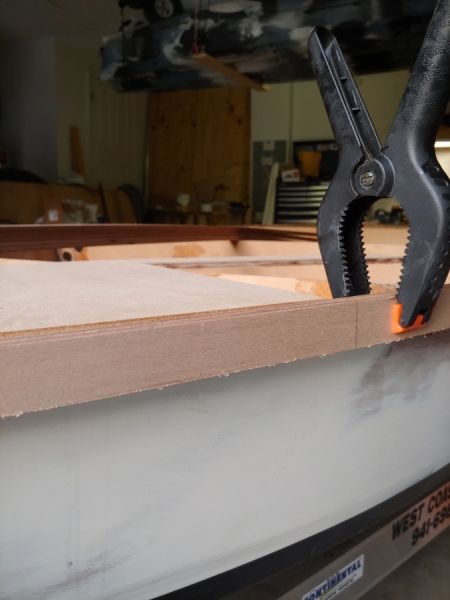
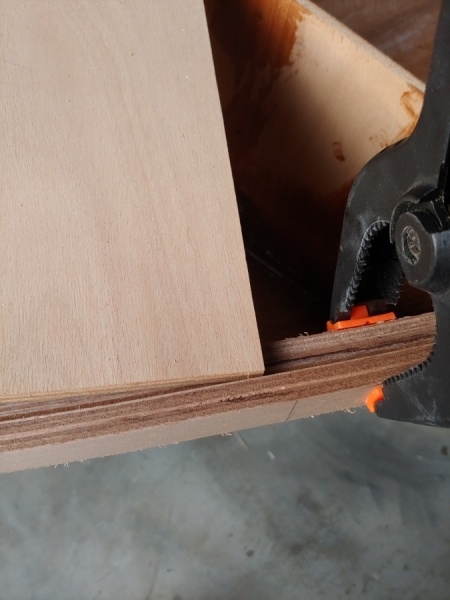
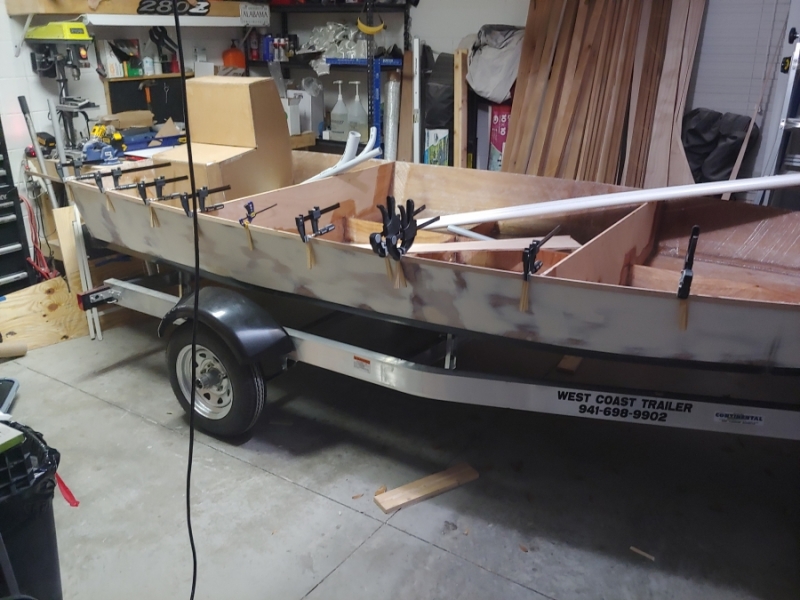
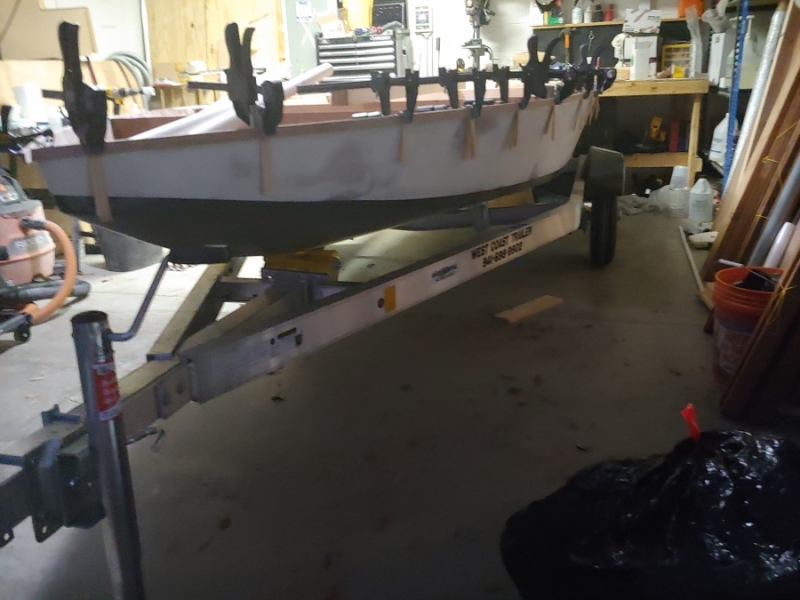
I bonded the first layer of rubrail on each side. This was a tack bond to get it in place and then once it's all stacked up on there I'll create a generous fillet on the underside. I used Thixo Fast Cure from TotalBoat. I chose it due to the thick non sagging properties plus it's quick curing and comes in a caulk tube so it's super easy to apply. I clamped the strips in place, using construction shims to get them vertical and then spot bonded with the Thixo.

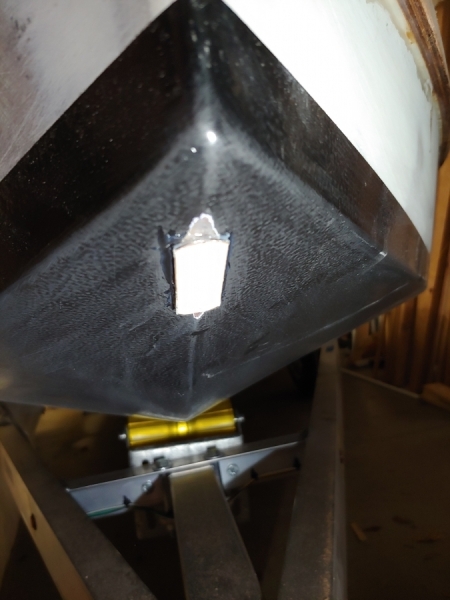
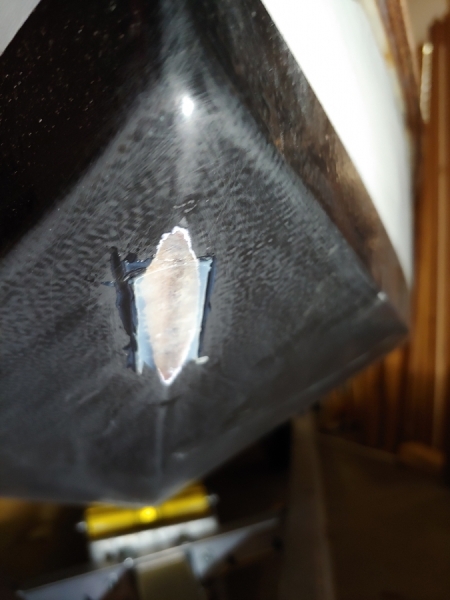
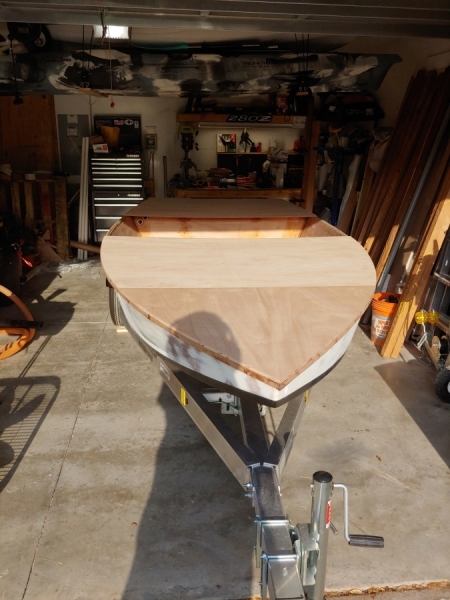
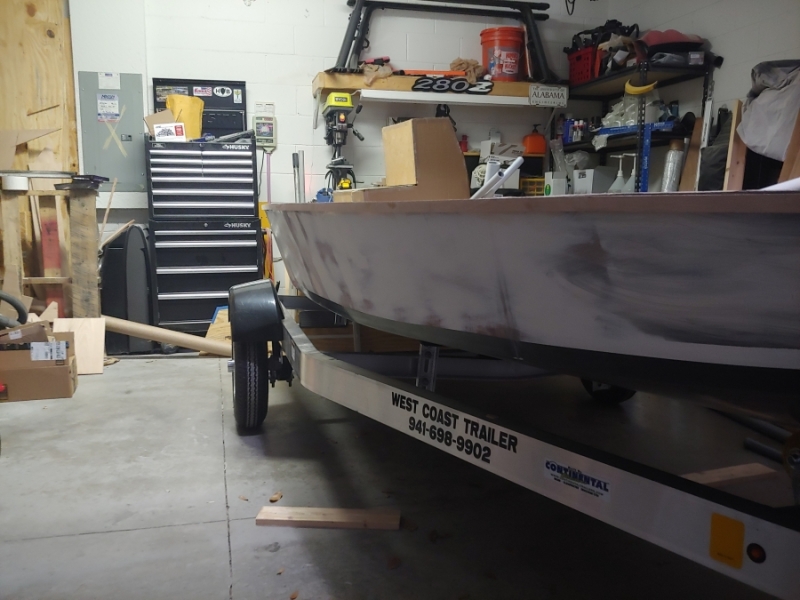
I'm very pleased with how it turned out. I used a laser level to establish a shear line reference and then laid the strip out to that on the starboard side. I know my boat is very level both directions, so then using the bonded starboard side, I set up the port side ensuring it was level across. I think this is the best I'm going to get and again I'm pretty pleased with it. I did noticed that my shear was wayyyy low in the center of the boat, so I'm glad I didn't just lay it up to the line the hull already had.

8325
8326
8327
8329

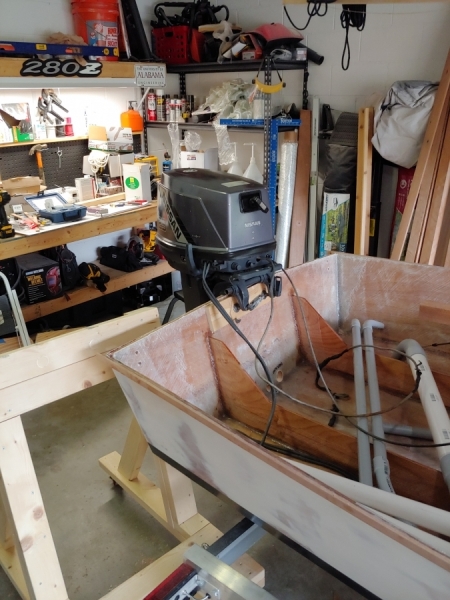
In other news, the console was taped. That didn't turn out quite as well because I got in a rush. I'm doing a little bit of rework with that before the final outside glass. Not sure if I'll glass the seams on the inside or not. I'll at least fillet but that may be as far as I go.

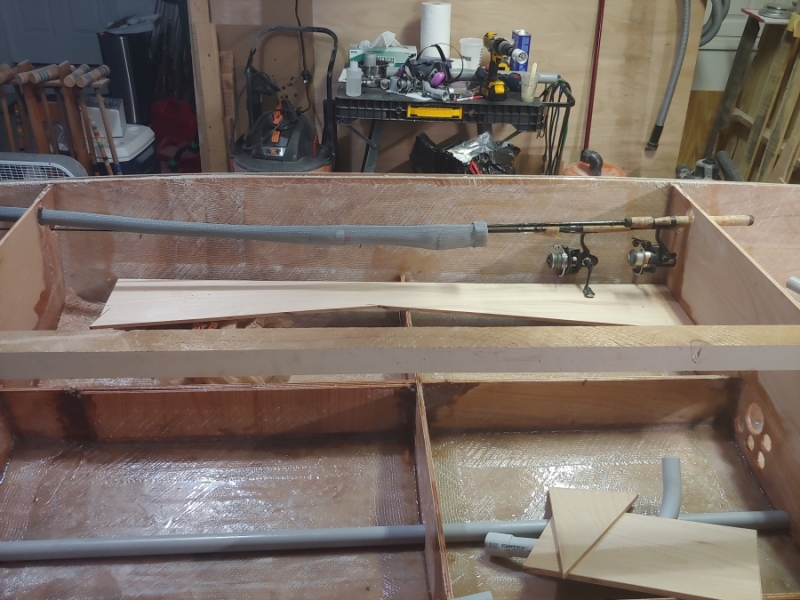
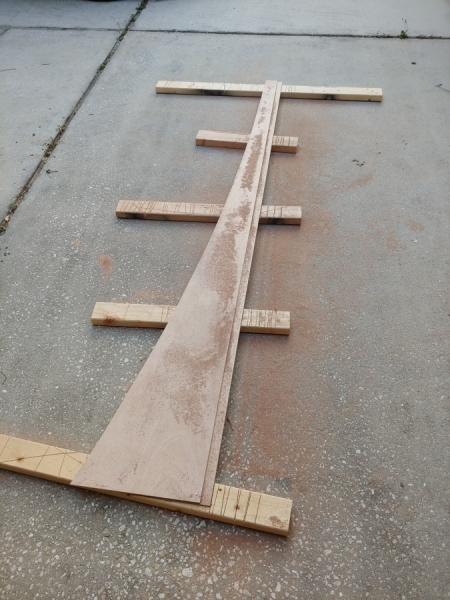
Decided on a rod storage method. With the shear so low it's hard to stack 2 spinning setups under the deck but I think it will be workable. I'll run 1-1/4 PVC thru the holes as rod tubes. Forward tubes will need to be heated and bent to follow the shape of the bow.

8328

Dan_Smullen
* Bateau Builder *
* Bateau Builder *
Posts: 912
Joined: Tue Aug 13, 2019 3:02 pm
Location: VA

Re: Cameron's FS14LS+5%

Post by Dan_Smullen »

Nice touch with the shims and spot bonding. I tried to do all 3 layers in one session and it was hectic as hell.

With the flat shear, did you get away with straight strips, or did they match the contour of the top edge of the side panels?

bamaguy0
Active Poster
Active Poster
Posts: 418
Joined: Fri Sep 18, 2020 7:17 pm
Location: Apopka, FL

Re: Cameron's FS14LS+5%

Post by bamaguy0 »

Yeah I knew since I was trying to get it level in 2 directions plus follow the curve of the hull trying to do more than a strip at a time wasn't going to be worth the hassle.

They are straight strips. The flat sheer plus shimming them to vertical calls for that. If one or the other weren't in play then curved probably would have been needed. Although I cut them thin enough they could have probably taken a small amount of vertical curvature with enough clamps.

Mojosmantra
Frequent Poster
Frequent Poster
Posts: 167
Joined: Sun Mar 07, 2021 10:29 am
Location: Big Pine Key, FL

Re: Cameron's FS14LS+5%

Post by Mojosmantra »

Nice work Cameron. How deep are the rubrails? And what are you planing for the final finish?

User avatar
VT_Jeff
* Bateau Builder *
* Bateau Builder *
Posts: 1857
Joined: Fri Oct 25, 2019 6:32 pm
Location: vermont

Re: Cameron's FS14LS+5%

Post by VT_Jeff »

That's a great approach to those rubrails, Cameron. With that vertical strip in place, you'll be able to throw some decking on a use a flush-trim bit to fit it exactly. My strips were not vertical so that did not work for me, resulting in the need to fill small gaps here and there where my saw was lofting/tracing/cutting were less than perfect, aka, everywhere.

Your point about the sheer being low in the middle is a great point also: with your method, small variations in the flatness/sheer height are easily fixed by the strips which want to be horizontal anyway. My sheer, after applying the shaped, traced strips, while still upside down, ended up looking like the surface of Lake Ontario after a 3-day blow: wavy. took me a lot of planing and epoxy to get it flat.

Also, these flat-sheer boats should have a vertical rub rail anyway, imo, they look much better, I think Seaslug made the same observation.

Did you measure the angle and cut the shims to match at each location or just stick a few in here and there until it looked right?

I hope future builders of this design see your post and go with your approach.
There are only two seasons in Vermont: boating season, and boat-building season.

Completed Paul Butler 14' Clark Fork Drifter
Completed Jacques Mertens FS14LS + 10%, Build Thread
Started Iain Oughtred Tammie Norrie

bamaguy0
Active Poster
Active Poster
Posts: 418
Joined: Fri Sep 18, 2020 7:17 pm
Location: Apopka, FL

Re: Cameron's FS14LS+5%

Post by bamaguy0 »

Mojosmantra wrote: Sun Apr 11, 2021 10:14 pm Nice work Cameron. How deep are the rubrails? And what are you planing for the final finish?
They're 3/4 tall. My plan is to stack 2 6mm strips at that height. From there the deck will go directly on top and then another strip the total height(roughly 1-1/8) to cap it all off. I'll do a 1/8 round over on top and then install the smallest Taco Marine vinyl rubrail (1-1/16 x 11/16) on top of it all.

bamaguy0
Active Poster
Active Poster
Posts: 418
Joined: Fri Sep 18, 2020 7:17 pm
Location: Apopka, FL

Re: Cameron's FS14LS+5%

Post by bamaguy0 »

VT_Jeff wrote: Mon Apr 12, 2021 10:05 am That's a great approach to those rubrails, Cameron. With that vertical strip in place, you'll be able to throw some decking on a use a flush-trim bit to fit it exactly....

...Did you measure the angle and cut the shims to match at each location or just stick a few in here and there until it looked right?

I hope future builders of this design see your post and go with your approach.
Appreciate the kind words! I just used the construction shims from Home Depot/Lowes. They come in a pack of a dozen or so for a couple dollars. I did cut them in half both length and width wise then used the thinner ends. Most locations took 2 or 3 wedged together to get it right. The trick is to not stick them in to far and separate the strip from the hull, that's why it took stacking them most places. Clamping force can be dialed in as well to adjust the strips.

It was a trial and error kinda thing. Knowing my boat was fairly level both directions i used a small level to adjust the shims until they were close to vertical. There's some small variation down the length but the goal was to keep the bubble between the lines the entire length and I believe I achieved that. Placement was focused mostly on the curvature of the hull so I tried to focus a few extra clamps forward and then opened the spacing out further aft. I probably could have had a little more control with a few more clamps, but that was all I had and felt it was adequate without having too big of a stockpile after this project is over.

User avatar
VT_Jeff
* Bateau Builder *
* Bateau Builder *
Posts: 1857
Joined: Fri Oct 25, 2019 6:32 pm
Location: vermont

Re: Cameron's FS14LS+5%

Post by VT_Jeff »

bamaguy0 wrote: Mon Apr 12, 2021 11:18 am
Mojosmantra wrote: Sun Apr 11, 2021 10:14 pm Nice work Cameron. How deep are the rubrails? And what are you planing for the final finish?
They're 3/4 tall. My plan is to stack 2 6mm strips at that height. From there the deck will go directly on top and then another strip the total height(roughly 1-1/8) to cap it all off. I'll do a 1/8 round over on top and then install the smallest Taco Marine vinyl rubrail (1-1/16 x 11/16) on top of it all.
You're making me think now, which is always dangerous.

I am currently planning on using a bright strip as the cap, which causes headaches in a few ways. It would be actually easier for me to add a plywood cap with a roundover, and then just attach my bright strip to that like Coach did on his SC16. I'm going to name this boat "RubRails" by the time it's over.

:doh: :doh: :doh:
There are only two seasons in Vermont: boating season, and boat-building season.

Completed Paul Butler 14' Clark Fork Drifter
Completed Jacques Mertens FS14LS + 10%, Build Thread
Started Iain Oughtred Tammie Norrie

bamaguy0
Active Poster
Active Poster
Posts: 418
Joined: Fri Sep 18, 2020 7:17 pm
Location: Apopka, FL

Re: Cameron's FS14LS+5%

Post by bamaguy0 »

VT_Jeff wrote: Mon Apr 12, 2021 11:46 am
bamaguy0 wrote: Mon Apr 12, 2021 11:18 am
Mojosmantra wrote: Sun Apr 11, 2021 10:14 pm Nice work Cameron. How deep are the rubrails? And what are you planing for the final finish?
They're 3/4 tall. My plan is to stack 2 6mm strips at that height. From there the deck will go directly on top and then another strip the total height(roughly 1-1/8) to cap it all off. I'll do a 1/8 round over on top and then install the smallest Taco Marine vinyl rubrail (1-1/16 x 11/16) on top of it all.
You're making me think now, which is always dangerous.

I am currently planning on using a bright strip as the cap, which causes headaches in a few ways. It would be actually easier for me to add a plywood cap with a roundover, and then just attach my bright strip to that like Coach did on his SC16. I'm going to name this boat "RubRails" by the time it's over.

:doh: :doh: :doh:
I can dig it! Seems like it'll make it a little cleaner.

bamaguy0
Active Poster
Active Poster
Posts: 418
Joined: Fri Sep 18, 2020 7:17 pm
Location: Apopka, FL

Re: Cameron's FS14LS+5%

Post by bamaguy0 »

Progress this week was here and there. Working on several different little tasks mostly.

Earlier in the week, the 2nd rubrail layer went on. I ground a flat surface at the bow for the bow eye. After establishing a flat surface, I created a wider flat surface with epoxy using a trimmed popsicle stick wrapped in packing tape for the shape. When I flip it over, I'll smooth out the transition a bit.

8337
8338

Friday was a "holy day" where I started putting holes in the boat. Drain plug, baitwell fittings, transom and bow eyes, and 4 holes for a PT-35 Tilt n Trim bracket. Bilge pump fitting and nav lights are all that's left.

I did set the motor on the transom for a bit while trying to figure out where to locate the Tilt n trim setup. Had to snap a photo.

8339

Also got the repairs on the console smoothed out mostly, and trimmed and darted a piece of 4oz woven fabric to cover it with.

Today the wife and I took a trip over to Kennedy Space Center for the day so I didn't get to do a whole lot, but I did cutout the deck pieces and ripped the next stack of rubrail strips. I decided to go with 2 more layers so I'll have a full inch off the hull sides. I like the flared look and maybe it'll help keep the ride a little drier as well.

8340

I know Trent was interested to see what my rubrail stackup would look like finished so I mocked it up for some photos. I had already put the deck pieces away so a scrap piece will suffice for a show n tell.

8341
8342
8343
8344

Thought I'd show off what I'm working with here. Table saw is something that I haven't had the luxury of owning. Sure would have been nice while ripping the rubrail strips, but an extra piece with a known straight edge and a few nails will work in a pinch.

8345

Goals for Sunday will be to drill the bilge pump thru hull fitting and nav light holes, start bonding the next layer of rub rail, and cover the console with the 4oz glass. Probably have to work in some yard work as well.

Targeting the flip for next weekend.

Post Reply

Who is online

Users browsing this forum: No registered users and 8 guests