Finally getting started on my GF-16

To help other builders, please list the boat you are building in the Thread Subject -- and to conserve space, please limit your posting to one thread per boat.

Please feel free to use the gallery to display multiple images of your progress.
timoub007
Very Active Poster
Very Active Poster
Posts: 713
Joined: Wed Dec 31, 1969 7:00 pm
Location: Port Neches, TX

Post by timoub007 »

I've been working on details the last week. The biggest of those was filling in that "hole" in the floor at the rear of the boat. So, Larry, it might actually float one of these days.

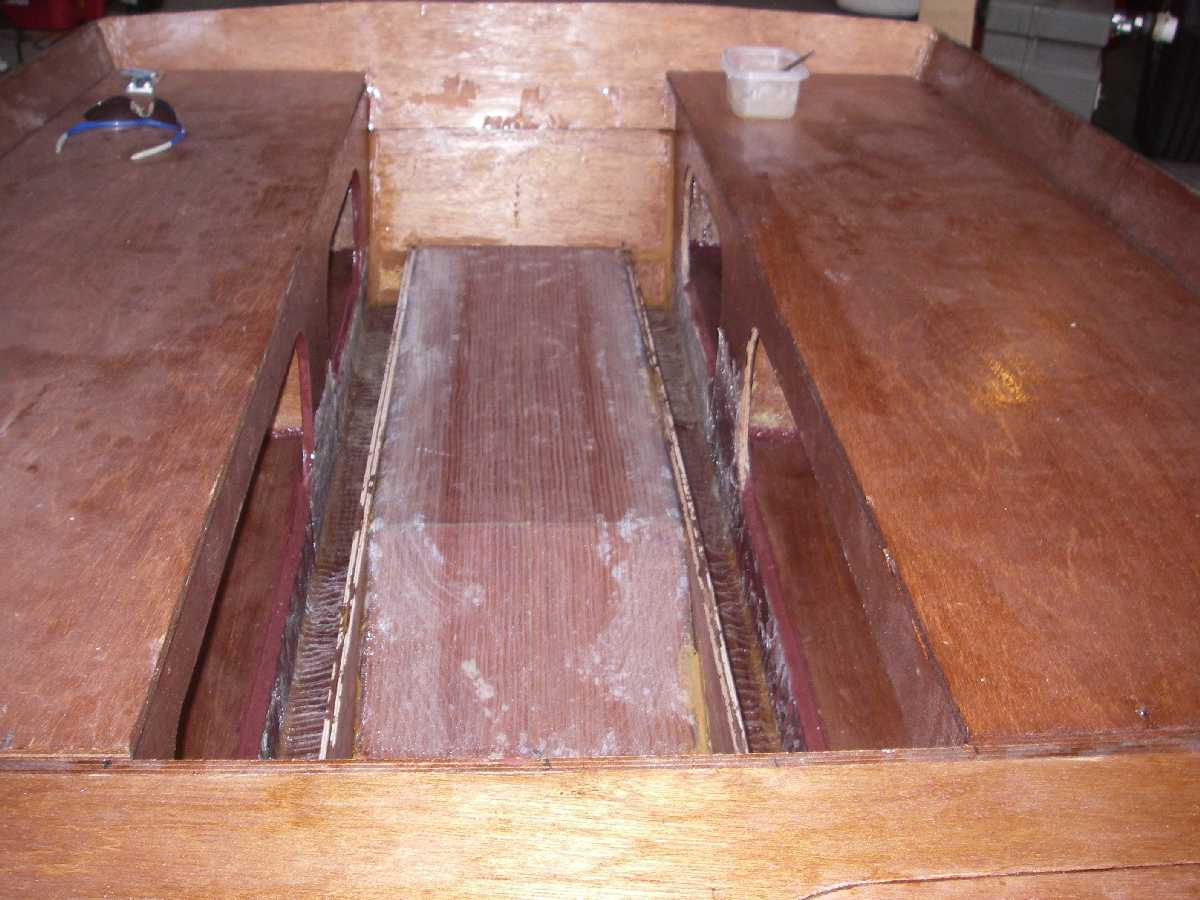
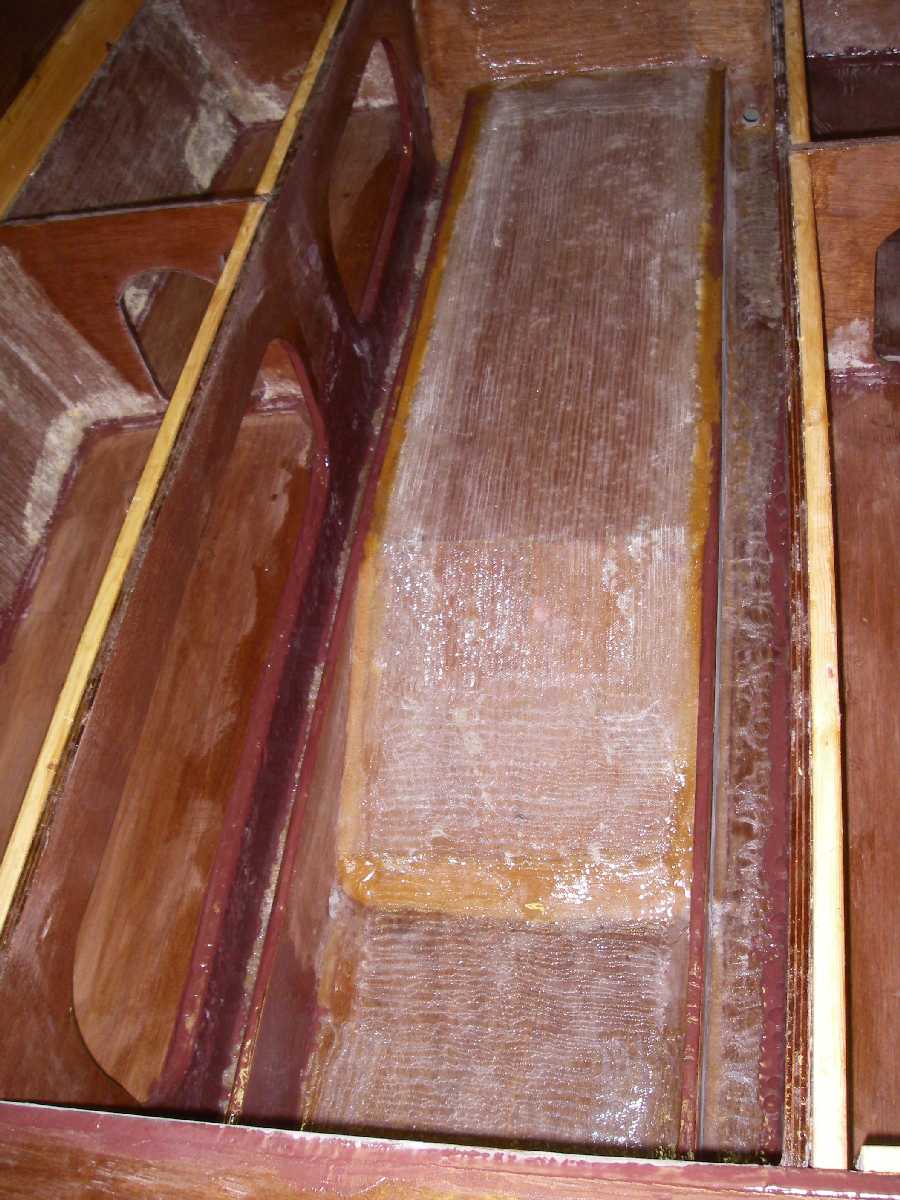
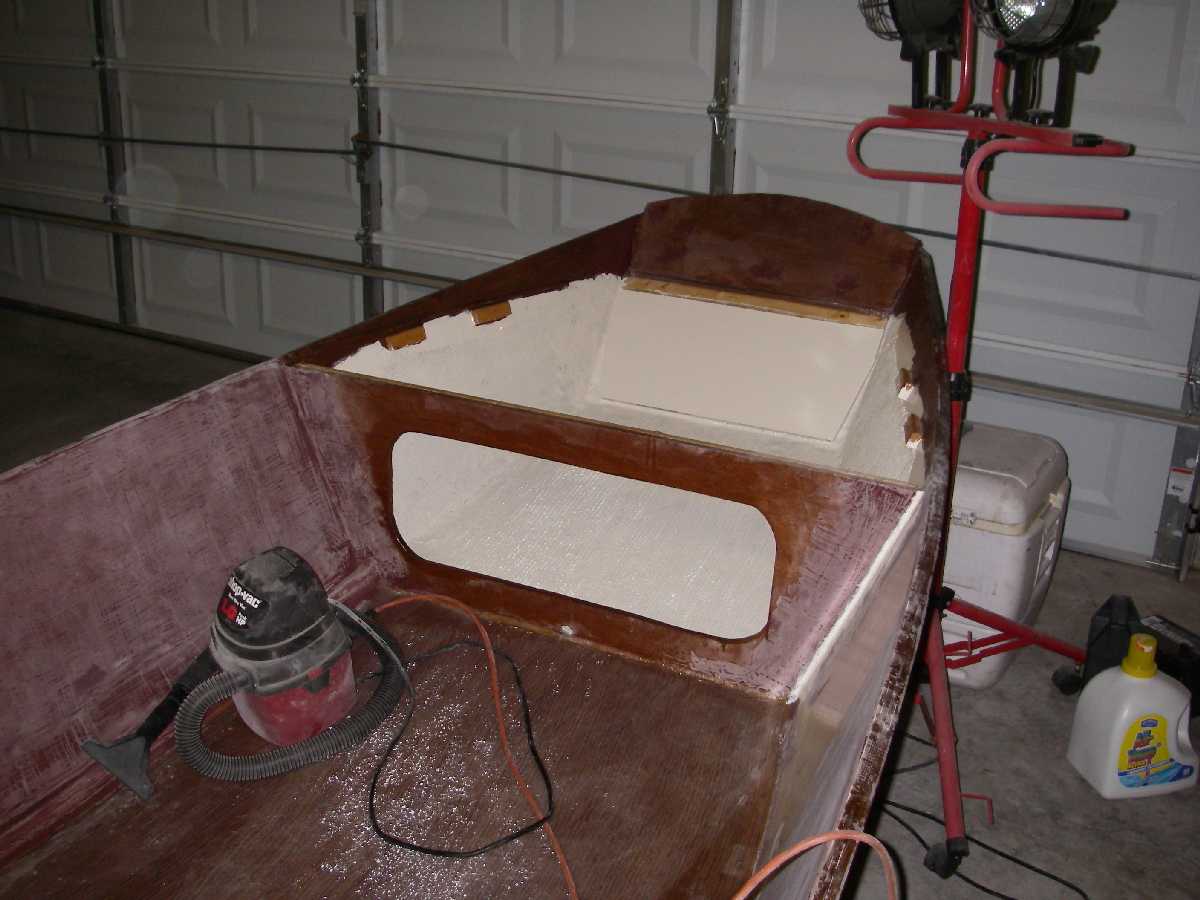
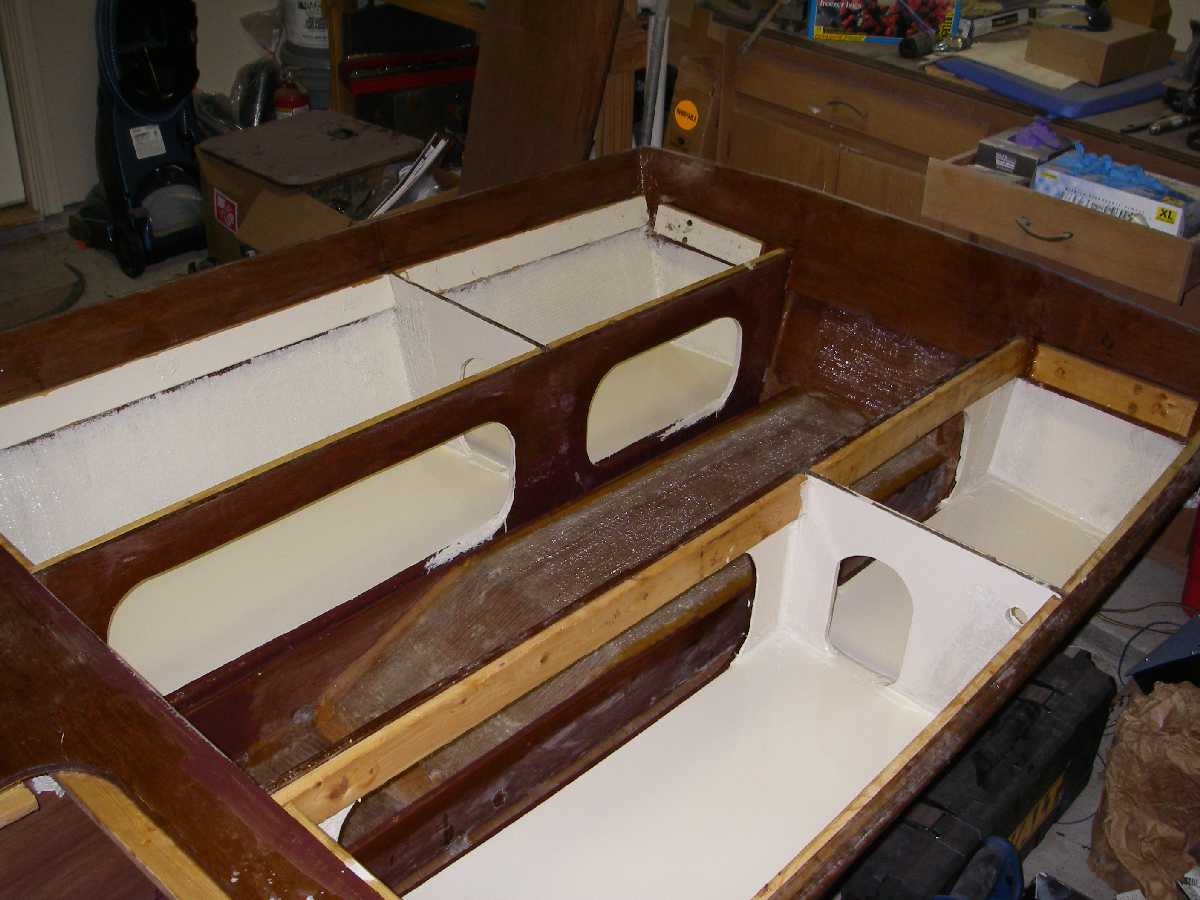
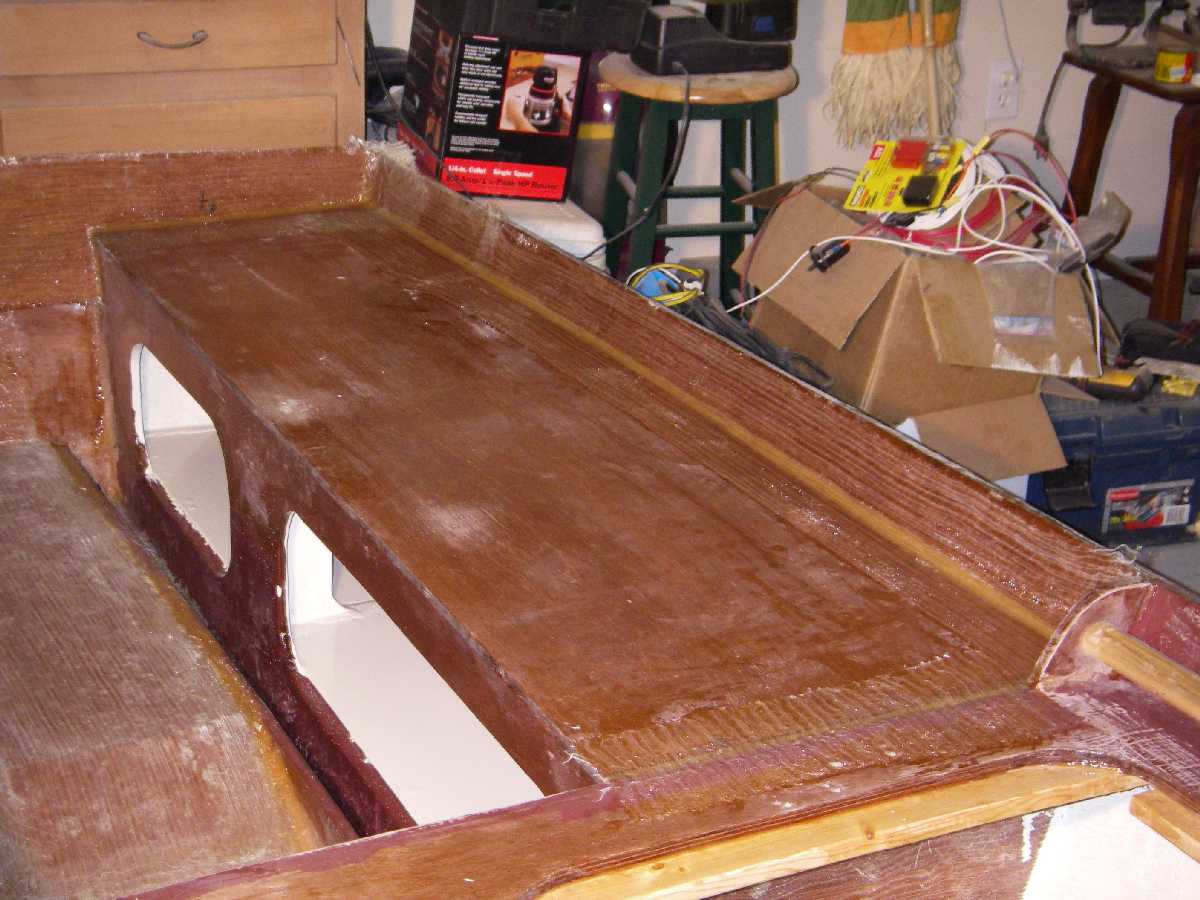
After trimming the foam in the center seat, as shown above, I epoxy glued that seat top on and the Cracker Larry handles. Most nights this week I was laminating layers inside and outside of the tunnel. Then I figured out how I was going to properly attach it to the hull. I decided to create a couple of stringers that would tie into the the center seat rear frame and the transom. These would be epoxy glued to the tunnel and then that assembly would be dropped into place. I didn't have a long enough piece of 1/2" left so I had to laminate up a couple of pieces of 1/4" to make these 2 stringers. This took a couple of nights and finally last night I got the 2 stringers glued to the tunnel.

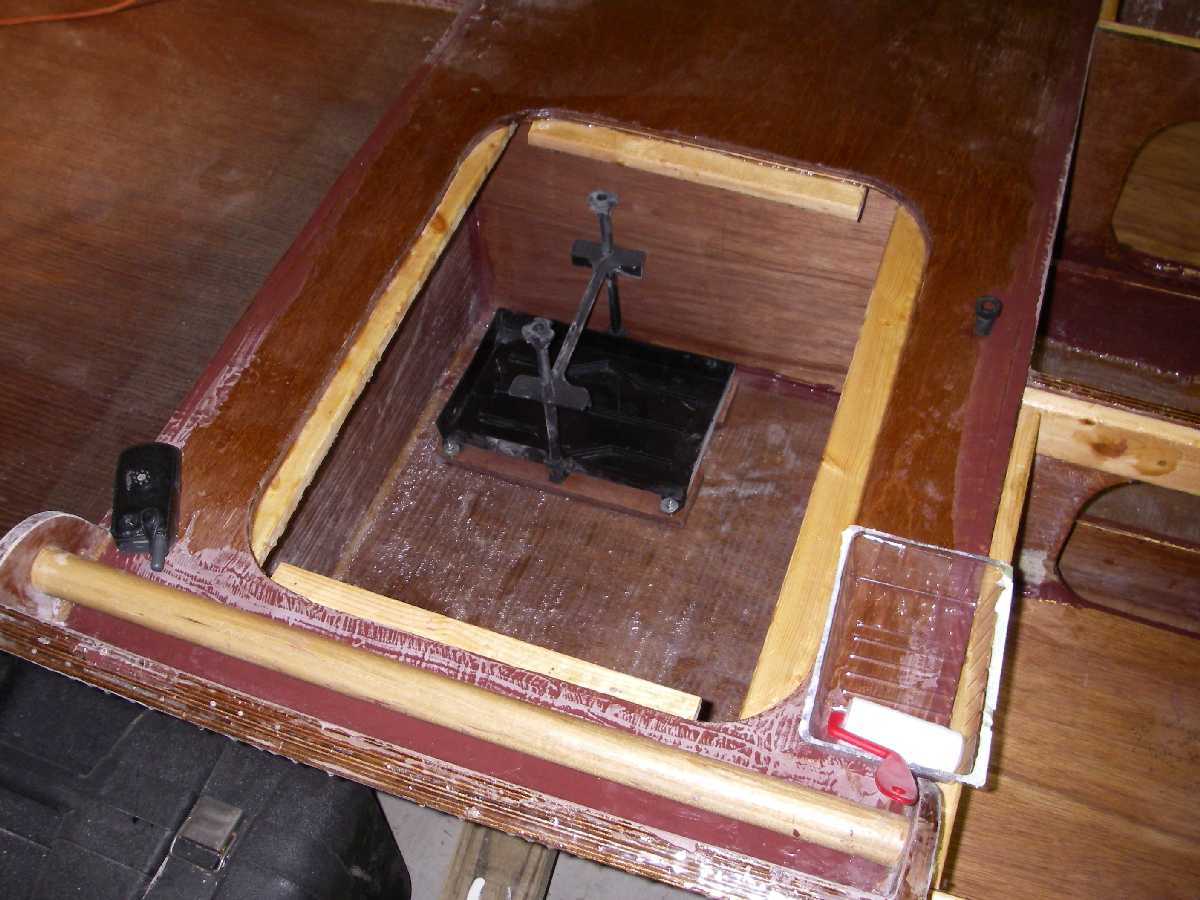
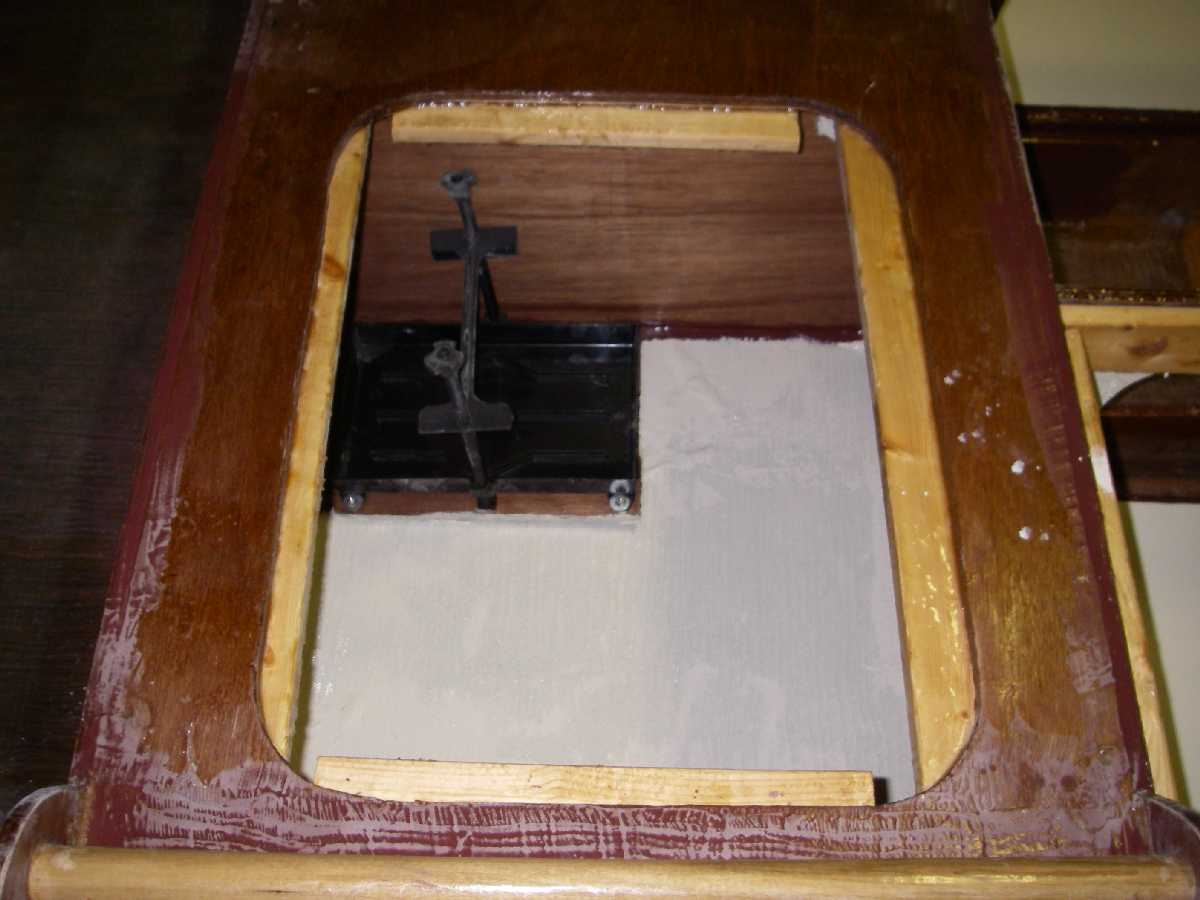
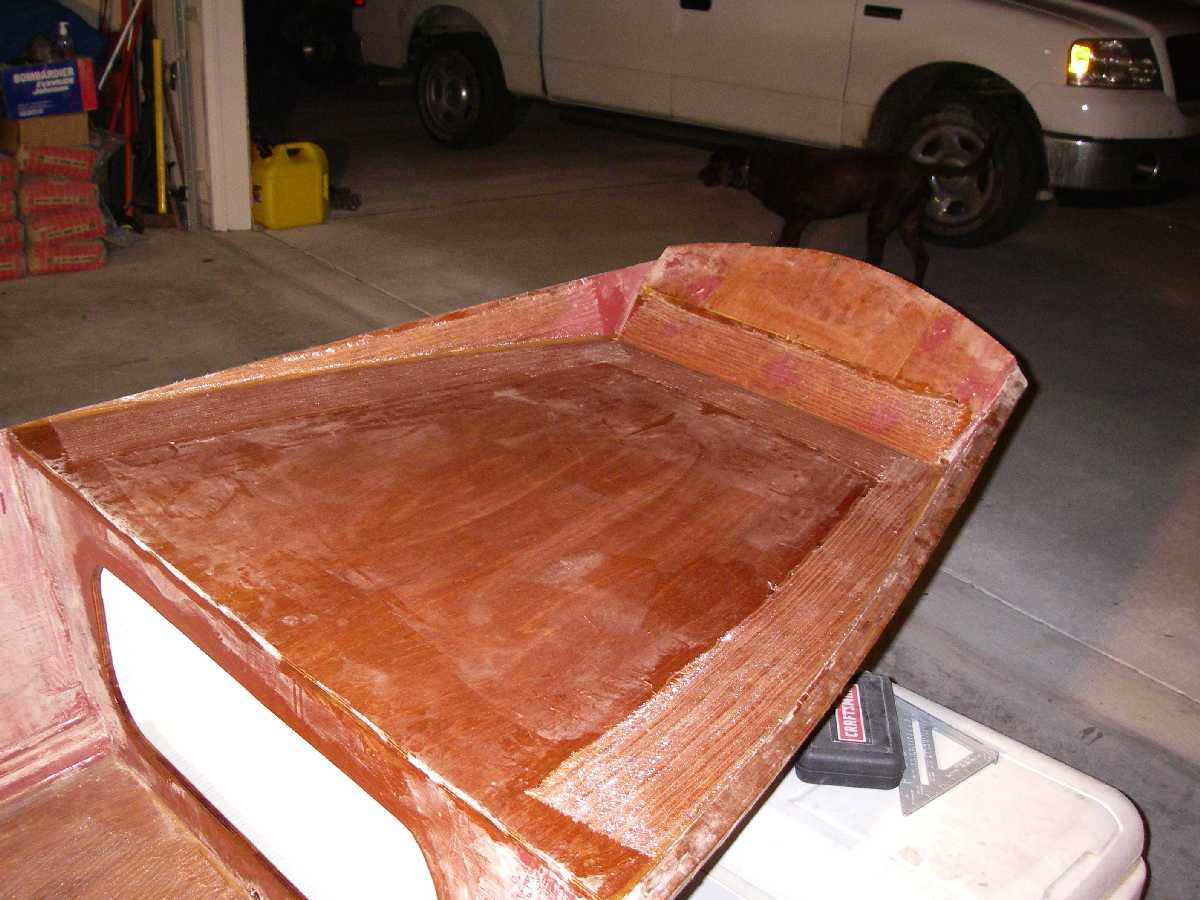
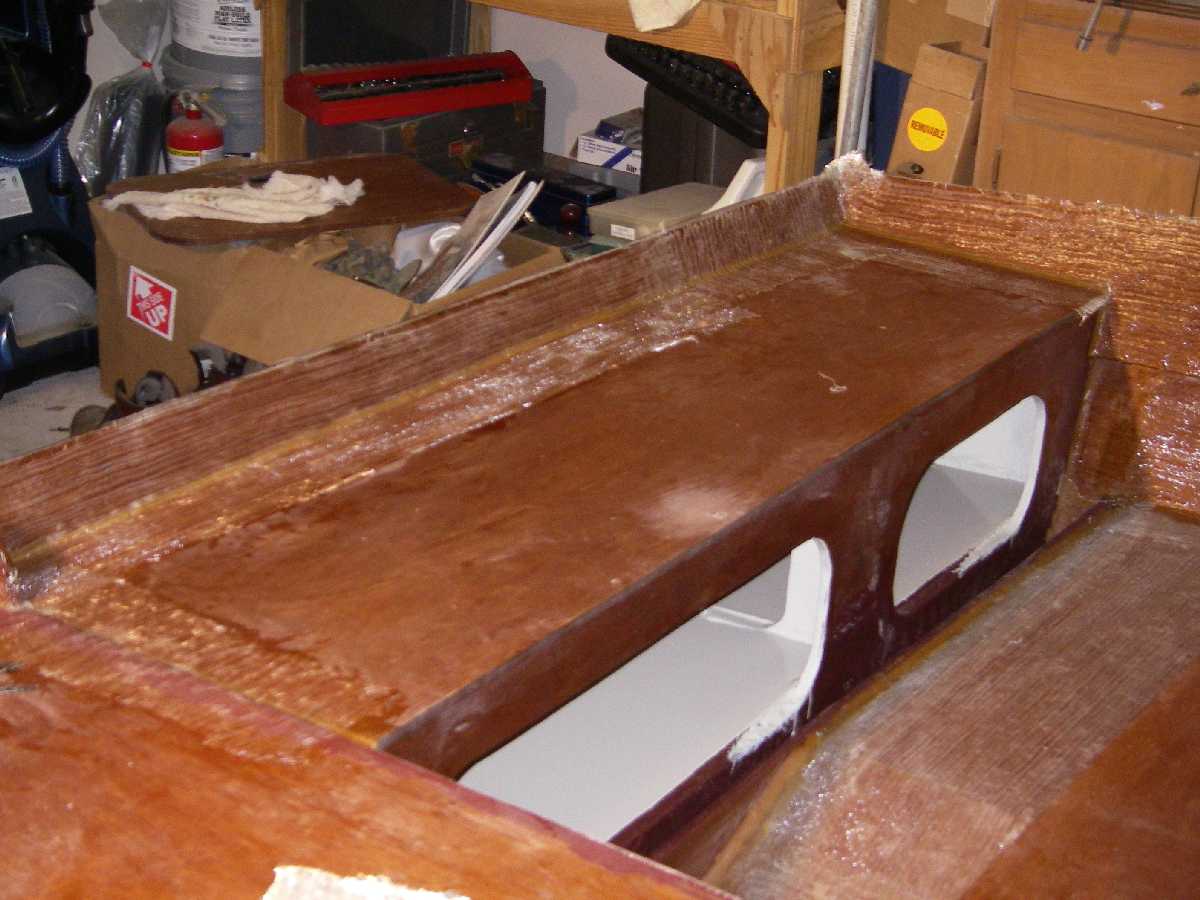
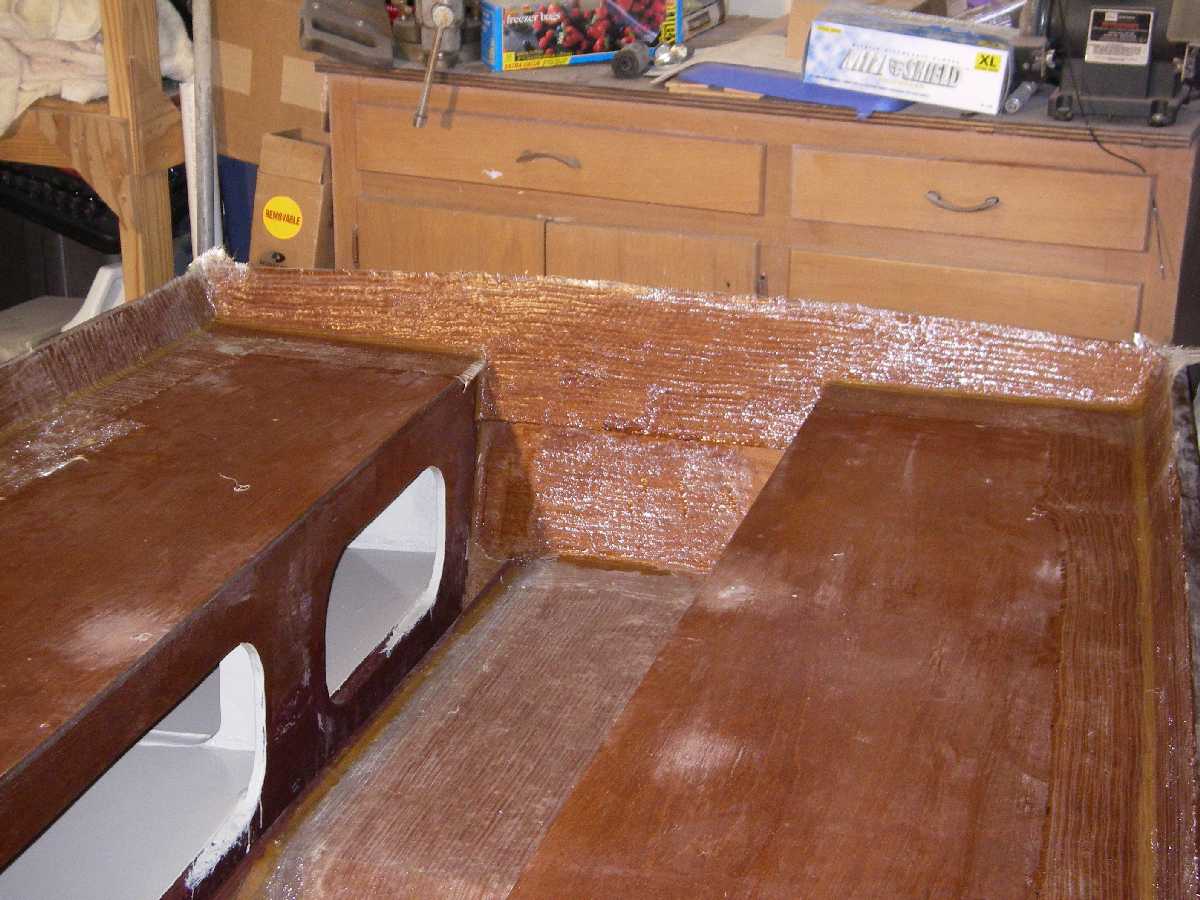
This afternoon I filled in the transom where I'd cut too much out for the tunnel. (This was due to following the plans for the PH15 tunnel. It is 19 or so inches wide and I decided that it would be just too big for this boat. The PH15 is a much wider boat and would have enough planing surface remaining to handle the wider tunnel. Oh, and it was designed for that boat. I cut the center out of the tunnel and made mine 12 or so inches wide.) So I cut a couple of squares of 1/2" ply and glued those in place. After letting them cure for a couple of hours I decided it was time to fill in that hole. I dropped the tunnel/stringer assembly in place and tabbed it in. It is still curing now. I'll go back and run some good filets along the entire bottom and against both the transom and seat frame. I'll also glass in the stringers at each end.

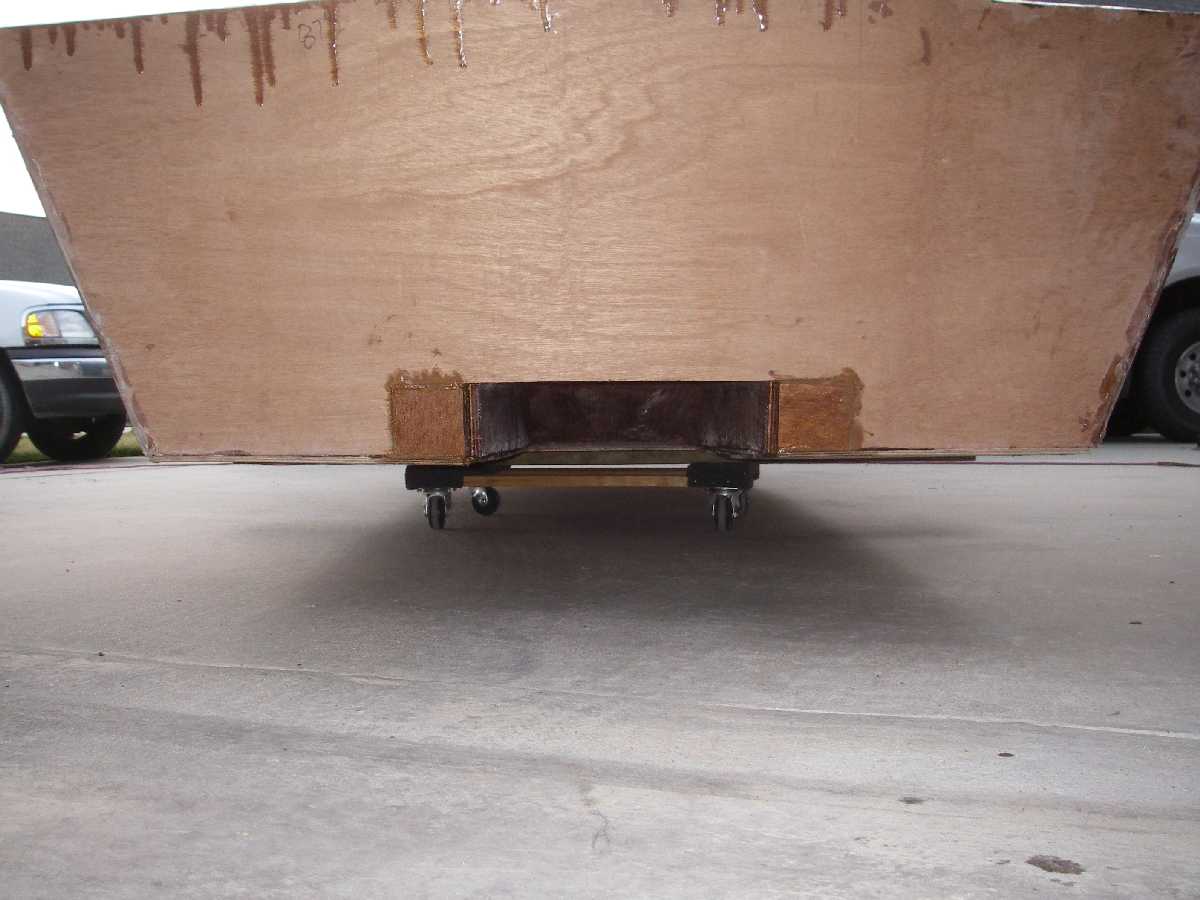
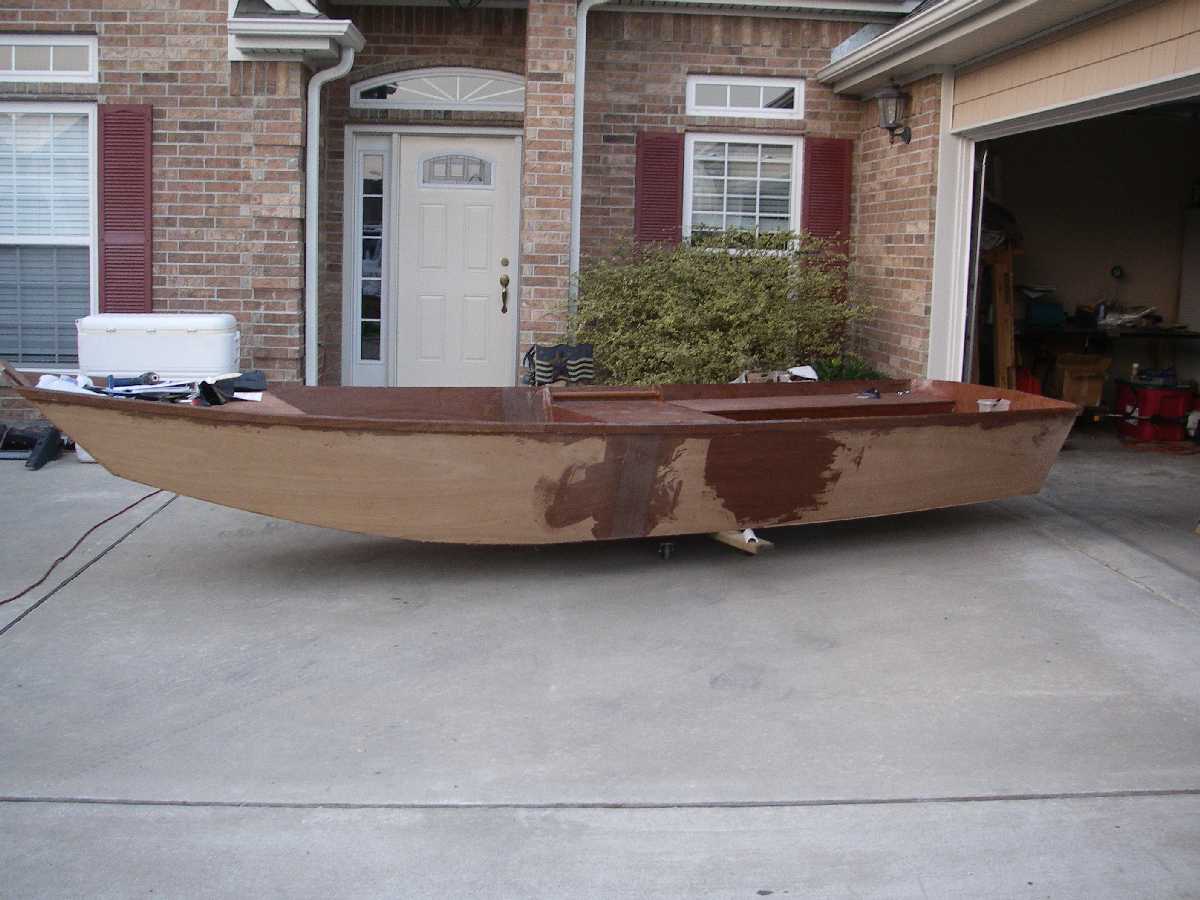
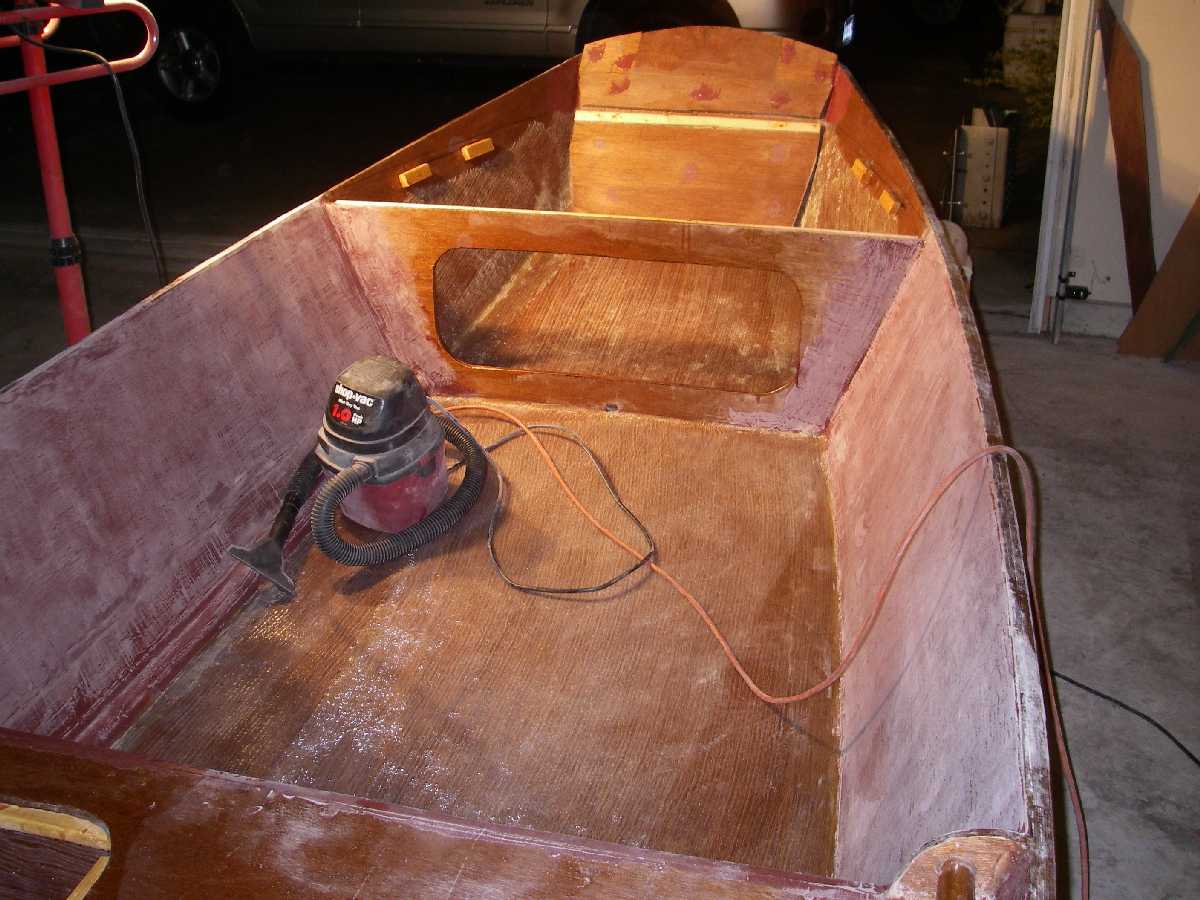
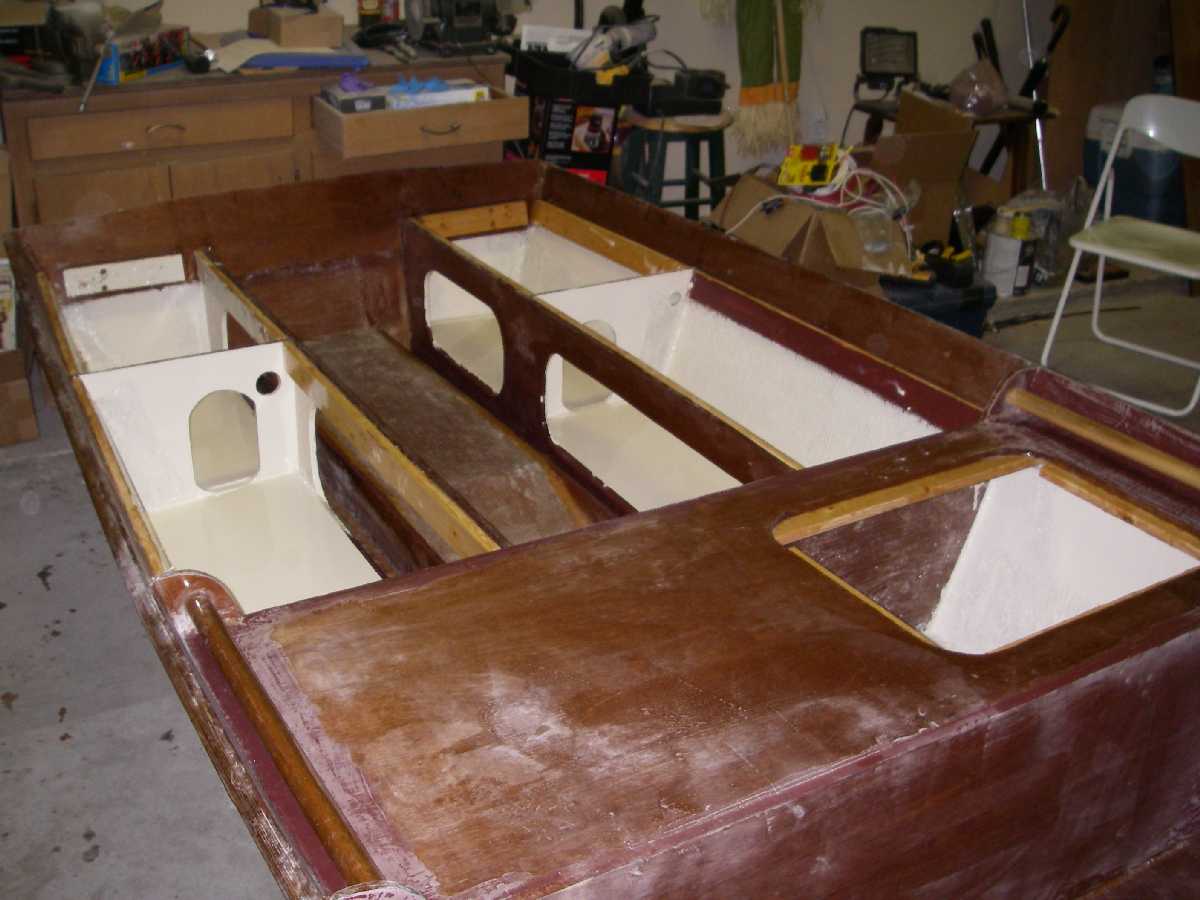
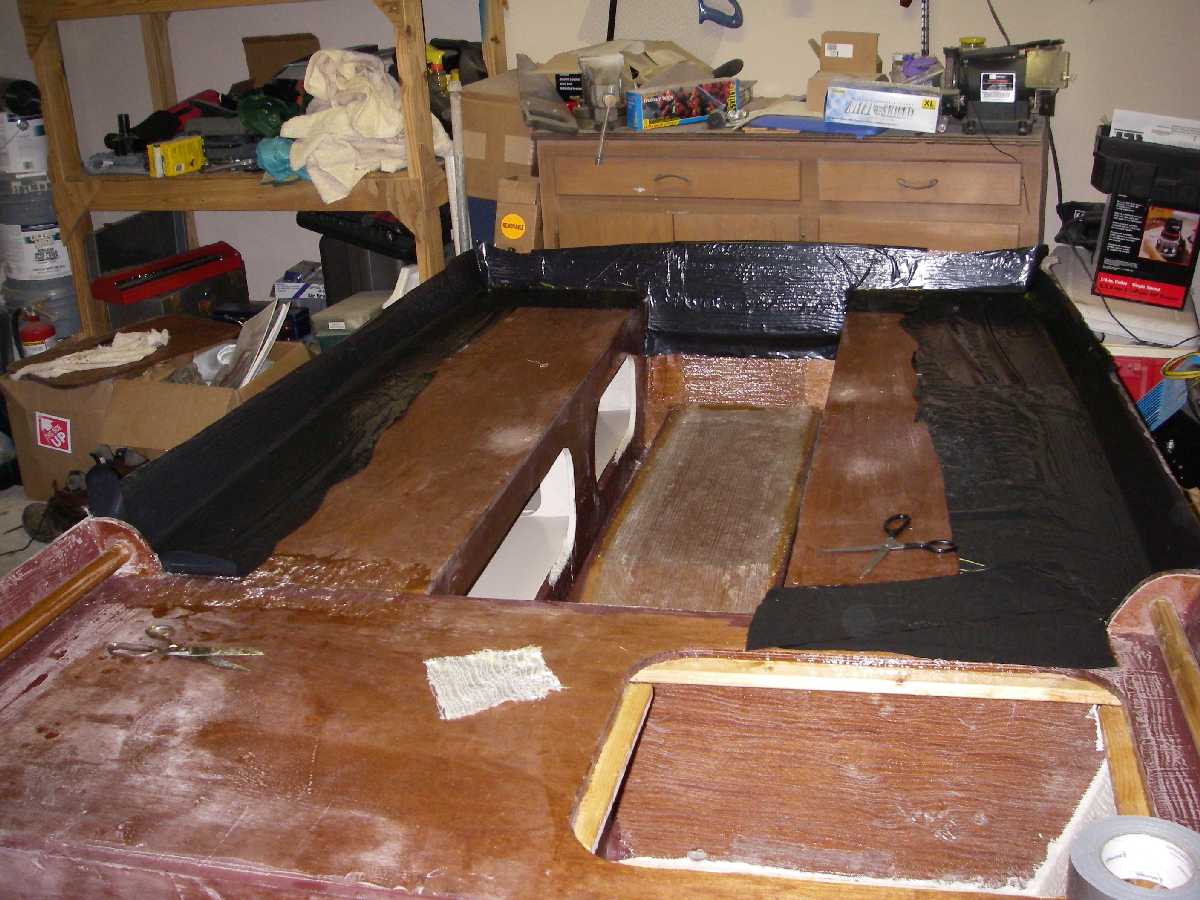
Anyway, the pics below show this week's progress. It sure looks like a bigger boat when I wheel it out of the garage.

Tim

Image
Image
Image

User avatar
Cracker Larry
* Bateau Builder - Expert *
Posts: 22491
Joined: Fri Mar 11, 2005 3:39 pm
Location: Savannah, GA

Post by Cracker Larry »

Looks great, Tim :!:
Completed GF12 X 2, GF16, OD18, FS18, GF5, GF18, CL6
"Ships are the nearest things to dreams that hands have ever made." -Robert N. Rose

timoub007
Very Active Poster
Very Active Poster
Posts: 713
Joined: Wed Dec 31, 1969 7:00 pm
Location: Port Neches, TX

Post by timoub007 »

Finally ready to put some paint on this thing!

I got the last of the interior glass laid about 2 weeks ago with the help of a good friend. I glassed completely up the sides to the shear in the area between the mid-seat and bow frame. The pieces of glass then flow on the floor and overlap. The overlap gives double coverage for just about the entire floor in this area. Since then it has been fairing and sanding on the sides. I am leaving the floor throughout the boat unfaired for slip resistance.

Image

I also got the battery tray mounted in the center seat compartment. It is mounted on two pieces of 1/2" plywood and then these were glued to the floor. There is open space between the pieces so that water should be able to flow under it and out the rear limber hole in the compartment.

Image

Lastly here are a couple of new pics of the tunnel. It is glassed to the floor and transom. Also the tunnel stringers are glassed to the floor and mid-seat rear frame. The verticle glass has been faired (roughly) but as mentioned above, the floor glass will remain unfaired for a nonskid affect.

Image

Image

After taking these pics, I put down a first coat of paint inside all the compartments. After this dries and I recoat where needed and then I will glue on the remaining seat tops and bow deck. Then comes more fairing and sanding before painting the rest of the interior.
Last edited by timoub007 on Wed Mar 29, 2006 3:15 am, edited 1 time in total.

timoub007
Very Active Poster
Very Active Poster
Posts: 713
Joined: Wed Dec 31, 1969 7:00 pm
Location: Port Neches, TX

Post by timoub007 »

Well, the inside of the compartments now have paint on them. I put down the second coat tonight (3/30).

Image

Image

Image

Image

I'm heading out of town this weekend, but might get the seat tops glued down before hitting the road. The fish are calling this weekend though.

Tim
Last edited by timoub007 on Sun Apr 02, 2006 7:27 pm, edited 1 time in total.

User avatar
robbiro
* Bateau Builder *
* Bateau Builder *
Posts: 841
Joined: Thu Mar 23, 2006 10:51 pm
Location: Central Mississippi, USA

I hope that mine does this well.

Post by robbiro »

I have been following your build and the resultant strings on the message boards between you and Larry. I see many great ideas and hope to use some of them in my build that will start in the next few weeks. I am going over the plans and seeing what is possible and impossible. Did you extend the front deck any or is it to specs?
32.20.0983N
89.48.0787W
GF-16 FIRST LIGHT finished; D-5 Crusader '08 finished, PY 12 plans in hand

timoub007
Very Active Poster
Very Active Poster
Posts: 713
Joined: Wed Dec 31, 1969 7:00 pm
Location: Port Neches, TX

Post by timoub007 »

Robbie,

Thank you for the kind words.

The front deck in my boat is per the plans. I built the boat primarily for duck hunting so I wasn't concentrating on maximizing deck space. I would guess that it is a little small if you plan on doing a lot of casting from up there. Now Larry throws a cast net from his, or at least I assume he gets up on the deck to shrimp.

I can place something up there that you could relate to the size of and take a pic if you'd like.

Another option would be to cut out the deck from poster board and see what you think. The issue there is that if you're standing on the ground on top of that "pattern" you might not get a good feel for how large or small it really is.

User avatar
Cracker Larry
* Bateau Builder - Expert *
Posts: 22491
Joined: Fri Mar 11, 2005 3:39 pm
Location: Savannah, GA

Post by Cracker Larry »

Yes, we cast shrimp nets from the bow deck. I built mine as designed and it is plenty large enough.
Completed GF12 X 2, GF16, OD18, FS18, GF5, GF18, CL6
"Ships are the nearest things to dreams that hands have ever made." -Robert N. Rose

User avatar
robbiro
* Bateau Builder *
* Bateau Builder *
Posts: 841
Joined: Thu Mar 23, 2006 10:51 pm
Location: Central Mississippi, USA

front deck

Post by robbiro »

Thanks for the input on the deck, it will stay as per plan. I look forward to seeing the end product Tim. Larry, if you can cast a net off of it, I should be able to try and catch a bass off of it. Thanks again !
Robbie
32.20.0983N
89.48.0787W
GF-16 FIRST LIGHT finished; D-5 Crusader '08 finished, PY 12 plans in hand

User avatar
Cracker Larry
* Bateau Builder - Expert *
Posts: 22491
Joined: Fri Mar 11, 2005 3:39 pm
Location: Savannah, GA

Post by Cracker Larry »

No problem catching a bass off that deck. Or even a gator!

Next week mine will begin chasing Cobia in the Broad River (SC). Hopefully I can post some pictures of 80lb. fish :D
Completed GF12 X 2, GF16, OD18, FS18, GF5, GF18, CL6
"Ships are the nearest things to dreams that hands have ever made." -Robert N. Rose

timoub007
Very Active Poster
Very Active Poster
Posts: 713
Joined: Wed Dec 31, 1969 7:00 pm
Location: Port Neches, TX

Post by timoub007 »

Now we're getting somewhere!

As far as I can tell, I'm done glassing until I get her flipped over. I spent last night and tonight building the last of my filets and taping the final seams. Everywhere that a horizontal surface meets the hull it is taped.

Image

Image

Image

I also put a full piece of glass across the transom. I cut this so that it lays out on top of the rear seats. There is also tape where the rear seats meet the center seat. All this means that the transom is effectively tied into the center seat. And it is actually tied in two other times with the rear seat frames, and the tunnel stringers.

Image

Here is my latest attempt at poor man's peel ply. I have found that the garbage bags work well. I know there are some wrinkles here and there, but it will still save a lot of fairing.

Image

What has not worked well is zip-loc (or knock off) brand bags. In one or two cases when trying to remove the plastic it has torn. It left small pieces behind that were very hard to remove. I basically had to sand them off. So y'all have been warned. LOL

A bit of faring and a lot of sanding the rest of the week and I might get some more paint on this thing this weekend. Looking forward to that flip.

Tim

Post Reply

Who is online

Users browsing this forum: No registered users and 8 guests