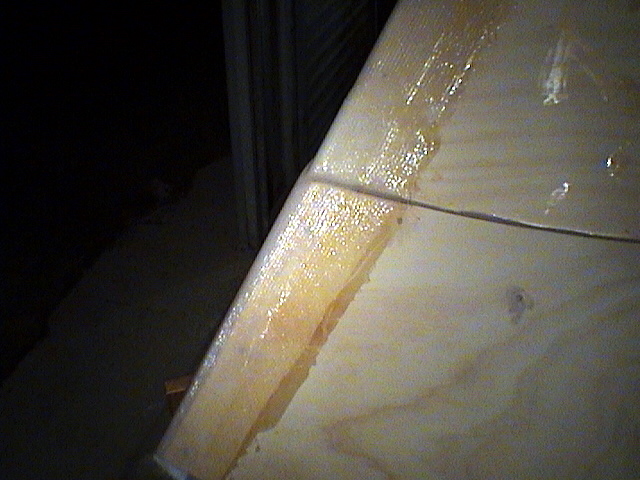
I used the dowel for the bow, that was a great tip and worked really well.
I rounded the edges at the join so that the tape would go over the ridge(styleline) at the tip easily. Supaglue was used to tack the dowel in place so the zip zies could be removed and spaces filled with resin.
I was hoping to tape over the putty the same day but ended up waiting until the next day. It was difficult to get it right while the putty was very very slowly sliding down the bow. Only a light sanding was required the next day before putting the tape on.
I can build it up so that there is an even ridge all the way round matching the sides and put a layer of tape over it before the final cloth. Am undecided yet, but it kind of looks okay from the side.
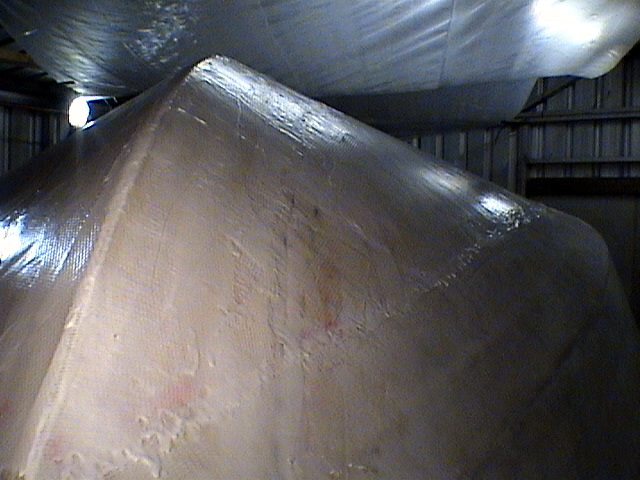
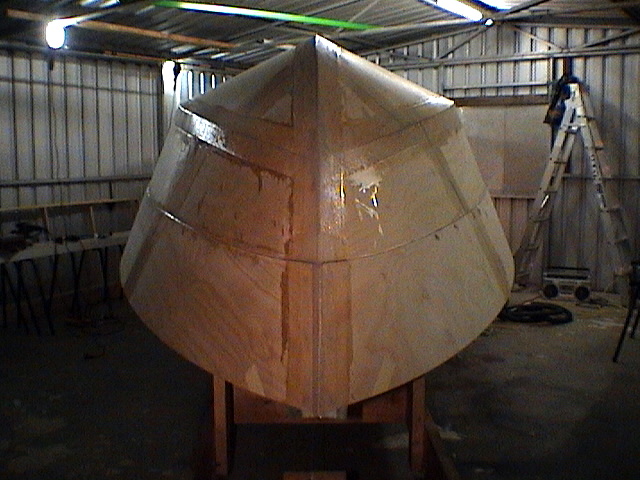
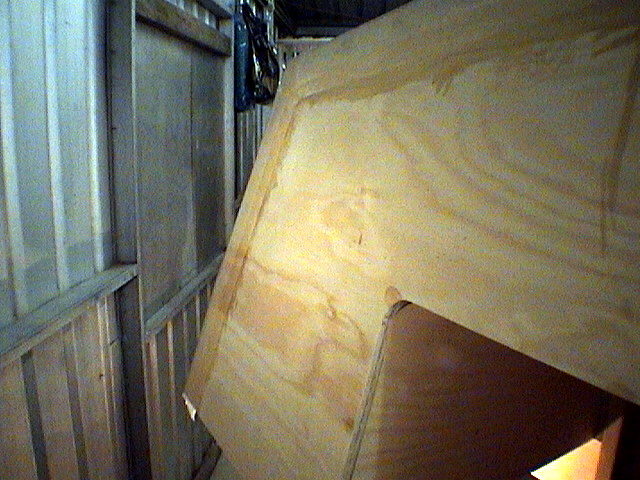
From the front
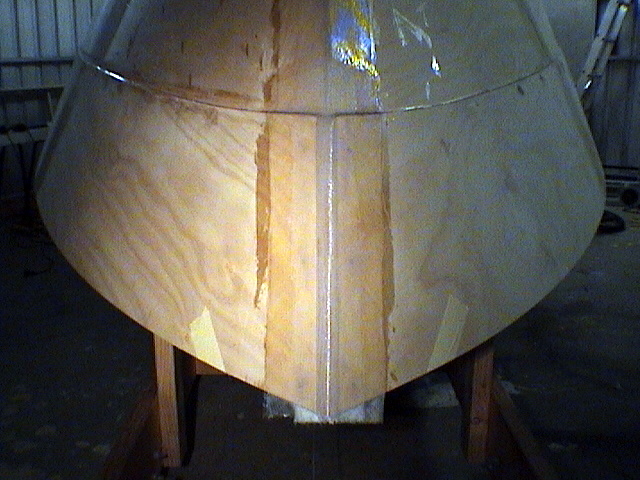
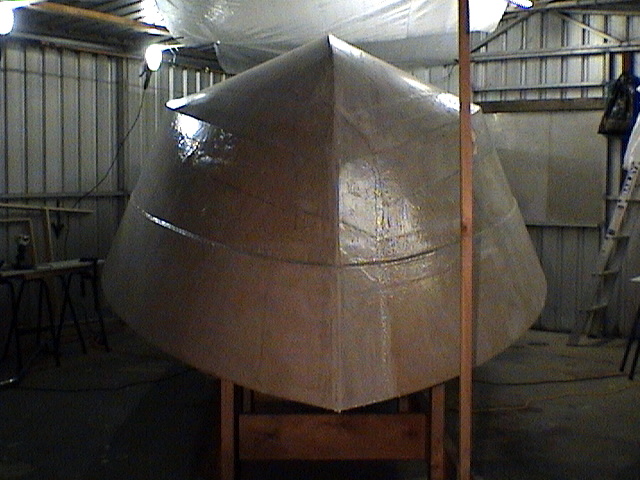
and the side.
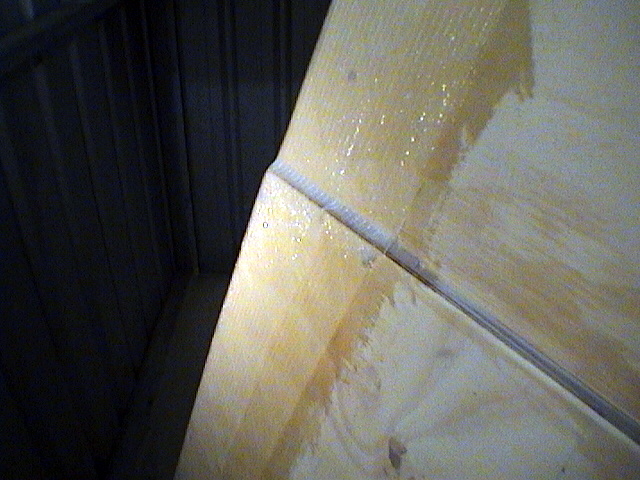
The transom sides were also taped, but to get the tape over the ridge I had to use some plastic sheets to keep it in place while it was still tacky. I am now seriously thinking about using the peel ply for the cloth. I want to use cloth to completely cover the side.
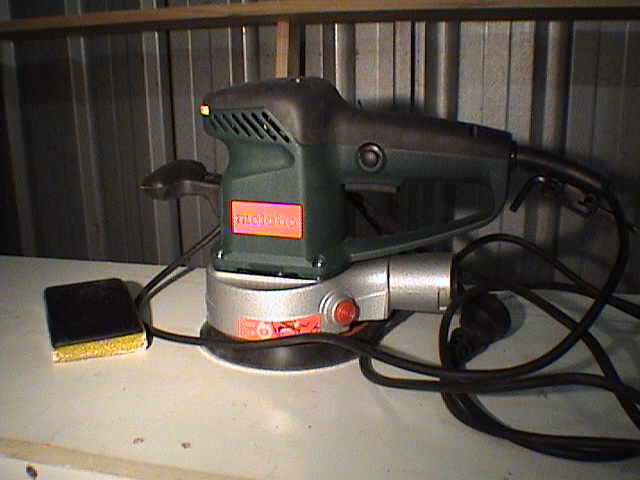
This weekend will be a big effort to put the cloth on! If I only get it sanded and faired enough for the cloth I will be happy though. The screw holes on the side panels have been filled and ready to sand flush this weekend. The orbital sander is proving a great time saver and I have no dust from it whatsoever...the shop vac fits perfect.
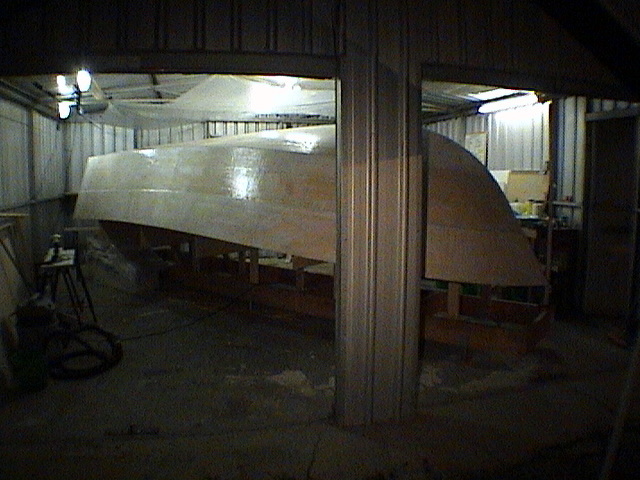
I am thinking about it, hopefully I will be moving to a bigger Shed soonLooks like you may not have enough overhead room in there to build the superstructure once you flip. Finish outside?