Baba’s FL14: MadMax in Toronto

To help other builders, please list the boat you are building in the Thread Subject -- and to conserve space, please limit your posting to one thread per boat.

Please feel free to use the gallery to display multiple images of your progress.
baba101
Active Poster
Active Poster
Posts: 492
Joined: Wed Nov 23, 2005 11:31 pm
Location: Toronto, Canada

Post by baba101 »

Finaly Mr Luke (my crazy heater that only blows luke warm air) Came through for me. The Butt was Bonded pretty strong..here is the other side....

Image

Stitched the bow with consistant slack using the pencil..kept them 10" apart and 3/8" from the edge.

Image

Gentlemen please welcome ....MadMax...


Image

:roll: After the Butt was bonded it took 3 hours to get some of the frames tied... I reckon another three hours before I can take measurements for the bottom...

rjezuit
Very Active Poster
Very Active Poster
Posts: 796
Joined: Tue Nov 30, 2004 8:39 pm
Location: Lancaster, New York

Post by rjezuit »

Baba, Flip it, measure diagonals, tighten the ties, measure, measure, measure and trace the bottom. Isn't it great when it finaly takes shape? Rick

baba101
Active Poster
Active Poster
Posts: 492
Joined: Wed Nov 23, 2005 11:31 pm
Location: Toronto, Canada

Post by baba101 »

Roger than Rick....

This weekend will be dedicated for measurements only... :D

Yes it feels good.....the cool thing is that no one has seen it...the garage stays locked.....

LBrewer
Frequent Poster
Frequent Poster
Posts: 67
Joined: Sat Jan 07, 2006 11:21 pm
Location: Mobile, AL

Post by LBrewer »

Excellent! It's coming together very nicely.

ks8
* Bateau Builder *
* Bateau Builder *
Posts: 8403
Joined: Mon Nov 24, 2003 1:00 am
Location: NC USA
Location: Now a much longer sail to Tampa Florida! Back to NC, Youngsville FM05tw

Post by ks8 »

Go Baba Go!

Do lots of diagnol checking before mixing the goop for fillets, and hopefully the weather will be in the 50's or 60's F consistently soon, which makes fillets and taping much more productive. With large exposed surfaces of wet epoxy, you really don't want it dropping below freezing anymore. You could get frost, and then as it melts, you get water contamination in the still wet epoxy, so be patient with what you tackle next.

Have you decided to do spot welds and then wet on wet, or embed the tie wraps? I'm a fan of spot welds, though it adds more time, but its nice to know the fillets are clean and free of tie wraps when done. I have 6 pieces of wire stitches in forever, cause the panels were very stubborn there. Looks like you're having fun now!

Looking good! :)

ks

Mike Adams
Very Active Poster
Very Active Poster
Posts: 774
Joined: Thu Oct 14, 2004 4:43 am
Location: Gympie, Queensland, Australia

Post by Mike Adams »

Baba,
I found it useful to run a stringline down the centre of the boat and check that it was perfectly symetrical. It only takes a few minutes to do and will ensure that you don't have any twist from stem to stern. Check the line is at right angles to the transom and that the distances to the sides on either side of the line at the frames are equal:
Image
Mike
FL14 "Lake Dreamer" built.

baba101
Active Poster
Active Poster
Posts: 492
Joined: Wed Nov 23, 2005 11:31 pm
Location: Toronto, Canada

Post by baba101 »

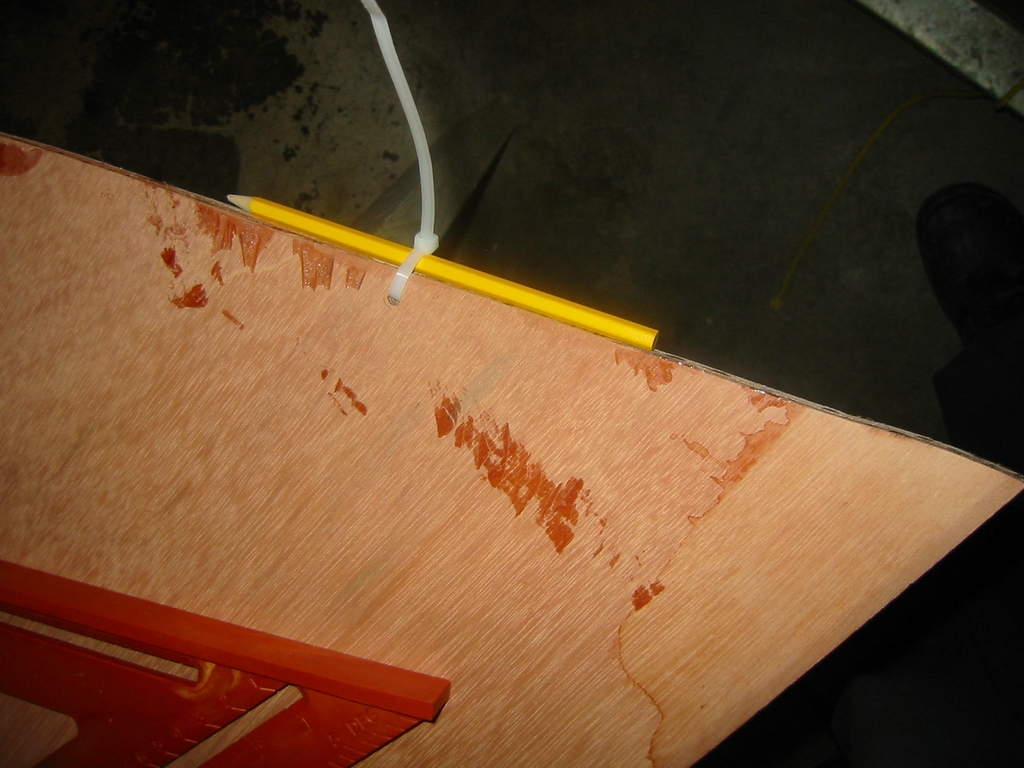
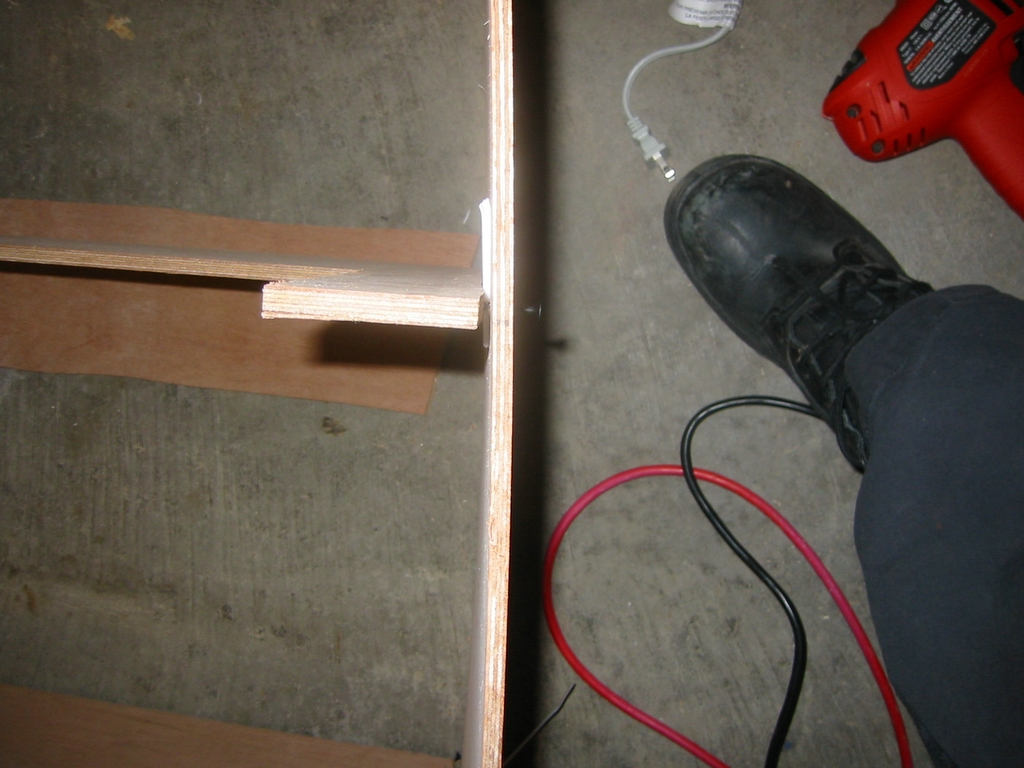
Inorder to keep a consistent gap between the joints I used the Sacrificial plastic spoons.

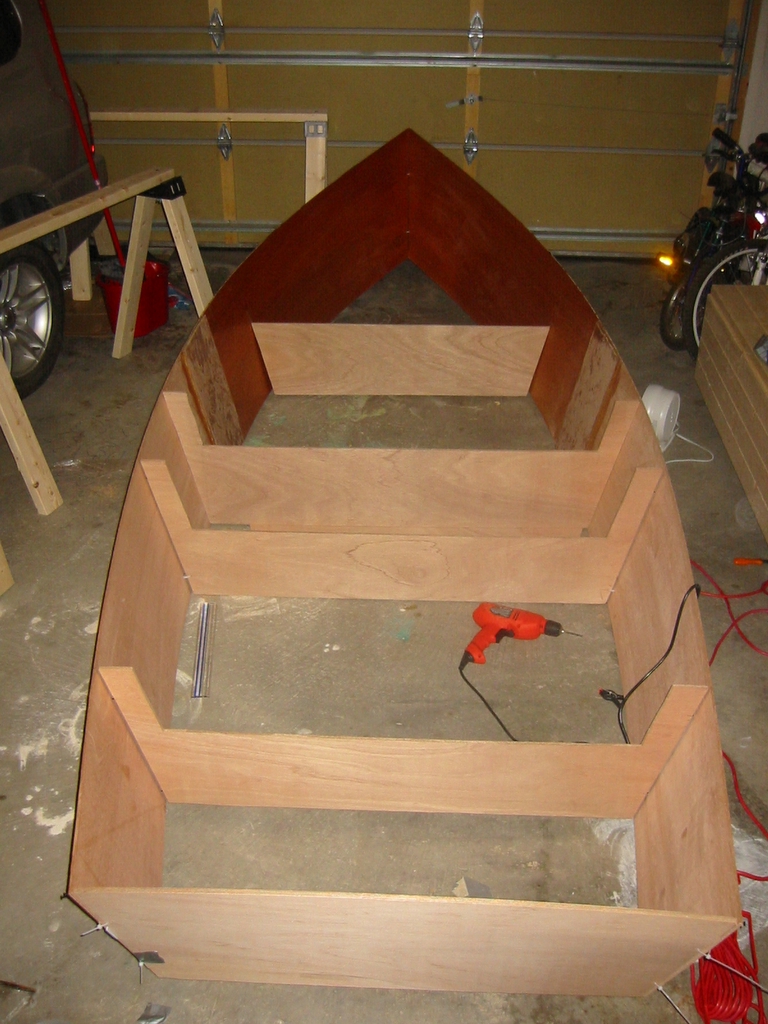
:!: A combination of Tie Wraps and Dry wall screws were needed to control the gaps and the symmetry of the frame. Screws to push and Tie wraps to pull.
Image

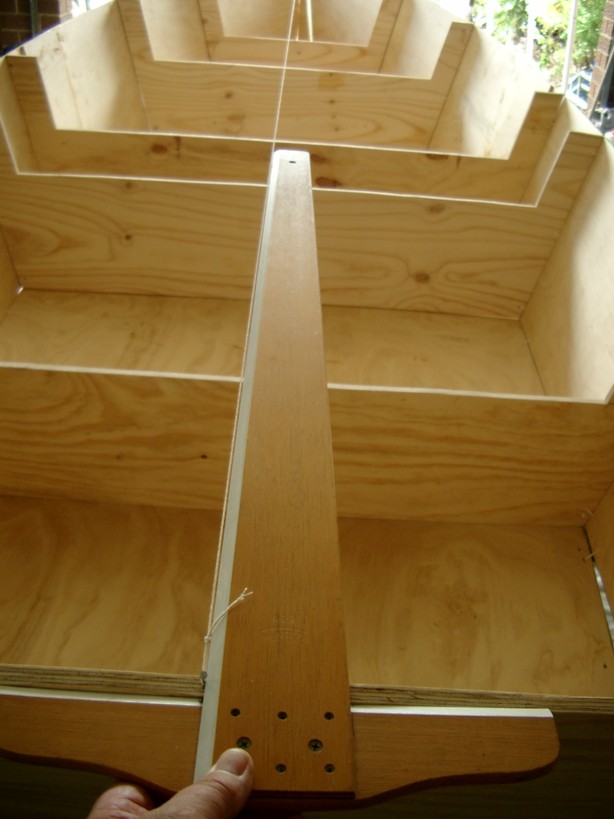
So I started the measurement process...Used the strings like Mike Said...added one at the bottom too...I could easily move the Transom to get a perfect symmetry...but only a slight movement was needed to get everything twisted again.

Image

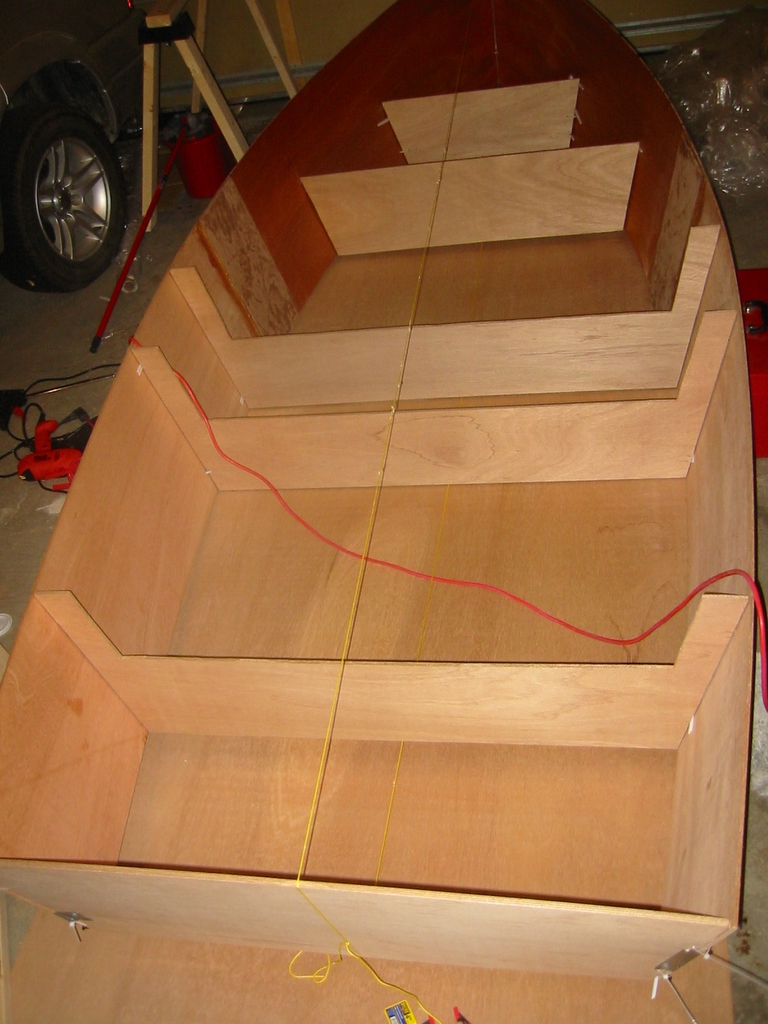
Finally with the help of supports, MadMax was sitting perfectly square...and Baba scribed the Bottom...

Image

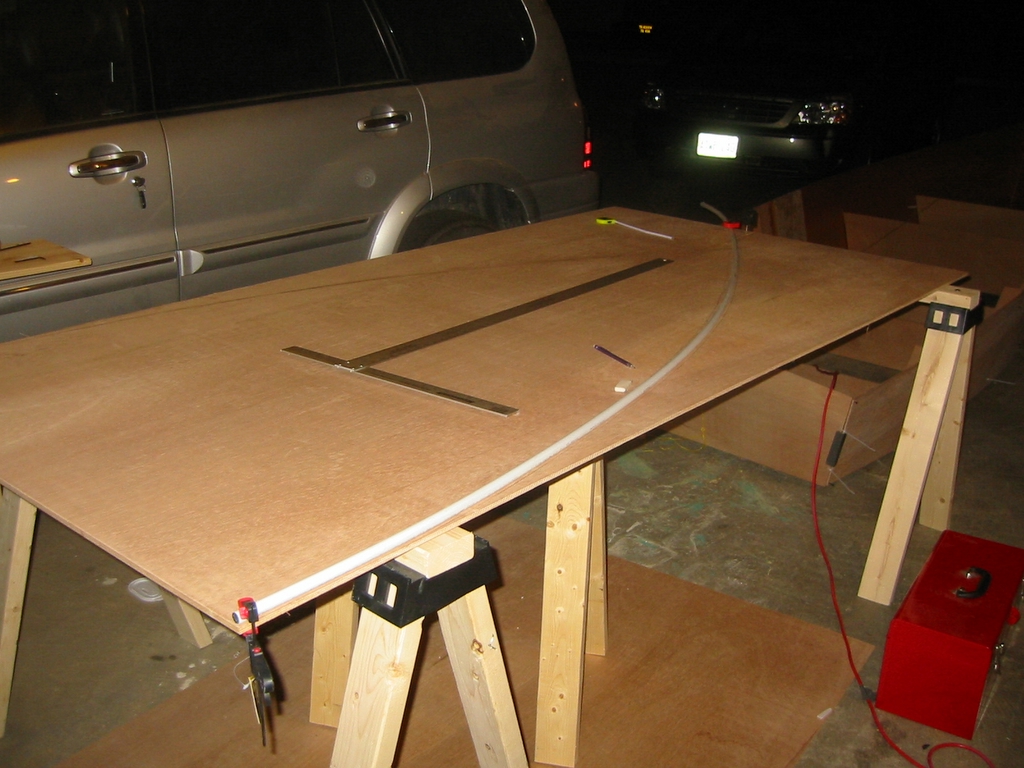
Checked for smoothness and symmetry using a PVC pipe....Picked up my Jigsaw... :help: and Suddenly I heard voices (in my head). It was Rick and Lbrewer and Mike...saying MEASURE MEASURE...TURN UPSIDE DOWN AND MEASURE...Also remembered an old friend saying Banana boats go round in circles...

I had been afraid of turning Madmax upside down..because the frame were too flimsy... :x

But like real trooper......Baba Decided to put away the bottom panels and turned the fragile skeleton of Madmax upside down...some of the screws came off but no real damage....

Image

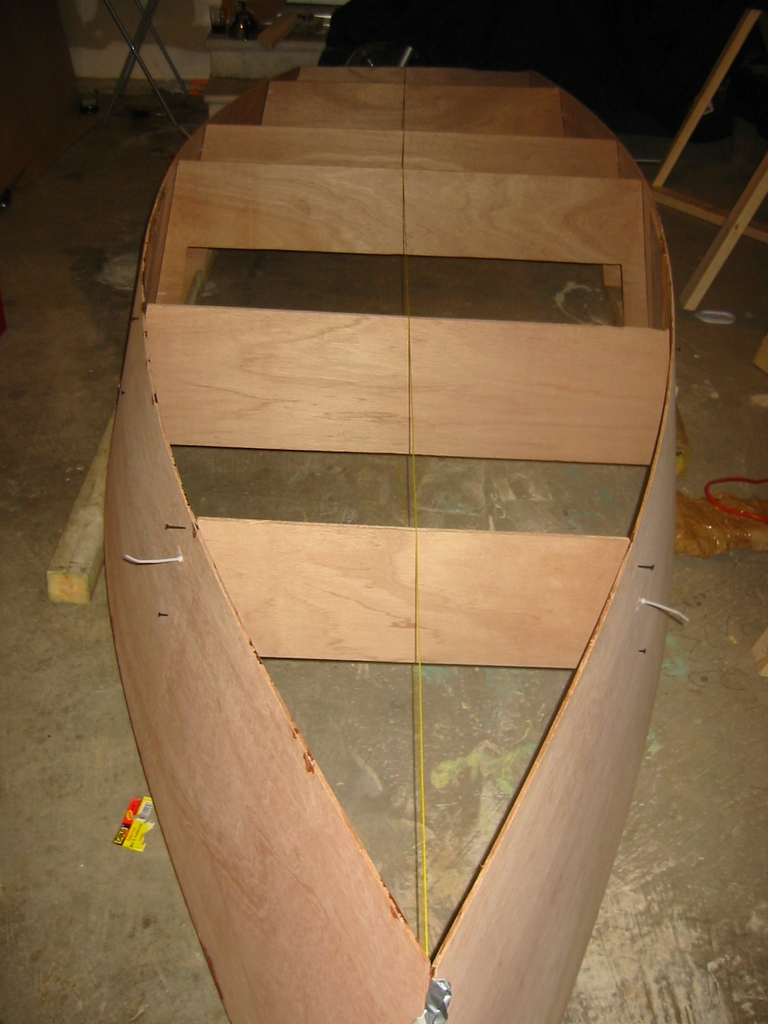
This was definitely a good move...accurate measurements can only be done with the frame upside down...

Baba is happy... :D
Last edited by baba101 on Sat Mar 11, 2006 8:20 pm, edited 3 times in total.

bredstein
Frequent Poster
Frequent Poster
Posts: 139
Joined: Fri Sep 02, 2005 4:16 pm
Location: Austin, TX

Post by bredstein »

baba101 wrote:Baba is happy... :D
Congratulations! BTW - isn't it said in the 3 pages manual, that you should start assembling upside down?

Best,
Andrey

rjezuit
Very Active Poster
Very Active Poster
Posts: 796
Joined: Tue Nov 30, 2004 8:39 pm
Location: Lancaster, New York

Post by rjezuit »

Good weekend to be working also. Nice spring weather this week. Rick

baba101
Active Poster
Active Poster
Posts: 492
Joined: Wed Nov 23, 2005 11:31 pm
Location: Toronto, Canada

Post by baba101 »

ks8 wrote:......Have you decided to do spot welds and then wet on wet, or embed the tie wraps?....ks
Well I am making the plan as I go along...but as I see this thing happening in my mind....

:!: I am thinking I should take one section at a time...spot weld, remove the ties/screws and complete the section before moving to the next.

I guess the epoxy welds have to be pretty hard before I take the ties/screws out...

I am going to take this project slow...and experiment and learn as I go along...

I feel very furtunate to have experienced builders provide their feedback on my work...Very valuable indeed.... :idea: Its like attending one of those cooking classes...you pay to attend...learn a new skill and go home with the food you make...

Post Reply

Who is online

Users browsing this forum: No registered users and 2 guests