CH14 by a rookie - starting year 3

To help other builders, please list the boat you are building in the Thread Subject -- and to conserve space, please limit your posting to one thread per boat.

Please feel free to use the gallery to display multiple images of your progress.
Jerry-rigged
Very Active Poster
Very Active Poster
Posts: 634
Joined: Tue Oct 04, 2005 3:22 pm
Location: Hopefully fishing Christmas Bay

Post by Jerry-rigged »

OK, here is another cell phone pic-

Image

Jerry
Fishing from a paddle boat...

Jerry-rigged
Very Active Poster
Very Active Poster
Posts: 634
Joined: Tue Oct 04, 2005 3:22 pm
Location: Hopefully fishing Christmas Bay

Post by Jerry-rigged »

Got a fill coat on the filletts, and a seal coat on the outside. Finish is very rough, but a bit of fairing should solve that... :lol:

Image
Fishing from a paddle boat...

Jerry-rigged
Very Active Poster
Very Active Poster
Posts: 634
Joined: Tue Oct 04, 2005 3:22 pm
Location: Hopefully fishing Christmas Bay

Post by Jerry-rigged »

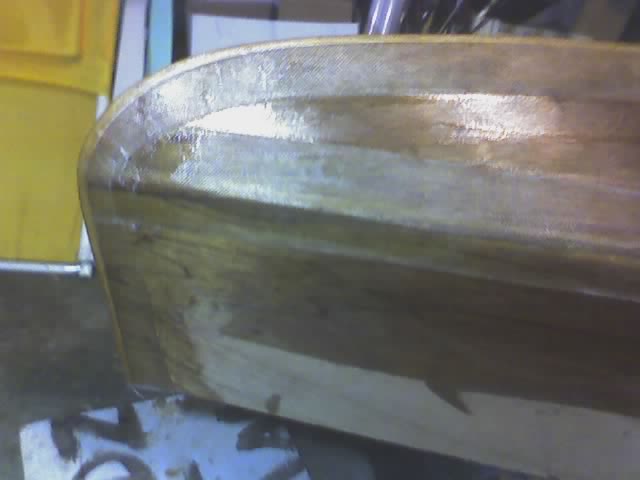
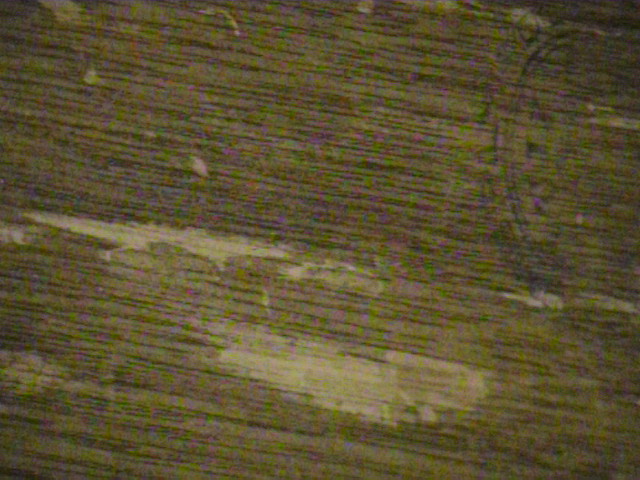
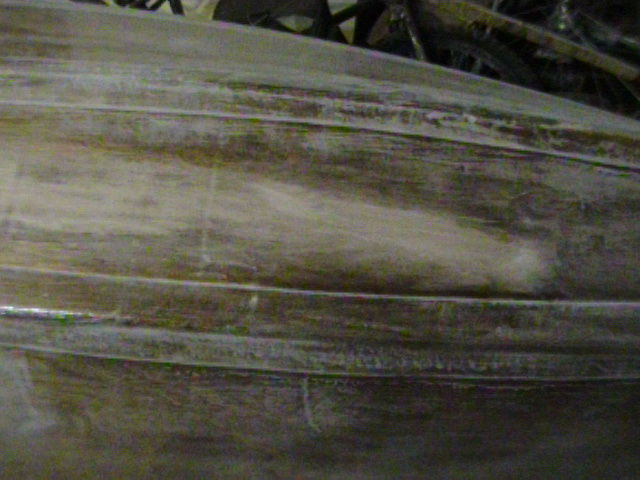
Day after I did my fill coat, I was looking at my boat and noticed a blotchy section in the fillcoat. The wood looked dry, like if I had just missed a few spots, but looking closer, they were coated with epoxy. I took a few pics, intent on asking for advice on what could have happened, but then figgured it out while I was typing up my question.

Image

Image

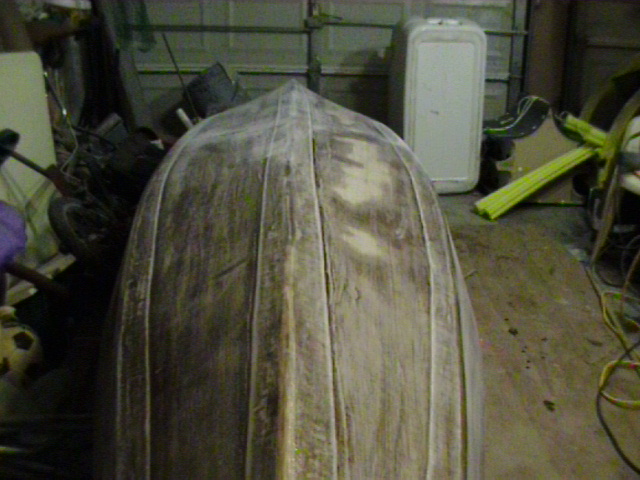
I relized I had some wood glue that I had forgot to clean off the wood. :oops: I had been using that area on the hull as a workbench when building the false stems, and had dripped glue on the hull. Well, too late to cry over it - so, tonight I broke out the sander again -

Image

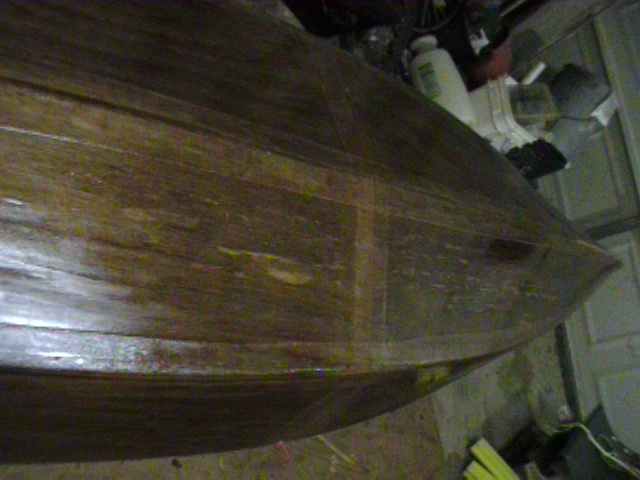
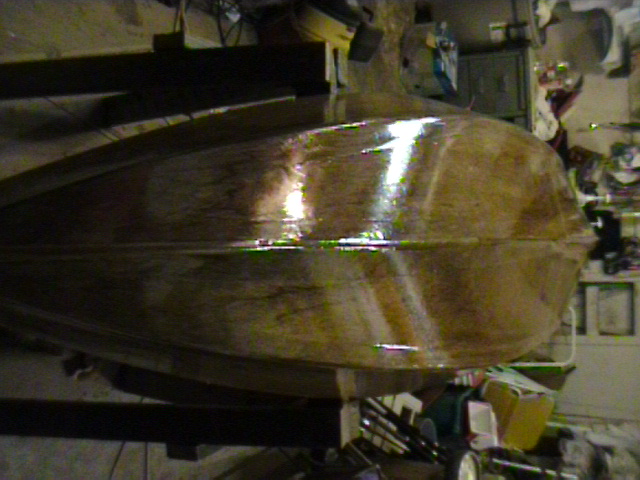
And ya'll know, kinda hard to put down a power tool so the hole hull got sanded.

Image

Not sure why the keel looks crooked in that pic, it really is straight. at least, in the middle on the boat it is... :oops:

Anyway, now the hull is about ready for the next coat. Welcome to fairing! 8)

Jerry
Fishing from a paddle boat...

Jerry-rigged
Very Active Poster
Very Active Poster
Posts: 634
Joined: Tue Oct 04, 2005 3:22 pm
Location: Hopefully fishing Christmas Bay

Post by Jerry-rigged »

Third coat of epoxy on tonight. I used a roller this time - it went on much easer, and I used 1/2 the epoxy. :D

Got my roller at HD - the white firm foam roller. I got lucky - when I asked the HD guys at the paint counter which rollers would work for epoxy, the first guy said "any of them will work, they're all the same" The lady standing next to him roller her eyes and showed my the correct one. She said the yellow ones and the gray ones will come apart, but the white, firm ones hold up good.

Anyway, the pics don't look that much diffrent, but the boat really does look better. I am hoping that maybe one more sanding/coating, and I may be ready for rubrails! 8)


Jerry

Image

edit: I went out to check it out this morning - Finally, a finish I can show my friends, without having to make excuses! :lol: Only real imperfection I found was a spot where I didn't competely sand out the last coat's run/sags. I feel like I can finaly see the light at theend of the tunnel, for the outer hull, anyway...

Jerry
Fishing from a paddle boat...

Jerry-rigged
Very Active Poster
Very Active Poster
Posts: 634
Joined: Tue Oct 04, 2005 3:22 pm
Location: Hopefully fishing Christmas Bay

Post by Jerry-rigged »

Not much progress to report, but I did want to drop a Thank You to DeeDaddy. Over on his PH18 thread, he was talking about fairing, sanding with the long board, keeping the board parallel to the chine, and using a diagonal stroke - this really helped me make some real progress in getting the hull bottom fair. I had been sanding with a DO sander, but it didn't really get it fair, just knocked down the high spots. I tried a long board - too long and stiff for my curvey canoe. I have now setteled on my "Mini longboard" - a 2"x8" ( 1/6 sheet? :doh: ) sanding block. Big enough to do the job, but not so big that it will push my canoe off the saw-horses. (oops :oops: ). I was using this small block to sand for a few weeks, but I didn;t really feel like I was making much progress, other than just knocking down the high spots. The Diagonal stroke really seemend to help - took off a lot of material, without gouging or making new low spots. The hull is looking much better, even with only one more pass of sanding.

In other news, I have the strips for the rubrail cut. I am thinking of going ahead and glueing them even though the hull is not 100% fair. At least then it will look like I am making progress again... :lol:

Jerry
Fishing from a paddle boat...

rudar
Active Poster
Active Poster
Posts: 313
Joined: Mon Sep 11, 2006 5:23 pm
Location: Vancouver, BC

Post by rudar »

Cool, cool. I definitely don't have a finish on my canoe I can show my friends without making excuses, but I'm not planning on bright-finishing anything, so my theory is that it can all be covered up later :)

Are you doing the laminated-plywood rubrails? Do you need to build those one layer at a time, or can one ``cheat'' and glue several layers at once? Seems the bending won't be a problem, as the wood's plenty flexible enough, but would trying to keep them all lined up while installing clamps be more trouble than the several days saved is worth?

Jerry-rigged
Very Active Poster
Very Active Poster
Posts: 634
Joined: Tue Oct 04, 2005 3:22 pm
Location: Hopefully fishing Christmas Bay

Post by Jerry-rigged »

Yes, I am laminating. I saved the "Cut-offs" from my side pannels - the one that had the top edge of the top panel - and just cut a strip about 1 1/4" wide off of it. I used this strip as a pattern and cut 11 more strips. The up side to this is that the strips conform to the curve of the shear exactly, with no funny bending. One clamp at each end and the batton follows the shear within a 1/8 of an inch. 8) (Thanks, JimW, for the tip). The down side is that I had to free-hand cut 24 not-quite-straight lines with my skill saw, so none of the strip exactly match. :oops: Due to operator error, the strips are as much as a 1/4" diffrent width. My plan is to glue them with the bottoms matching as much as humanly possable, then cut the top down to the lowest common width. Hopefully my rubrail will be at least an inch tall when I am done... :lol:

Jerry
Last edited by Jerry-rigged on Wed Dec 06, 2006 1:25 pm, edited 1 time in total.
Fishing from a paddle boat...

rudar
Active Poster
Active Poster
Posts: 313
Joined: Mon Sep 11, 2006 5:23 pm
Location: Vancouver, BC

Post by rudar »

Hmmm, yeah, I've only cut the four pieces that'll form one full length on either side, so far, but have already anticipated the not-quite-matching... I was going to sorta-kinda match the bottoms, sorta-kinda grind the tops down, and then fill everything with lots of fairing compound :)

User avatar
Cracker Larry
* Bateau Builder - Expert *
Posts: 22491
Joined: Fri Mar 11, 2005 3:39 pm
Location: Savannah, GA

Post by Cracker Larry »

Are you doing the laminated-plywood rubrails? Do you need to build those one layer at a time, or can one ``cheat'' and glue several layers at once? Seems the bending won't be a problem, as the wood's plenty flexible enough, but would trying to keep them all lined up while installing clamps be more trouble than the several days saved is worth?
To me, it is almost impossible to do more than 1 layer at a time. Those strips coated in wet epoxy behave like they were greased. Maybe if you had a couple of people to help it would be feasable, but by yourself you will find one layer is enough to deal with.
Completed GF12 X 2, GF16, OD18, FS18, GF5, GF18, CL6
"Ships are the nearest things to dreams that hands have ever made." -Robert N. Rose

Jerry-rigged
Very Active Poster
Very Active Poster
Posts: 634
Joined: Tue Oct 04, 2005 3:22 pm
Location: Hopefully fishing Christmas Bay

Post by Jerry-rigged »

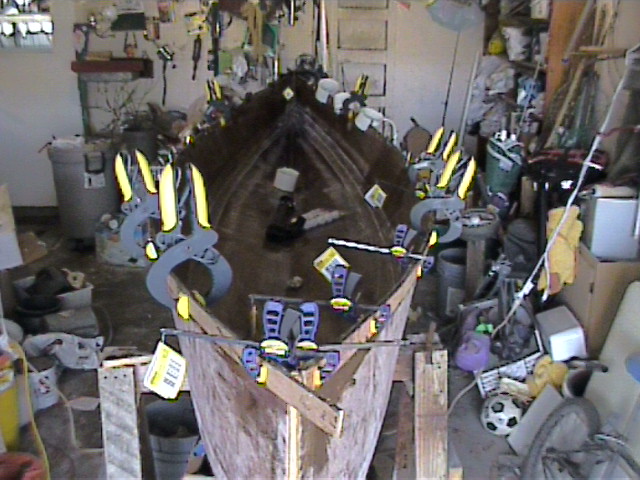
Well, after a lot of talking, wishing, trying and a little begging, I finally got he first layer of the rubrail glued on!!!
(Nice clean work space :) )
Image

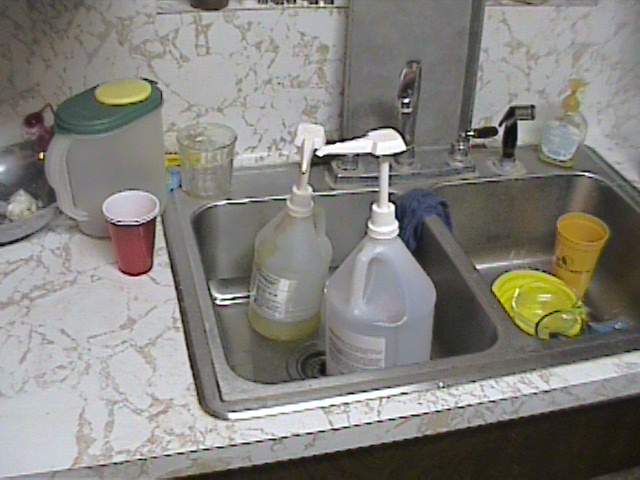
Garage was 55^f, so I followed ya'll's tip about warming the epoxy - I tryed to use it cold, but it was a bit too thick to work.

Image

Don't tell my wife I had epoxy in the sink.

I have the next few days off, and plan on trying to make some good progress.

Jerry
Last edited by Jerry-rigged on Tue Dec 26, 2006 9:46 pm, edited 1 time in total.
Fishing from a paddle boat...

Post Reply

Who is online

Users browsing this forum: No registered users and 11 guests