Page 1 of 1
Trebuchet's FL12
Posted: Fri Jun 27, 2008 4:45 pm
by Trebuchet
So it's been about a year since I bought my plans and my two sheets of 1/4" plywood. Yesterday, I finally bought my 3/8" ply. Today, I started by gluing the buttblocks to the side hull members.
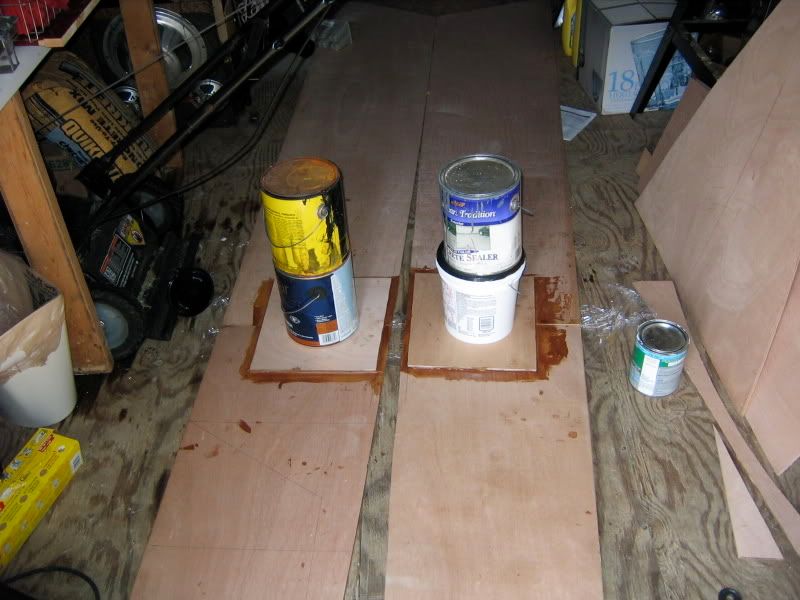
It was a bit of a mess, and didn't go nearly as smoothly as I would have liked. However, I'm pretty sure that it will turn out fine and they'll hold well. I had to recut one buttblock because I made a mistake.
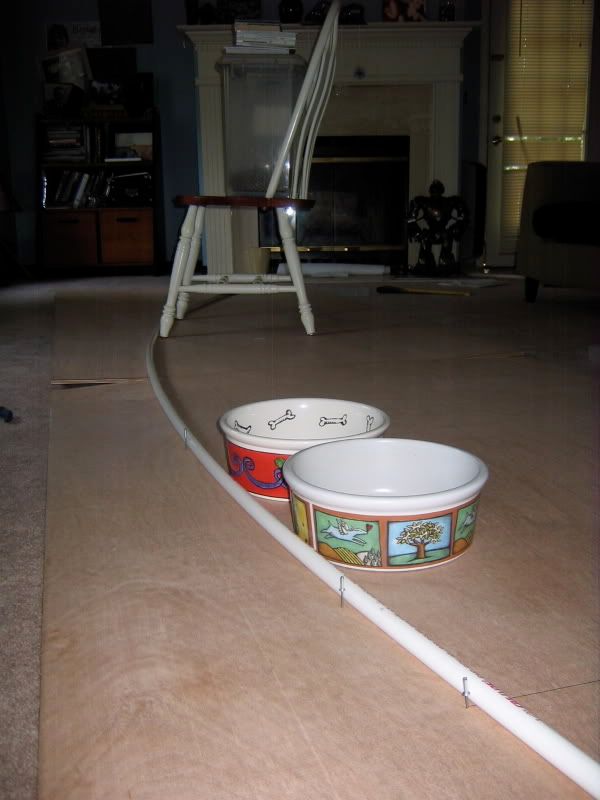
Next, I brought the 3/8" plywood inside since it's in the 90's today. Laid it out on the floor and drew out the hull bottom. I had to make a run to the hardware store to get an extra long pvc pipe to make the curve. The dog donated the use of his bowls to hold the curve.
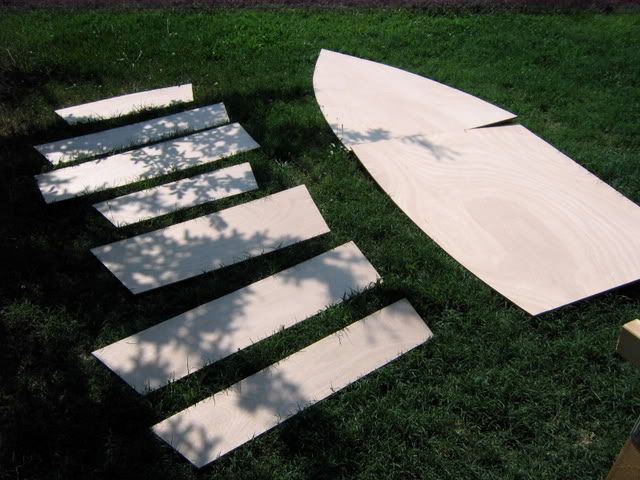
Cut out:
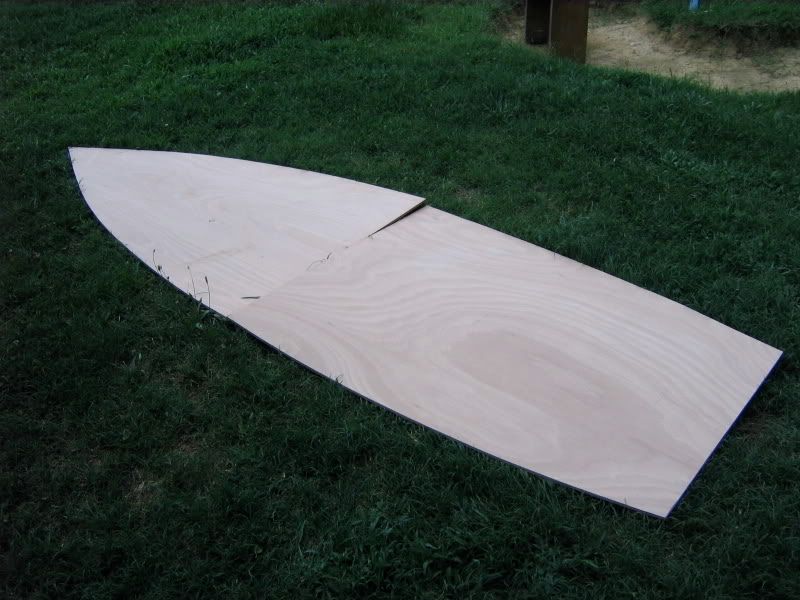
I then laid out all the other pieces. I tried to lay them all out on the wood in pencil before I cut. Luckily I was able to catch one mistake. Be sure to follow the nesting drawing that's in the plan, because the use of plywood is very maximized. Almost too maximized, because there were two pieces that I ran out of plywood. Only small bits of the corner. Here's all the pieces cut out:
Later tonight, or maybe tomorrow I'll go get some 1x3s to frame in the frames. After that, it's time to start stitching!
Posted: Sat Jun 28, 2008 9:28 pm
by Trebuchet
Got some more work done today.
Started out with buying four 1x2x8s, cut them to fit around the frames. After that I mixed up some epoxy, precoated the plywood, and then mixed up another batch with some wood flour to glue the 1x2s to the plywood.
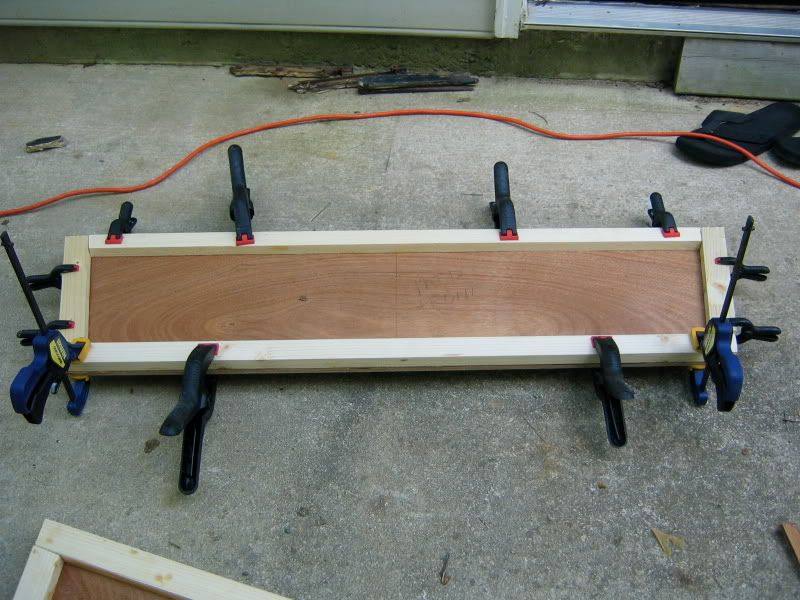
Must buy more clamps:
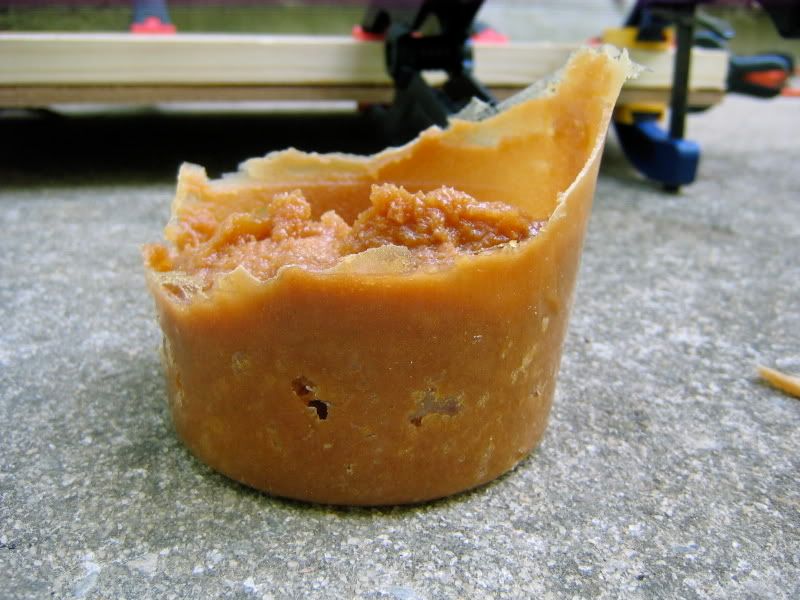
I had one batch go thermal on me... I was spreading some on the 1x2s and saw my epoxy smoking. Not good.
Finally, I was able to join the transom together. I started out by aligning the pieces putting pressure on them and drilling four pilot holes. I glooped on a bunch of epoxy and then screwed the three pieces together and actually to the floor. I added some extra weight to make sure that there would be good contact.

Posted: Mon Jun 30, 2008 9:27 pm
by Biker B.O.B.
Glad to see you've gotten started.

From what I understand, those FL12 builds go quick. Hoepfully it will have taken longer to purchase the plywood than to build the boat.
I've pretty much built my boat 3 ounces at a time. The only time I've mixed up more epoxy was when I was wetting out the fiberglass cloth on the bottom. Oh, yeah; and the one time I mixed up 6 ounces of fillet and only needed three.

Posted: Tue Jul 01, 2008 9:47 pm
by Trebuchet
Thanks Biker, I have been trying to do it 3oz at a time now, and haven't lost a batch yet.
The FL12 build is going well.
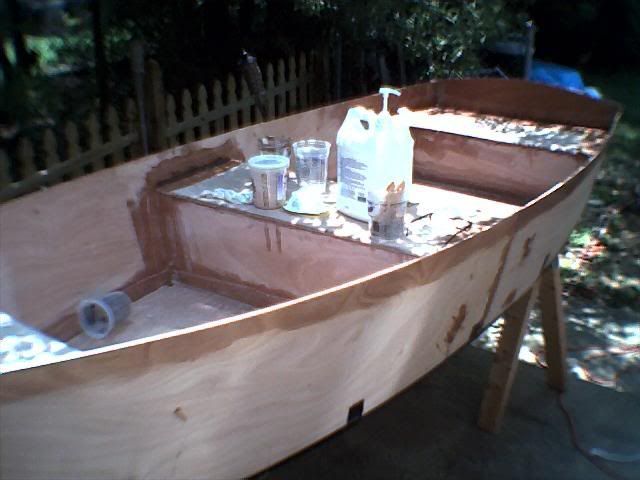
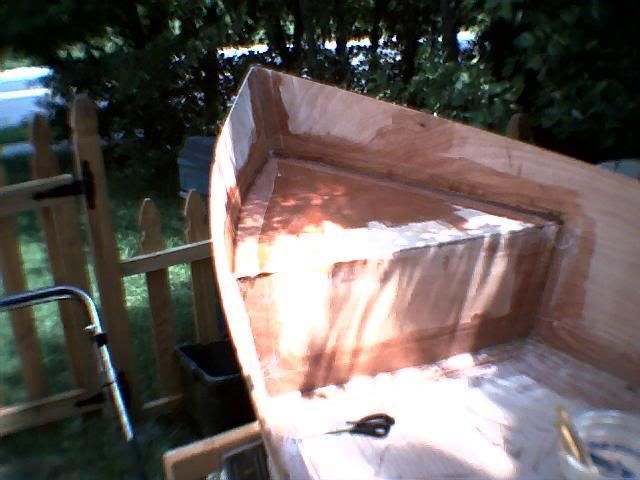
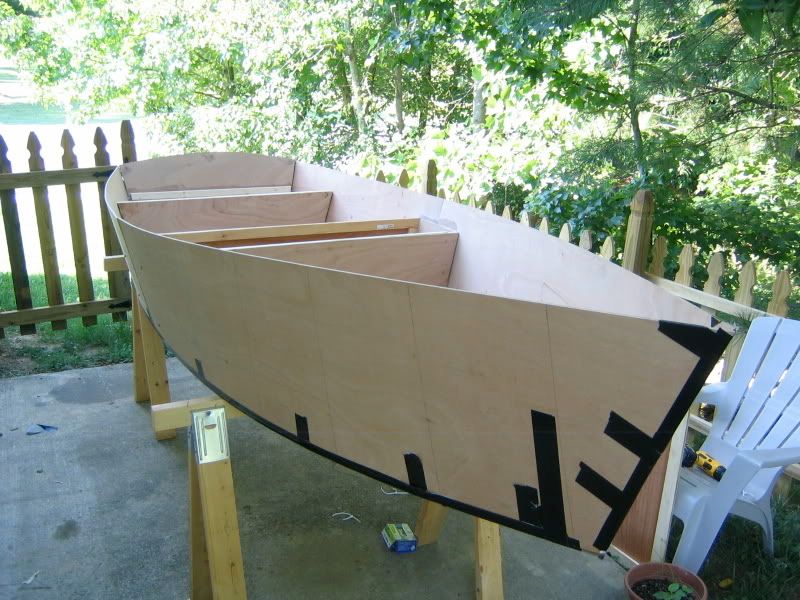
Today, I laid out the hull, put in the seat pieces and marked them. Held them in place temporarily with screws and flipped the hull. I was able to get the bottom piece of the hull onto the boat. I used Gorilla glue tape and it seems to work pretty well. Taped down the bottom sheet... thought about how I wanted it to lay... tried to get it to lay the way I wanted... tried some more to get it to lay the way I wanted... decided to let it lay the way it wanted to. I struggled trying to the bottom and side pieces to line up equally on either side. Eventually I gave up and got it as close as I could. Then I flipped the hull and screwed it all up anyhow.
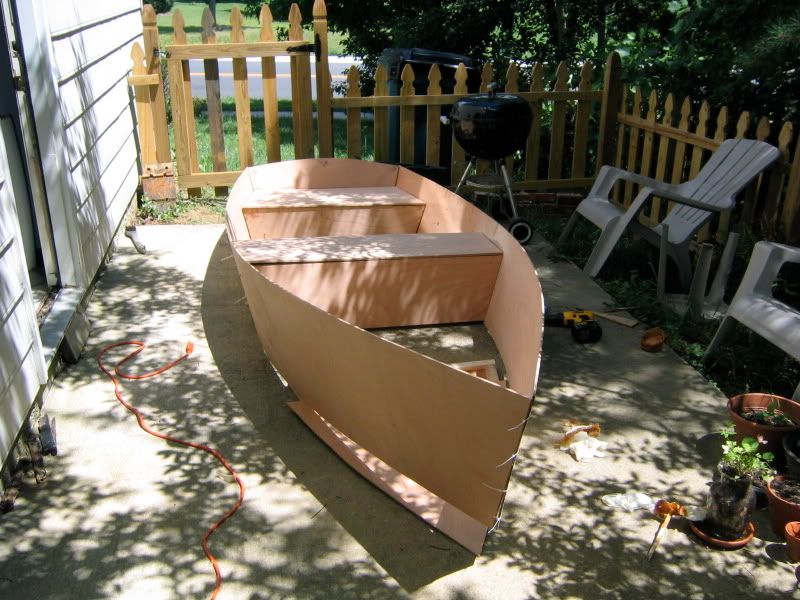
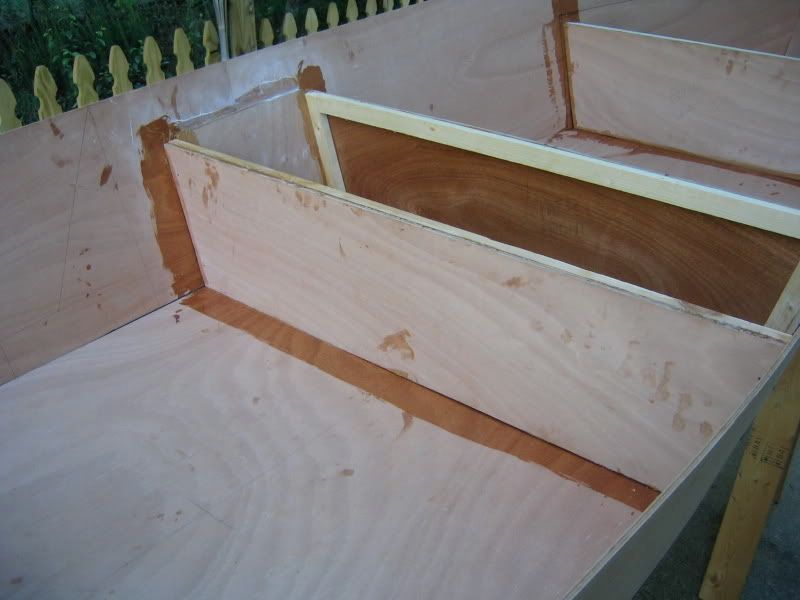
Mixed up a batch of epoxy and precoated the plywood, mixed up the glue and got it to stick to the seats. It was a little nerve wracking knowing that it was going to be so permanent... but I think it went well. I'll have some sanding to do, but I'm generally happy with the way today went.
Posted: Wed Jul 02, 2008 8:38 pm
by colonialc19
Your on a roll, keep at it

Posted: Thu Jul 03, 2008 11:12 pm
by Trebuchet
Unfortunately the battery on my camera is dead and I can't find the charger anywhere.
I did get the seats glassed in today though. I had a lot of help from the first mate (the Wife). Tomorrow, hopefully I'll be able to scrounge up enough scrap plywood in order to make the rubrail. I should also probably try to scrounge up a bunch more clamps. Maybe make some out of PVC, that seems to be a good and cheap way to go.
What's the minimum length of plywood I can use? Thinking of the scraps in the shed, I don't think there is many that's more than a few feet long. We'll see I suppose.
Posted: Fri Jul 04, 2008 8:22 pm
by colonialc19
Treb,
You can use the short pieces but, be carefull when clamping them on, its easy to make a "flat spot" on the rail where they join, and obviously the more joints you have the more chance of that. I guess you could use a scarf joint ( I think thats what its called

) not really good with the woodworking terminology.
You probally already figured this out but though I'd put it out there
Daniel
Posted: Fri Jul 04, 2008 11:20 pm
by Trebuchet
Thanks colonial. I sliced up a whole bunch of the scrap on the table saw today. They were longer than I remembered but a scarf joint might not be a bad idea. Thanks for that.
Hoping to get the seats down tomorrow, and then on to the rub rail. Things didn't go nearly as fast today as I would have liked, but there were other things that needed my attention.
I gave most fiberglass we laid yesterday a quick sanding, coated the inside of the seat boxes with epoxy, glued on the blocks that'll support the transom and bow seat tops, precoated the bottom of the seats, and precoated the outside of the hull where the rub rail will be.
Things should come together much better tomorrow since I did so much ground work today. Some weather moved in, so I had to get the boat in the shed and call it a night.
Still no joy with the camera battery charger.
Posted: Mon Jul 07, 2008 6:31 am
by Bart
I don't think it is necessary to make scarf joints on the rubrail. Just use the longest pieces of plywood you can find, so that there'll be as few joints as possible. If you manage to glue and clamp all the layers in one time and make sure the joints in the different layers are not in the same area, I think you won't get "flat spots".
Bart.
Posted: Sun Jul 13, 2008 12:29 pm
by Trebuchet
Posted: Sun Jul 13, 2008 11:46 pm
by Trebuchet
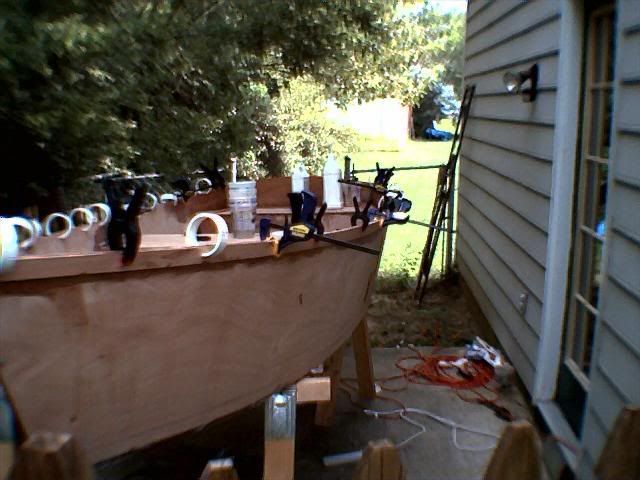
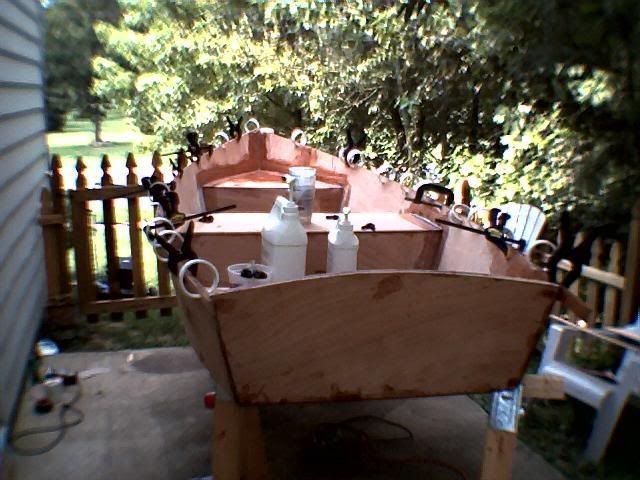
We got the first layer of rubrail glued up. Unfortunately some weather is on the way so we couldn't get a second one today. Maybe tomorrow.
Here's some more really bad pictures.
Posted: Thu Jul 17, 2008 9:31 pm
by Hope2float
Hey Tre
Boat looks great. I must be on a black list I can't seem to get a simple answer on epoxy build up for finish. I would like to have some areas done bright. I will offer my 2c on the epoxy coating. I dont know the level of detail you are looking for, but a foam hot dog roller seemed to apply the epoxy the best. It gives you a very uniform light coat 1/3 the useage of a chip brush. Sanding is tough on this stuff. Best to keep it to a minimum.
Dave
Posted: Fri Jul 18, 2008 6:49 am
by Bart
I would not recommend a foam roller, they suck up a lot of epoxy and tend to get hot after a while, when the epoxy in the foam starts to cure.
I'm using a fur roller instead, works better for me.
Posted: Fri Jul 18, 2008 11:46 am
by Hope2float
It is true that it does suck up alot of epoxy, but the area that can be coated in such a short time is worth the extra epoxy. I didn't try the cloth one yet, but I will. The foam can be compressed at the end on coating to extract the epoxy. This just my opinion and only one form that I have tried. Also remember to keep epoxy as thin as possible while in tray for coating this will extend application time. I'm no expert on building methods, but I will try all suggestions at least once. For me this is a practice boat, because I already have plans, motor and plywood for P-21.
The dremel with the small barrel sander makes quick work of sanding epoxy in the tight corners. Be careful only to clean up fillets then switch to 1/4 sheet sander for tight corner work. the dremel requires light touch or it can do damage!!!
Posted: Sun Jul 20, 2008 8:29 pm
by Trebuchet
Thanks for the tips. I actually used a small 4" foam roller to give the inside a nice even coat. It worked very well.
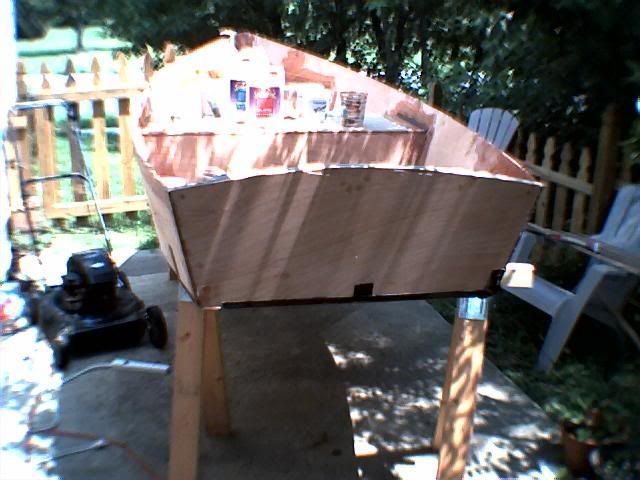
The inside is completely glassed in, I've got it all coated in epoxy, and the rub rail is glued up. We've flipped it over, and have started to round over the corners a bit to get ready for the bottom glassing. Also ran a fillet over the corner of the rubrail and hull to make it look prettier. Just have a whole bunch more sanding to do. They aren't kidding when they say that the sander is what will be used the most in this type of construction. I'm wishing I had the ability to plunk down some cash for a really nice Dual action RO... especially one that I could attach a vacuum to, and that would accept standard sanding pads. I have a "Mouse" sander, and it takes funky sanding pads that the corner hardware store doesn't stock. I've got to drive out to the big guys in order to get it.
On another note, I bought a battery charger for my camera, so I can take decent pictures again. Although, this picture didn't turn out very well because I didn't have enough light.
Also bought a bow eye, and hope to get that installed soon. Also, want to buy some flotation foam, quick fair and some high build primer. I'm leaning more and more to porch paint. I'll have to check with my accountant (the wife).
Posted: Mon Jul 21, 2008 9:48 pm
by Trebuchet
Did a whole bunch more sanding today. Although, doesn't look like much progress. Will probably glass the chines tomorrow if the weather cooperates. Here's some more pictures.
Posted: Tue Jul 22, 2008 4:51 am
by Bart
Good work! Nice plywood too.
Are you gonna keep it clear or paint it in a color?
Posted: Tue Jul 22, 2008 8:56 am
by tech_support
It looks fair. Do yourself a favor and complete all the outside tape joints at the same time - it will be much easier. Cut all the tape to length ahead of time.
Posted: Tue Jul 22, 2008 8:59 am
by rikkyh
It's looking really good! Great work!!
Posted: Tue Jul 22, 2008 9:32 pm
by Trebuchet
Thanks guys! It's been a lot of fun so far.
I intend to paint it. Haven't decided on a color yet though.
Unfortunately the weather hasn't been cooperating... nothing but rain the last two days. Hopefully soon we'll be able to lay down the glass on the chines. The shed is too small to fit both us and the boat at the same time, and I don't have a garage, so we have to work outside.
Posted: Thu Jul 24, 2008 11:38 am
by Hope2float
Tre
The boat looks great. I probably used way too much epoxy on mine. The inside may be done bright along with the rubrail and transom. Still alot of sanding ahead. I just completed all the fillet work last night. I am down to sanding and painting. The boat seems to be built like a tank as you will see. BTW where are you posting from.
Dave
Posted: Thu Jul 24, 2008 8:38 pm
by Trebuchet
Hope, I'm in North Carolina. I do like brightwork, and I may choose to have the breasthook and knees bright. I've been thinking about getting some really pretty wood to use.
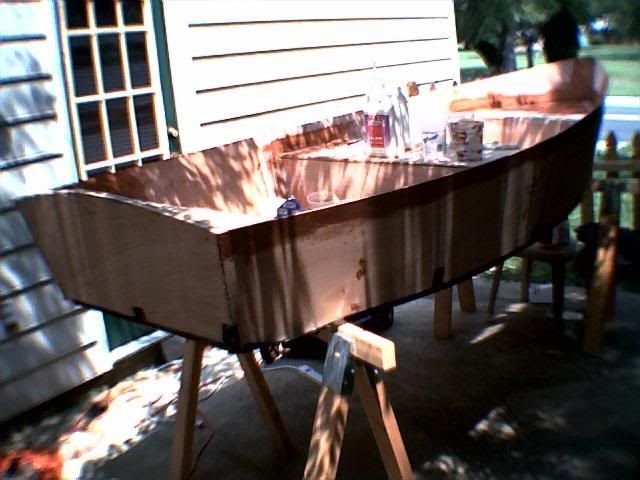
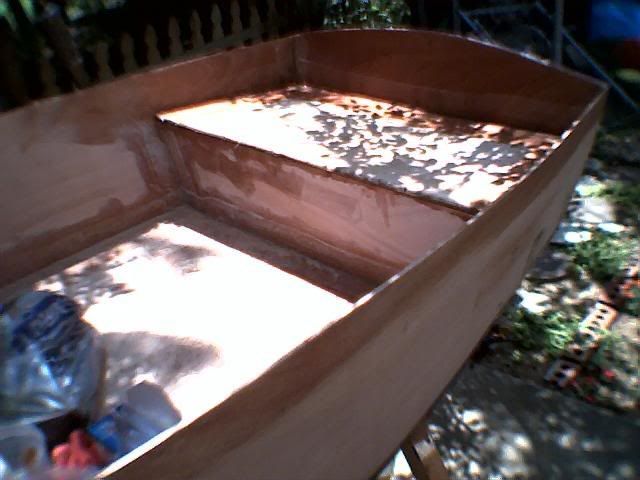
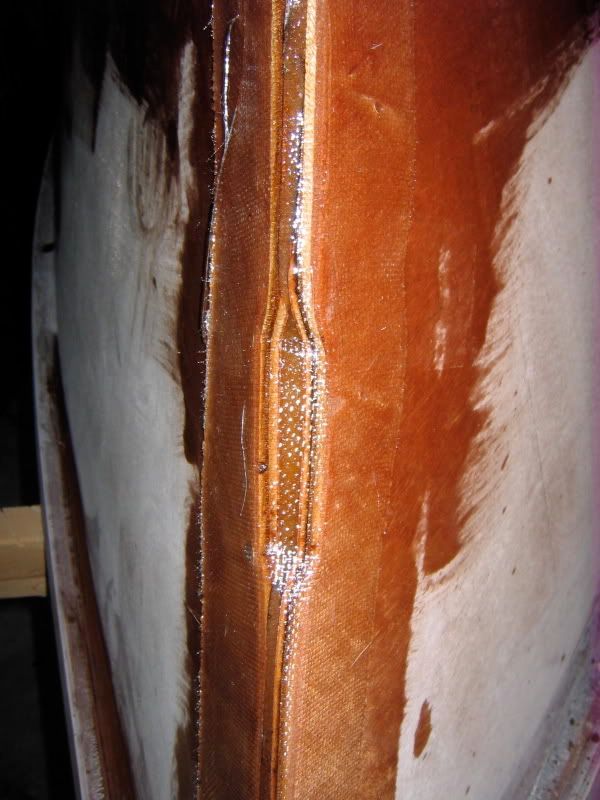
Finally it stopped raining or threatening to rain long enough to get some more work done. I was able to get some fiberglassing done. Soon, maybe tonight, we'll fiberglass the entire hull bottom.
Posted: Thu Jul 24, 2008 11:36 pm
by Hope2float
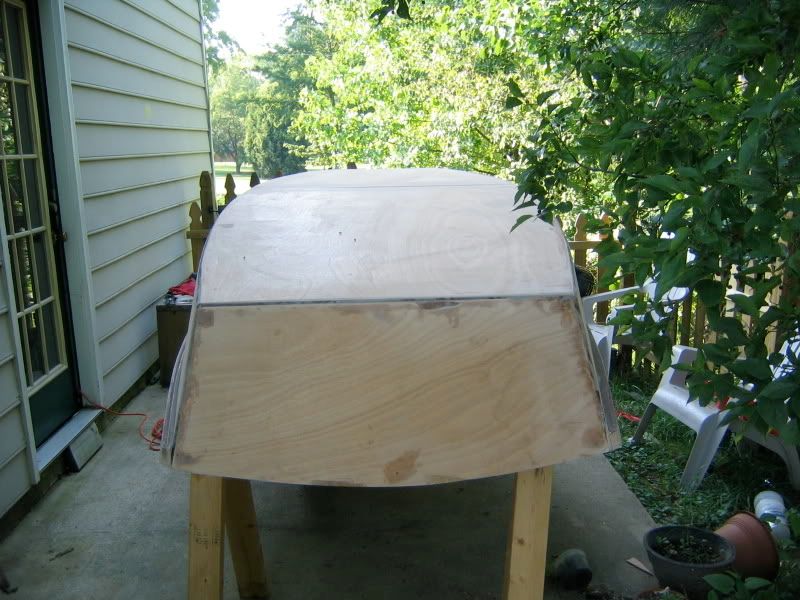
Tre
I like the flat spot in the bow. I assume that is for bow eye. The boat is coming along fine everything looks good from my house. When you glass the bottom I found it very easy to cut cloth first, Precoat wood, roll out sheet use plastic spreader to flatten out the cloth. Then I mixed up about 24oz of goo and used the plastic squeegie to spread epoxy for wet out. Then removed as much as i could squeeze off. I hope this helps i used 4oz for the bottom
Posted: Fri Jul 25, 2008 7:58 pm
by Trebuchet
It is for the bow eye. I put it lower than other's I've seen... hopefully that's OK. I wanted the ends of the u-bolt, and nuts to be inside the bow seat. I also bought some handles for the transom.
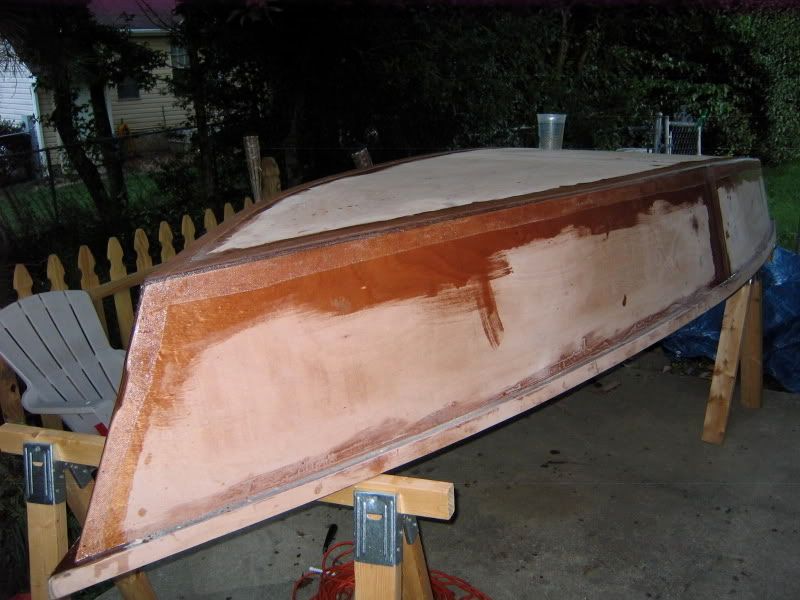
Tonight, we glassed the bottom. It was a bit nerve-wracking, but it went off without much of a hitch. Some persistent bubbles here and there, but I think we were able to get them all out.
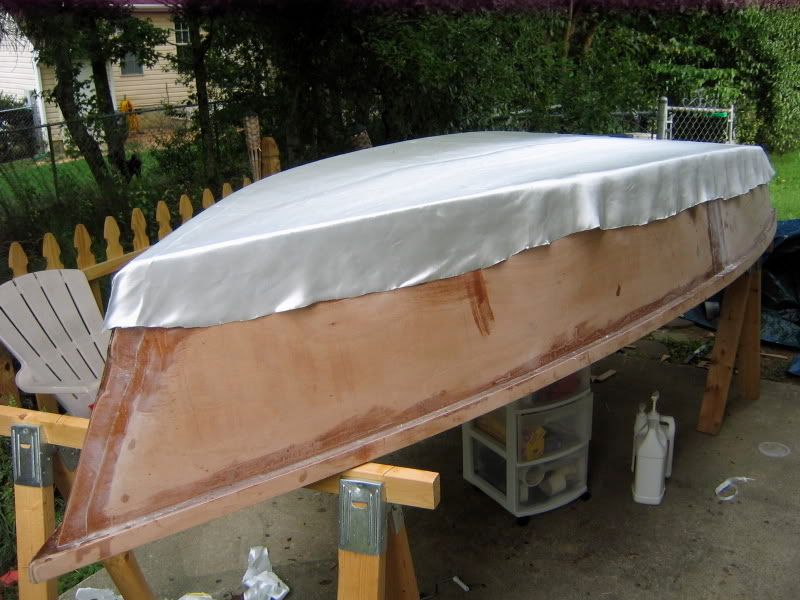
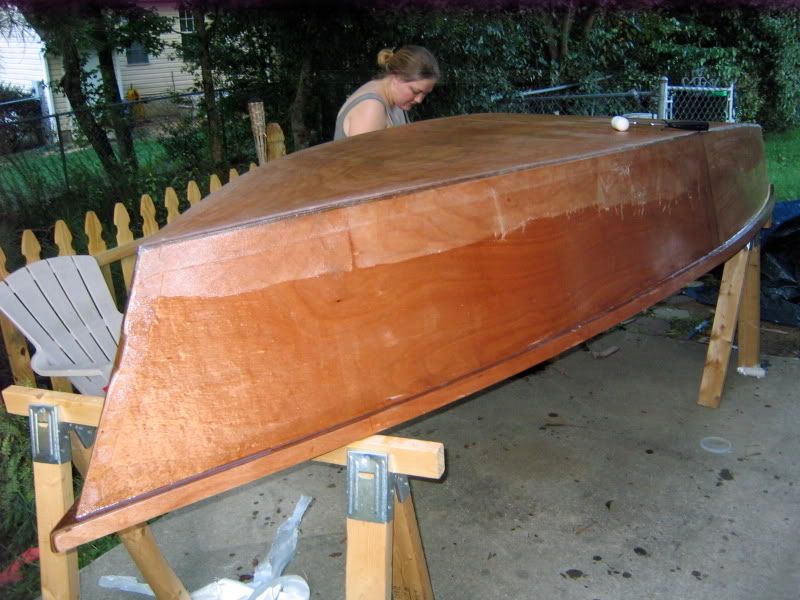
There's the first mate helping clean up drips, and spreading epoxy on the sides of the hull. That's the grain of the wood up on the bow... it's not really that bumpy.
Posted: Fri Jul 25, 2008 9:52 pm
by Hope2float
Tre
She looks great. Is that 4oz because mine looked the same way when I was complete. It will make the bottom much more durable and I think it will help with fairing as well. I used slow epoxy for the first time tonight and it was about 2 times the working time and very slow to cure. Maybe I have been spoiled by medium. I did though have a few pots of medium flash off one straight the other a glue mix.
Dave
Posted: Sun Oct 19, 2008 5:19 pm
by Trebuchet
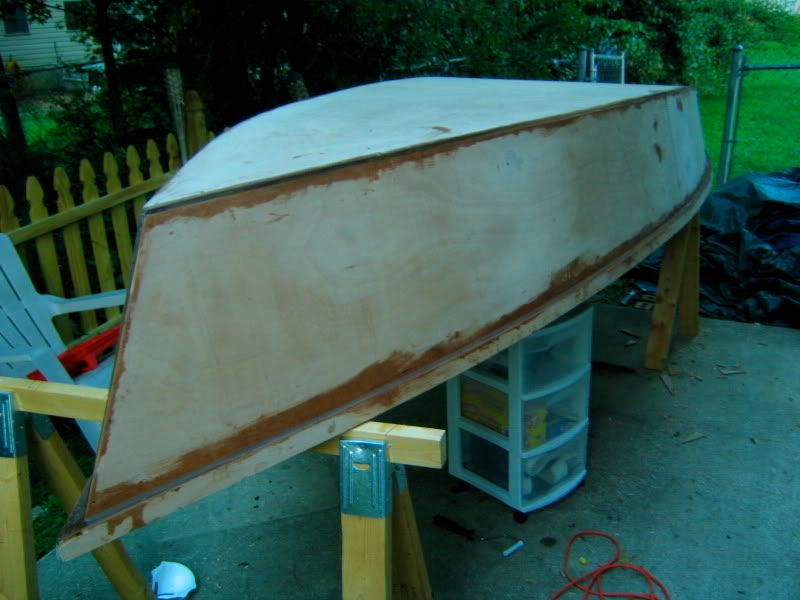
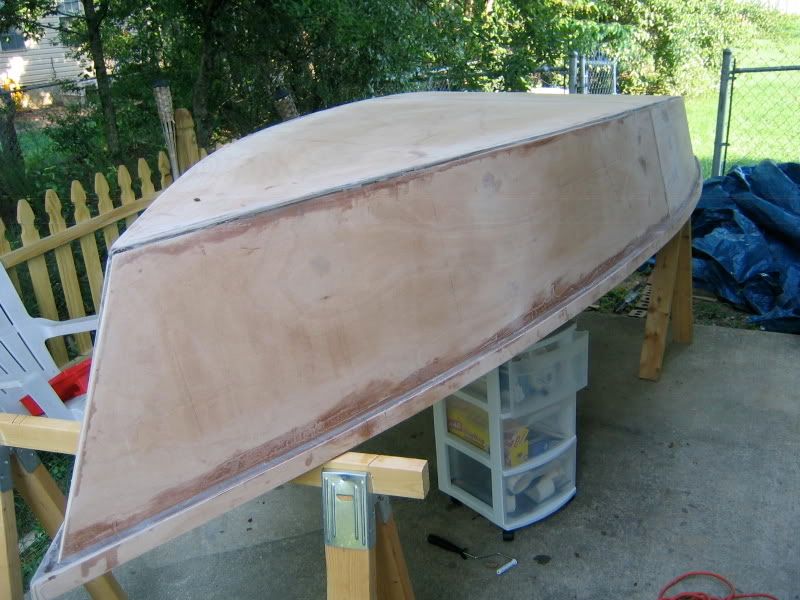
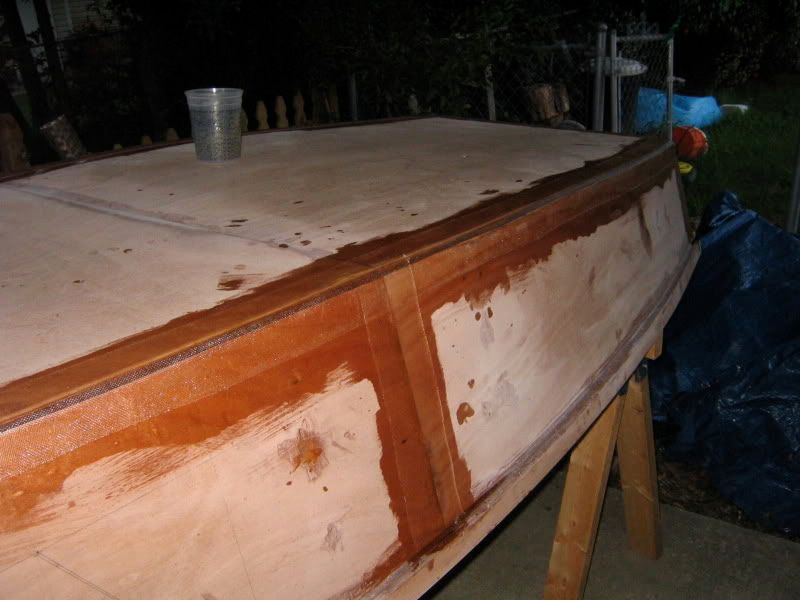
Well, the boat had been put on hold for a while. Things got really crazy around here, and I've finally been able to get some more work done.
I started fairing the outside, and thankfully I remembered that I hadn't put the skeg on yet!

So, I set out and epoxied that down today. It's amazing, that slow cure epoxy was great when it was in the 90s, but when it's in the 50's, that stuff sure does live up to it's name as "Slow Cure". The skeg is made of a 1x4 I had kicking around in the wood pile. I believe it's ceder. Not very good with my wood species though. Maybe not the best choice, but it's all I had.
Anyhow, on to the pictures.
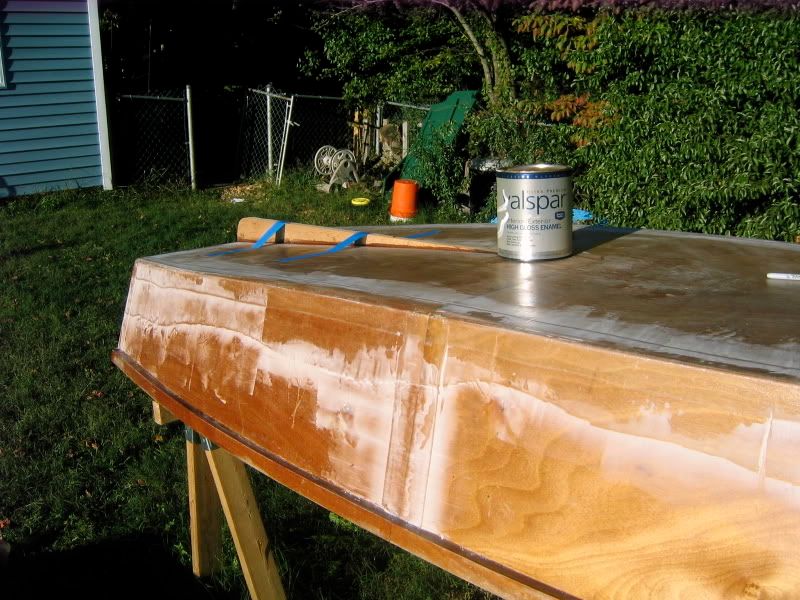
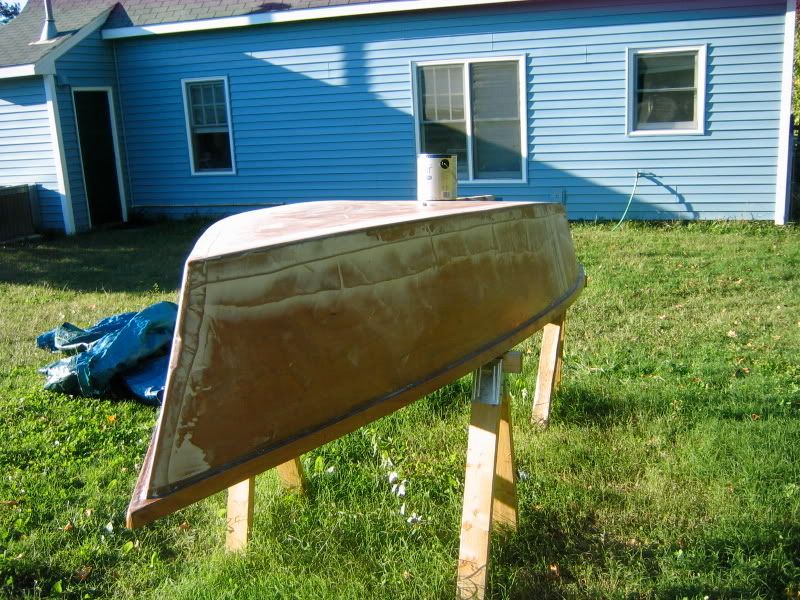
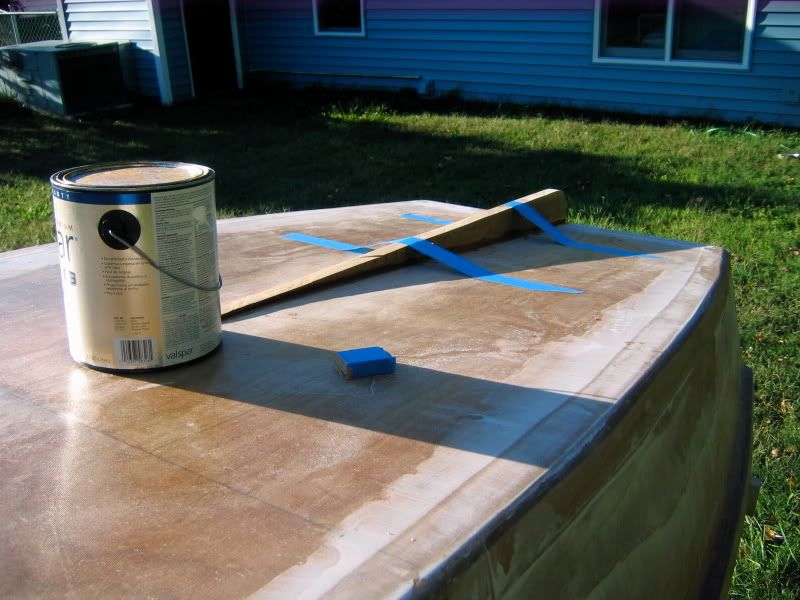
I've got just about everything I need to complete her, except for final paint. Can't quite afford that yet. Hopefully I'll be able to get a lot of work done before it gets TOO cold.
Posted: Fri Oct 24, 2008 10:09 am
by Biker B.O.B.
Glad to see you're back at it. Keep up the good work, and then get out on the water.
Posted: Sat Oct 25, 2008 3:05 pm
by Trebuchet
<FOREHEAD SLAP>
When I applied the skeg, I messed up my ratios. I was remembering using the Marinepoxy, where it was one pump to two pumps... I've since switched to MAS and the calibrated pumps are one pump to one pump.
So, when gluing on my skeg I have epoxy with twice the hardener then there should have been. So, I'm gonna pull it off.
Not the end of the world, at least it wasn't on anything which can't be fixed as easily as the skeg.

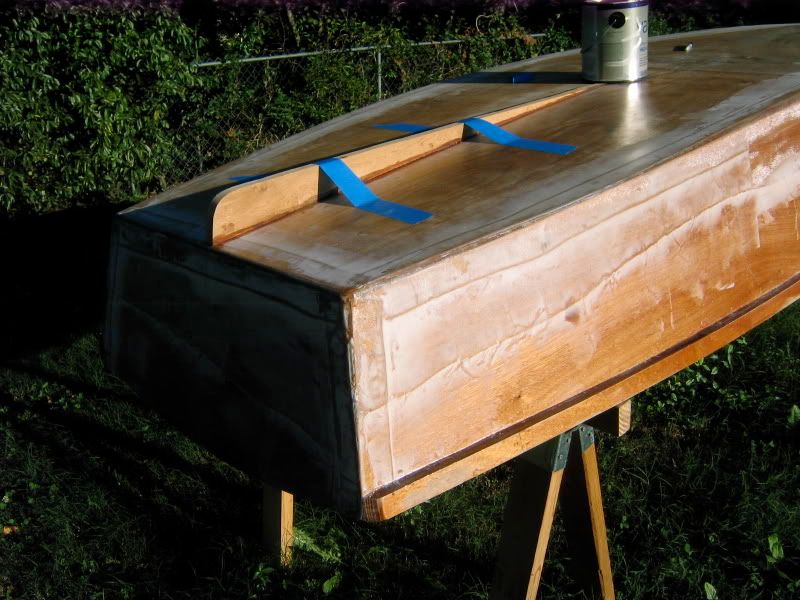
Posted: Sat Oct 25, 2008 10:45 pm
by Trebuchet
Well, I scraped and scraped, and eventually got off all the bad epoxy.
No harm done... except some wasted epoxy, time and a little hit to the ego.
It was amazing, even uncured the epoxy was tough stuff, and that skeg was very difficult to remove.
Posted: Sat Oct 25, 2008 10:51 pm
by gk108
That's not too bad at all.
Posted: Mon Oct 27, 2008 8:00 pm
by BoH
Nice work

Maybe I'll see you out on a local lake next spring.
Bo
Posted: Thu Oct 30, 2008 7:08 am
by Trebuchet
BoH wrote:Nice work
Maybe I'll see you out on a local lake next spring.
Bo
Thanks, I hope to be out on Jordan Lake around then. I've never been to any other lakes in the area, where do you go?
Posted: Thu Oct 30, 2008 8:01 pm
by BoH
I canoe at Lake Crabtree beside I-40 at the airport, and sometimes at Lake Johnson in Raleigh. All sailfish, canoes, and rowboats. I am going to find a good place to canoe on Jordan, though, in Spring.
Bo
Posted: Thu Oct 30, 2008 8:49 pm
by ks8
Yes that skeg came off cleanly. Nice!
Now, is the name Trebuchet a coincidence, or, are you going to release some frustration by flinging a nice big ol pumpkin about a quarter mile with a trebuchet?