

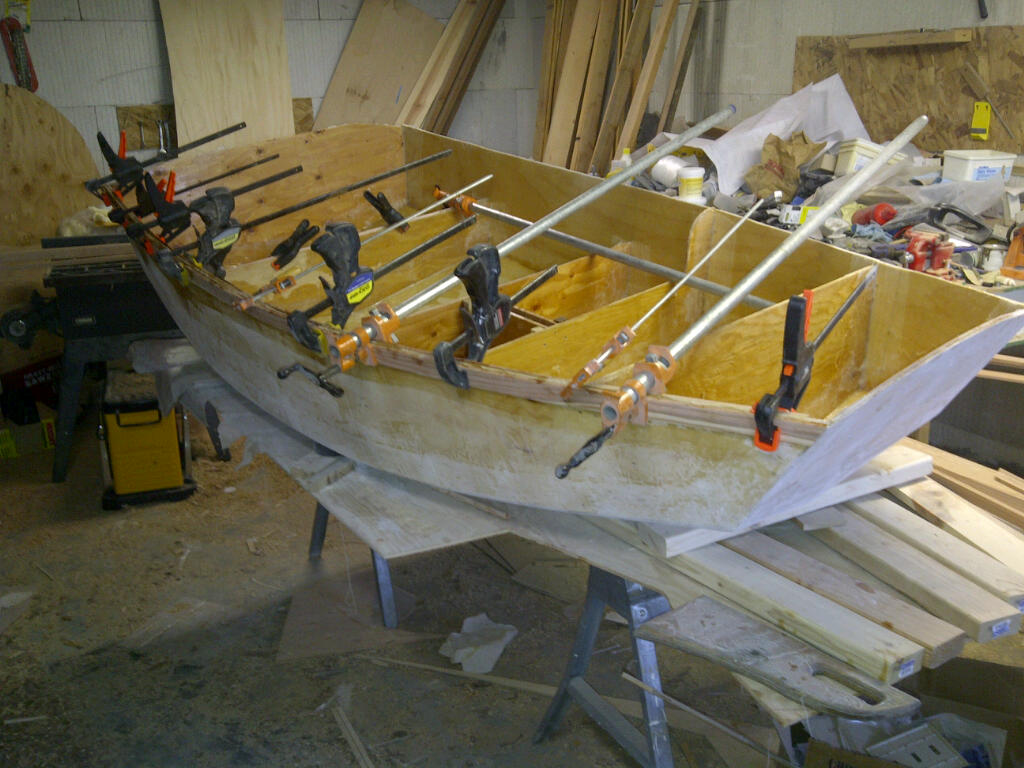
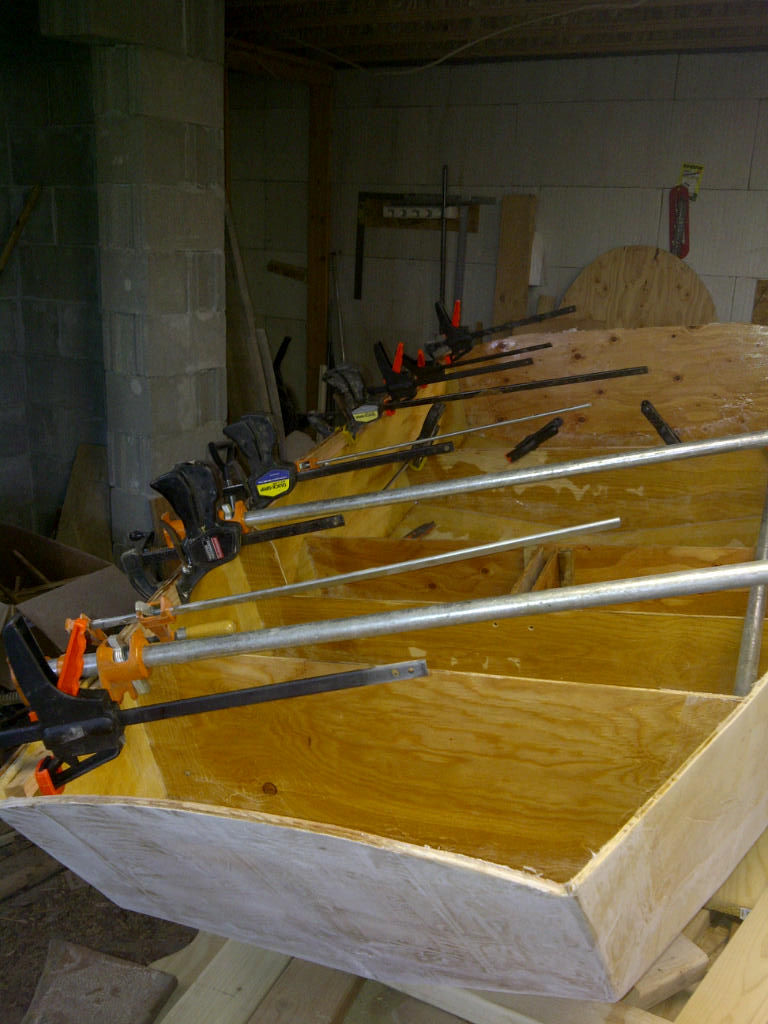
ok, so that went pretty well. I used a bunch of putty/fillet material (applied with a long skinny tongue depressor) into the inside "corners" of the daggerboard trunk from the outside of the hull, then put 4 pieces of tape (2 long and 2 short) along the hull and folded the other half into the trunk to 1) secure the trunk to the hull well, and 2) "hopefully" make that joint very watertight.
It's a little rough inside the trunk from the edges/ends of the fiberglass tape, but I think I can figure out a way to smooth/sand that inside - somehow!! I'd like to do that to keep the daggerboard from getting all scratched up.
I picked up some very nice (clear) redwood to use to make the rub rails, bresthooks, skeg, transom support, oarlock supports, etc. - - - at Home Depot, of all places. Cheap too! I was surprised.
Thank you for the idea of weighting (with lead) the daggerboard itself. I hadn't thought of that. I use lead to make my own jigs, downrigger balls, etc, so that should be easy to "cast" inside of a hole.
tomorrow night plans - the big piece of cloth that covers the entire bottom.
~markb
Montana built D5
Re: Montana built D5
sanding the outside of the hull now. sanding sanding and more sanding.
I'm feeling more intimate with my sander than my wife lately! not really, but I'm just whining about sanding.
one quick question if you don't mind. So on the bottom, I have a layer of 6" biaxial tape on the seams. Then I added a layer across the entire bottom of light cloth (3.2 oz???). I am now sandingthis smooth to get rid of the bumps and ridges, etc. What's next? Do I brush on just alight coat of epoxy to seal everything up good. Or is this where I use the QuickFair product?
It's looking good - the end is in sight???
thx.
markb
-
gstanfield

- * Bateau Builder *

- Posts: 4655
- Joined: Sun Jan 10, 2010 5:09 pm
Re: Montana built D5
Be careful not to sand through the glass, especially the tape on the seams. I personally laid all my glass then went straight to quickfair and sanded that, but I didn't get much wrinkles in my glass 
Previous builds: FL14, NC16, and others...
Current build: FL14 (+10%)
Current build: FL14 (+10%)
Re: Montana built D5
How about a picture of your daggerboard turned into a centerboard? I'm interested in how you squeezed it all in.
-
ks8
- * Bateau Builder *
- Posts: 8403
- Joined: Mon Nov 24, 2003 1:00 am
- Location: NC USA
- Location: Now a much longer sail to Tampa Florida! Back to NC, Youngsville FM05tw
Re: Montana built D5
Me three.Charlie wrote:How about a picture of your daggerboard turned into a centerboard? I'm interested in how you squeezed it all in.
Re: Montana built D5
ha ha ha ok, so somewhere along the line I must have used the wrong word - daggerboard vs centerboard. Good thing I didn't use Keel in the same sentence or I'd really get "taken to task"!!!! 
I picked up the rest of the hardware I needed (cleats, bow eye, two more bow eyes for the transom, oarlocks, etc.) Still need to find a pair of rudder gudgeons somwhere.
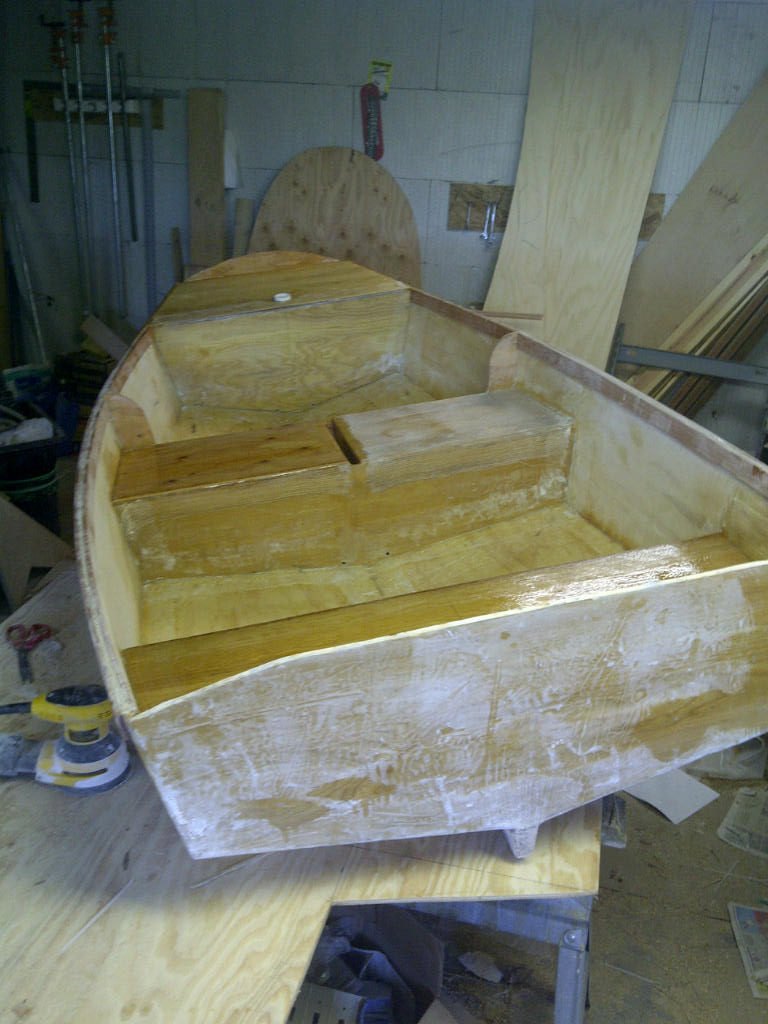
I got the skeg put on over the weekend and all smoothed into place.
Last night I flipped it back over and started work on the rails. By gosh, it's starting to look like and feel like a boat more everytime I work on it. Need a few more 1 x 1 cleats for the seats and rails on the other side tonight.
I am planning to put foam in the middle seat and in the front seat for flotation, with drain holes in case then get some water. For the rear seat, I plan to use a removable/sealing hatch plate. My thoughts were to have one 'compartment' that I could store things in that would be watertight and stay dry (e.g., camera, wallet, cellphone, towel, etc.) and yet also be accessible.
I picked up the rest of the hardware I needed (cleats, bow eye, two more bow eyes for the transom, oarlocks, etc.) Still need to find a pair of rudder gudgeons somwhere.
I got the skeg put on over the weekend and all smoothed into place.
Last night I flipped it back over and started work on the rails. By gosh, it's starting to look like and feel like a boat more everytime I work on it. Need a few more 1 x 1 cleats for the seats and rails on the other side tonight.
I am planning to put foam in the middle seat and in the front seat for flotation, with drain holes in case then get some water. For the rear seat, I plan to use a removable/sealing hatch plate. My thoughts were to have one 'compartment' that I could store things in that would be watertight and stay dry (e.g., camera, wallet, cellphone, towel, etc.) and yet also be accessible.
-
ks8
- * Bateau Builder *
- Posts: 8403
- Joined: Mon Nov 24, 2003 1:00 am
- Location: NC USA
- Location: Now a much longer sail to Tampa Florida! Back to NC, Youngsville FM05tw
Re: Montana built D5
Drain holes in a foamed compartment also let water into the compartment. 
If you want to vent air pressure in a sealed and foamed compartment, you could use a bolt with a rubber washer, near the upper edge, on one of the sides of the chamber. Install a t-nut inside for it. Crank down on the neoprene washer and you have a sealed compartment. Ease out the bolt and the air pressure gets stabilized. I would oversize drill the hole, fill with epoxy filler blend, redrill to size so the edges of the plywood in the hole are completely sealed. Then put a plywood backing plate inside with the t-nut (the spec'd plywood core alone might not be thick enough for the t-nut).
Whatever you decide, make sure all wood surfaces and holes are completely epoxy sealed against water or humidity. This includes the inner surfaces of any *sealed* compartments. Enjoy!
Re: Montana built D5
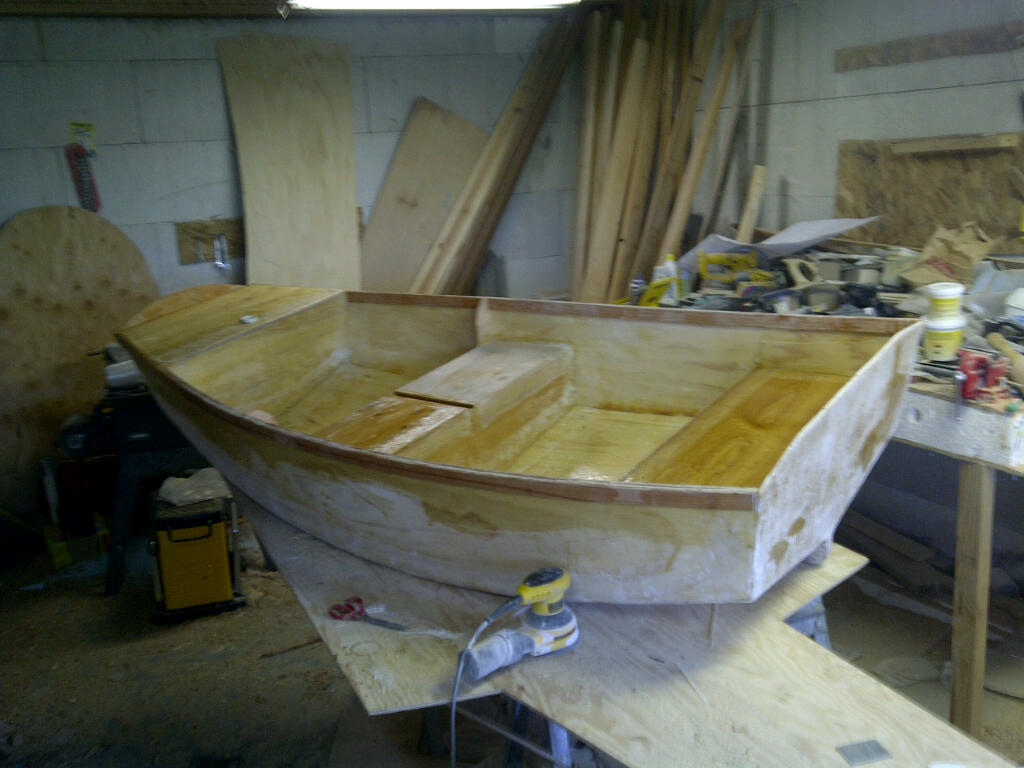
ok, seats are all on. I put in blue "extruded" foam in the middle seat and front seat compartments. and a screw in watertight hatch for rear seat.
Oh my gosh - - - it really looks like a boat!!! This boat building thing is really an "experience" - pretty cool.
I expoxied in place a PVC sleeve for the mast to fit into. Right now it just a little bit "proud" of the front deck, but will use the belt sander to make it flush.
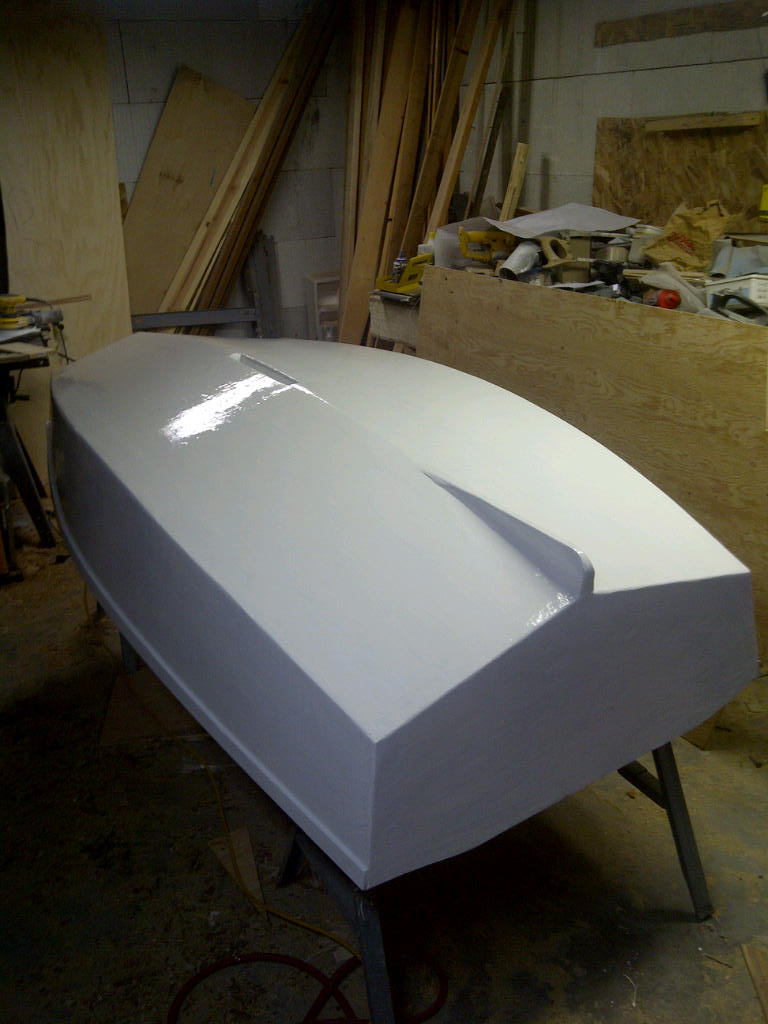
Later tonight, plan to flip it over and fair the bottom. paint soon! splash by end of the week???
~markb
Oh my gosh - - - it really looks like a boat!!! This boat building thing is really an "experience" - pretty cool.
I expoxied in place a PVC sleeve for the mast to fit into. Right now it just a little bit "proud" of the front deck, but will use the belt sander to make it flush.
Later tonight, plan to flip it over and fair the bottom. paint soon! splash by end of the week???
~markb
Re: Montana built D5
Paint on the outside.
Who is online
Users browsing this forum: No registered users and 3 guests