Build status...
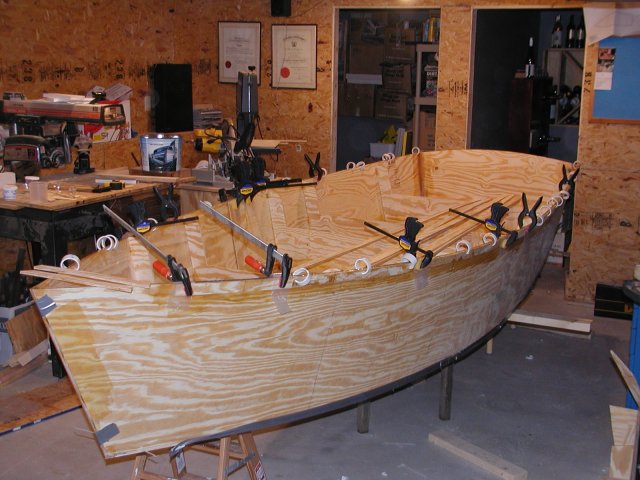
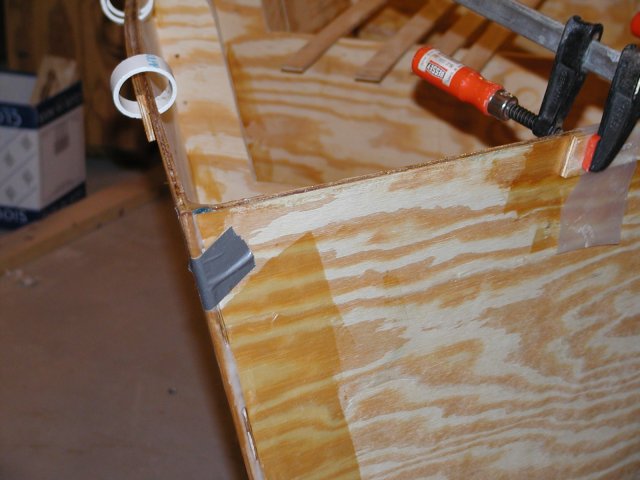
I ran out of wood flour so I didnt get all the inside seams taped. Learned as i went of course. No huge mistakes yet. Help has been great. This thing is getting solid as a rock. Is going to be a great boat; its bigger than I expected. Used my last wood flour and some silica on the last seams. It was definitely smoother paste, but under the tape, I dont know if it makes a diff. Using plastic minifibers to paste the rubrail, since I have some. That seems to have worked nicely; mixed about 3oz epoxy with 3oz by volume of filler (loosely packed).
Should I bring the rubrail all the way around the bow (as I see the KentXX galllery picture? Looks like the design shows it that way. I was going to leave it short an inch or so and feather it to meet the bow. Is this a builders choice or is there a "right" way to do it?
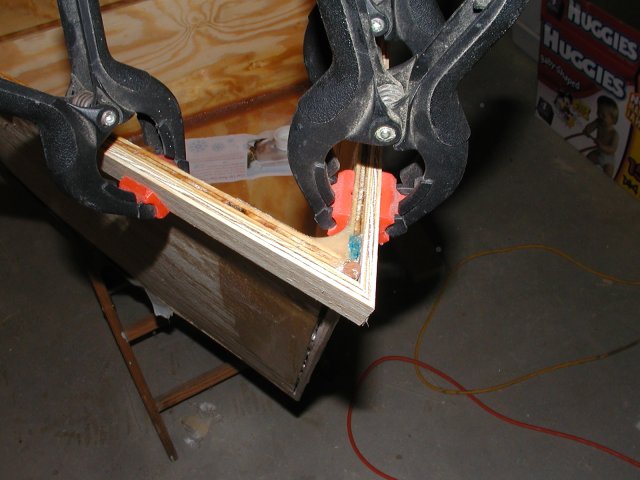
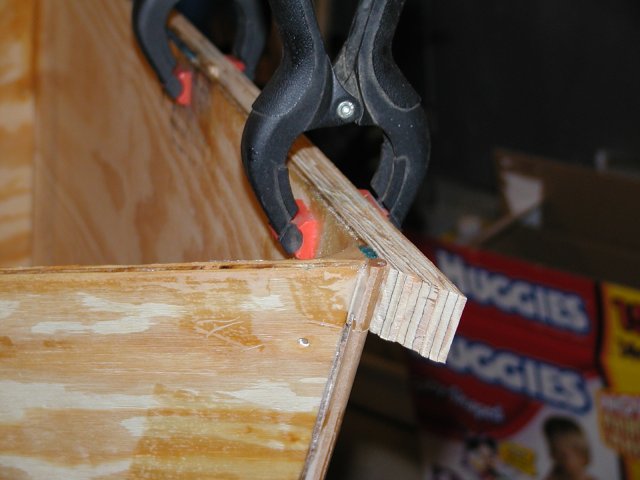
I duct taped and tabbed a 1/4" dowel to the bow to give me something to round the tape over. This will go on tomorrow then I will put the last strip of the first layer of rubrail.
I am going to have a big breasthook, so we can jump off it into the water. I could put a couple screws in and cover them with the last strip of rubrail or just epoxy and fillet underneath. Epoxy is probably strong enough....haven't decided.
Seems like I am putting lots of hours in now....up to about 50 total. Cant wait to get it flipped and see what the hull looks like.
Process: flip, prep the hull, tape the chine, 9oz cloth on the bottom, 4oz cloth on the sides. I am thinking to bring the 9oz cloth over the chine and up the side about 4 inches, then bring the cloth down from the rubrail to about where the tape starts. This will give me a step from 4oz cloth, to 4oz + 9oz, then to 9oz cloth + tape. Seems like a smooth transition.
If any with experience have comments, warnings, recomendations, I am all ears!
(Still thinking about drainage and seats/storage). Shipment of supplies on tthe way.....