
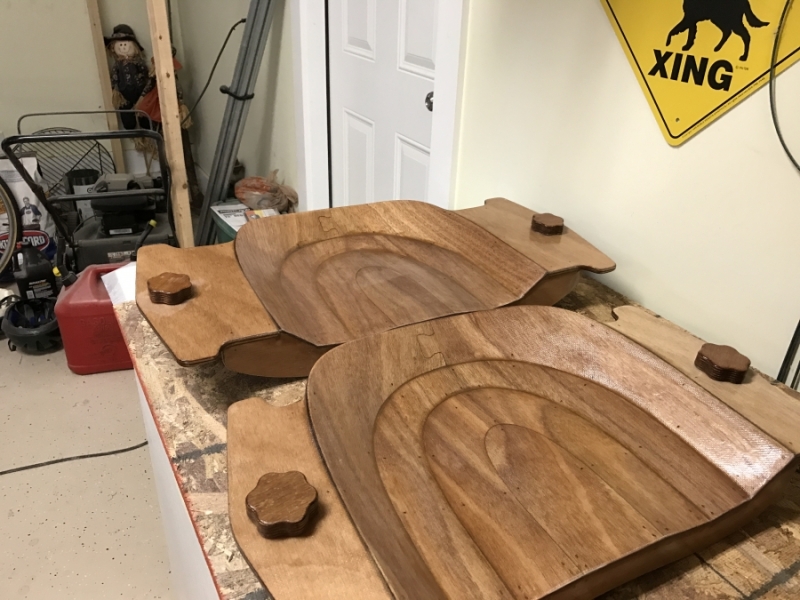
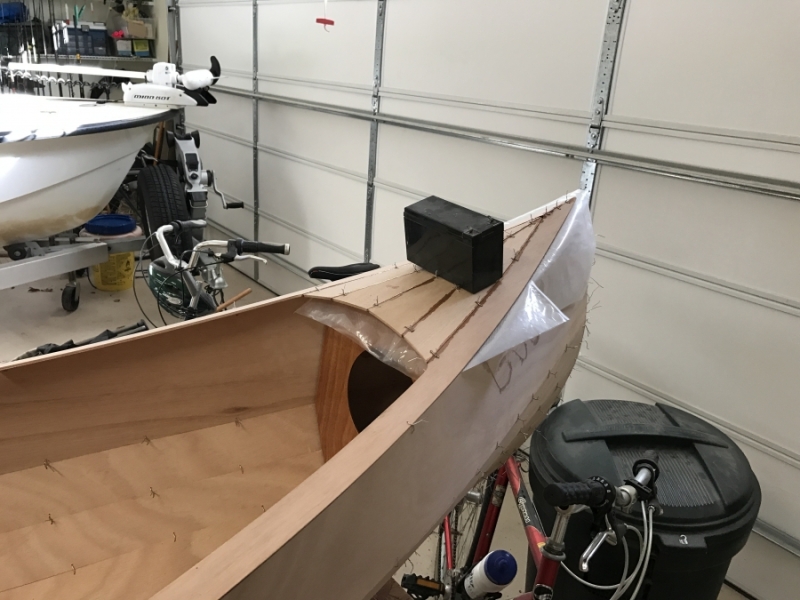
Not sure where to post pictures of my canoe project. It is not a kit or plans from Bateau, but I am using materials purchased from them in the construction. The reason I chose this particular model of canoe was for the unique Stitch & Glue seats, Thwart and Gunnel.
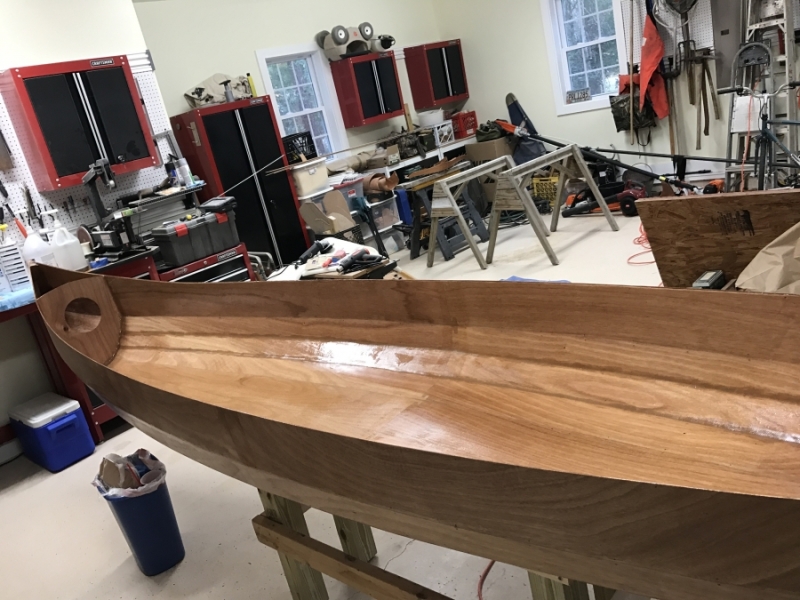
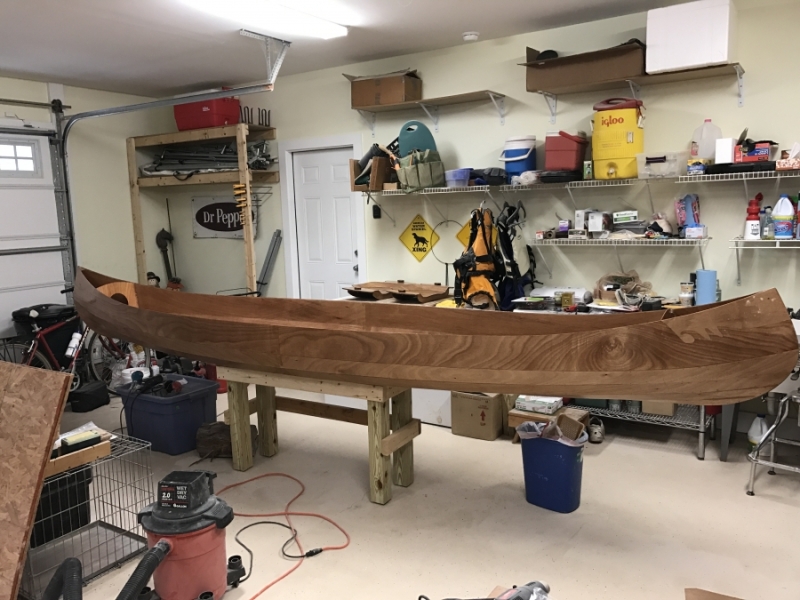
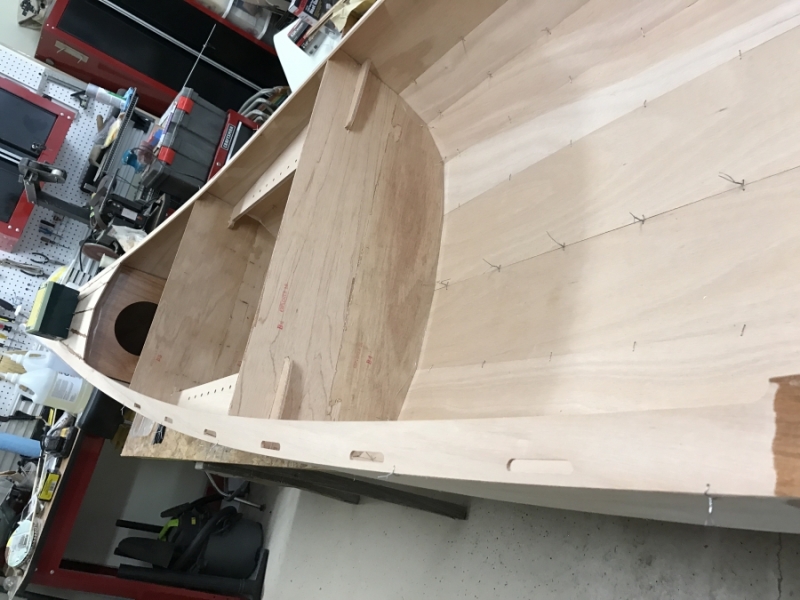
The canoe hull is constructed and the interior is now fiberglassed with a fill coat. I'll be installing the seat rails next and then putting on the deck and gunnels which are already constructed.
Canoe Project

Re: Canoe Project
Browndog, I will ask Jamie to reach out to you to assist in getting your pictures on the Forum!!! Jeff
-
Browndog
- * Bateau Builder *

- Posts: 1243
- Joined: Sat Jun 04, 2016 7:38 am
- Location: Shellman Bluff, GA
Re: Canoe Project
How do you move an image in the gallery to a post? I uploaded several photos, but can't seem to figure out how to get them to show here.
-
Jaysen

- * Bateau Builder *
- Posts: 6519
- Joined: Wed Aug 05, 2015 7:59 am
- Location: St Helena Island, SC
- Contact:
Re: Canoe Project
Hey browndog. Assuming you are using the forums built in gallery, the easiest thing to do from start to finish...
1. Start building boat.
2. Take some pics.
3. Go to your forum gallery and select the album you want to upload into.
4. Click the upload button.
5. Add ALL the images you want to upload. Do the ALL in one upload. This is important.
6. The firm will give you an option to rotate etc. make changes and then click the submit button.
7. You will be taken back to the album you uploaded to and the first image "should be" the last image you uploaded. Click on that Image and look for the bbcode link. It should like something like
8. Remember the number between the image tags.
9. Find the first image you uploaded and to the same thing (the number is the key).
10. Start your post. Add three lines. Hit the image button at the top of the editor to add an image tag.
11. Put you lowest number between the tags.
12. Copy the entire image line and now paste it counting up to your highest number.
13. Go edit the numbers till you one image tag for each image.
14. Write your post above the image rages you added the first time. When you are ready to edit in you images hit the preview button.
15. You will see your txt at the top and all your images at the bottom. Count down the images till you find the one you want. Now count down the image tags the same number (the editor is down the page from your preview).
16. Cut the image tag you just identified and paste it in the correct location of the text in the editor.
17. Hit the preview button again and go back to 15. Do this until your post looks right.
18. Hit submit.
19. Enjoy some rum while you wait for other folks to comment.
That looks like a lot. I do all the uploads on my phone and the posting on my computer. It take more time for the phone to upload images than it does for me to write the post. Once you do it 3-5 times it will seem very simple.
For the record I'm typing this from memory (just finished sanding and haven't cleaned up). I'll edit this if any of the steps are out of sequence.
Let me know if you need any help.
1. Start building boat.
2. Take some pics.
3. Go to your forum gallery and select the album you want to upload into.
4. Click the upload button.
5. Add ALL the images you want to upload. Do the ALL in one upload. This is important.
6. The firm will give you an option to rotate etc. make changes and then click the submit button.
7. You will be taken back to the album you uploaded to and the first image "should be" the last image you uploaded. Click on that Image and look for the bbcode link. It should like something like
Code: Select all
[image]123[/image]9. Find the first image you uploaded and to the same thing (the number is the key).
10. Start your post. Add three lines. Hit the image button at the top of the editor to add an image tag.
11. Put you lowest number between the tags.
12. Copy the entire image line and now paste it counting up to your highest number.
13. Go edit the numbers till you one image tag for each image.
14. Write your post above the image rages you added the first time. When you are ready to edit in you images hit the preview button.
15. You will see your txt at the top and all your images at the bottom. Count down the images till you find the one you want. Now count down the image tags the same number (the editor is down the page from your preview).
16. Cut the image tag you just identified and paste it in the correct location of the text in the editor.
17. Hit the preview button again and go back to 15. Do this until your post looks right.
18. Hit submit.
19. Enjoy some rum while you wait for other folks to comment.
That looks like a lot. I do all the uploads on my phone and the posting on my computer. It take more time for the phone to upload images than it does for me to write the post. Once you do it 3-5 times it will seem very simple.
For the record I'm typing this from memory (just finished sanding and haven't cleaned up). I'll edit this if any of the steps are out of sequence.
Let me know if you need any help.
-
Browndog
- * Bateau Builder *
- Posts: 1243
- Joined: Sat Jun 04, 2016 7:38 am
- Location: Shellman Bluff, GA
Re: Canoe Project
Ok. Thanks for the help. Gonna try to post a few pictures from the builders gallery of the build. Hope it works.

Re: Canoe Project
Browndog, absolutely beautiful work!! Please keep your thread updated with photos as well as some detail on what you are doing, how you are doing it as well as include tools, paints, etc. Jeff
-
Browndog
- * Bateau Builder *
- Posts: 1243
- Joined: Sat Jun 04, 2016 7:38 am
- Location: Shellman Bluff, GA
Re: Canoe Project
Got some work done on the canoe this morning.
Used the SIlver Tip Yacht primer to paint the interior of what will become dry storage hatches/flotation chambers in the bow and stern. Also used the Primer to paint the undersides of the seat assemblies. Easy to work with, cleans up with water. Very low if any fumes. Good practice for when I use it on the hull.
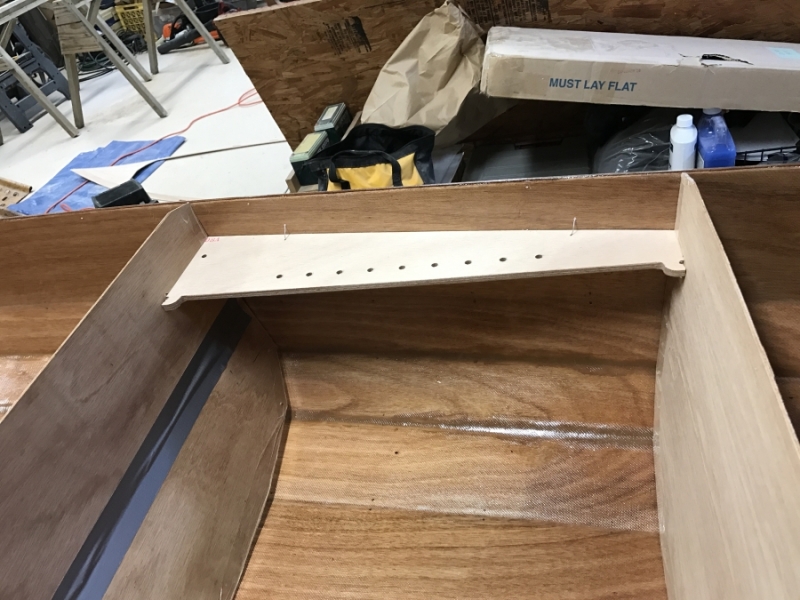
I also tabbed the seat support rails in with thickened epoxy fillets.
Precoated the top sides of the deck and gunnels with unthickened epoxy in preparation for putting it on this week.
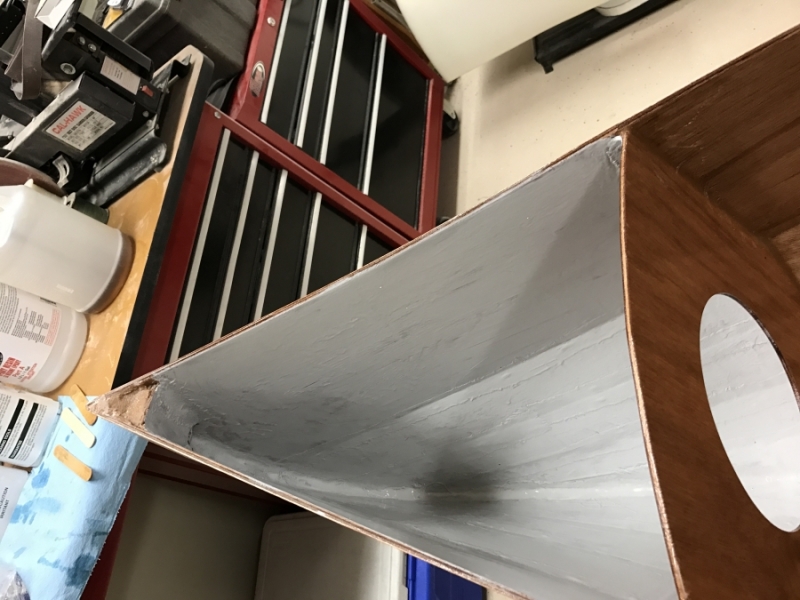

Used the SIlver Tip Yacht primer to paint the interior of what will become dry storage hatches/flotation chambers in the bow and stern. Also used the Primer to paint the undersides of the seat assemblies. Easy to work with, cleans up with water. Very low if any fumes. Good practice for when I use it on the hull.
I also tabbed the seat support rails in with thickened epoxy fillets.
Precoated the top sides of the deck and gunnels with unthickened epoxy in preparation for putting it on this week.
Re: Canoe Project
Browndog, really beautiful work!! Sorry but my initial response did not come through, not sure what happened!! Regardless, beautiful work!! Jeff
Who is online
Users browsing this forum: No registered users and 3 guests