
When are you planning to have her out on the water? I'm almost at the fairing/painting stage, and every time I see a boat go down the road on a trailer I wish it was mine. Can't get finished soon enough! Good luck to you
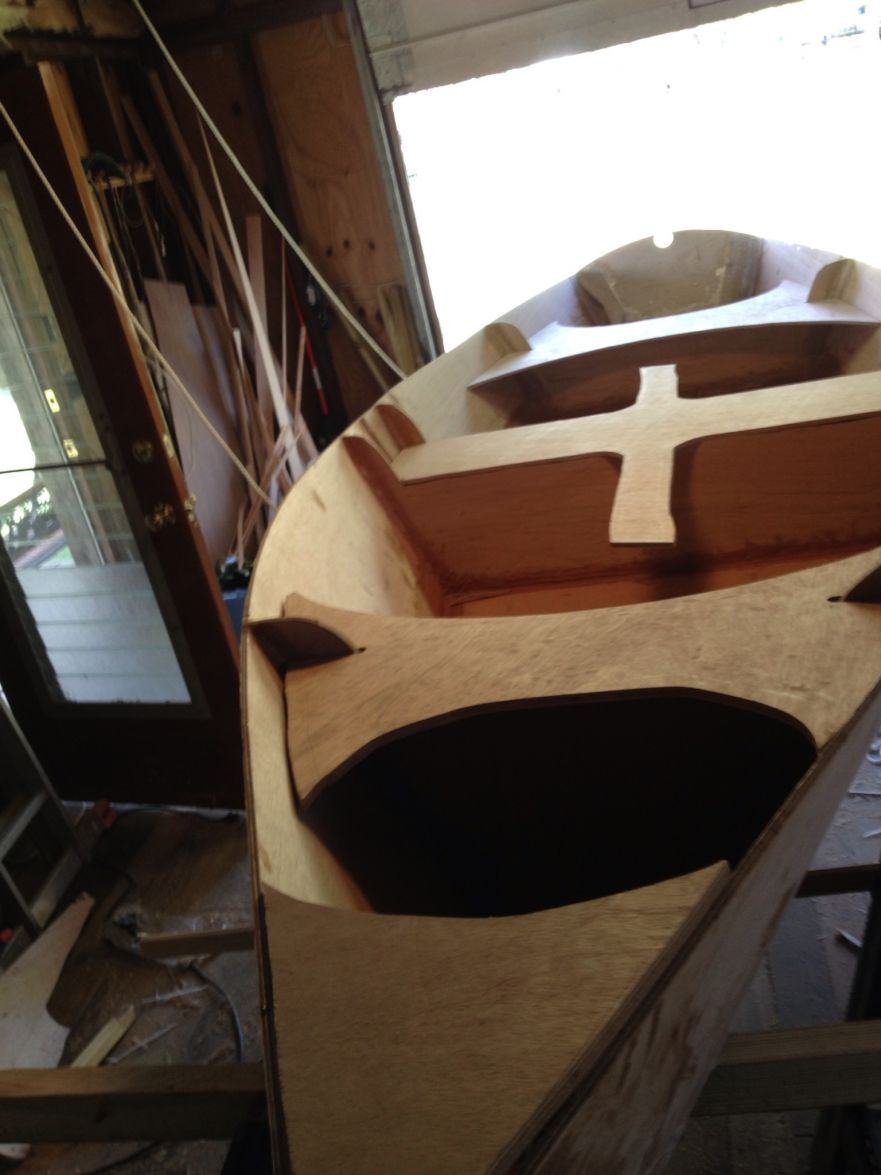
SH14 Starting a new Sharpie called Little Mae
Re: SH14 Starting a new Sharpie
That's looking good! I'm also a new builder, learning a lot as I go and making plenty of mistakes 
When are you planning to have her out on the water? I'm almost at the fairing/painting stage, and every time I see a boat go down the road on a trailer I wish it was mine. Can't get finished soon enough! Good luck to you
When are you planning to have her out on the water? I'm almost at the fairing/painting stage, and every time I see a boat go down the road on a trailer I wish it was mine. Can't get finished soon enough! Good luck to you
V12 Build in progress: https://picasaweb.google.com/1060181354 ... 30/V12Boat#
Re: SH14 Starting a new Sharpie
Looks good. Can you get your pictures to show up here? I use photobucket but I'm not a tech guy.
-
MWhiting04
- Frequent Poster

- Posts: 62
- Joined: Tue Mar 19, 2013 7:53 pm
- Location: Finger Lakes NY
Re: SH14 Starting a new Sharpie
I have all my pics in the gallery here on this site.
Tried post in the message and could not do it.
Tried post in the message and could not do it.
-
Cracker Larry

- * Bateau Builder - Expert *

- Posts: 22491
- Joined: Fri Mar 11, 2005 3:39 pm
- Location: Savannah, GA
Re: SH14 Starting a new Sharpie
Looking good!
Completed GF12 X 2, GF16, OD18, FS18, GF5, GF18, CL6
"Ships are the nearest things to dreams that hands have ever made." -Robert N. Rose
Re: SH14 Starting a new Sharpie
MWhiting04 it took me a little reading to figure out how to post pictures too. When you have a picture up in your gallery, you cannot just copy and paste the link to that picture into your message. You have to right click your image and select something like "view image" or "open image in a new tab," something along those lines - I'm not sure what pops up for the bateau galleries. Once your image opens in a new tab, the URL up at the top of the screen should end with .jpg (meaning that now it is in picture format). Now, you can copy and paste the link into your message, and once you do so, highlight it, and press the "Img" button.
It sounds like a lot of work and a lot of steps but it goes faster than you think. If you're not sure you did it right, then just press "Preview" to see if the image will actually show up before you submit your final message.
It sounds like a lot of work and a lot of steps but it goes faster than you think. If you're not sure you did it right, then just press "Preview" to see if the image will actually show up before you submit your final message.
V12 Build in progress: https://picasaweb.google.com/1060181354 ... 30/V12Boat#
-
ks8
- * Bateau Builder *

- Posts: 8403
- Joined: Mon Nov 24, 2003 1:00 am
- Location: NC USA
- Location: Now a much longer sail to Tampa Florida! Back to NC, Youngsville FM05tw
Re: SH14 Starting a new Sharpie
-
MWhiting04
- Frequent Poster
- Posts: 62
- Joined: Tue Mar 19, 2013 7:53 pm
- Location: Finger Lakes NY
Re: SH14 Starting a new Sharpie
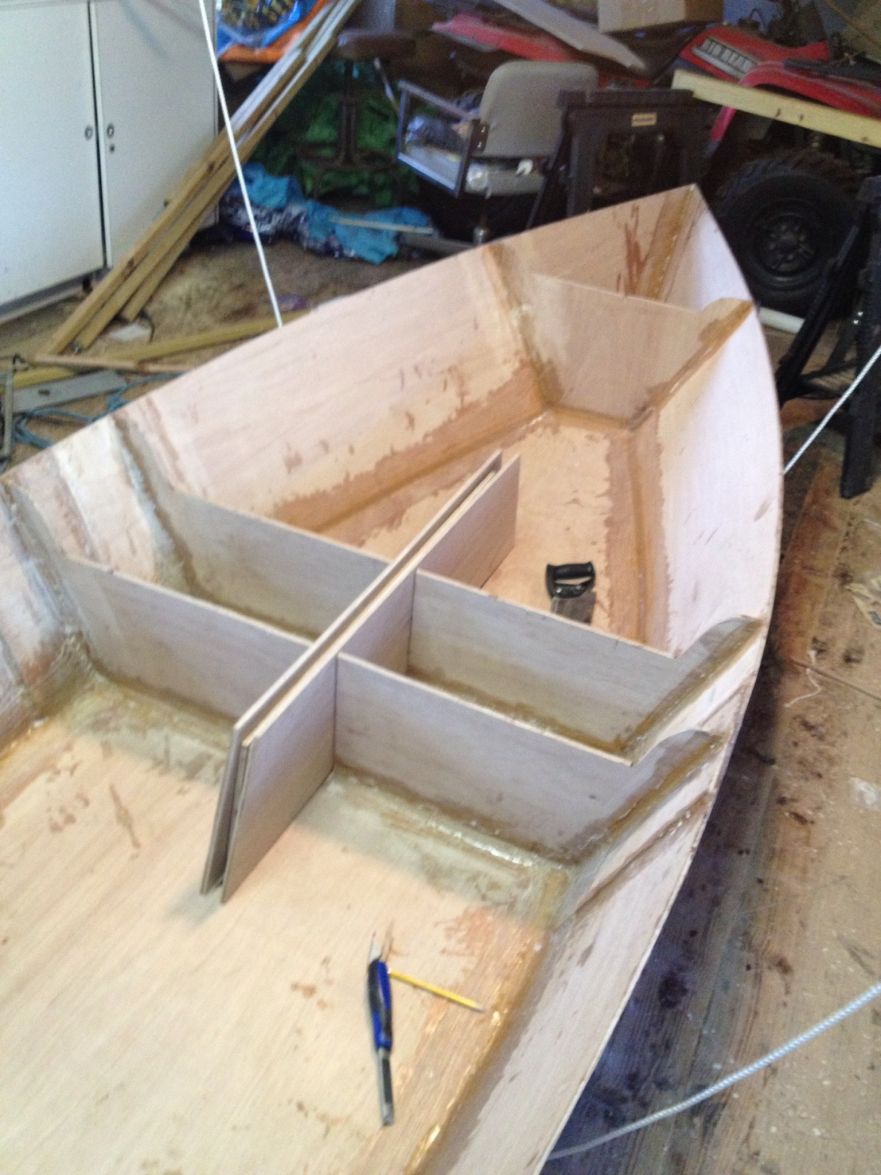
All right some progress.
Started putting the rail on, 1st layer. 2nd layer tomorrow.
I decided to do the layer one at a time. I cut the piece just slightly to wide and adjusted as I dry fit them.
The second layer I have cut a little wider than the first and will line up the bottoms and then plane the top even.
While the rail was drying I decided to shape the rudder.
It turned out really good.
So I decided to try the CB. It turned out good too.
I was avoiding shaping them because I thought it was going to be hard.
I just took my electric plane and started with the portion that was the thickest and worked out from there.
Planing 1 inch strips at a time. Then sanded to smooth out the lines and it is done.
For the CB, I decided to drill the hole for the painter rope because I started shaping. Glad I did.
Then shaped it and I am very please of how it came out.
I have pictures of the Rudder and rail going on but did not get one of the CB.
Will post one tomorrow.
http://gallery.bateau2.com/displayimage.php?pid=48817
Re: SH14 Starting a new Sharpie
Ooooh, pretty.
-
MWhiting04
- Frequent Poster
- Posts: 62
- Joined: Tue Mar 19, 2013 7:53 pm
- Location: Finger Lakes NY
Re: SH14 Starting a new Sharpie
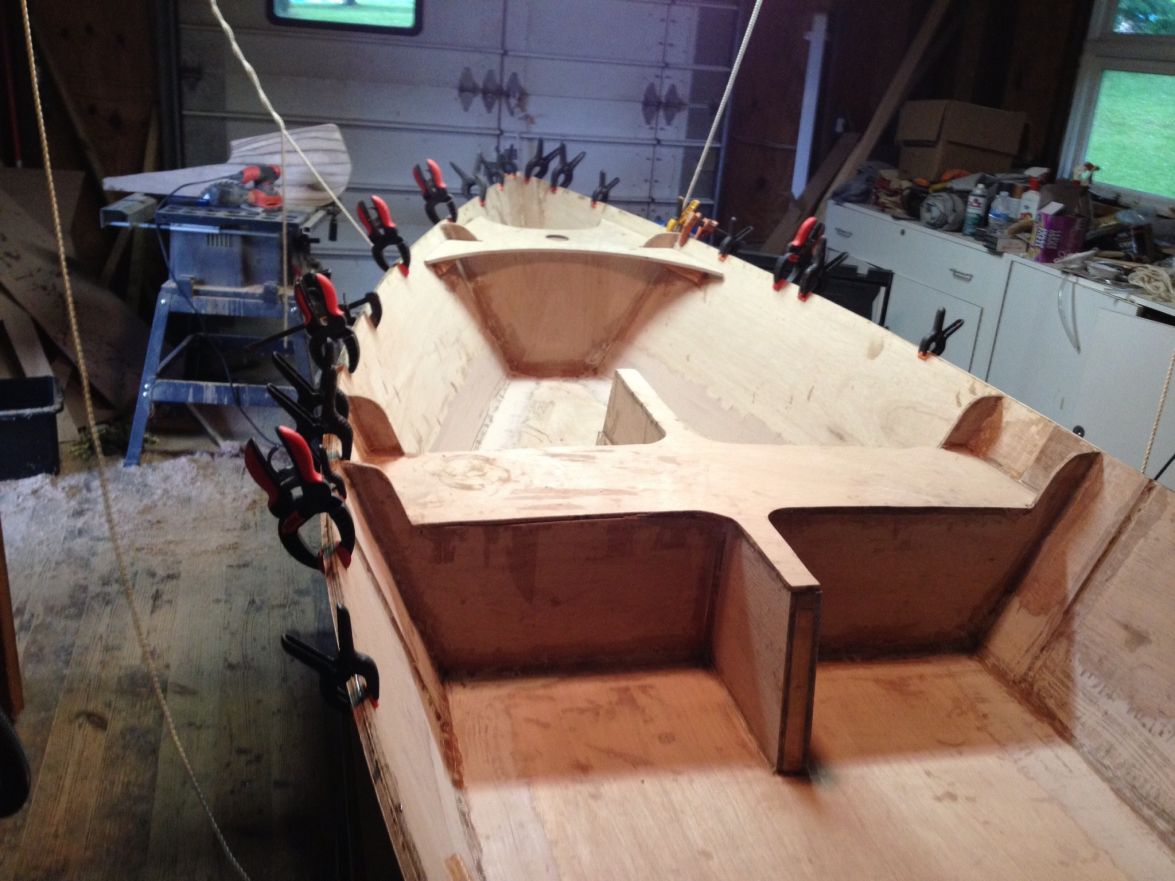
I got tired of working on the inside and decided to work on the outside for a while.
The rail is on, both layers. I planned the top and need to fill a few low areas. For the bottom of the rail I am going to wait till I glass the bottom and sides then fillet in the uneven areas and fair the cloth on the sides all at one time.
So my next steps are to sand entire bottom and sides, add a second coat of epoxy on the seams and fair a little before glassing the entire bottom and sides.
I picked up some 6oz cloth real cheap and have plenty to cover the boat.
Then I will add the Sleg and start working on the inside again.
Pictures to follow.
Mike
Who is online
Users browsing this forum: No registered users and 12 guests