
How far into the bows should I run the chine glass?
HC14, Jefferson State
-
Vanagod
- * Bateau Builder *

- Posts: 134
- Joined: Wed Nov 28, 2007 5:39 pm
- Location: Medford, OR-Klamath Falls someday hopefully
Re: HC14, Jefferson State
Question:
How far into the bows should I run the chine glass?
How far into the bows should I run the chine glass?
-Aaron
"A-Ron the relentless"
Soli Deo Gloria
Semper Reformanda
"A-Ron the relentless"
Soli Deo Gloria
Semper Reformanda

Re: HC14, Jefferson State
Overlap all panel seams by at least 2", 4 or 6 is better.
Jacques Mertens - Designer
http://boatbuildercentral.com
http://boatbuildercentral.com
-
Vanagod
- * Bateau Builder *
- Posts: 134
- Joined: Wed Nov 28, 2007 5:39 pm
- Location: Medford, OR-Klamath Falls someday hopefully
Re: HC14, Jefferson State
While filleting today, I was fighting two issues and I was wondering how you all attack them:
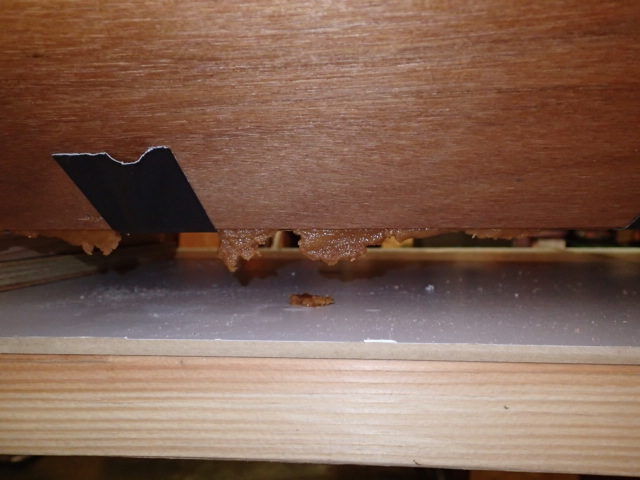
1. When there are 1/4" gaps, how do you keep the putty from sagging out of the fillet?
2. When scraping the fillet into place, I am pushing a large amount of putty through the gaps and to the table below. Do you all just live with this, or is there an easy solution other than duct-taping 100% of the seams?
I finished filleting and taping the inside of the bottom panel to the chine panels today. Pictures will be posted tomorrow. It looks all right, and I only see a couple small air pockets between the glass and fillet. I can post pictures of those too, see if you all think I should grind, fill and reglass; but I am tempted to pretend they aren't there since this is not a high performance planing hull.
I tried using Gorilla tape for stitches (tape then remove zip ties) to hold everything together for filleting, and it worked OK, but there was too much force in the bows and I had to revert to zip ties there.
I am definitely glad I am starting with a canoe before I go on to bigger and greater things.
-Aaron
"A-Ron the relentless"
Soli Deo Gloria
Semper Reformanda
"A-Ron the relentless"
Soli Deo Gloria
Semper Reformanda
-
Vanagod
- * Bateau Builder *
- Posts: 134
- Joined: Wed Nov 28, 2007 5:39 pm
- Location: Medford, OR-Klamath Falls someday hopefully
Re: HC14, Jefferson State
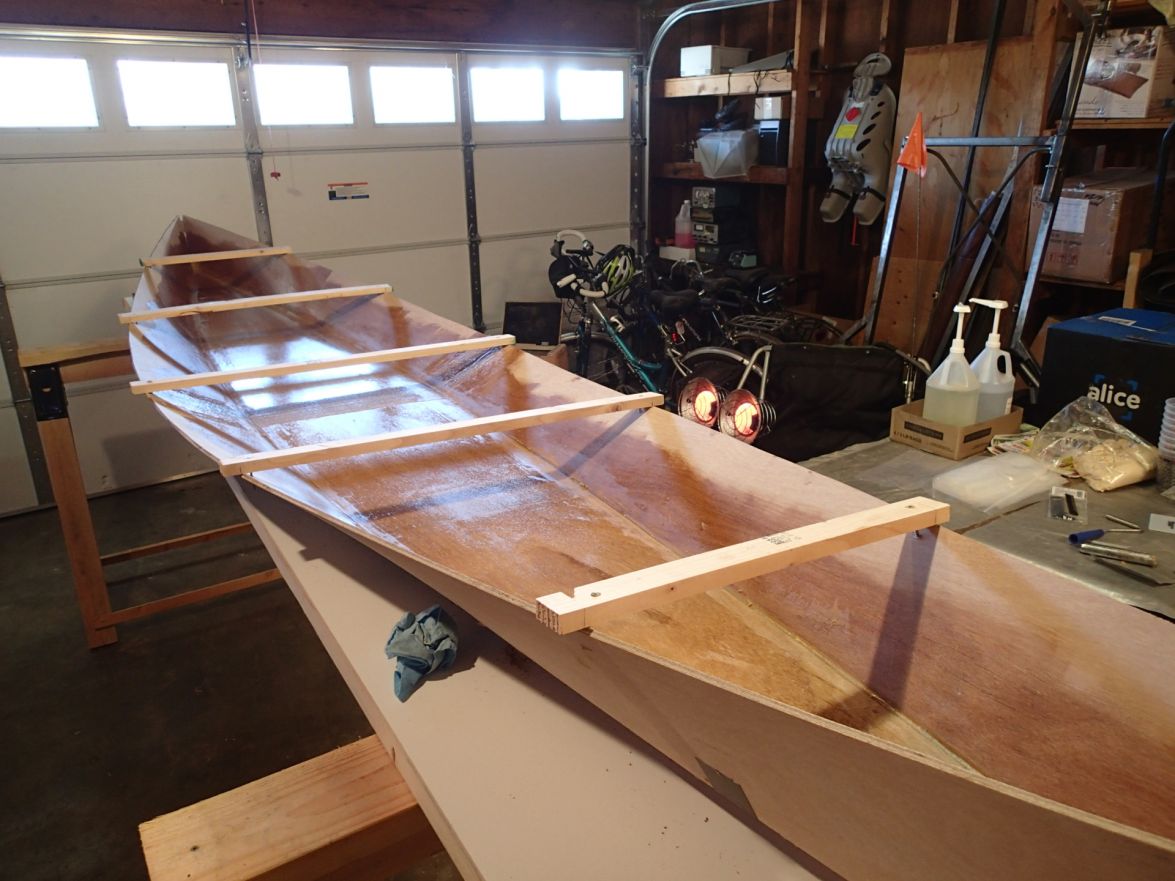
Now I have the top panels stitched on...well sort of. Getting the top panels lines up with the chine panels is proving tricky. Then again, I am not sure how well they are supposed to be aligned. Right now I am thinking of using some 1x2 that I have sitting around in the shop to precisely spread the top panels at their top and bottom edges.
-Aaron
"A-Ron the relentless"
Soli Deo Gloria
Semper Reformanda
"A-Ron the relentless"
Soli Deo Gloria
Semper Reformanda
Re: HC14, Jefferson State
1) Duct tapeVanagod wrote:While filleting today, I was fighting two issues and I was wondering how you all attack them:
1. When there are 1/4" gaps, how do you keep the putty from sagging out of the fillet?
2. When scraping the fillet into place, I am pushing a large amount of putty through the gaps and to the table below. Do you all just live with this, or is there an easy solution other than duct-taping 100% of the seams?
I am definitely glad I am starting with a canoe before I go on to bigger and greater things.
2) Duct tape
that's the short answers. actually, for 2) if more than just a few drops are getting out, then I duct tape the gaps. However, If possible in the construction sequence, I prefer to tape the inside joints first, so I can later go back with a grinder on the outside joints. It's hard to get the grinder to smooth out the inside joints due to the angle. For 1), there's nothing quite as helpful as duct tape.
wade
Completed : OB19, CC14, GV10.
-
Vanagod
- * Bateau Builder *
- Posts: 134
- Joined: Wed Nov 28, 2007 5:39 pm
- Location: Medford, OR-Klamath Falls someday hopefully
Re: HC14, Jefferson State
I'm going to try out masking tape instead of duct tape, and don't use Gorilla tape, it tears the wood up.  I'll try to get the latest pictures up tonight. It looks like a canoe now.
-Aaron
"A-Ron the relentless"
Soli Deo Gloria
Semper Reformanda
"A-Ron the relentless"
Soli Deo Gloria
Semper Reformanda

Re: HC14, Jefferson State
I used painters masking tape, the blue stuff, but it probably wasn't any better than regular masking tape.Vanagod wrote:I'm going to try out masking tape instead of duct tape, and don't use Gorilla tape, it tears the wood up.
Good luck. I tried to get away without it and it worked where I had tight gaps ~1/16-1/8 but any larger it sagged.
-
Vanagod
- * Bateau Builder *
- Posts: 134
- Joined: Wed Nov 28, 2007 5:39 pm
- Location: Medford, OR-Klamath Falls someday hopefully
Re: HC14, Jefferson State
And the pictures I promised, finally. I decided to use tape for stitches and cut out the zip ties so that I could have a clean path to fillet down. I found that the Gorilla tape did not hold on the bows to well, but every where else it did OK. In the future I will likely zip tie, then masking tape the whole length of the seam. If the tape is not strong enough, I will putty spot weld. Sagging is annoying. Here is my gorilla tape job.
After that, it was time to fillet, and fight the sagging putty.
The close side in this picture is already taped on the inside, and I am laying down the tape on the other side.
Here both chines are taped. Now to let the epoxy cure.
I don't know is it is this way with medium or slow hardener, but with the fast hardener, once it starts to 'kick', and I can feel it warm up, just set it aside and start a new batch. I read somebody's post in the past that if you feel it start to kick, pour it out fast and spread it around so cool it off and slow the reaction. I could not spread it out hardly at all, so I have runs that will need sanded down later.
Finally, I stitched on the top panels. They still need some fine positioning work, but by golly, it looks canoe-ish.
My plan for the next few nights is to get the top panels positioned well, and then attack the upper chines and the bows this weekend.
I wonder if I did this again, if I could stitch all of the panels together without glassing, and then do all of the inside glass work in one day. Not sure it would be worth it unless I was doing a production line.
-Aaron
"A-Ron the relentless"
Soli Deo Gloria
Semper Reformanda
"A-Ron the relentless"
Soli Deo Gloria
Semper Reformanda
Re: HC14, Jefferson State
I agree that once the epoxy starts to kick you can't do much with it. I have heard and practice the advice to get it out of the mixing pot as soon as it is mixed and that gives me more time to work. I find that if you add fillers to the mix it will kick faster, too. I use disposable paint tray liners, but I've seen a number of things used to receive the mixed epoxy- packing tape on cardboard will work (for thick mixes). Spread it out to keep it cool, and you will get more working time. This applies to all the hardener speeds.Vanagod wrote: I don't know is it is this way with medium or slow hardener, but with the fast hardener, once it starts to 'kick', and I can feel it warm up, just set it aside and start a new batch. I read somebody's post in the past that if you feel it start to kick, pour it out fast and spread it around so cool it off and slow the reaction.
Hank
-
Vanagod
- * Bateau Builder *
- Posts: 134
- Joined: Wed Nov 28, 2007 5:39 pm
- Location: Medford, OR-Klamath Falls someday hopefully
Re: HC14, Jefferson State
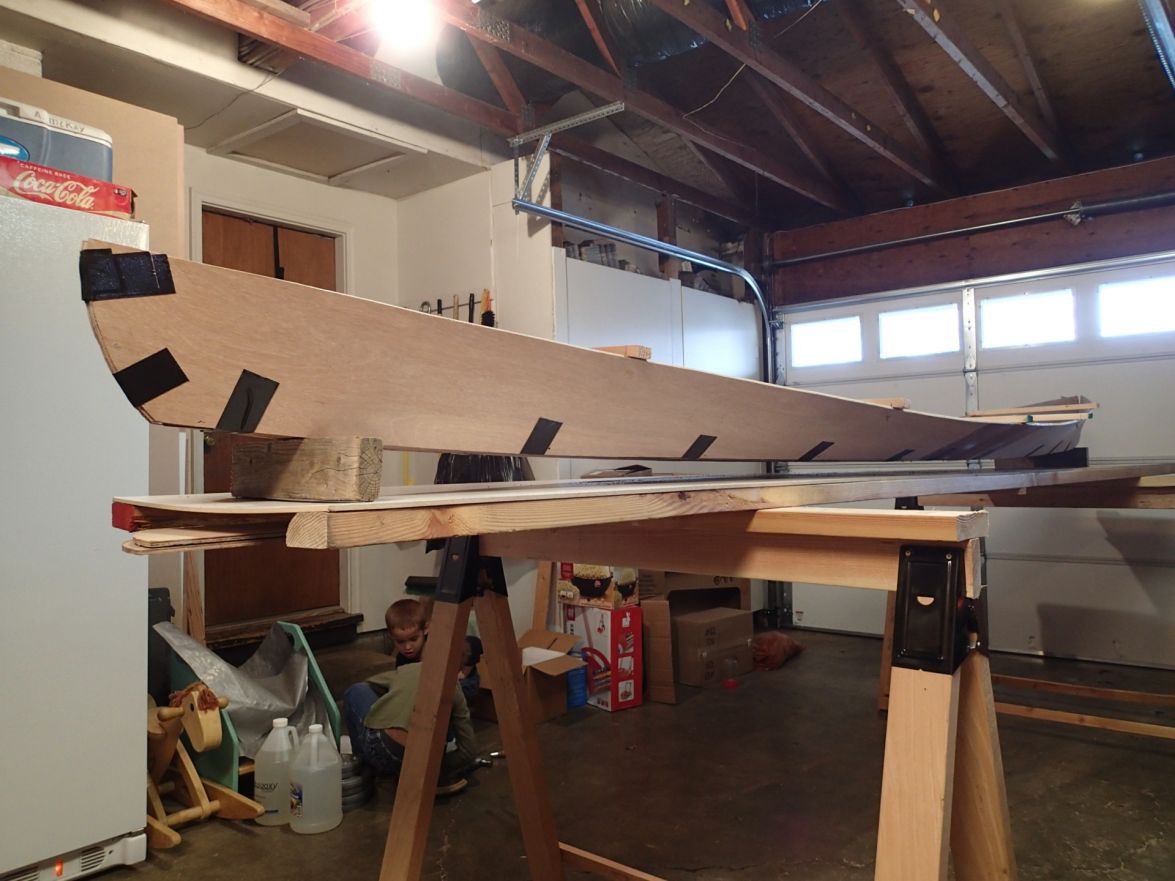
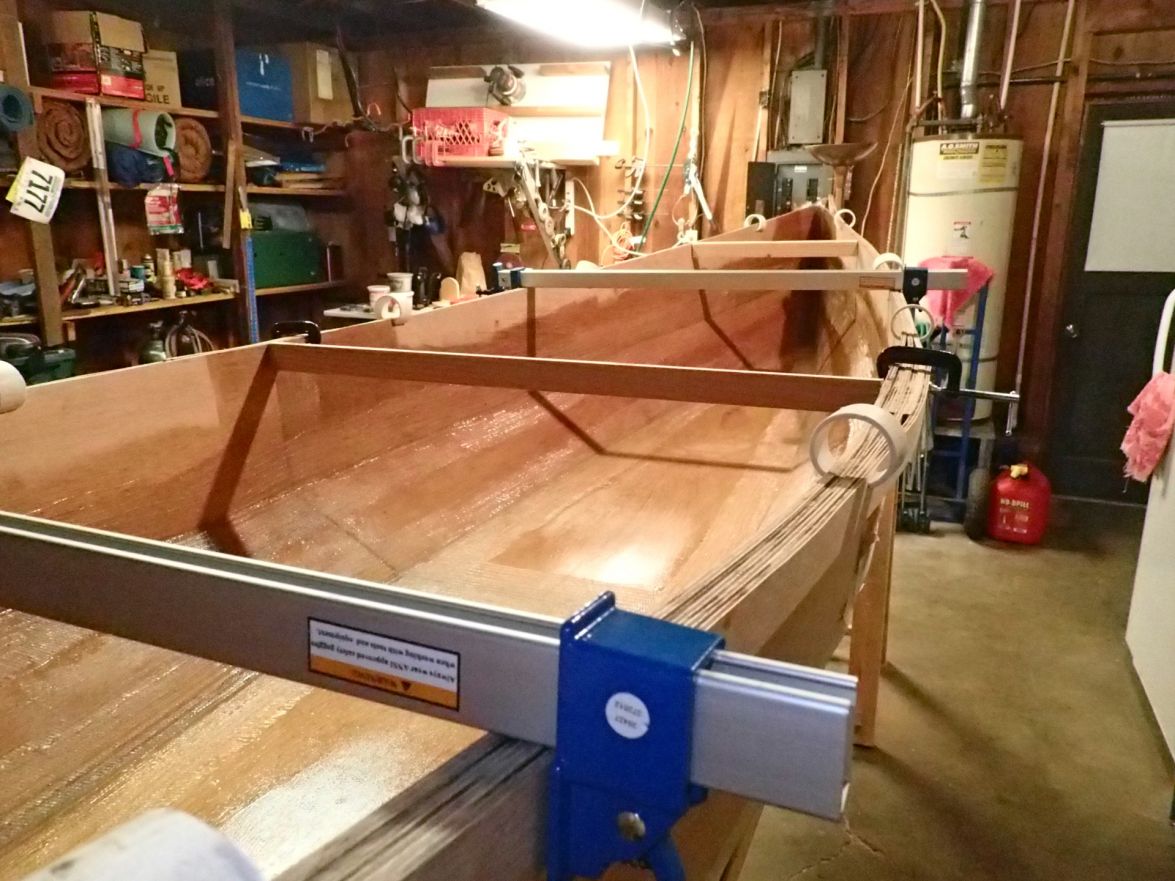
It has been a while since I last updated, but I have been making some good progress. Where we last left off I had just started stitching the top panels on. Below is it stitched with tongue depressors for setting the gap.
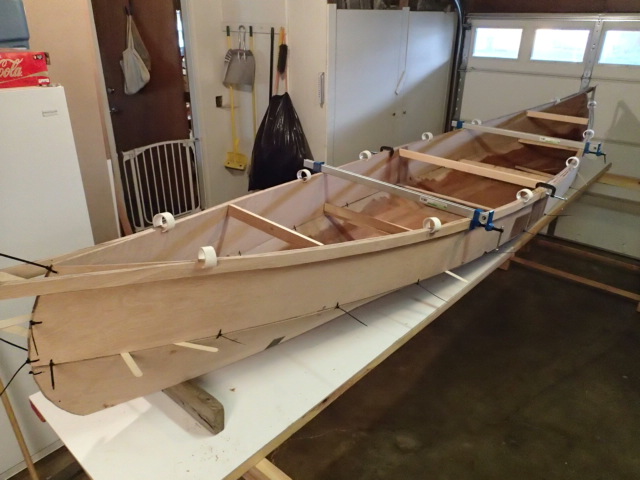
Then I tack welded it together.

And masking taped the chine so that I wouldn't get putty sag like I did before.
Here is one of my inside bow fillets. This is one of those marathon wet-on-wet days where you have to ignore other things to get the job done. I used some 1.125" or 1.25" OD bicycle frame tube I had laying around in the shop for shaping the bow chine. I think I will buy some PVC pipe of proper OD next time.

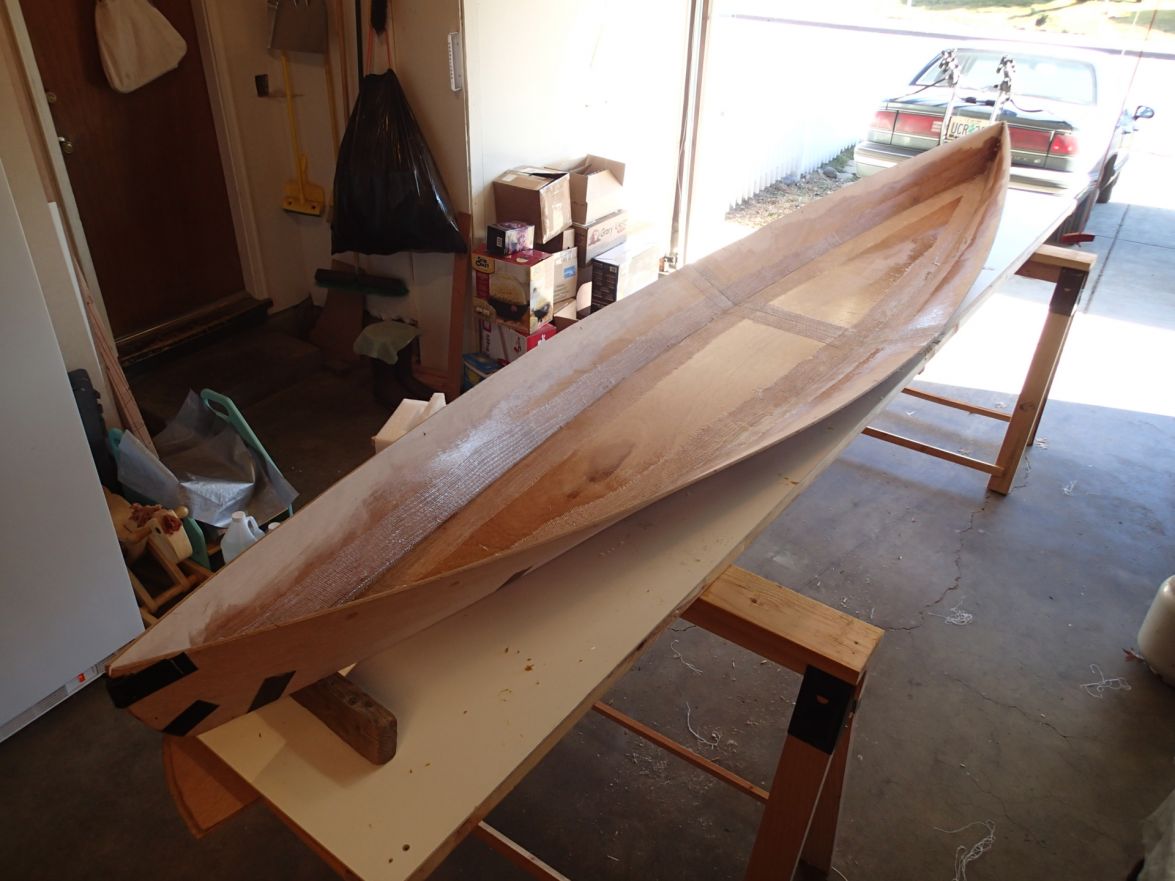
With much help from my wife, we finished glassing the inside chines in one day. It took me until my 3rd chine to get the hang of quickly filleting with the corner of my squeegee (obtained from Boat Builder Central). Again, I am glad I am making this canoe before tackling a bigger, more expensive project.
You will see the rub rails already clamped on. I was having issues with the spreaders at station B putting a reverse bend in the wood. I had to clamp all three battens layers on in order to flatten out the curve and make it look nice. I ended up cutting my rub rail battens on a curve instead of torturing a straight batten. I tried torturing a 1.5" straight batten, but it was not fun. Not fun to the point I went through the effort of calculating my own offsets. I took the offsets from the top panel's top edge from the plans, drew that curve, extended it from both ends, and then offset it by 1.5". I can give the numbers to anybody that cares, I still have them.
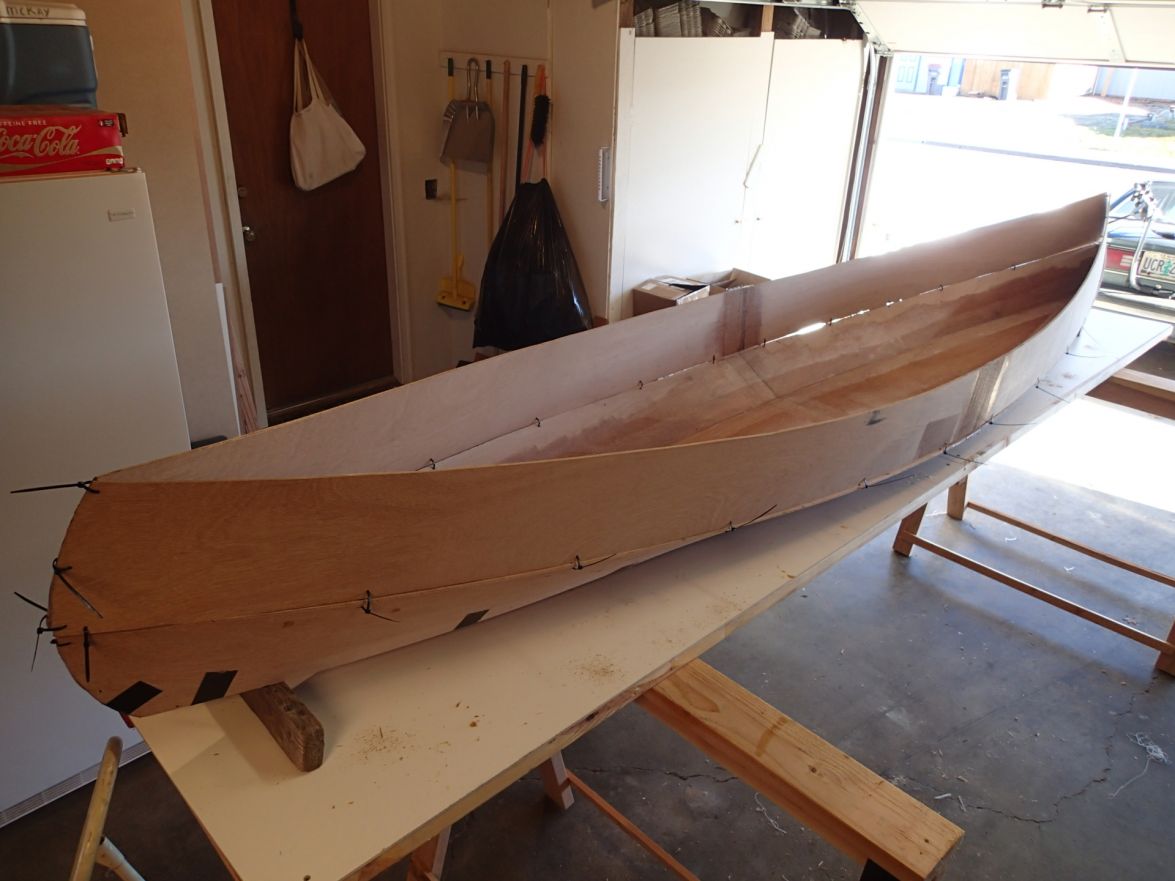
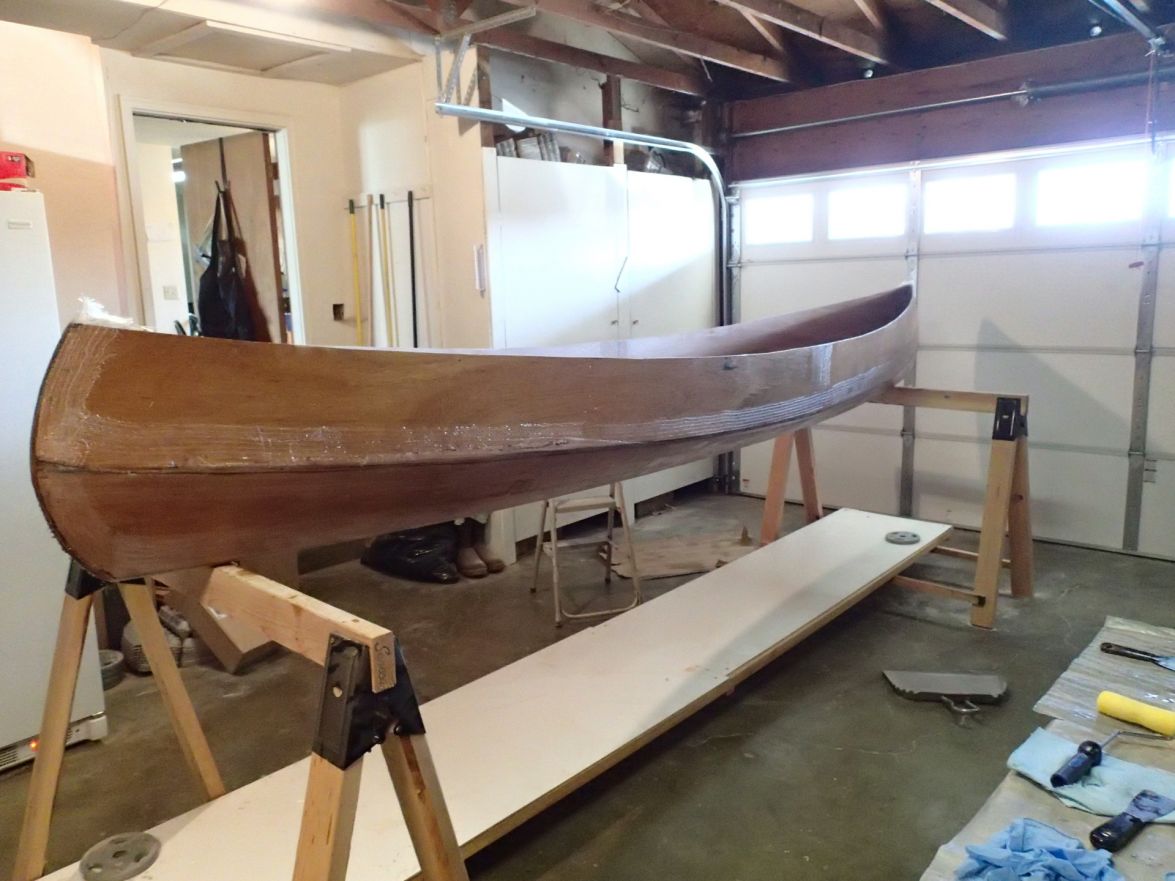
Next step, Prepare for the outside glass work. Here is my oldest son removing the masking tape.
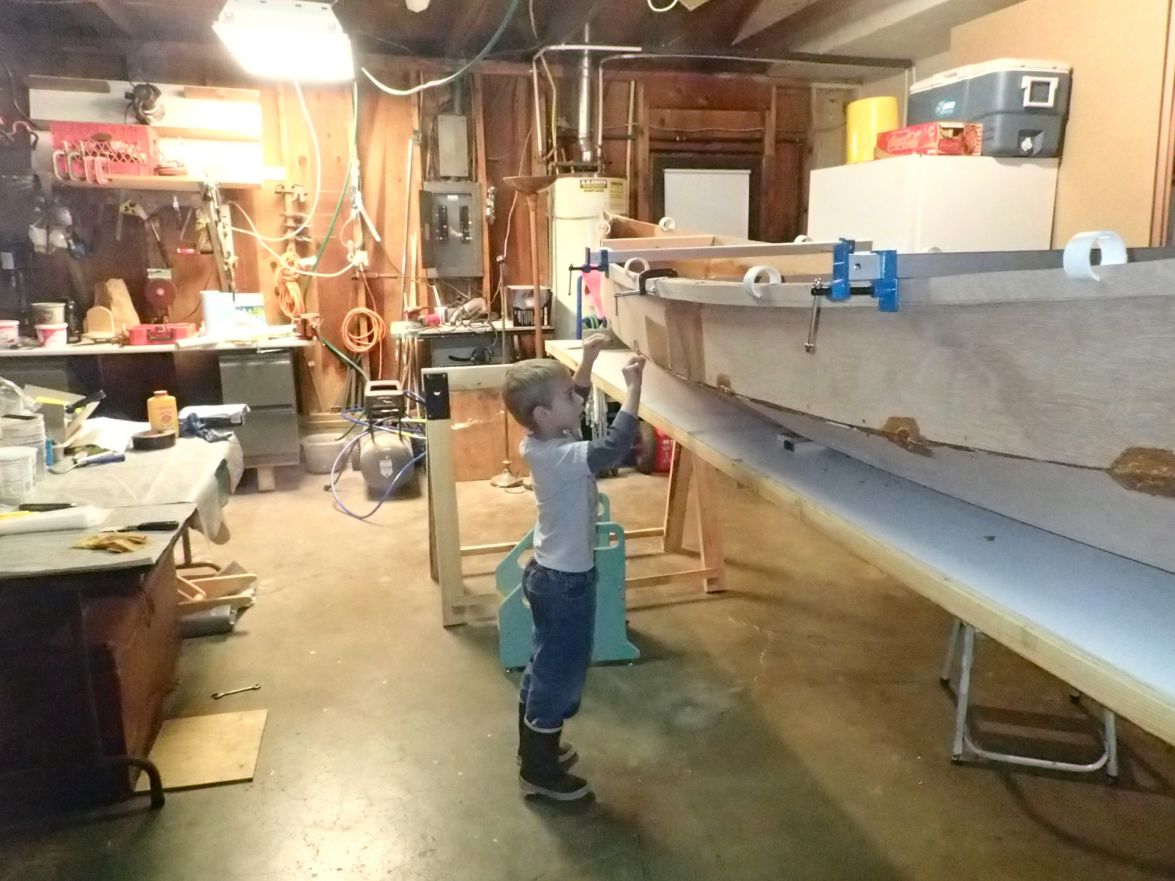
And the canoe with the masking tape removed.
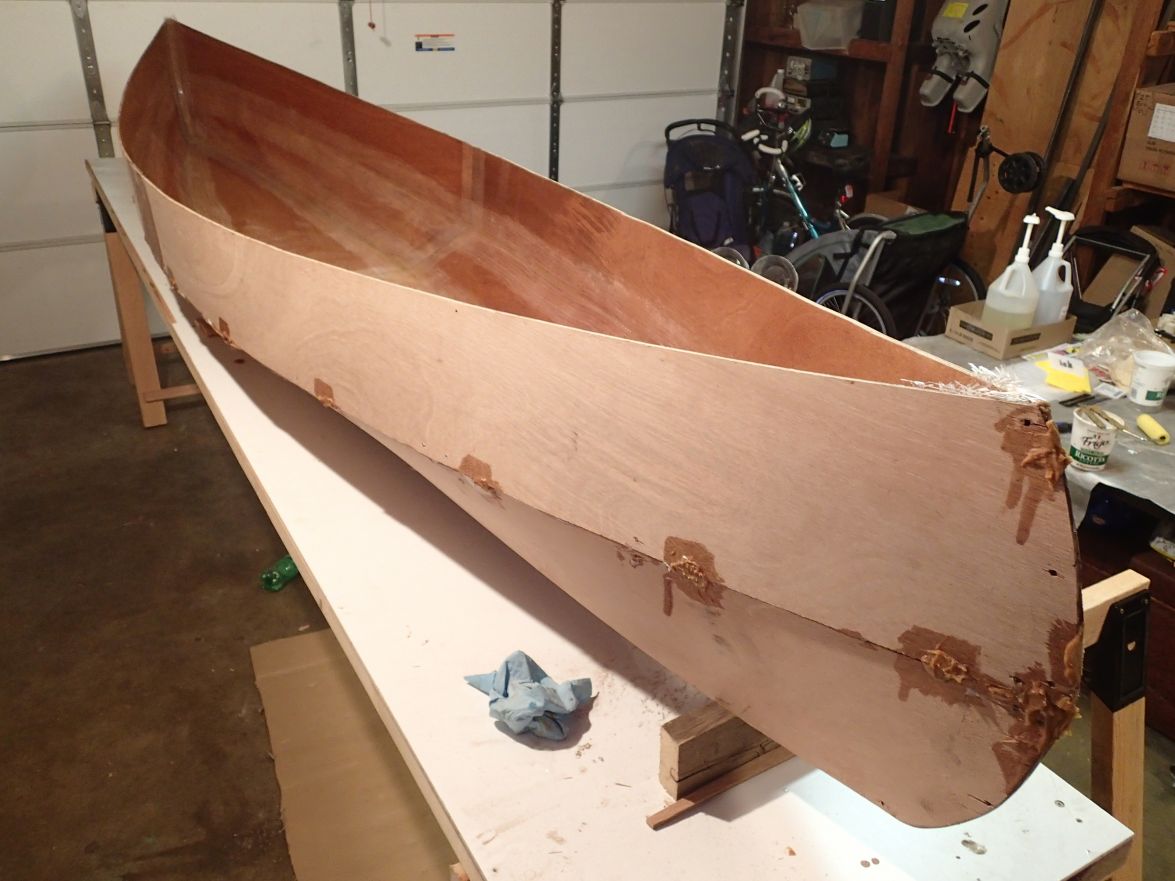
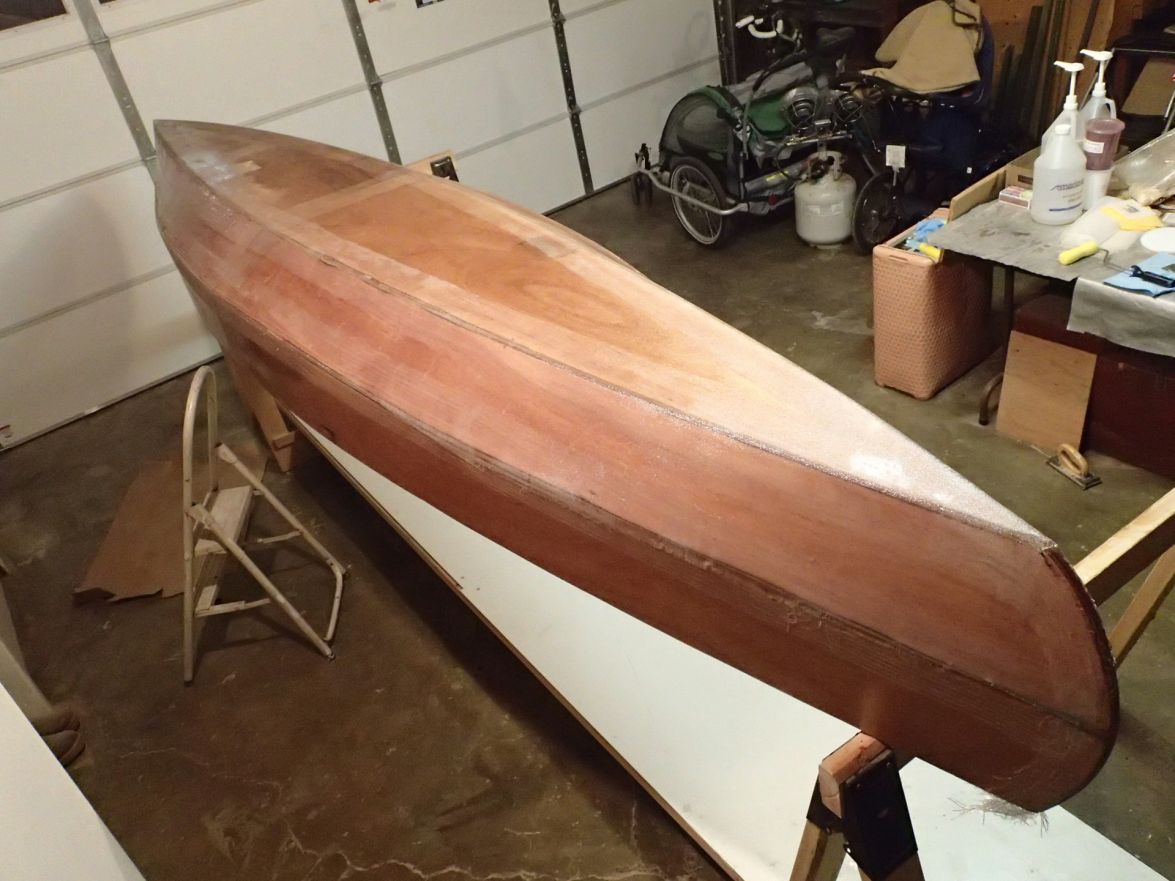
I then filled in the outsides of the chines with more putty and sanded the excess (and tack welds) off with a hand held disk sander. It was much faster than my random orbit sander. I then faired in with my random orbit sander. That made a lot of dust in the shop.
Here are my older two boys helping epoxy prime the outside of the canoe before we lay down the glass.
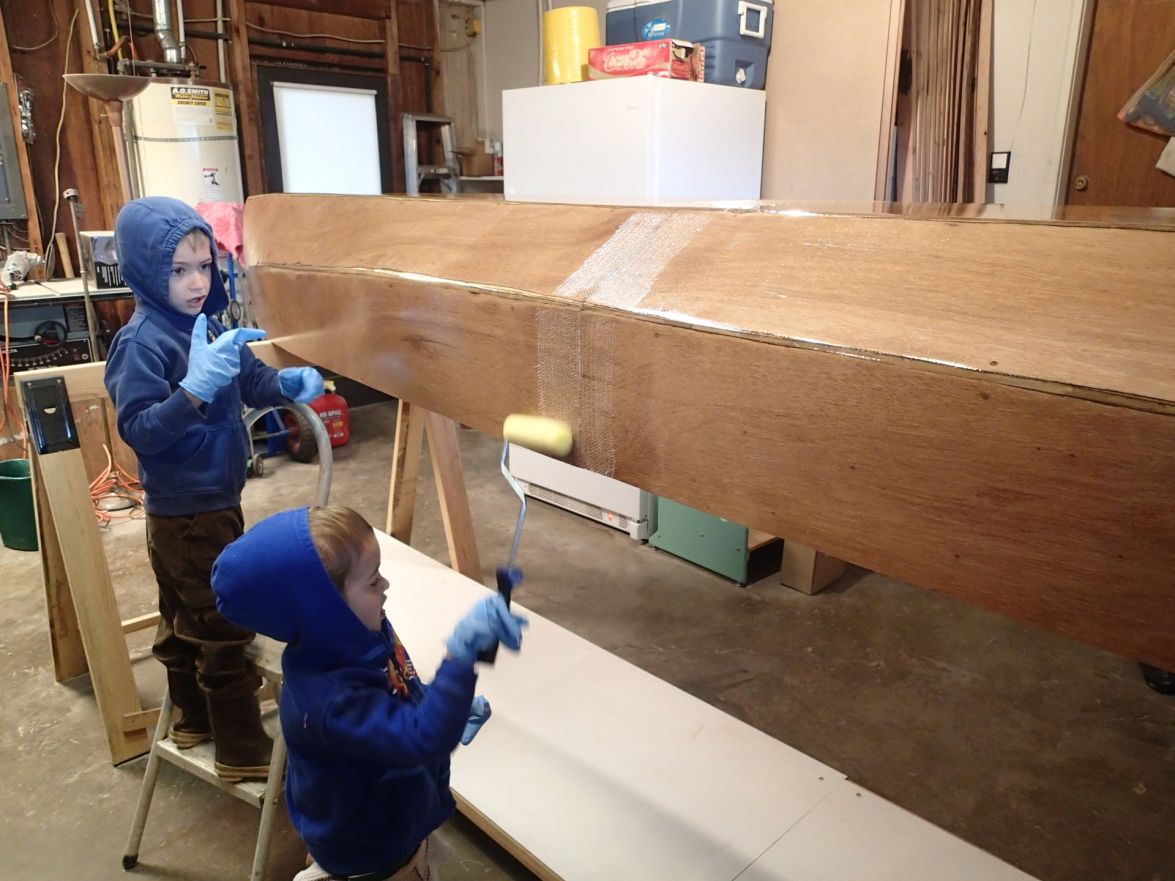
And her completely primed. Such a shame that I have to mar that beautiful bright finish with glass. Oh well.
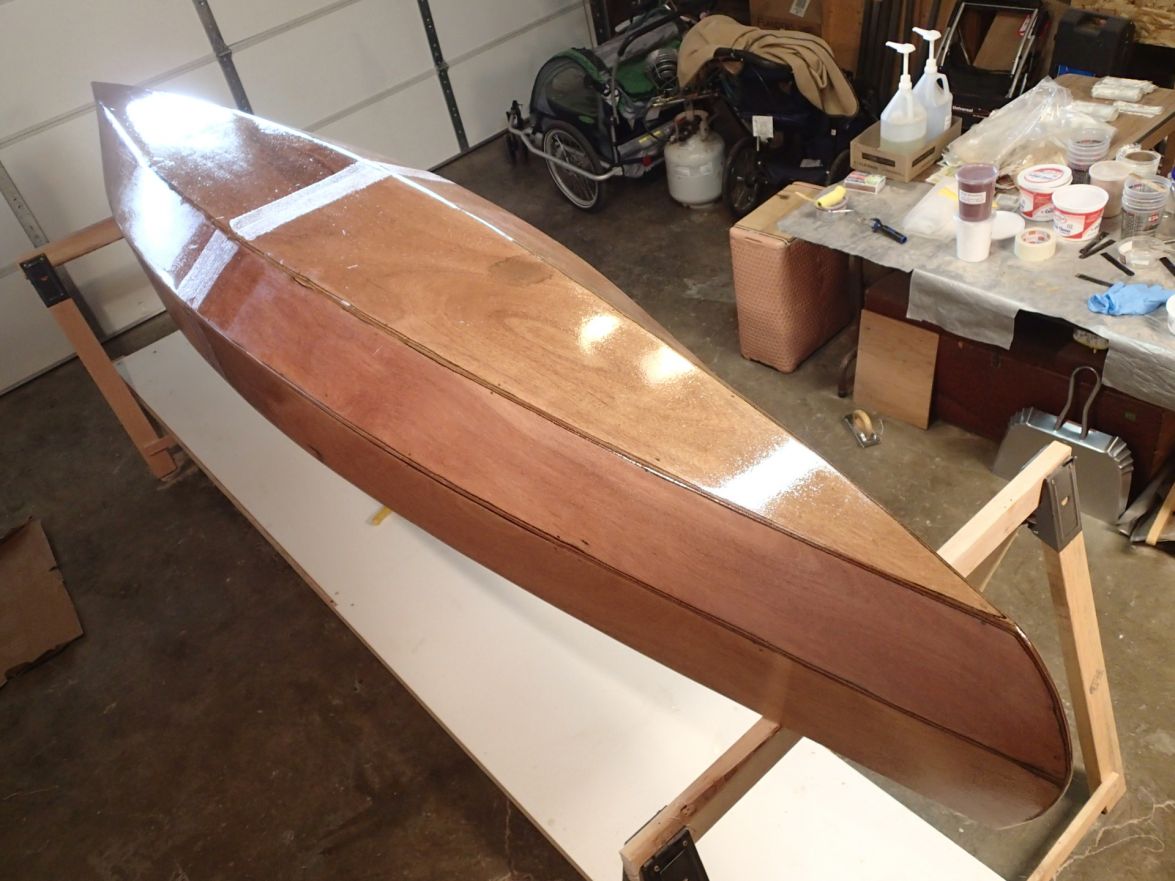
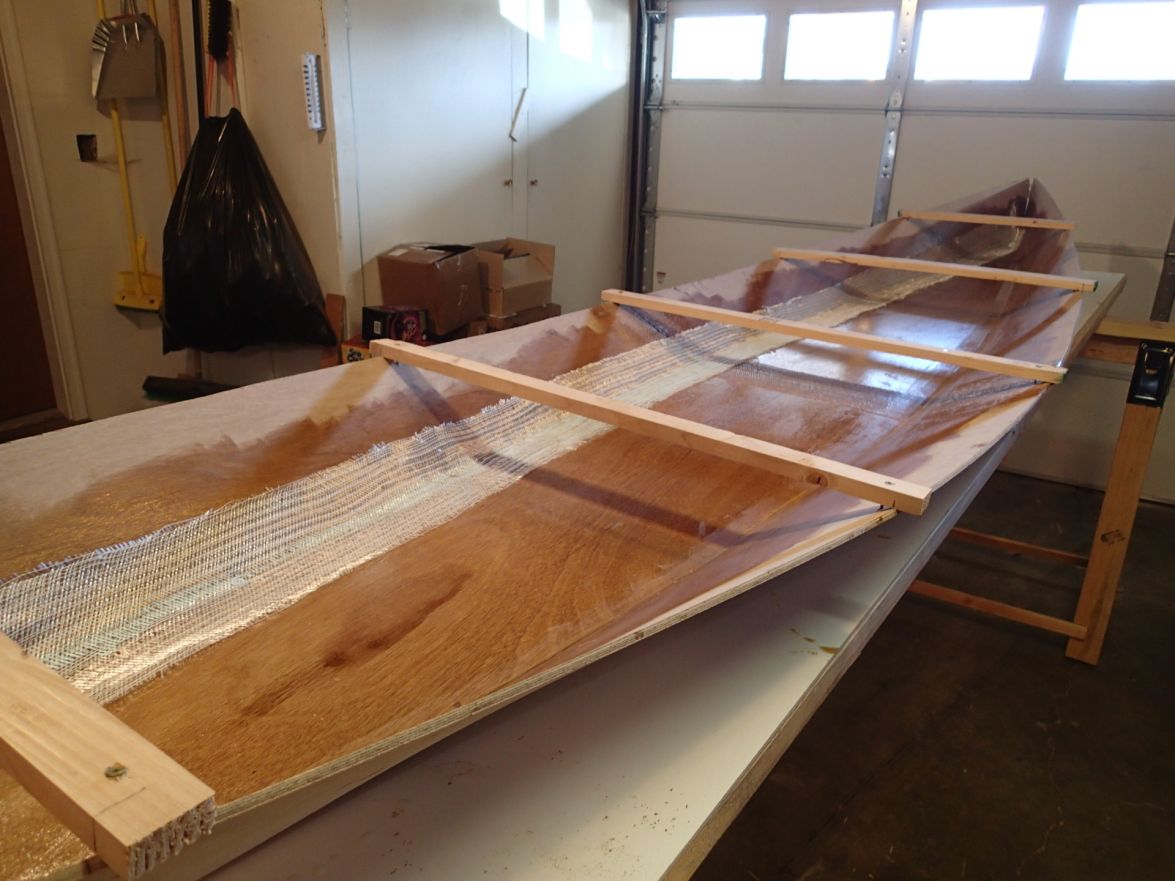
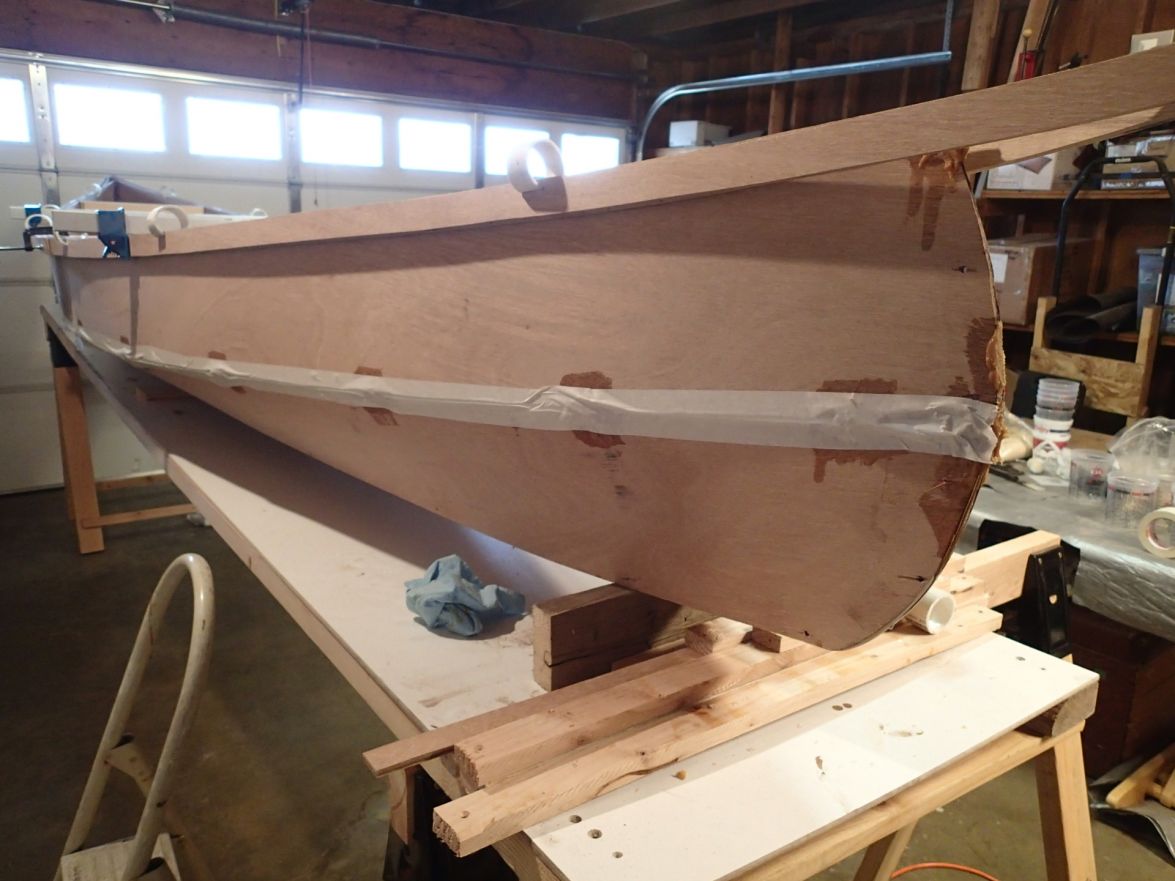
Here the chines are done being glassed. The bow glass is laid out. One problem I have when laying out glass tape on complex curves like that is that the individual longitudinal threads buckle up and will not lay down. I guess I will have to fair that out later.
These next three pictures of all of the outside glass work being completed. I laid down some 6oz glass for abrasion protection. So yesterday yielded two bows, four chines and one sheet of woven fabric. And I had to open my second gallon of resin.
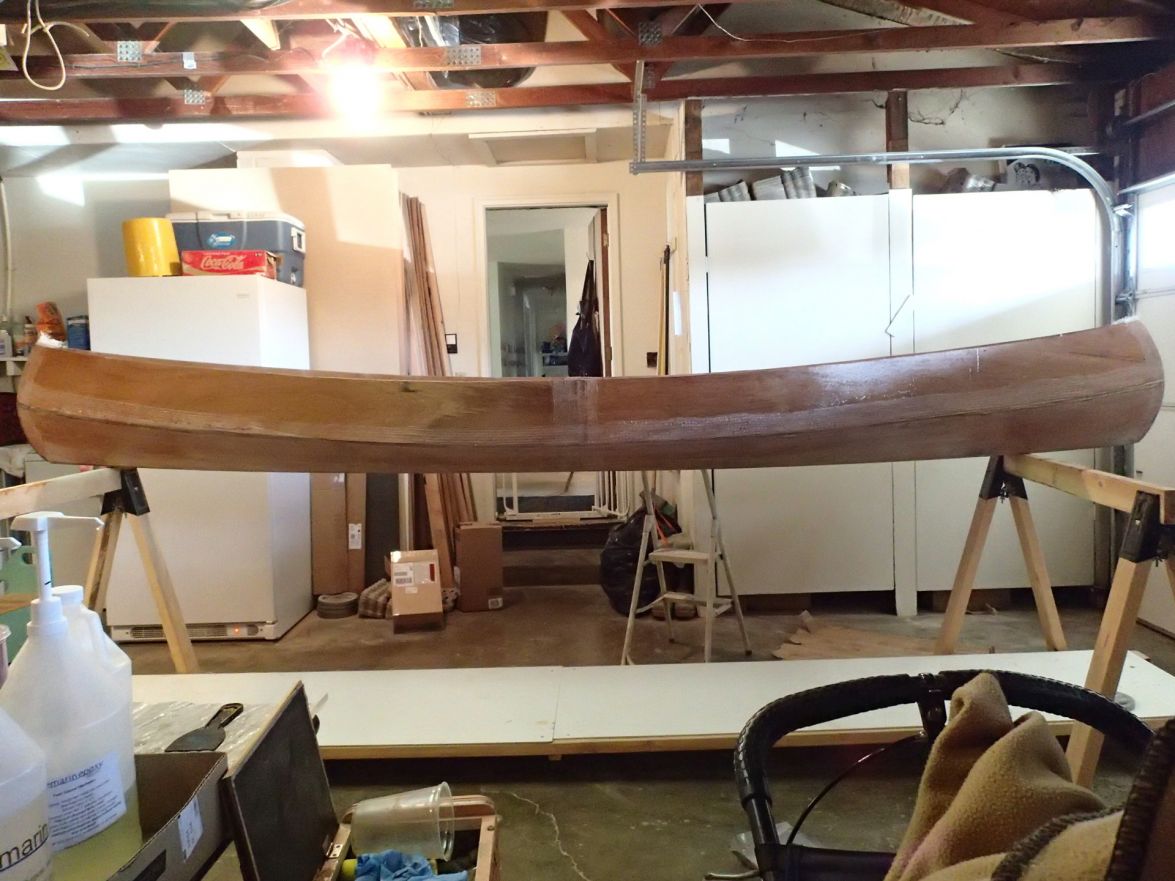
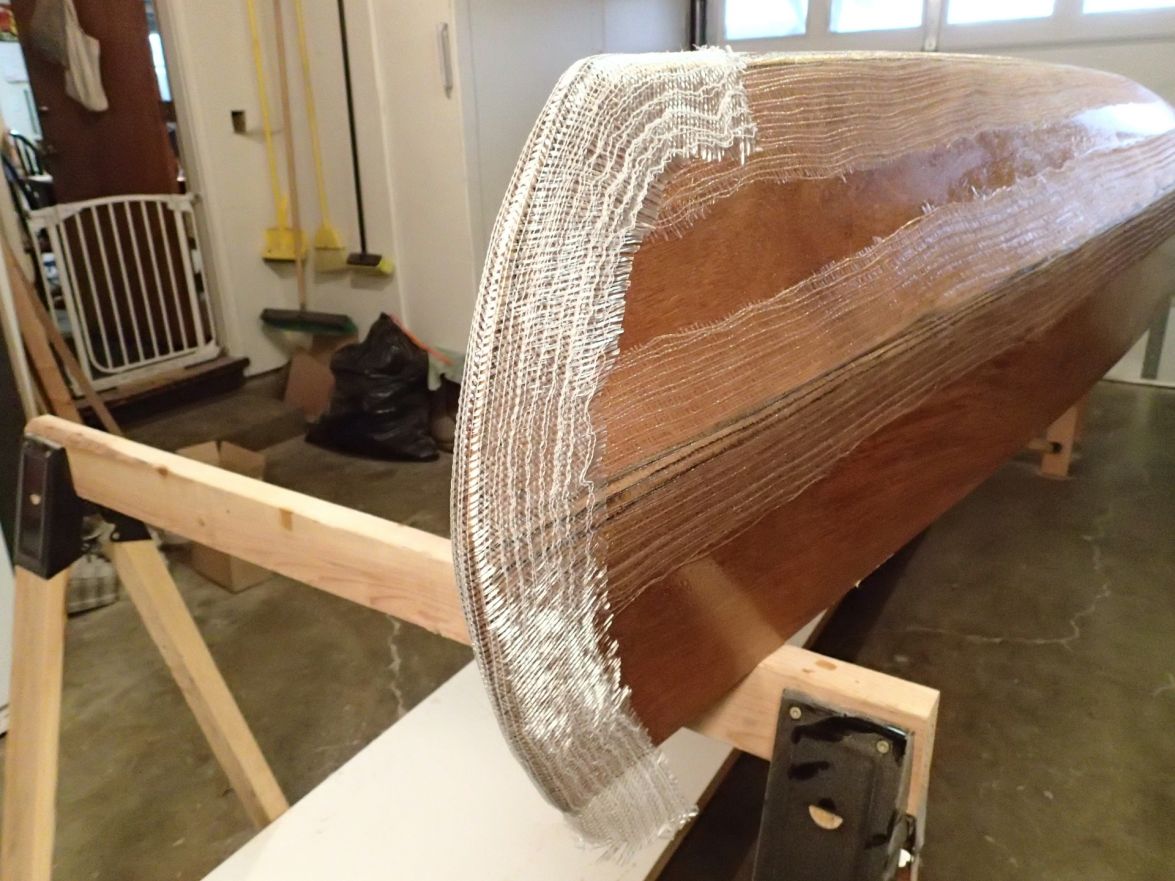
The woven glass was a bear, and if it were structural I would have to redo some of it probably. Since it is only for abrasion, I will live with it, and fair out/sand out the flaws. My two big mistakes with it were:
*Laying it down when all of the rest of the epoxy was still very sticky wet. I should have left it to cure to green tacky so I could move it around easier and push out the bubbles dry.
*Cutting it to shape before laying it down. The edges started to fray horribly as they stuck to the wet epoxy.
SO...I have some 1/4" - 1/2" air bubbles between the woven and the tape (which is bubble free) on a couple places of the chine, and I have some puckers that are filled with epoxy that will end up getting sanded off in the fairing process, leaving no glass in those little areas. If anybody sees a problem with this course of action, please speak up!
Next steps:
1) Make the seats, I think 3 benches would be good.
2) Put in the breast hooks and put some foam in the bows. Bolt a cleat to both breast hooks.
3) Attach the rub rails.
4) Fair, fair, fair
5) Paint
6) Splash
Good news is that I can cut corners on 4 and 5 if I want to get to 6 faster, but I do want a beautiful vessel, at least on the outside. How much to fair the inside I wonder...
Then I tack welded it together.
And masking taped the chine so that I wouldn't get putty sag like I did before.
Here is one of my inside bow fillets. This is one of those marathon wet-on-wet days where you have to ignore other things to get the job done. I used some 1.125" or 1.25" OD bicycle frame tube I had laying around in the shop for shaping the bow chine. I think I will buy some PVC pipe of proper OD next time.
With much help from my wife, we finished glassing the inside chines in one day. It took me until my 3rd chine to get the hang of quickly filleting with the corner of my squeegee (obtained from Boat Builder Central). Again, I am glad I am making this canoe before tackling a bigger, more expensive project.
You will see the rub rails already clamped on. I was having issues with the spreaders at station B putting a reverse bend in the wood. I had to clamp all three battens layers on in order to flatten out the curve and make it look nice. I ended up cutting my rub rail battens on a curve instead of torturing a straight batten. I tried torturing a 1.5" straight batten, but it was not fun. Not fun to the point I went through the effort of calculating my own offsets. I took the offsets from the top panel's top edge from the plans, drew that curve, extended it from both ends, and then offset it by 1.5". I can give the numbers to anybody that cares, I still have them.
Next step, Prepare for the outside glass work. Here is my oldest son removing the masking tape.
And the canoe with the masking tape removed.
I then filled in the outsides of the chines with more putty and sanded the excess (and tack welds) off with a hand held disk sander. It was much faster than my random orbit sander. I then faired in with my random orbit sander. That made a lot of dust in the shop.
Here are my older two boys helping epoxy prime the outside of the canoe before we lay down the glass.
And her completely primed. Such a shame that I have to mar that beautiful bright finish with glass. Oh well.
Here the chines are done being glassed. The bow glass is laid out. One problem I have when laying out glass tape on complex curves like that is that the individual longitudinal threads buckle up and will not lay down. I guess I will have to fair that out later.
These next three pictures of all of the outside glass work being completed. I laid down some 6oz glass for abrasion protection. So yesterday yielded two bows, four chines and one sheet of woven fabric. And I had to open my second gallon of resin.
The woven glass was a bear, and if it were structural I would have to redo some of it probably. Since it is only for abrasion, I will live with it, and fair out/sand out the flaws. My two big mistakes with it were:
*Laying it down when all of the rest of the epoxy was still very sticky wet. I should have left it to cure to green tacky so I could move it around easier and push out the bubbles dry.
*Cutting it to shape before laying it down. The edges started to fray horribly as they stuck to the wet epoxy.
SO...I have some 1/4" - 1/2" air bubbles between the woven and the tape (which is bubble free) on a couple places of the chine, and I have some puckers that are filled with epoxy that will end up getting sanded off in the fairing process, leaving no glass in those little areas. If anybody sees a problem with this course of action, please speak up!
Next steps:
1) Make the seats, I think 3 benches would be good.
2) Put in the breast hooks and put some foam in the bows. Bolt a cleat to both breast hooks.
3) Attach the rub rails.
4) Fair, fair, fair
5) Paint
6) Splash
Good news is that I can cut corners on 4 and 5 if I want to get to 6 faster, but I do want a beautiful vessel, at least on the outside. How much to fair the inside I wonder...
-Aaron
"A-Ron the relentless"
Soli Deo Gloria
Semper Reformanda
"A-Ron the relentless"
Soli Deo Gloria
Semper Reformanda
Who is online
Users browsing this forum: No registered users and 4 guests