Hi Jason
Using a solid piece of wood is not deisrable as the knots of the one piece effect the whole cross section. With laminated spruce you should only get areas of weakness on half of the mast at any one time.
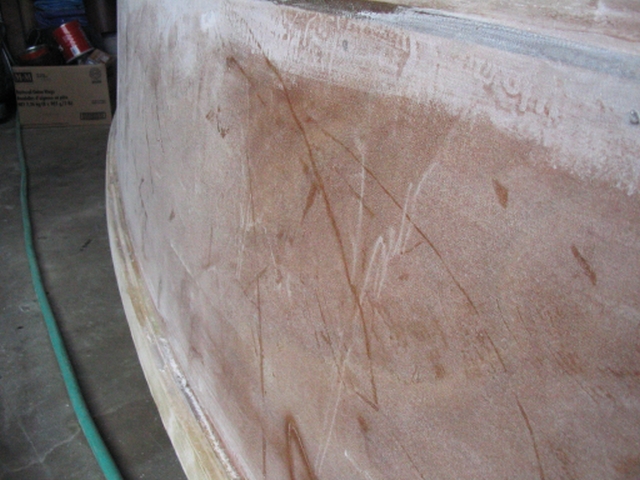
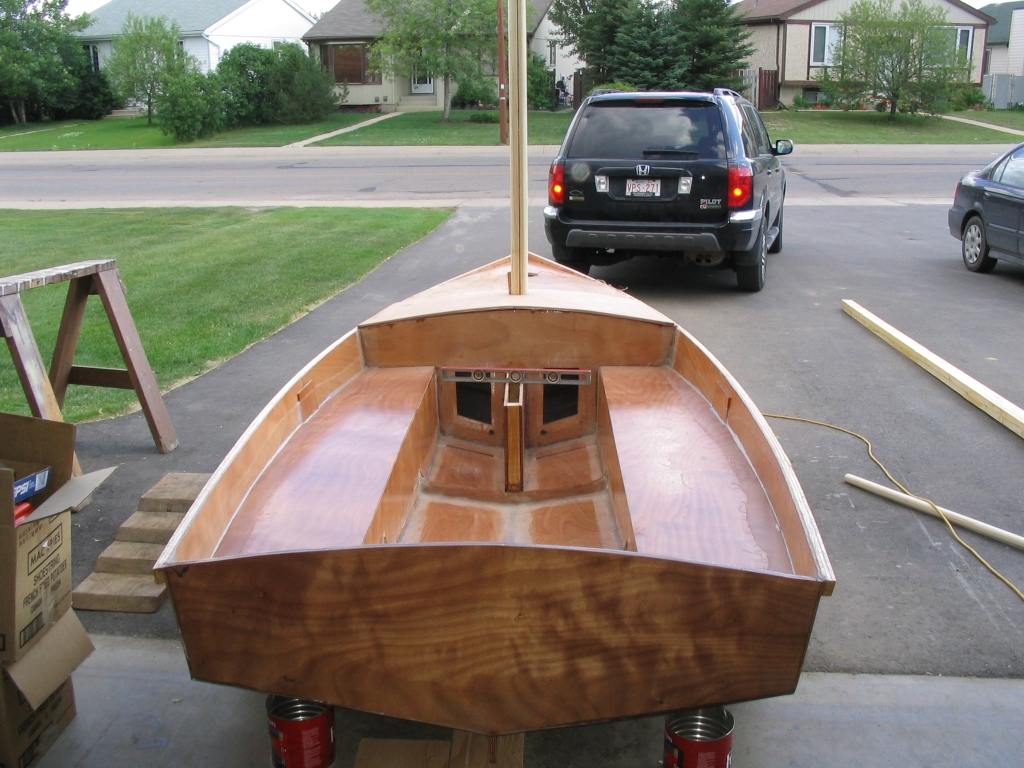
The plans call for a 20' x 3" diameter wood mast. Being in Alberta where spruce is plenty I went to the local lumber yard and picked up 5 2x6x8s planning to cut one in half. 8+8+4=20. However I cut 12" (8 to 1) scarf joints and glued everything together. Only after everything was done did I realize that 8+8+4-2=18. So back to the store and get 6 2x6x8s. Re-cut the scrafs and glue. When it was all said and done one of the boards pulled and I have a 2" bend at the top of the mast. I am planning to put it up in my garage with a paint can on it to slowly bend it back. The book "building the new instant boats" by dynamite payson(sp?) has the procedure in it.
1. Get lumber. If you have time dry the lumber for a month before cutting, this will allow time for the wood to dry out and any warpage should be avoided after building the mast. I didn't do this...
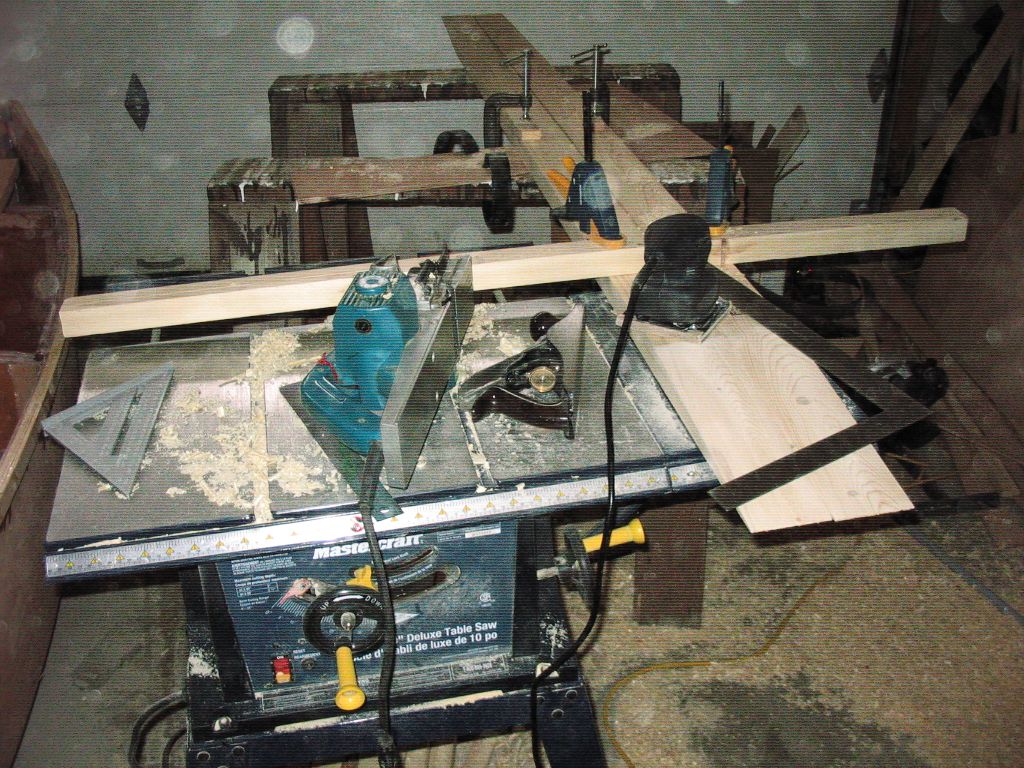
2. Cut 2x6x8s to 1.5x3.5x8' on a table saw. You need to use 2x6 instead of 2x4 becuase the corners of 2x4s are rounded.
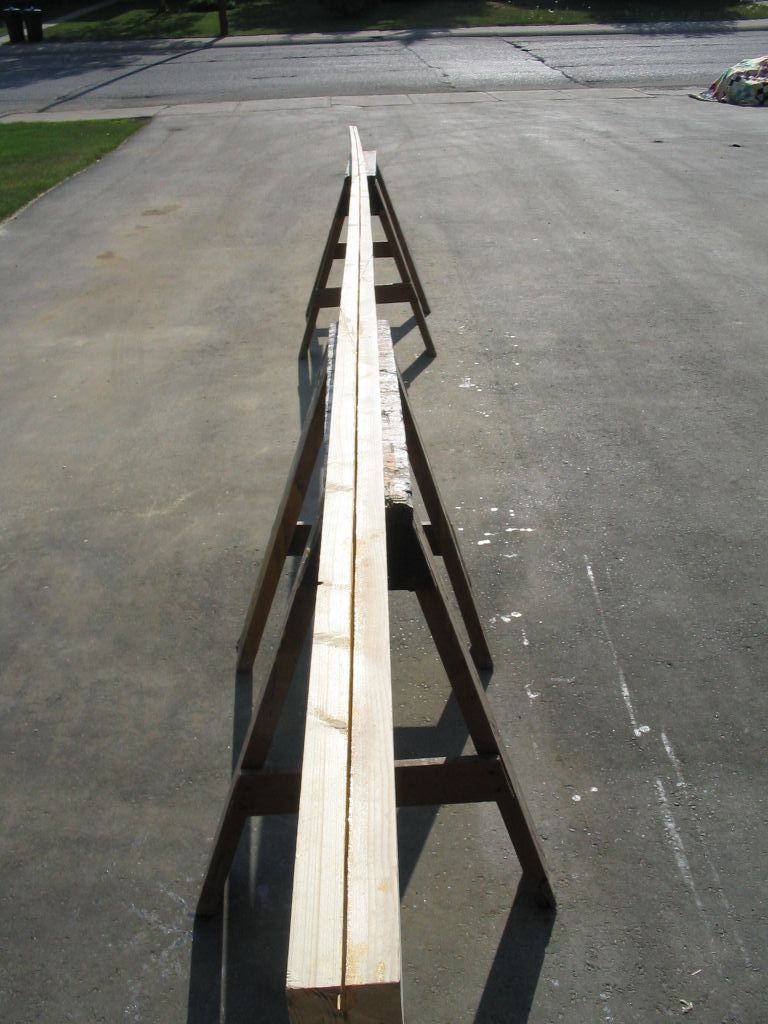
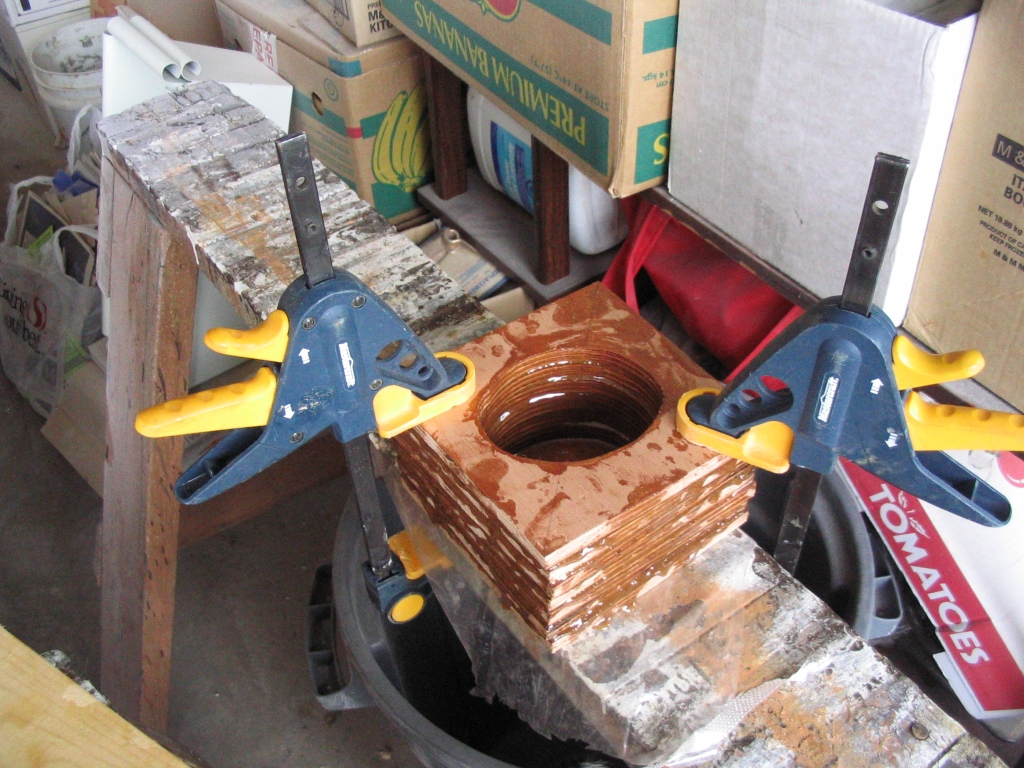
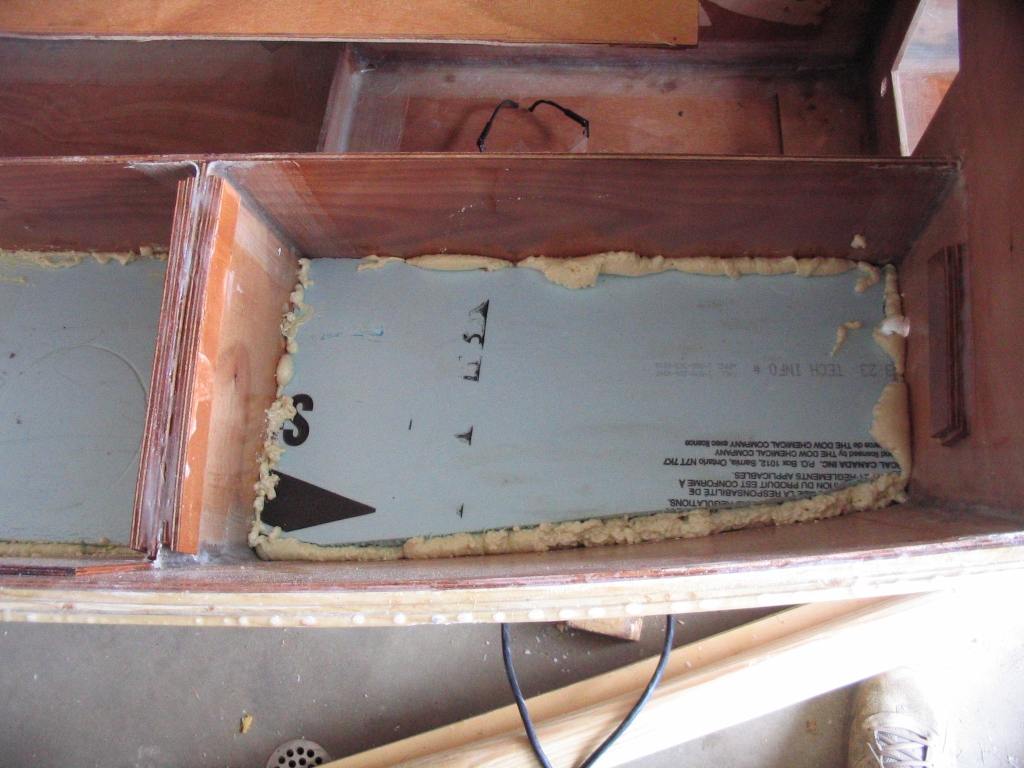
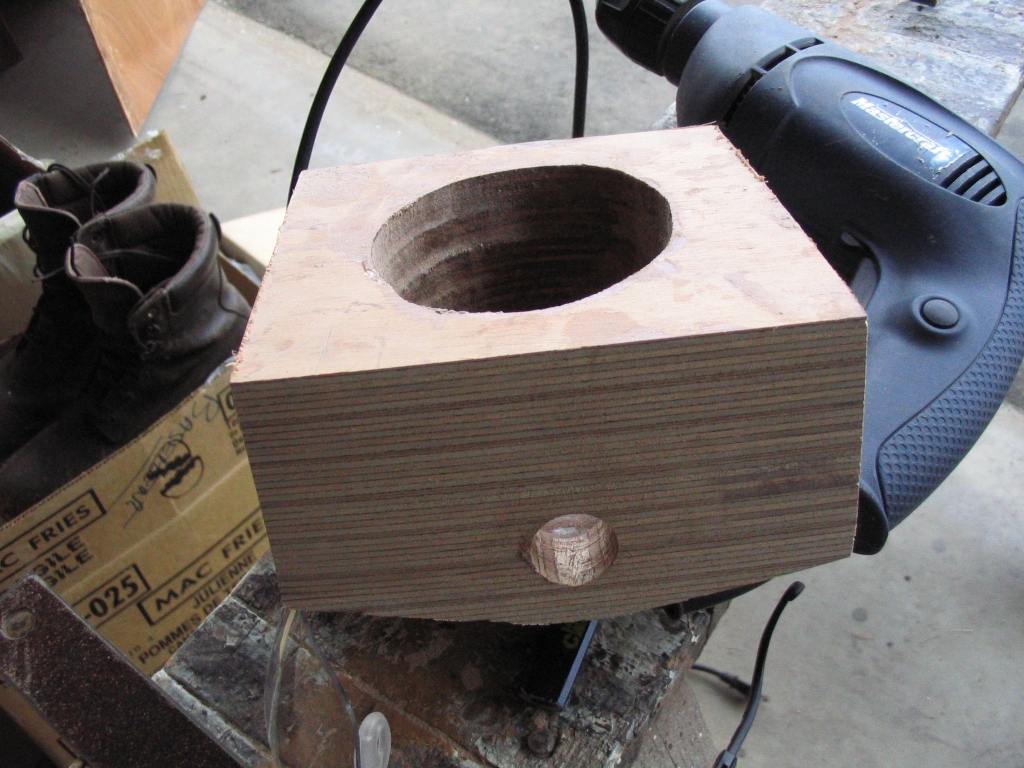
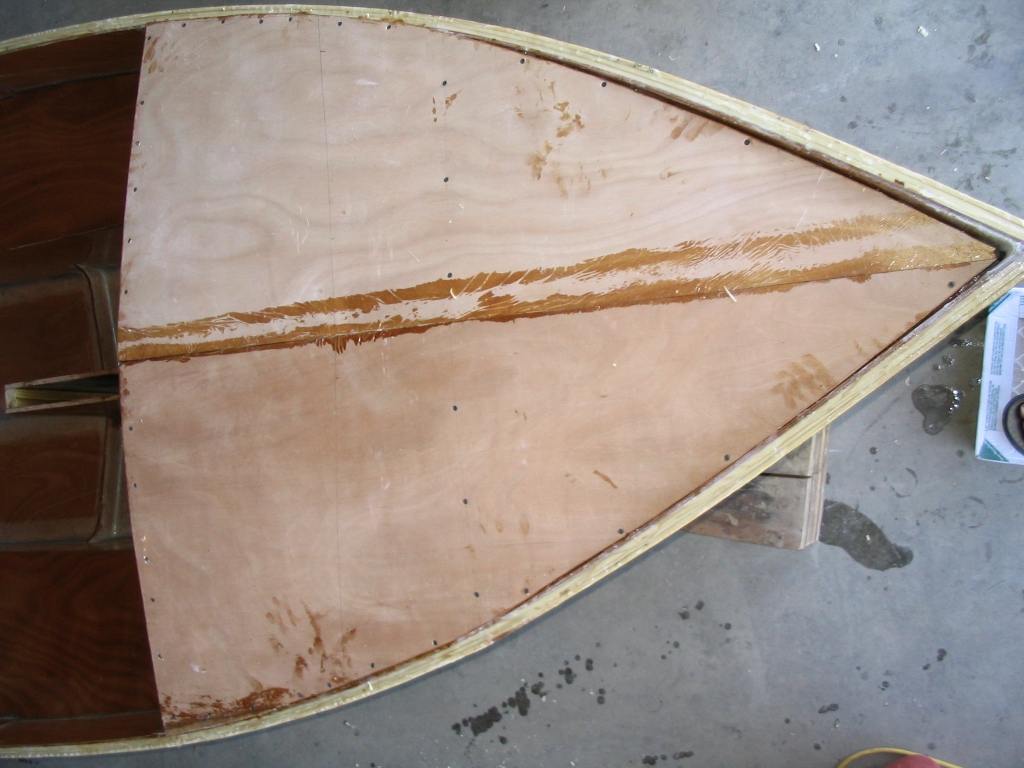
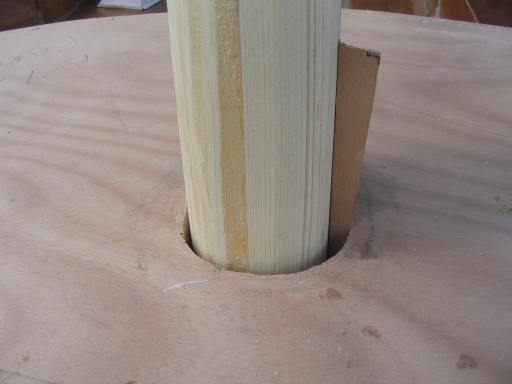
3. Rout out the hole for the bolt rope on the main sail to run up. I used a 3/8 half circle bit and routed each of the 6 boards. Use a circular saw later to cut the slot for the sail to run out once the mast was glued together. You can see the final cross section below.
4. Cut matching scarf joints by using a power planer (i rented one) and laying the boards side by side. Be sure to check that the slots for the bolt holes are lining up. Also stagger the scarf joints from one side of the mast to the other by at least 2'. I used a hand plane to smooth out the power planed faces and then roughened them for glue penetration with 60 grit an orbital.
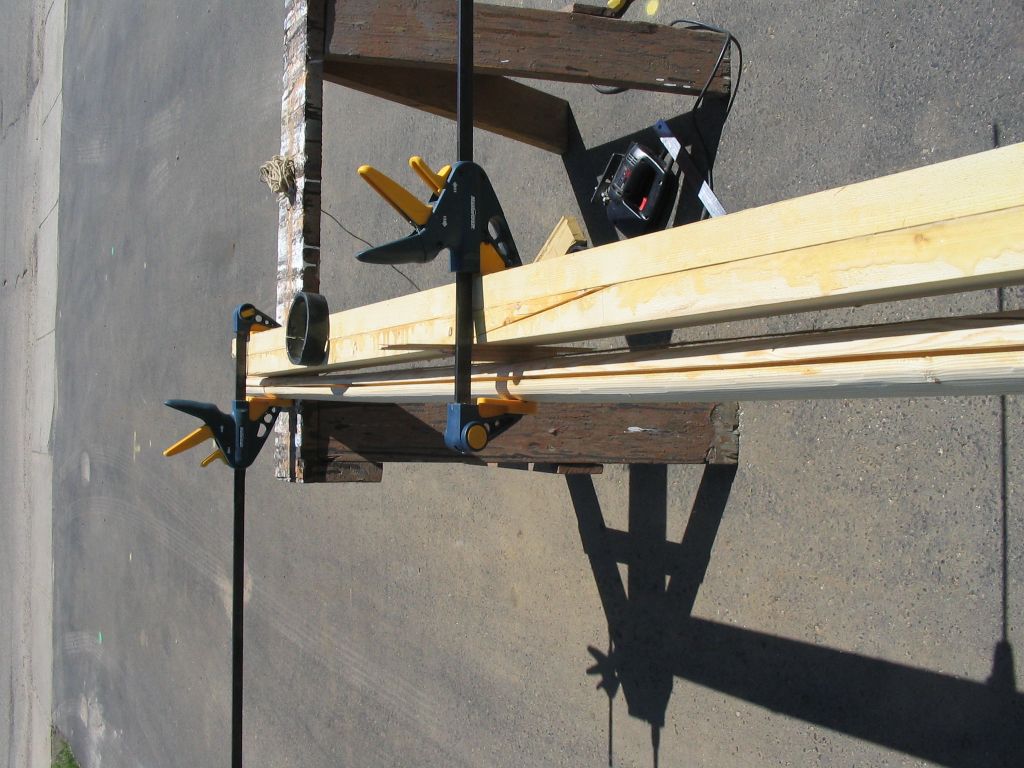
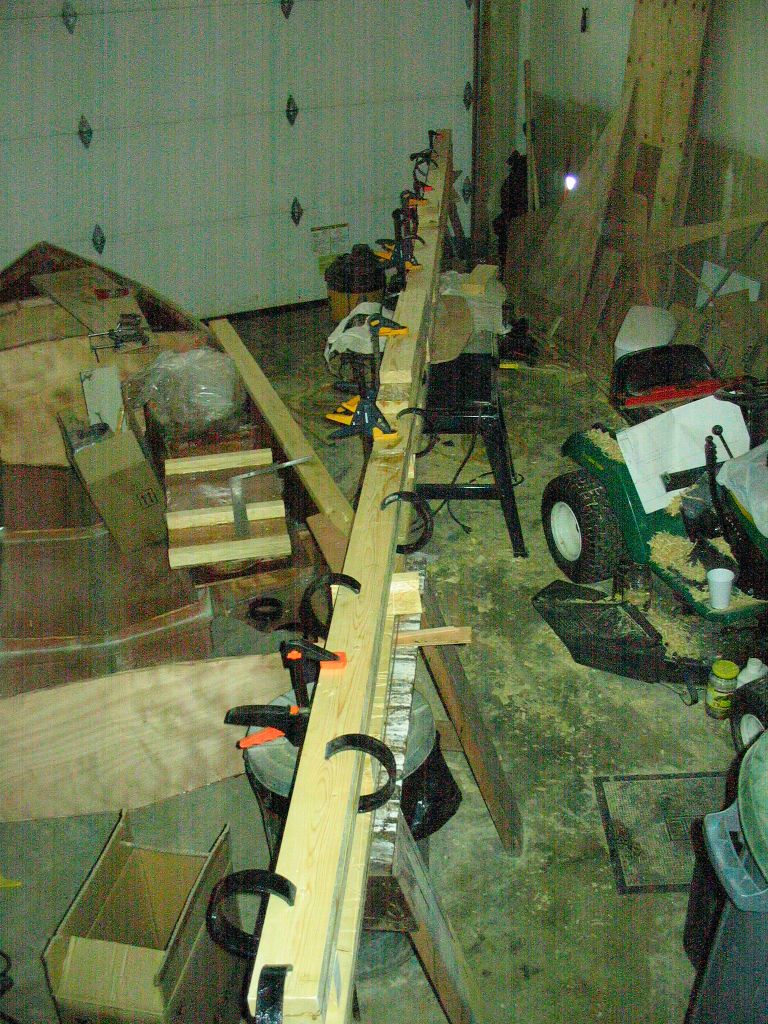
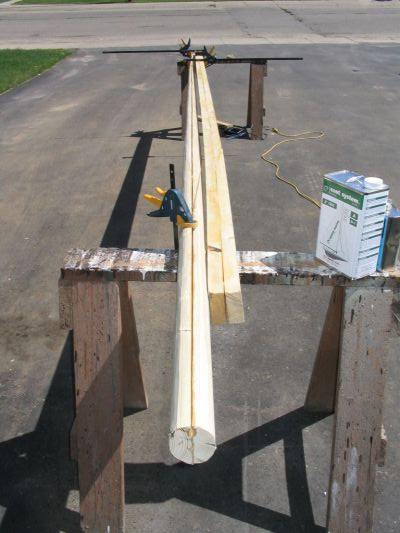
5. Set up a gluing stand using saw horses and a level. Use string to get the mast as straight as possible. Leave the string up to allow for adjustment once the mast is assembled and the glue isn't dry yet.
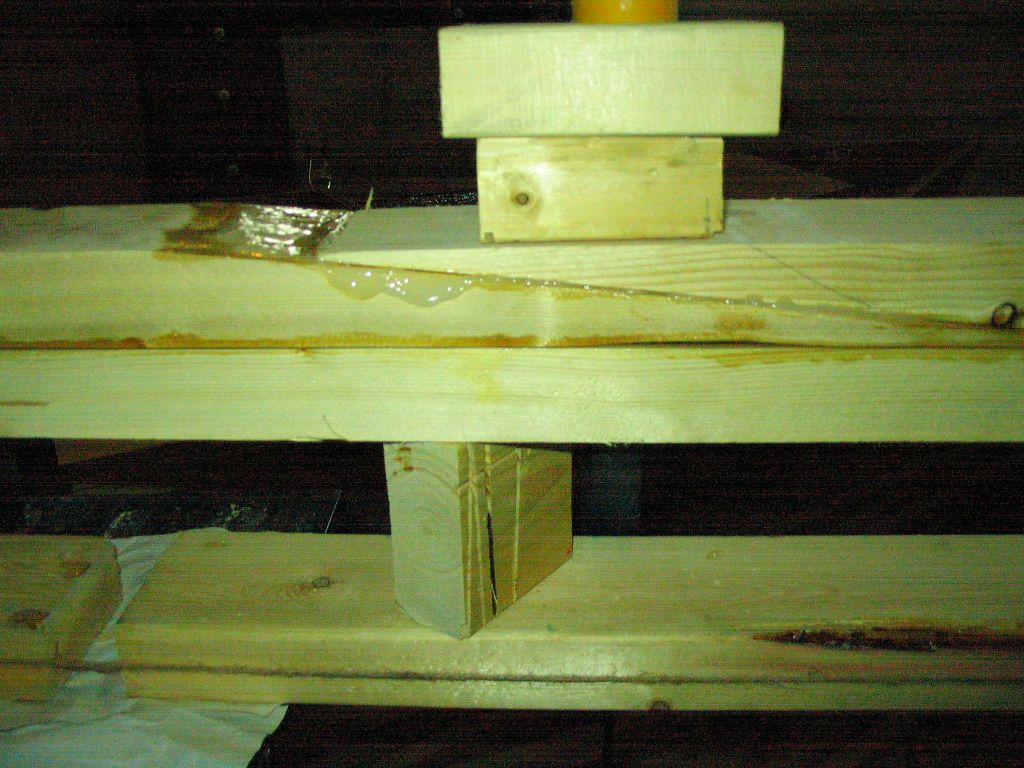
6. Glue the mast and clamp. Adjust until straight. Be sure not to get glue squeeze into the slot.
7. Wait for glue to dry.
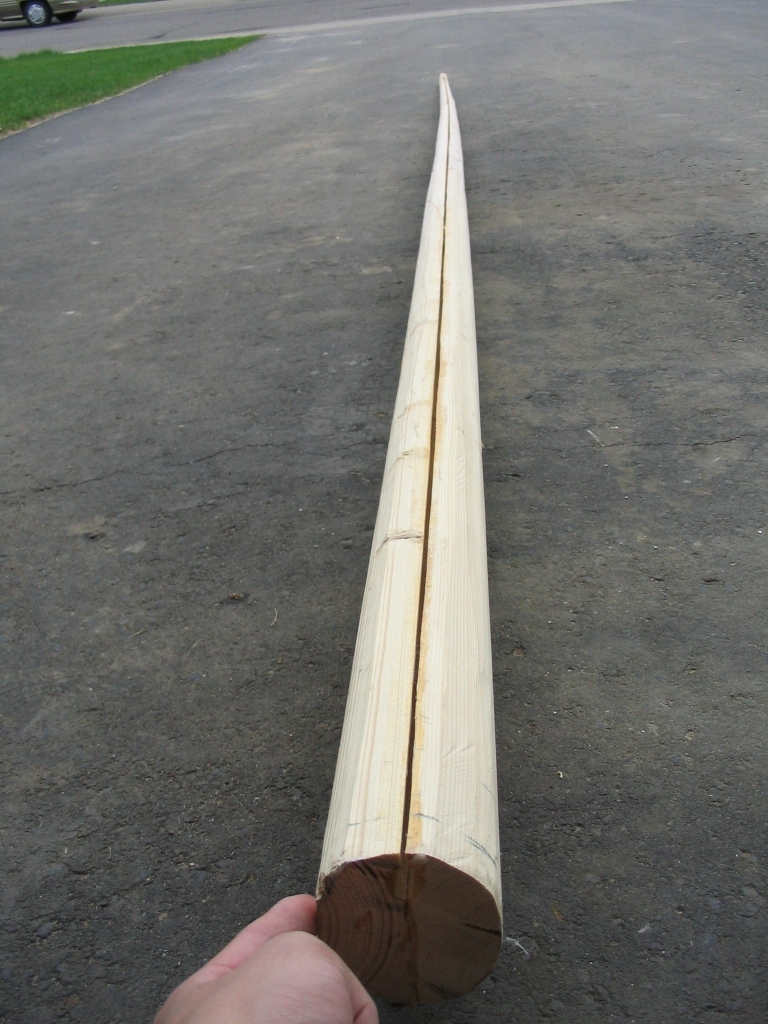
8. Cut an taper you desire with circular saw. I tapered three sides... the ones without the slot.
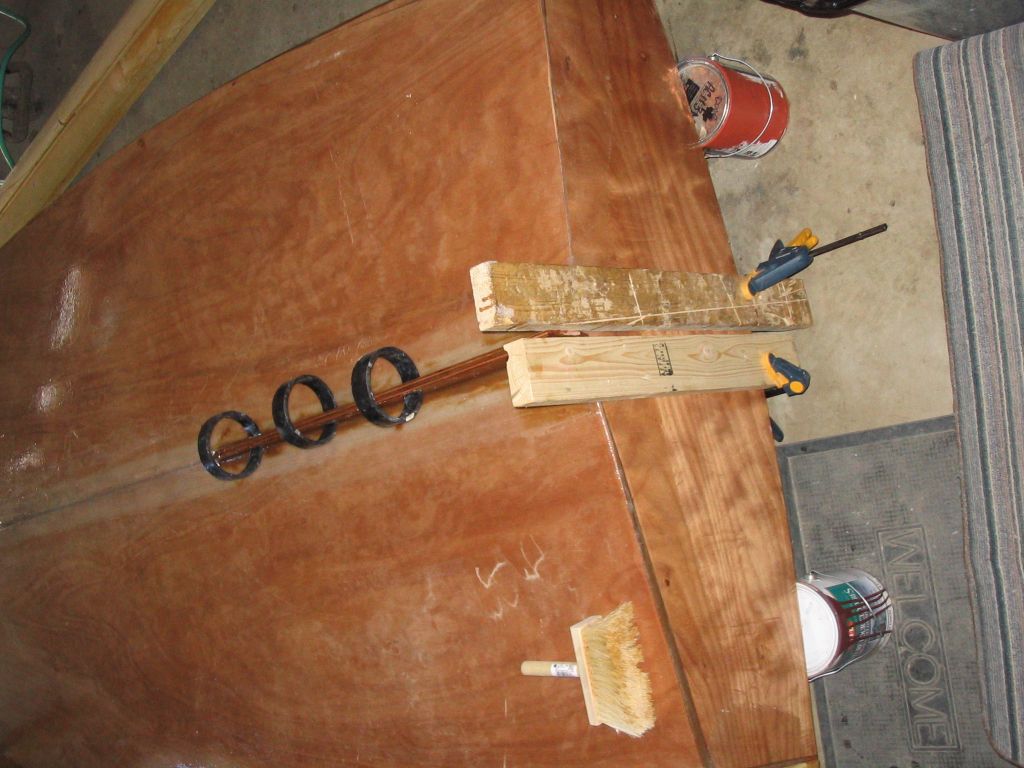
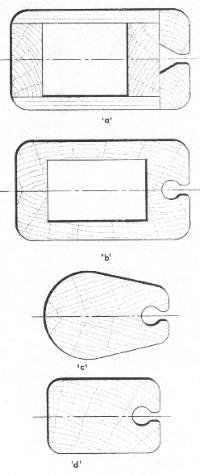
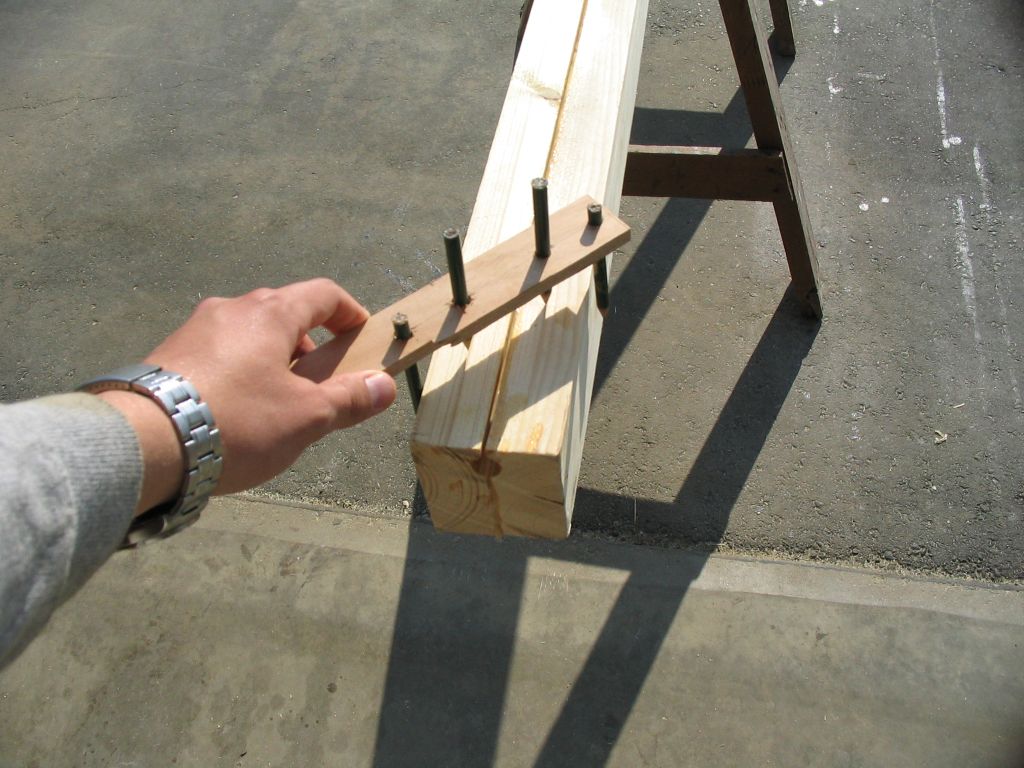
9. Mark the corners of an otagon using the jig shown below. The outside pencils touch the sides of the mast and the inside pencils draw the corners. They use the fact that a 45 degree right angle triangle has sides that are 7 versus a hypotenous of 10. One thing with my mast is that because it is oval I should have made two jigs once for the 3.5" sides (the triangles are not 45 degree right angle triangles) and one for the 3" sides of the mast. I used only one jig and spaced the pencils 1.4"-2"-1.4" (7-10-7). This is good enough for what we are doing.
10. Run a circular saw down the glue joint on the side of the mast with the hole to allow the sail to pass up and down the mast.
11. Cut the excess material with a circular saw with the blade set at ~30 degrees. This should remove the bulk of the material that needs to be removed. I used a hand plane to plane out the corners and get to lines on all four sides. Then used the hand plane to turn an octagon to a 16-side-agon

12. Belt sanded the mast to round by eye with 120 belt.
13. I oiled the mast with unboiled linseed oil and screwed the fittings in. Will end re-doing the mast every couple years. Also I dipped the screws into epoxy prior to installation of the screw. This seals the hole. I removed the screw waited for the epoxy to dry and reinstalled the screws.
14. The one thing I have left to do is to open up the slot to 3/4" wide above the gooseneck to allow insertion of the bolt rope when raising the sail.
I also made my boom using the above method from a side piece of wood. Used a cut off remaining from my rub rails that was 1.5 square. Marked the octagon and hand planed to 16-sides. Used belt sander to take from 16 sides to round.
Hand planing spruce is easy, and the above probably took about 12 hours including cutting the scarfs twice. I had the mast shaped in two days. About an hour of sanding for both boom and mast. DO NOT try this without a power planer... it takes forever.
The book I mentioned above also shows how to make a hollow mast by using the same method but installing 1x2s in between the 2x6s. This will give you a 3.5 diameter mast with a 1x.75 hole down the middle for the halyard. I couldn't find really staight 1x2s and the added labor of more scarfs etc wasn't worth it. If I break this mast maybe I will try it when I have more time. Also the mast with a hole wasn't really that good for putting a bolt rope hole up it. For a rig similiar to the dory 12 this would work great. What is that rig called again?

Anyway thats enough for now.